
DIY Outdoor Halloween Ghosts with Vintage Lace and Damask
I wanted to use up some thrifted damask linens that had stains, and what better way to use them than to make large, life-size outdoor ghosts for Halloween?
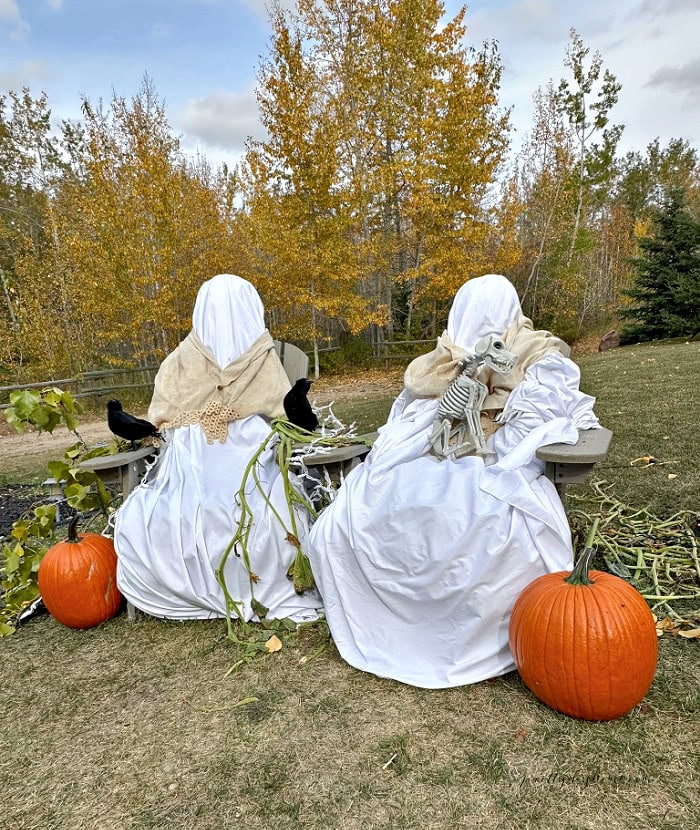
At first, I thought about creating two ghosts having tea together, but a nice little two-seat bistro table was more expensive than I wanted to spend. So I grabbed our Adirondack chairs instead.
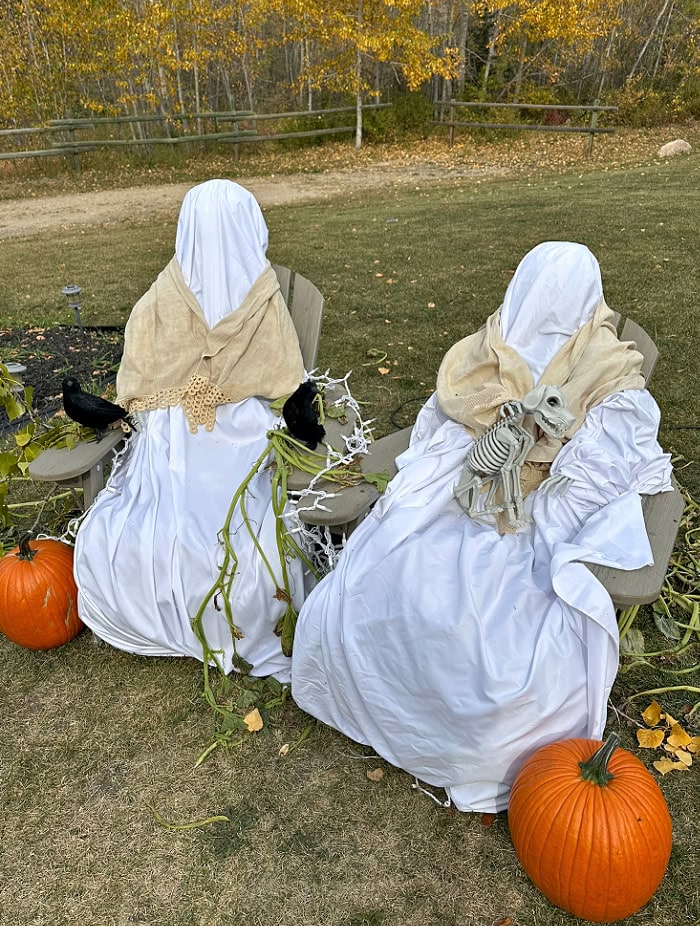
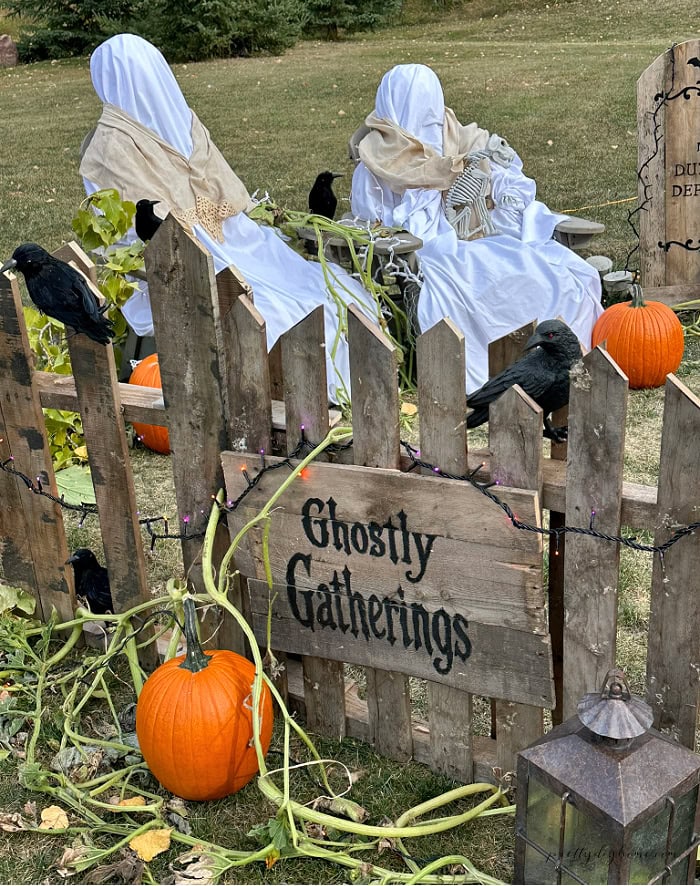
Now I have two ghosts chilling out and relaxing in their graveyard while they wait for the Ghostly Gatherings to begin.
How to Make the Outdoor Halloween Ghosts
These outdoor Halloween ghosts are relatively easy to put together using dollar store supplies, a tomato cage, and, in our case, chicken wire.
Because our home is very windy, especially in the fall, I wanted the ghosts to have a little more structure. You may be able to make yours without the chicken wire, but I knew ours needed to be strong and substantial enough to hold up outdoors.
Supplies for the Outdoor Halloween Ghosts
- Dollar store styrofoam heads
- Tomato cages
- Heavy-duty wire for the arms
- Chicken wire
- Clear packing tape
- Strong work gloves
- Plastic skeleton hands
- 100-count fairy lights
- Round white banquet or damask tablecloths
- Dark cream linen table runners for shawls
- Extra loose wire for securing the chicken wire
- Adirondack chairs
- Optional skeleton dog, crow, pumpkins, and garden vines for decorating
- White Christmas string lights for the ghost background
Step 1: Form the Main Ghost Body
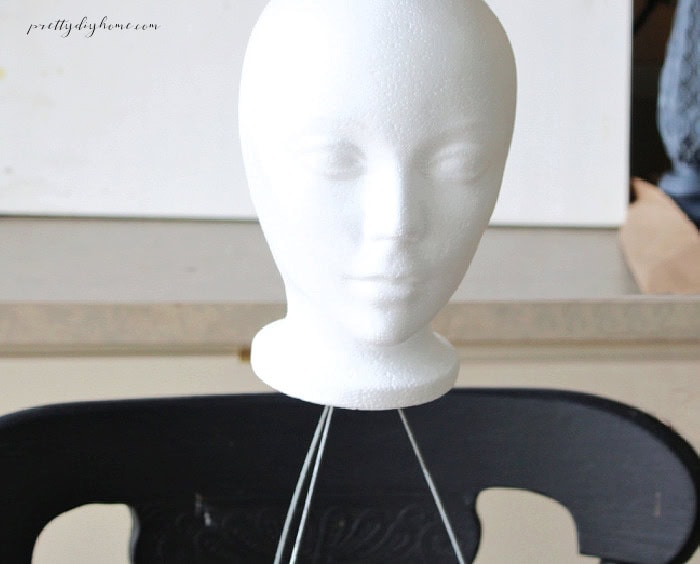
To put the ghosts together, I began by bending the three top wires of the tomato cage together and then forcing the styrofoam head down over them. I wrapped everything very well with clear plastic tape to hold the head securely in place.
Step 2: Make the Arms
Next came the arms. Start with a piece of heavy-duty wire and measure from my heart to the end of my fingers. Double that length and add about six inches.
I attached one end of the wire securely to the back of the tomato cage, wrapping it several times so it would stay firmly in place.
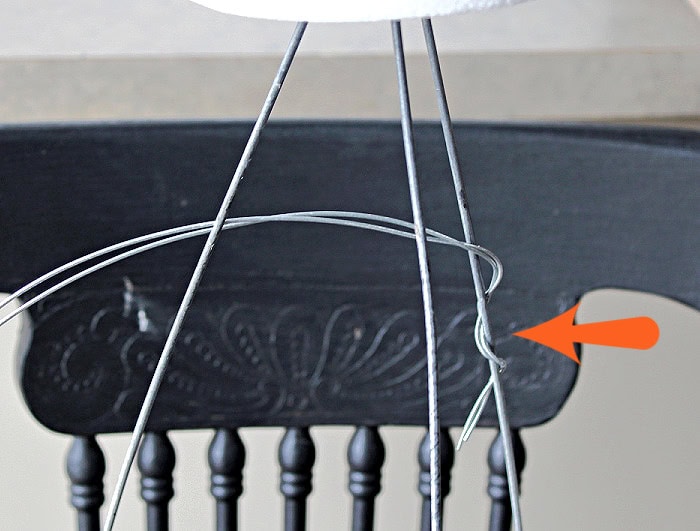
At the other end, I bent the wire back into a loop to form the hand area, then wrapped the end around the arm wire several times to secure it. I repeated the same process for the other arm.
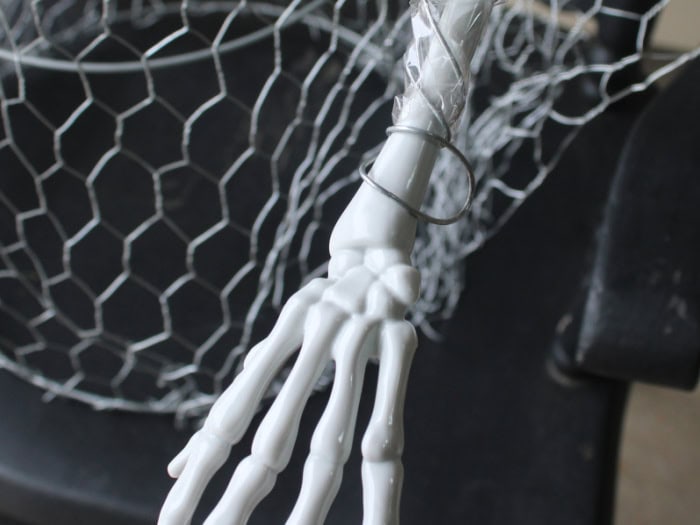
Once the head, arms, and hands were attached, I secured everything to the tomato cage using clear packing tape.
Step 3: Add the Chicken Wire Body
After everything was secured to the tomato cage, I cut a seven-foot length of chicken wire and draped it over the top of the head, leaving the extra length loose for later. I gently scrunched the chicken wire in around the base of the head to form a neck, then allowed it to widen again over the upper body to suggest the shape of shoulders.
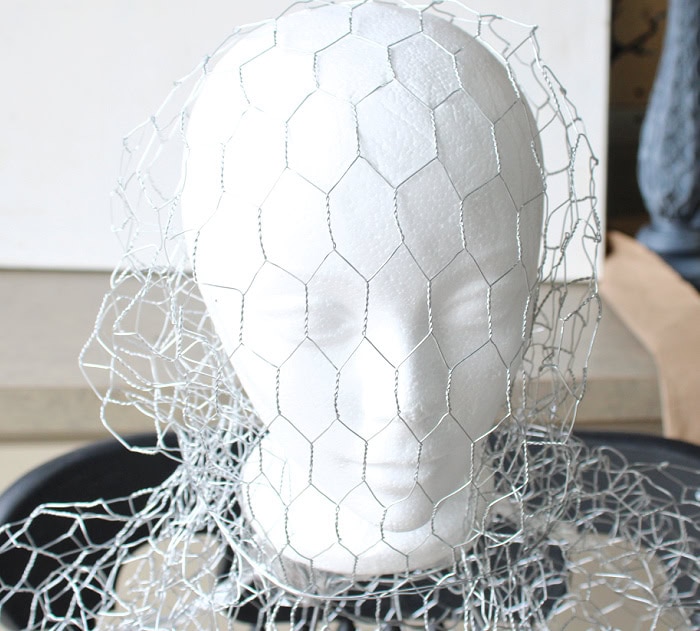
Wearing strong gloves, I roughly positioned the chicken wire over the head and tomato cage, making sure it covered the entire body and reached far enough down to attach securely at the bottom.
Once the chicken wire was in place, I used the cut wire ends along the bottom edge and wrapped them around the base of the tomato cage. If your chicken wire comes up a little short in spots, use a few extra pieces of wire to fasten those areas securely to the cage.
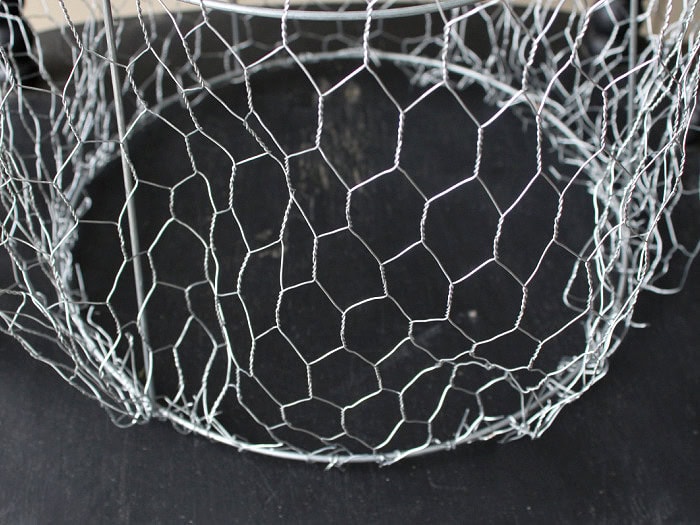
Step 4: Shape the Upper Ghost Body
The next step was shaping the upper part of the ghost. Wearing strong gloves, I gently pressed and bent the chicken wire to create a neck, shoulders, and a little bit of a waist.
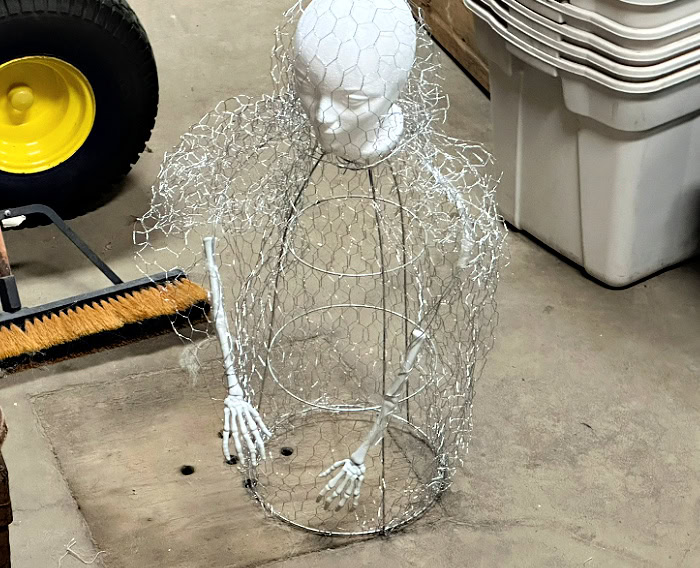
Step 5: Add the Fairy Lights
Once I was happy with the overall shape, I moved on to adding the lights. I first tried white corded Christmas lights, but they were too bright and created a polka dot look through the fabric, so I took them off.
Instead, I used a 100-count strand of fairy lights and wound them loosely around the upper body, making sure to wrap them around the arms as well. I spaced them out as evenly as I could, but did not worry about making them perfect because the tablecloth would soften and diffuse the light.
Step 6: Shape the Seated Body
Next, I sat the ghost in the Adirondack chair. I pushed the stomach area inward so the body looked like it was actually sitting back in the chair.
Then I folded the remaining chicken wire into a loose tube shape to form the lower body. I used the cut wire ends, along with a little extra loose wire, to attach the lower section securely to the upper body.
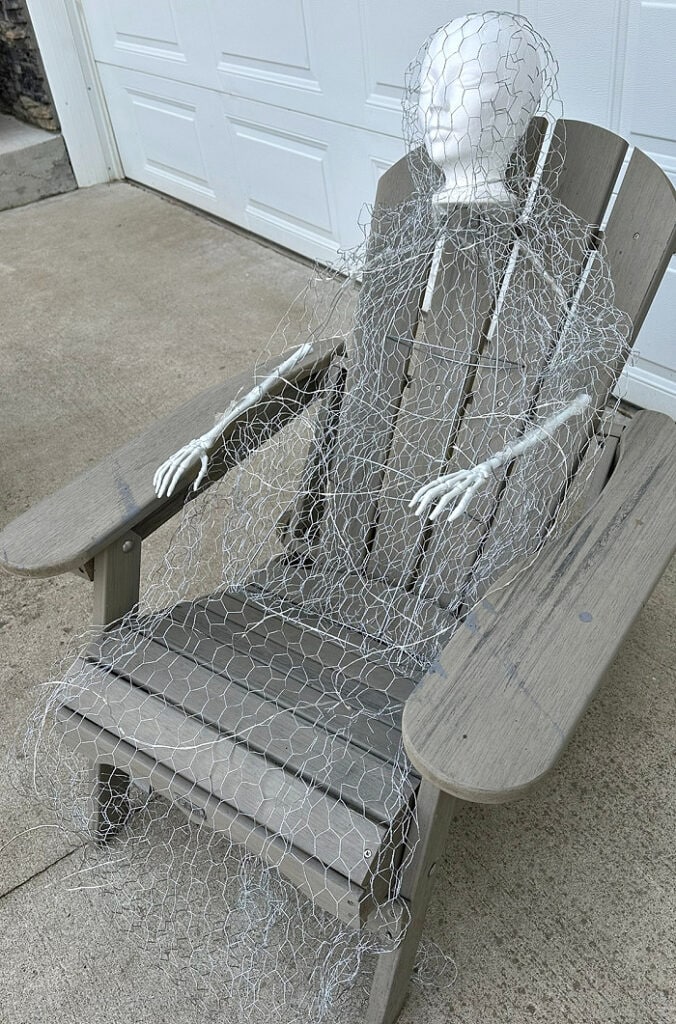
Once the lower body was in place, I wrapped the remaining fairy lights around it.
Step 7: Dress and Style the Ghosts
The last part was placing the fabric over the ghosts. I had two round banquet tablecloths that I washed and ironed first so the weight of the fabric would help them hang properly.
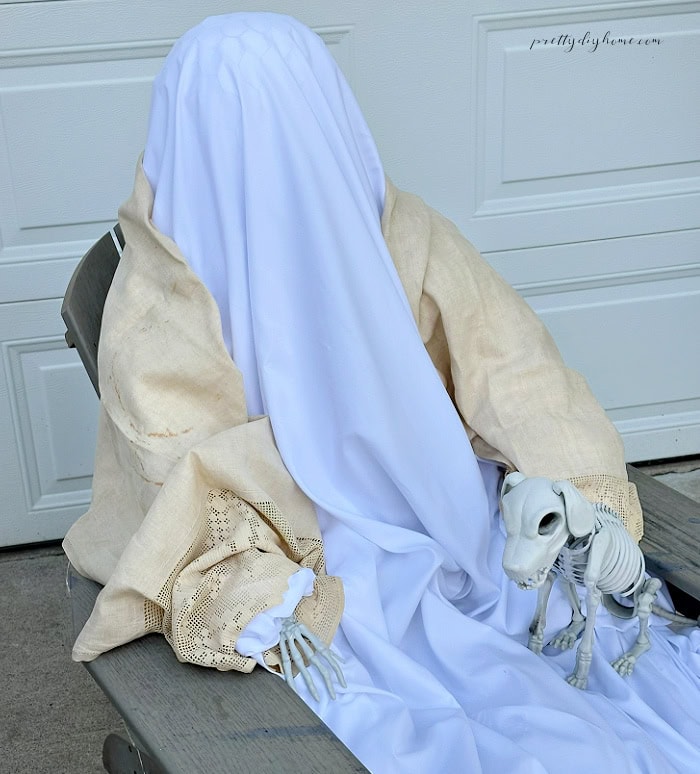
I draped one tablecloth over each ghost and tucked the fabric securely around the front and sides. Then I gave each ghost a shawl using a dark cream linen table runner, tucking the edges in around their hands.
Instead of placing the white Christmas lights underneath the ghost fabric, I used them around the chair and along the back and sides of each ghost to softly illuminate the area around them. Then I finished the display with the dollar store skeleton dog, pumpkins, and garden vines.
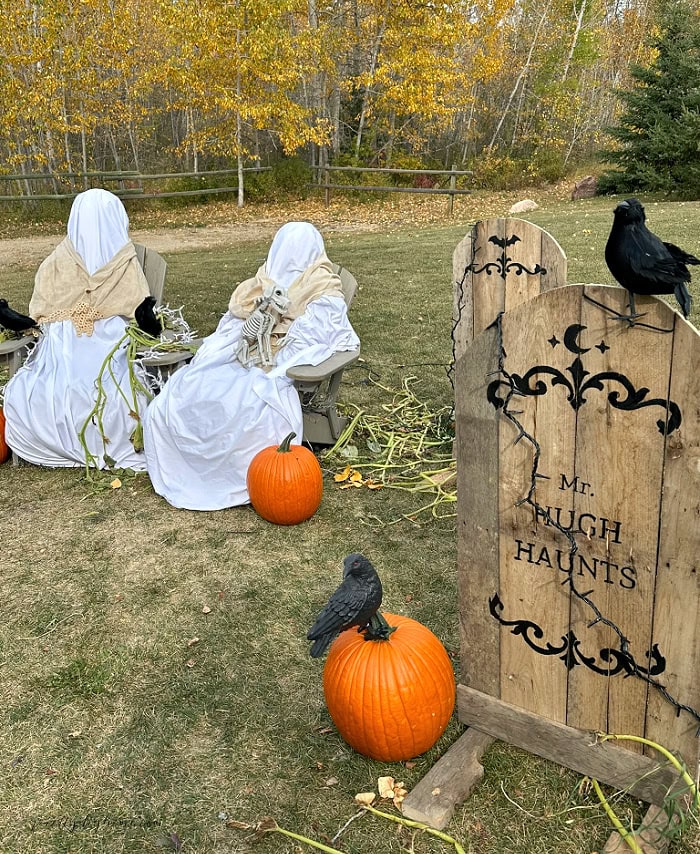
I chose not to put faces on my ghosts. You certainly can add faces using a Sharpie or pieces of black felt glued in place, but I wanted mine to look more primitive than cartoonish, so I left them just as they were.
I’m really happy with how this outdoor Halloween display came together. The ghosts are roughly human-sized, which makes the whole yard feel much more substantial and easy to see from the street. Paired with the tall gravestones and full-size pallet fence, the display has plenty of presence without feeling overdone. I especially like that it feels creepy enough for Halloween without being gruesome. I used crows instead of skulls, garden vines instead of faux cobwebs, and skipped the oversized spiders altogether, which helped keep the whole display rustic and a little eerie without taking it too far.
More DIY Outdoor Halloween Projects
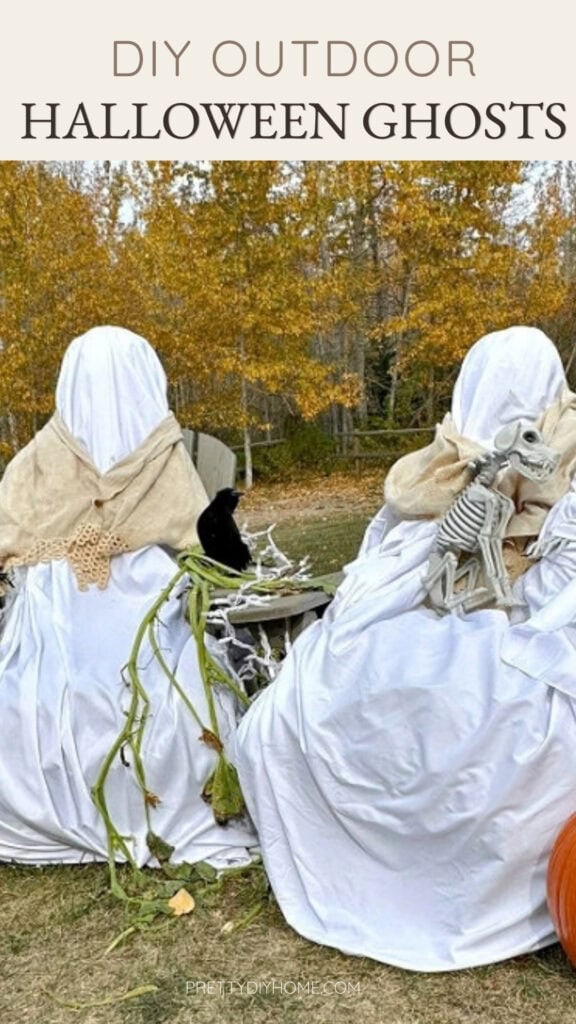
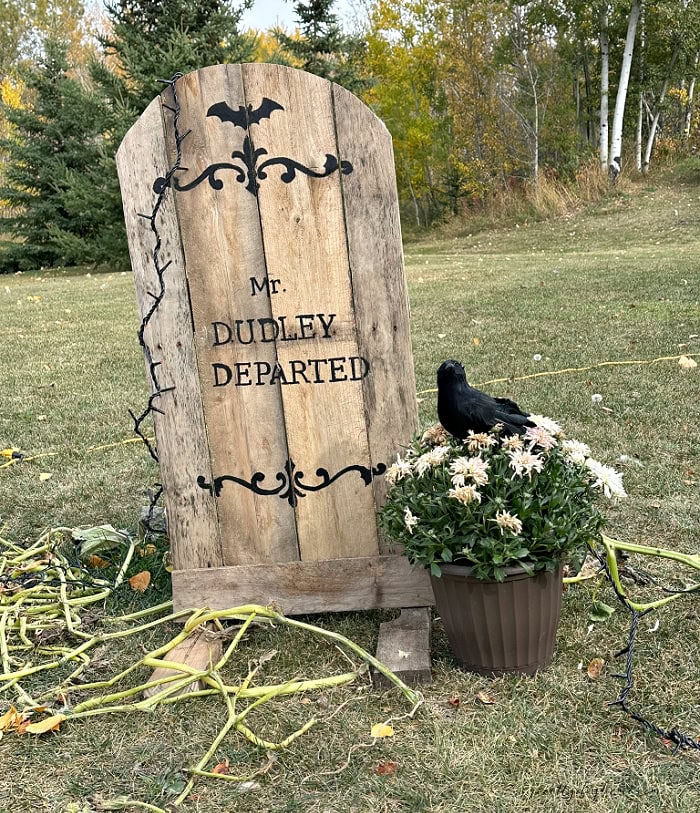
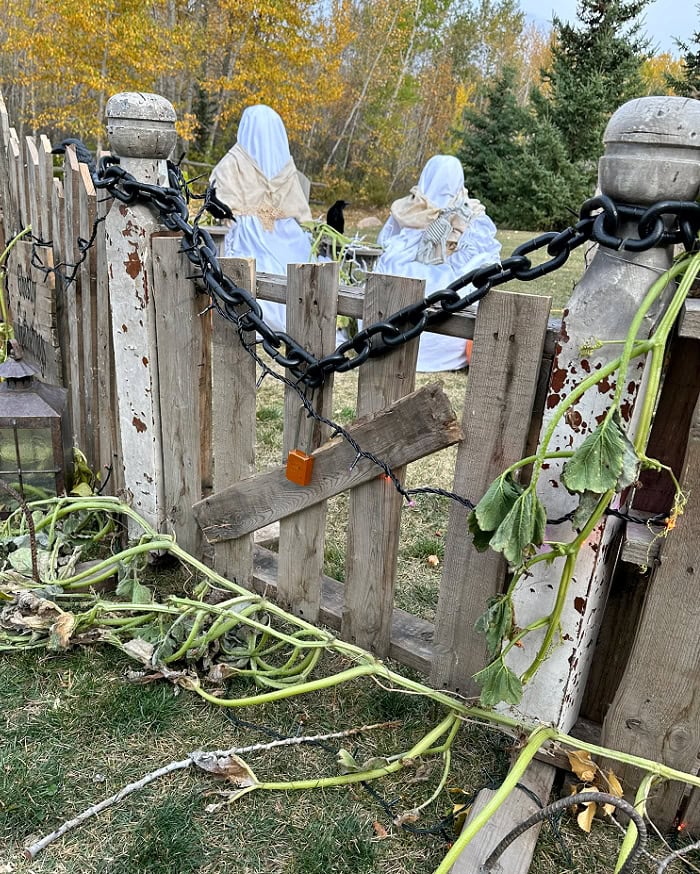
I used these primitive ghosts as part of a larger outdoor Halloween yard display, along with my DIY pallet Halloween gravestones and DIY pallet Halloween fence. All three projects use simple materials and work together to create a large rustic display that can be seen easily from the street.
DIY Pallet Halloween Gravestones
See how we built three large wooden gravestones from pallet wood and added the lettering, decorative scrolls, and outdoor supports.
DIY Pallet Halloween Fence
See how we turned old pallets into a full-size rustic Halloween fence for the Ghostly Gatherings yard display.