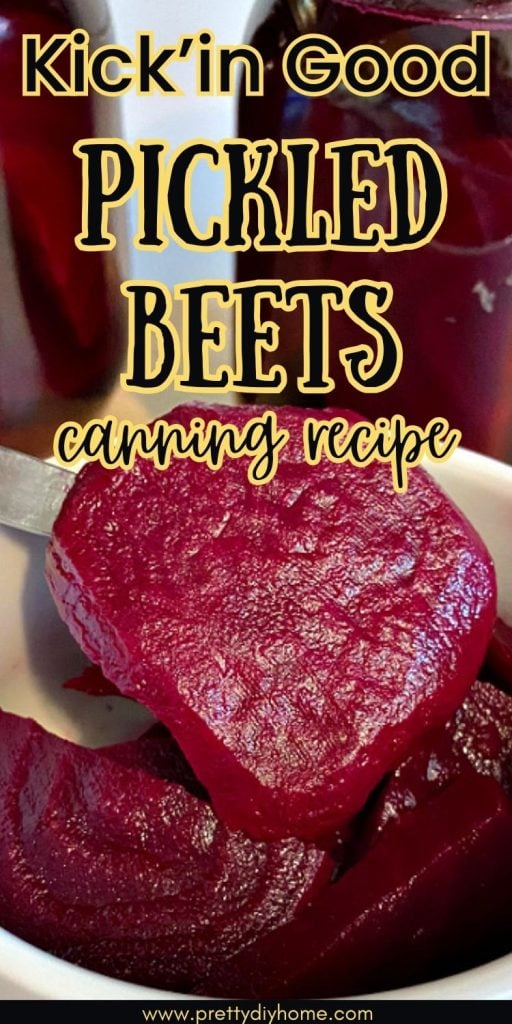
Spiced Pickled Beets Canning Recipe
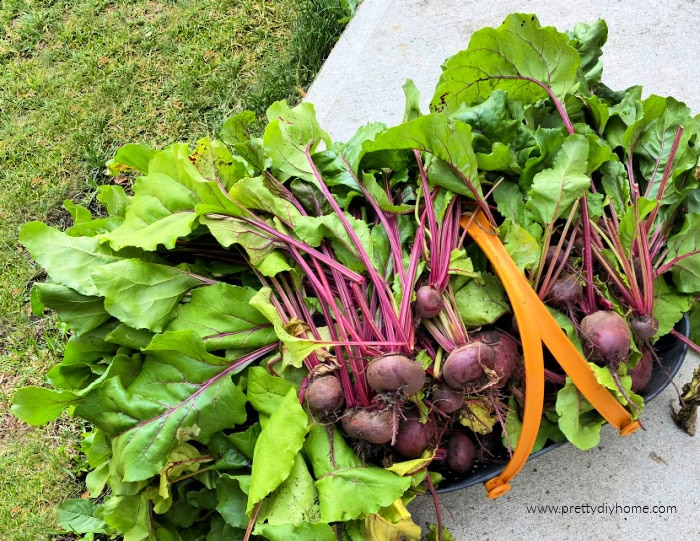
My Hubs loves anything that’s pickled, so this year he specifically grew fresh beets to make into spiced beet pickles. Actually, we both enjoy pickled beets, so they are a standard at our house. They are so handy to have on hand for snacking, to help stretch a meal, or to add some extra flavor to a simple weeknight meal.
This is the old recipe my Mom used for old fashioned pickled beets, and I wouldn’t ever consider making any other one. It’s my tried and true standard. I love the spices in this recipe, and it makes your home smell amazing while you’re making it.
Prepare Your Canning Area
Pickles are high in acid so they are straightforward to make, and can be done in a water bath canner. The only thing you need to be aware of is cleanliness. Pay attention to how clean everything you use is, clean counters, towels, jars, and well-washed hands. You want to avoid bacteria as much as possible.
Note: One of the best online references for canning is the National Center for Home Food Preservation. It’s a great resource and free to use.
Canning Equipment
You need a few basic items for canning pickled beets
- Water bath canner with a metal ring bottom
- Canning jar lifter, tongs
- Funnel (optional)
- Rubber gloves (optional)
- Sealable canning jars with rings and brand-new metal lids. (Do not reuse canning lids.)
Sterilize the Jars, Rings, and Lids
There are four ways to sterilize jars: in the oven, dishwasher, microwave, or on the stovetop. This simple recipe makes 6 pint-sized jars of beet pickles, so I suggest boiling the jars, lids, and rings.
Wash and rinse your jars. Take a very large pot and fill it with hot (not boiling) water. Place the canning jars open-side up into the pot, then add enough water to cover the jars by at least one inch.
If you have room, you can place the rings and lids in the same pot. If not, place them in a second pot and boil them the same way. Some new lids say they do not need to be boiled, so always read the label on the lids you are using. When in doubt, boil them.
How to Make Spiced Pickled Beets
This recipe makes about 6 pint jars or 3 quart jars. We had lots of beets, so we did a double batch while taking the video and images for this post.
Ingredients
- 5-6 lbs of beets ( I prefer red beets over golden beets, I love the color)
- 2 cups granulated sugar
- 2 cups water
- 2 cups white vinegar
- 1 teaspoon ground cloves
- 1 teaspoon ground allspice
- 1 tablespoon ground cinnamon
Step 1: Cook the Beets
Before canning beets into pickles, you need to cook the beets and remove the outer skin. Beets can be boiled or roasted, but I prefer boiling them rather than turning on the oven in the summer, so that’s the method I use.
Begin by trimming the beet tops to about one inch and wash the beets well. Do not cut the stems too short, as this can cause the deep red juice to drain out of the beets.
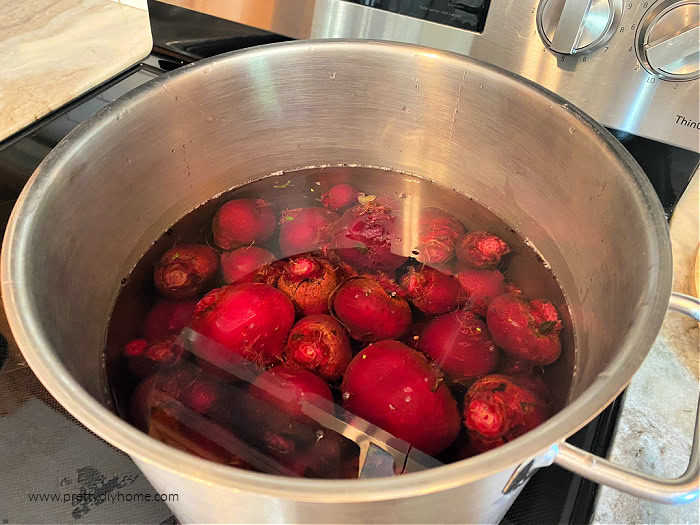
Place the beets in a large pot with enough water to cover them. Bring to a boil and cook until tender, meaning you can easily pierce them with a fork. This usually takes about 15 minutes to half an hour, depending on the size of your beets. Larger beets will take longer to cook than smaller ones.
Step 2: Make the Pickling Brine
While the beets cook, make the pickling brine.
In a large saucepan or Dutch oven, combine the 2 cups granulated sugar, 2 cups water, 2 cups vinegar, and the spices. Stir the mixture over medium heat until the sugar has dissolved. Once the brine comes to a boil, reduce the heat and let it simmer while you finish preparing the beets.
Step 3: Peel and Slice the Beets
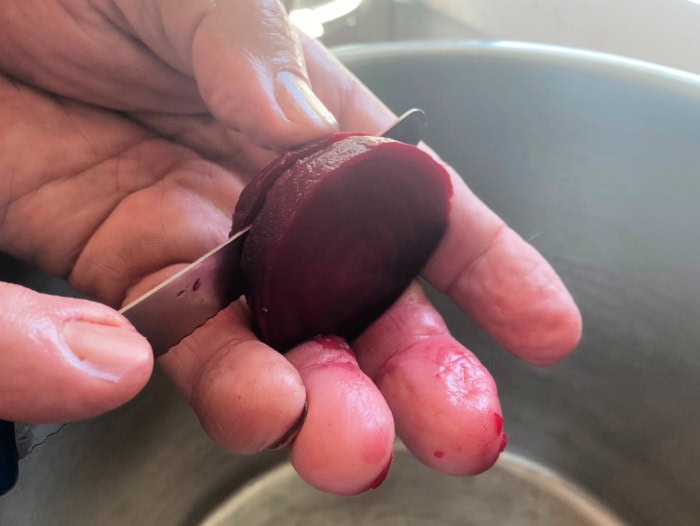
Drain the boiled beets in a colander over the sink and let them sit until they are cool enough to handle. Hubs doesn’t bother, but I like to wear rubber gloves when peeling the skins off the beets, as the juice can stain your hands pink.
Be careful, as the beets can still be quite hot. Cut the stems off the tops of the beets. The skins should peel off easily, with a little help from a small paring knife for any spots that stick. I like to do this under cool running water.
Step 4: Fill the Jars
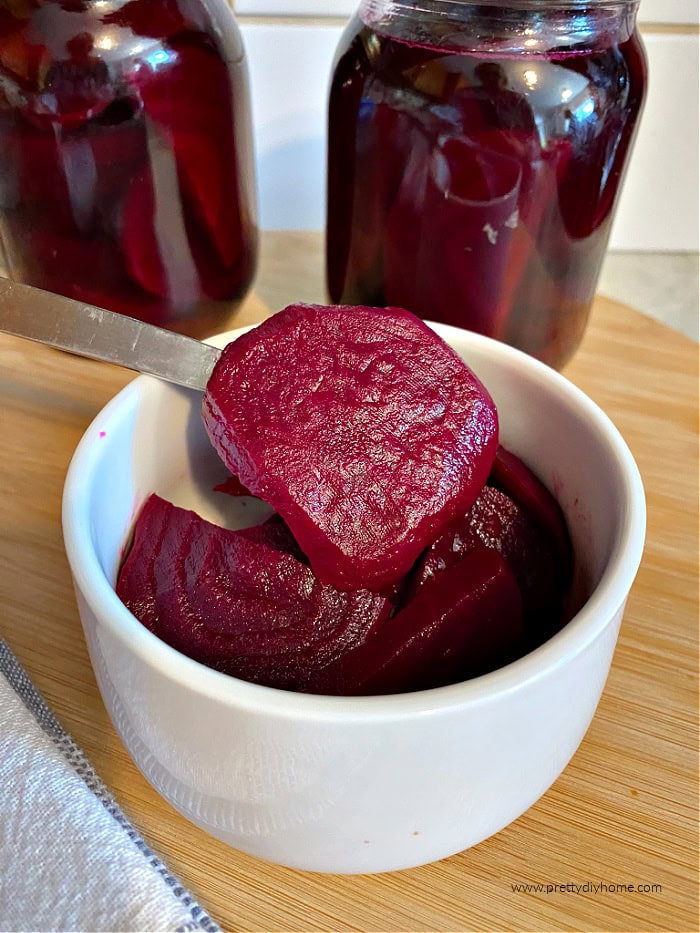
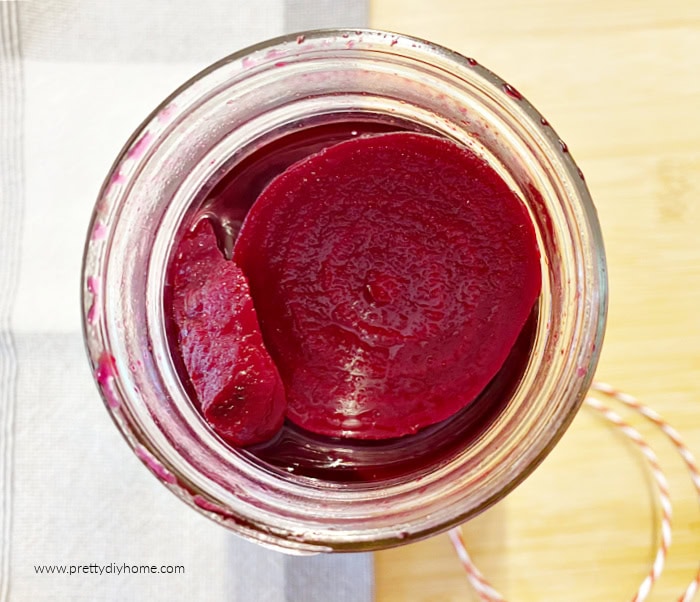
Slice the beets and pack them into hot jars, leaving 1 inch of headspace.
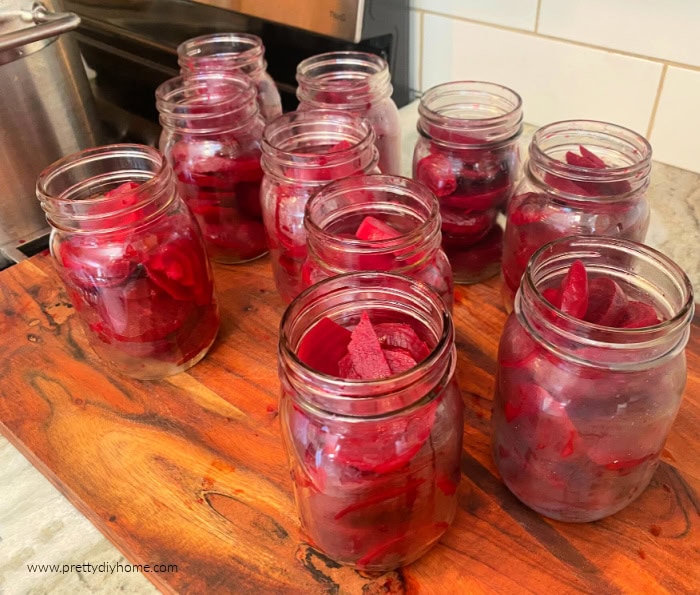
Using a funnel and ladle, pour the hot brine over the beets, leaving 1/2 inch of headspace. Slide a thin rubber spatula down the inside of the jars to release any trapped air bubbles.
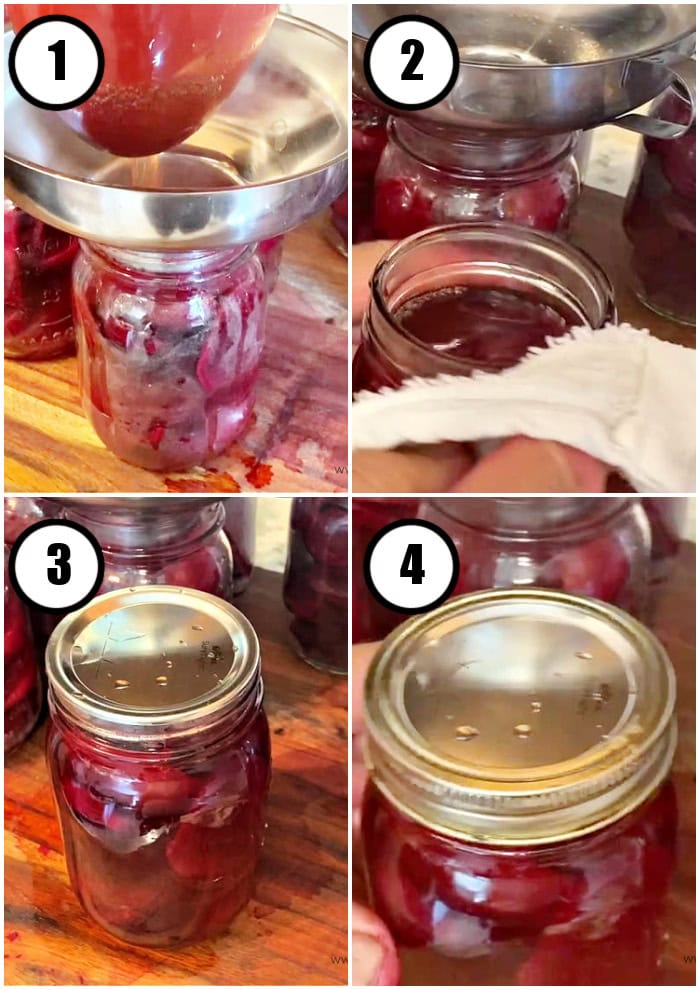
Wipe the top of the jar with a clean cloth or damp paper towel.
Using the tongs, lift a jar lid and place it on the hot jar.
Add the ring, and finger tighten to close.
Step 5: Water Bath Process
Process pint and quart jars for 30 minutes in a boiling water canner.
When my Mom first made this recipe, she didn’t water bath pickles. We simply hot-sealed the jars. Modern canning guidelines include water bath processing, and while it adds an extra step, it’s not difficult and safety always comes first. This is how I water bath my beet pickles to make sure the jars seal properly.
Fill a water bath canner with enough water to fully submerge the jars. Bring the water in the canner to a boil.
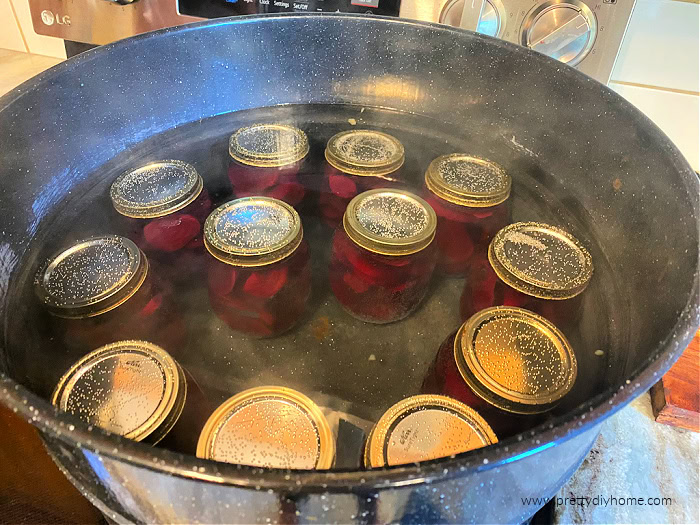
Place the hot jars of pickled beets into the boiling water canner using a jar lifter. Reheat the canner if needed until the water returns to a full boil.
Start timing the canning process once the water begins to boil again. Process the jars for 30 minutes. Do not overcook.
When the processing time is complete, carefully remove the jars using a jar lifter. Place them on a cutting board covered with a cloth and let them cool, undisturbed, until they reach room temperature. This can take between 12 and 24 hours. As the jars cool, you will hear the lids pop as they seal.
Step 6: Cool and Store
To test if the jars are sealed, press the center of the lid. If the lid springs back when you release your finger, the jar did not seal.
You can eat your canned beets once they have cooled completely. If a jar does not seal, place the pickled beets in the refrigerator and use them within a week.
Canned pickled beets can be stored in a cool, dark place away from heat and moisture for up to 12 months. When storing beets, I like to write the canning date on the lid with a Sharpie. If giving jars as a gift, you can use one of the pretty labels from the Pretty DIY Home Printable Library for subscribers

Spicy Pickled Beets Canning Recipe
Instructions
Step 1: Cook the Beets
- Wash and trim the beets. Boil until tender enough to pierce with a fork, then drain.
Step 2: Make the Pickling Brine
- Combine sugar, water, vinegar, and spices in a saucepan. Heat until the sugar dissolves and the brine comes to a boil.
Step 3: Peel and Slice the Beets
- Allow the beets to cool slightly, then peel off the skins and slice the beets.
Step 4: Fill the Jars
- Pack sliced beets into hot jars. Pour hot brine over the beets, leaving proper headspace. Remove air bubbles, wipe rims, and apply lids and rings fingertip tight.
Step 5: Water Bath Process
- Process jars in a boiling water bath for 30 minutes. Start timing once the water returns to a full boil.
Step 6: Cool and Store
- Remove jars and let cool undisturbed for 12–24 hours. Check seals before storing in a cool, dark place.
If you’re saving this recipe for later, be sure to pin it to your canning or pantry recipes board. These spiced pickled beets are one of those tried-and-true recipes that are handy to have on hand all year long, whether you’re preserving garden beets or making a small batch to enjoy right away.
Other Canning Recipes to Try

Beet Relish with Horseradish
This beet relish is another great way to preserve fresh beets, with a little extra bite from horseradish. It’s perfect for sandwiches, burgers, or serving alongside meats, and makes a nice change from traditional pickled beets.
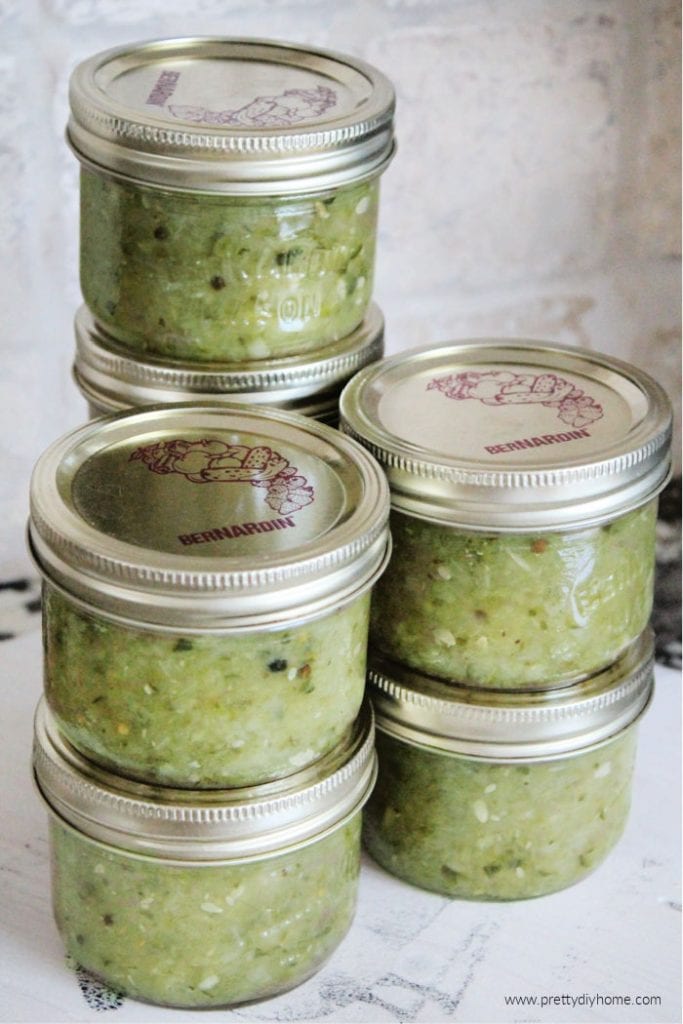
Sweet Pickle Relish
This sweet pickle relish is one of the most popular canning recipes on the blog. It has the best balance between sweet and tangy pickle flavor. If you’re new to canning, this is a great recipe to start with.
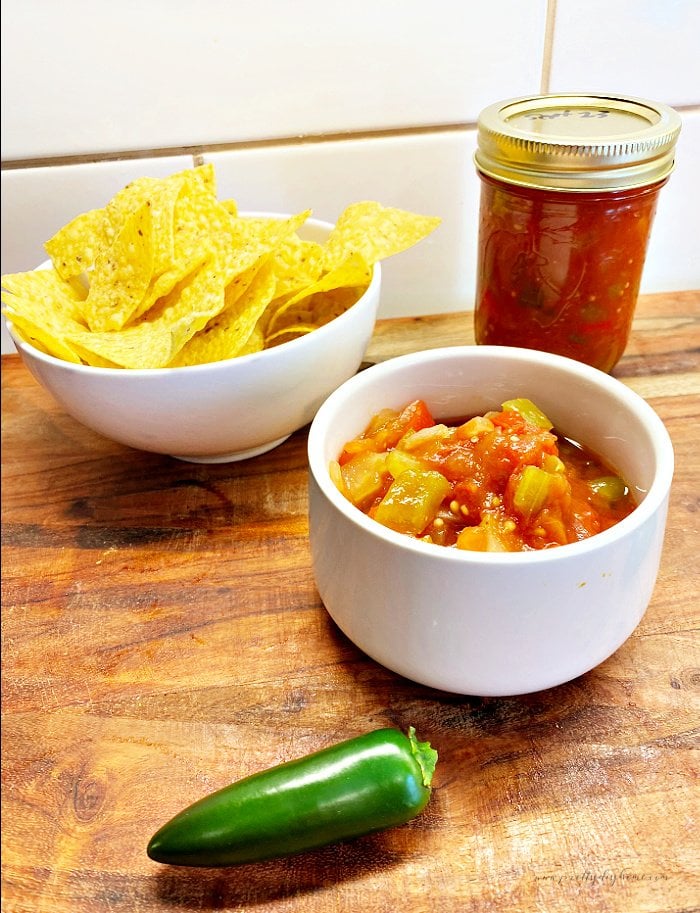
Chunky Tomato Salsa for Canning
This chunky tomato salsa is a classic canning recipe that’s great for preserving fresh tomatoes. The sweetness in this salsa stands out from the heat, giving it great flavor without being overpowering. You’ll love having this salsa on hand for tacos, nachos, or easy weeknight meals.