Vintage Doily Pumpkin – Dollar Tree Fall Craft
Is there anything more timelessly feminine and vintage than doilies and handmade linens? My grandmother could do it all, from sewing wedding dresses and embroidery to knitting, tatting lace, and making crochet bedspreads and delicate doilies. I never had enough time with her to learn her art, but along with loving memories, I learned an appreciation for intricately and beautifully made crafts.
Today, we do not often see the same kind of detailed needlework, which makes each vintage piece feel extra special. That is why I collect doilies whenever I find them. For this pumpkin, I use one garage sale treasure and one Dollar Tree fabric pumpkin to create a one-of-a-kind fall pumpkin doily craft that’s shabby chic, nostalgic, and easy to make.
Homemade touches always make fall decorating feel warmer and cozier, and they become even more meaningful when they use something with family history. If you have a doily you have not been using from a loved one, you can repurpose it without harming the doily, giving it a new life while keeping the memories close. That is why I took extra care not to glue directly on the doily, so I could take the pumpkin apart and use the doily again if I wanted to.
Because I truly value these vintage doilies for the many hours that went into making them, I work carefully when I use them for crafting. If you are not as attached to them as I am, you can still get the same results with a little less effort. For my pumpkin, I took a few extra easy steps so that no hot glue touched the doily directly. That way, if you decide a year or two from now that you want the doily back, you can simply take the pumpkin apart and use the doilies again.
Doily Pumpkin Craft Supplies
- 15 inch vintage doily
- Dollar Tree fabric pumpkin
- Two feet of narrow ribbon (white satin or your choice)
- Real or faux pumpkin stem (you can also reuse the original Dollar Tree stem)
- Pumpkin vine curls (optional)
- Dollar Tree fabric leaf (dark green or other colors)
- Dried grasses or filler accents
- 18 inch strip of soft green fabric ribbon (for rolled flower)
- Florist wire or pins
- Hot glue gun and glue sticks
- Scissors
- Tweezers (optional, for making the flower)
- Optional decorating accents: vintage buttons, brooches, lace or fabric flowers, faux florals, berries, pinecones, acorns, pearls, or beads.
Vintage Large Doily Pumpkin
For this pumpkin, I began with a 15-inch doily that was large enough to cover the Dollar Tree fabric pumpkin entirely.
Step One – Assess the Doily
Most round doilies are crocheted in a repeating pattern, so take a moment to look at yours and find a section that repeats clearly. This will help you keep the gathers even once you start working with it.
Step Two – Add the Doily
Gently pull the stem out of the pumpkin and set it aside. Lay your doily out flat, give it a quick press with the iron if it is wrinkled, and then place your pumpkin right in the center.

Cut a two-foot length of narrow ribbon. I used white satin ribbon, but any thin ribbon will work. Weave the ribbon through the repeating pattern of the doily. Once it is all the way through, gently pull the ribbon to begin gathering the doily around the pumpkin.

Stop halfway and double-check that the gathers are even. When you are happy with how it looks, pull the ribbon tight to finish gathering it snugly around the pumpkin. Tie the ribbon in a knot and leave the long tails to make a bow.
Step Three – Add Embellishments
Now comes the fun part, decorating. You can style it any way you like, depending on what you have on hand. For mine, I used a real pumpkin stem, a little piece of real pumpkin curls, a dark green Dollar Tree leaf, a few pieces of dried grass from my stash, and a rolled flower made from an 18-inch strip of soft green fabric ribbon.
You could also reuse the stem that came with the Dollar Tree pumpkin. I found it was not as dramatic as the larger real stem, so I chose not to, but it will work perfectly well. To add a real dried pumpkin stem, hot glue a piece of heavy wire to the bottom of the stem. Make sure to let it cool until it’s no longer sticky and push the wire into the pumpkin.

Attach your embellishments with florist wire, pins, and a touch of hot glue. Just make sure the glue doesn’t come in contact with your doily, and that the wire is sturdy enough to push into your pumpkin. Here is how I did my leaf.

How to Make the Rolled Flower
To make the rolled flower, start by cutting a small one-inch square of ribbon and adding a dab of hot glue in the middle.
Then cut an 18 inch length of the ribbon. Hold it with tweezers until the glue cools to form a base. Next, take the long strip of ribbon, twist it tightly, and begin wrapping it around the center. Secure it with dabs of glue as you go.

Continue twisting and wrapping until you either run out of ribbon or the flower is the size you want. Glue the end of the ribbon neatly to the back, let it cool, and then trim away any excess so it will not show. Finally, glue a piece of florist wire to the underside of the flower and insert it into the top of the pumpkin.
Take a peek at the finished pumpkin photo to get a feel for placement, but do not worry about being exact. Just tuck your pieces in where they look best and have fun with it.


Other Pumpkin Decorating Ideas
If ribbon flowers are not your style, there are plenty of other ways to decorate your doily pumpkin. You could try adding small lace or fabric flowers, vintage buttons or brooches, mini pinecones or acorns, faux florals or berries, or even a little cluster of pearls for a shabby chic look.
And that is it for the first pumpkin. It turned out ultra feminine with a shabby chic elegance rather than a grandma-style doily look. The gathered lace and soft greens keep it neutral, so it will fit right into a vintage home decor style for fall.
I have a second blue pumpkin I am decorating for the kitchen, it’s similar but uses a smaller doily, and the original Dollar Tree stem. I will add the link to it once finished.

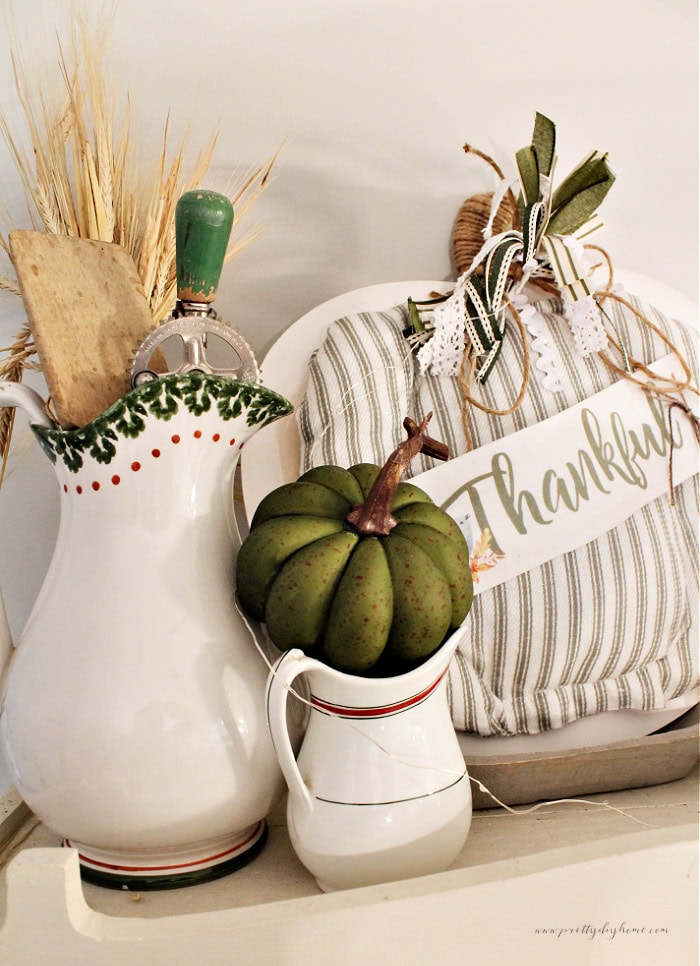
DIY Dollar Tree Wood Pumpkin Craft
This large wood pumpkin plaque is made with Dollar Tree supplies and a free Thankful printable. It love having it to snuggle in behind fall decor to give it height.
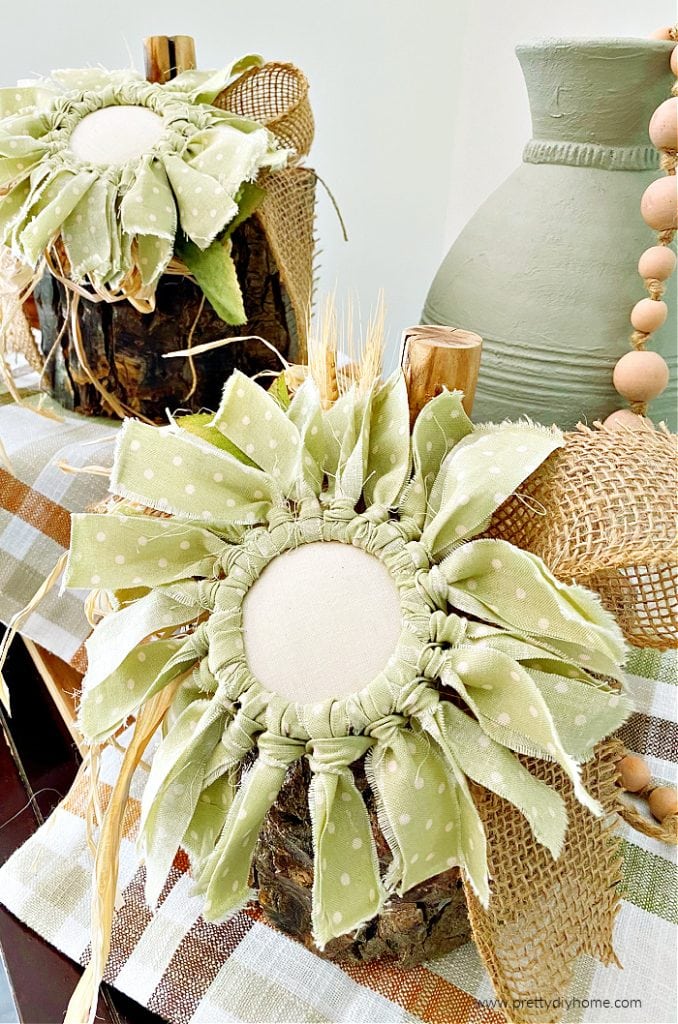
Rustic DIY Log Pumpkin with Fabric Jar Ring Flower
This pumpkin was part of Hubs’ firewood pile, I scooped it to make these log pumpkins. Its easy to do and of course almost free to make. The tutorial shows you exactly how.