Antique SideTable Makeover DIY
I picked up a few pieces at a local antique store’s retirement auction, including these two tables that had seen better days. Heaven help me, I love old, dusty junk. Here is the image from the online auction.
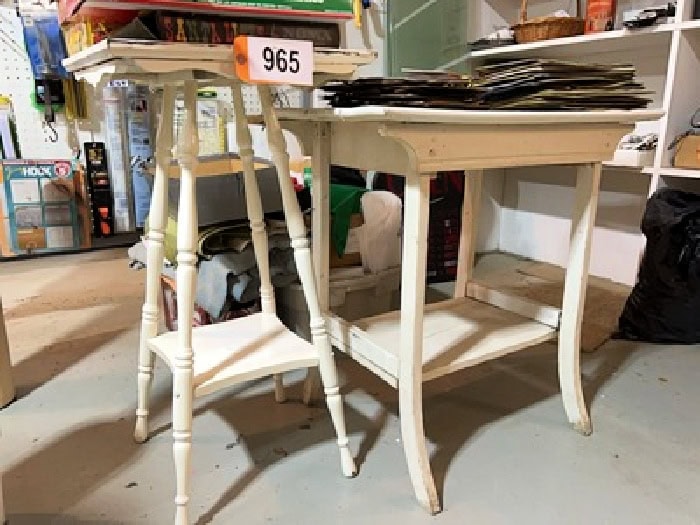
This post is about the large table on the right. It’s in sad shape, but it came cheap. I was hoping to turn it into a cozy cottage-style piece that’ll snuggle in nicely beside our front door. This project had some hurdles, but I am still glad we put in the effort.
Supplies Needed
- Heat gun and scraper (or your favorite chemical stripper
- Sandpaper (120 and 220 grit)
- Wood filler optional
- Small pry bar
- Drill and Screwdriver
- Wood glue and clamps
- Zinsser 123 primer (optional, for stain blocking)
- Fusion Mineral Paint in Picket Fence white
- Synthetic paintbrush (I use a one-inch artist brush from Dollar Store)
Step One – Repairing and Stripping
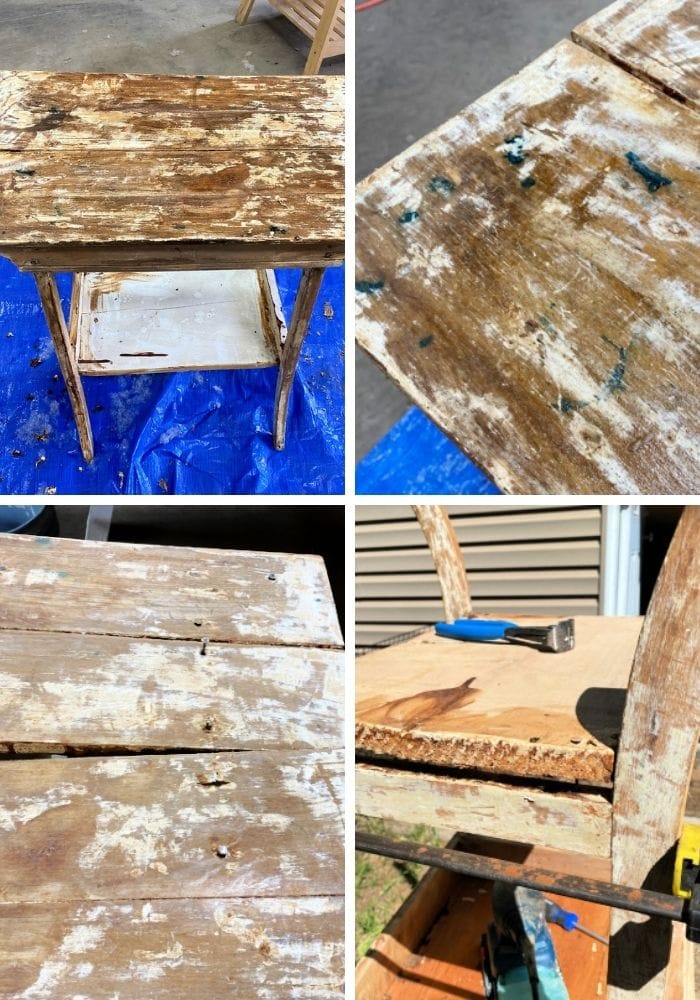
While stripping it, we found out how worn out this poor table was. It had come apart at several seams, and they had filled in with paint. There were replacement pieces in different types of wood, and numerous ink stains, so it’s a good thing I planned on painting it.
Assessing Damage
Sadly, hidden under all those paint layers, I saw lots of damage and wondered what I had gotten myself into. The bottom piece didn’t match the rest, the top was coming apart, and had weird stains, I believe there ink. The top had been reattached with spikes, causing damage, and the bottom had been attached with spikes and dozens of nails.
Sometimes starting fresh is the easiest way, so I dismantled the table, gently prying apart every joint using a small pry bar. Then I cleaned the seams out with a scraper and sandpaper. Once I saw had rough this table was, I asked Hubs to help me.
Putting the table back together again was a piece at a time. It took two days to reglue all the pieces. We would take off one piece, clean it, glue it, and reinsert it before adding clamps. Sometimes we used other clamps to hold the piece together in places that weren’t yet reglued. I know it isn’t lovely, but it wasn’t much work, and we had fun doing it. Hub was teasing me about my purchase, and we worked together, problem-solving what to do.
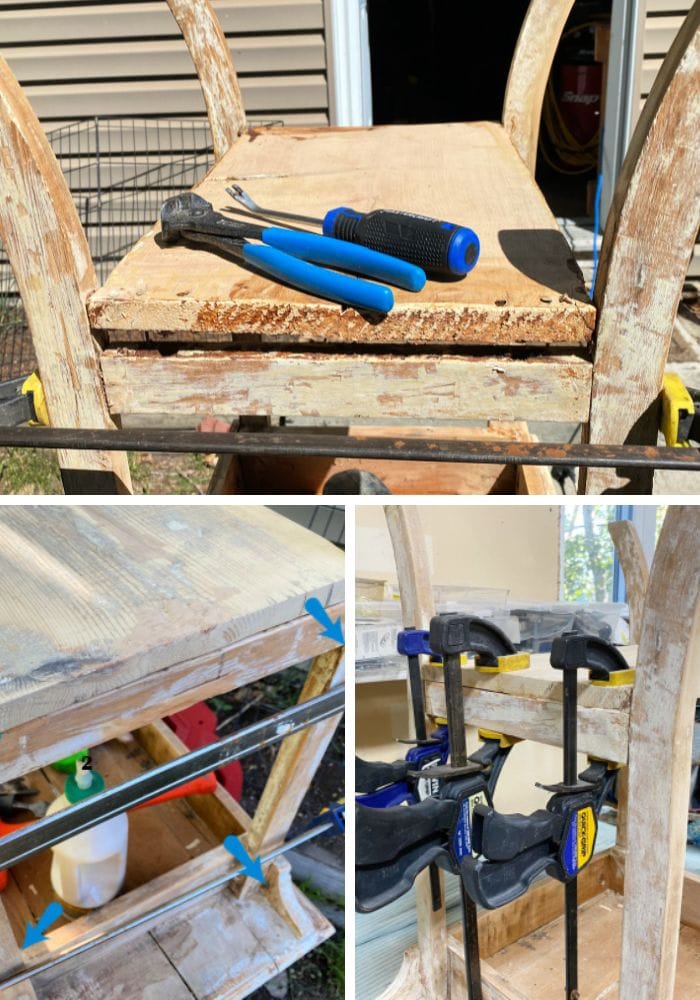
Sadly, hidden under all those paint layers, I found dozens of random-sized nails used to patch the table together. I almost took a picture of the whole handful to show you. I filled most of the old nail holes with wood filler, and Hubs replaced all those nails with just a few well-placed screws.
Step 2 – Sanding and Priming
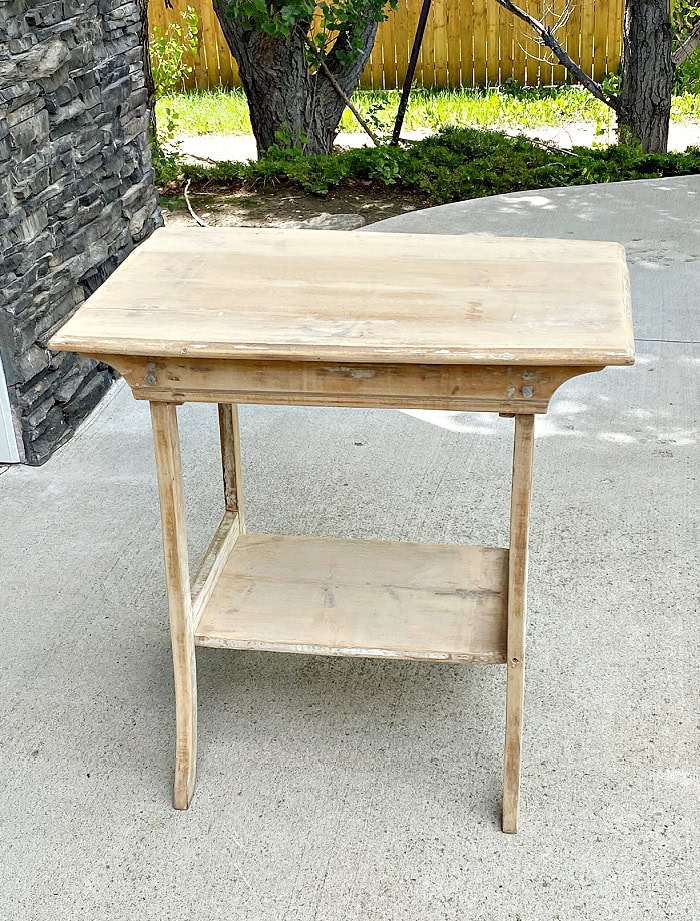
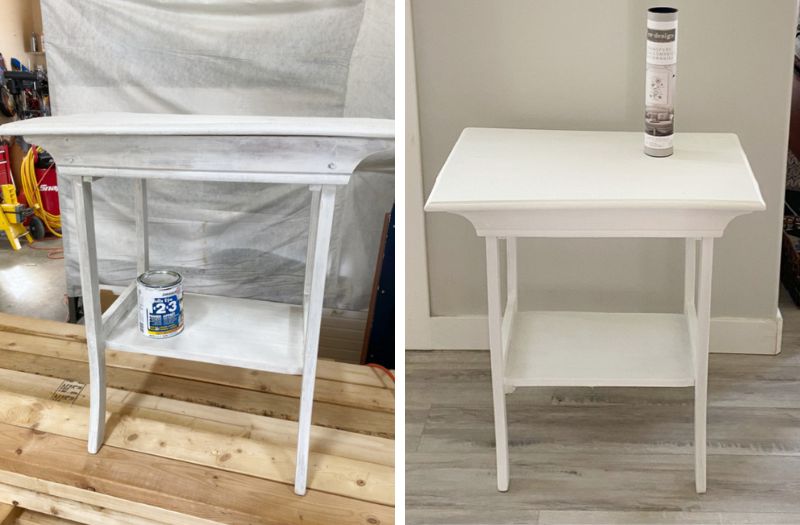
Once the table was rebuilt, I sanded it down with 120-grit sandpaper. Then wiped it down with a damp cloth and let it dry. It’s beginning to look like a table now. You can see that I sanded it down to wood as much as I could to give it a new start. Also the table top is still a bit warped but I will have to live with that.
Step 3 – Priming and Painting
Those ink spots on the top light explain alll those layers of old paint (yellow, pink, green, and a very thick white coat) ink blots, which probably explains all those layers of old paint. I used Zinsser 123 primer to create a clean surface and help block any stains from bleeding through. I gave the whole table one coat, let it dry overnight, then lightly sanded it with 120 grit. After that, a quick wipe with a damp cloth, and it was ready for paint.
I was going to paint it sage and cream, but sadly, this table ended up being in much rougher shape than I expected, so it’s going to be painted white. I keep Fusion Mineral Paint Picket Fence white on hand, so that’s what I am going to use instead.
I always come back to white when I am painting old pieces that are a little rough around the edges. White does a great job of covering up the bumps, dings, and worn spots. It sort of blurs the flaws underneath a fresh, cleaner look. Even when a piece is quite beat up, I think it still looks fresh and charming in a clunky, imperfect way.
Here is the antique side table primed and then painted. I will admit its a little boring just in the white paint, but it certainly is much improved.
Working with Fusion Mineral Paint
Achieving a smooth, brushstroke-free finish with Fusion Mineral Paint is all about technique and using the right tools. To reduce visible strokes, start at one end of your piece and work methodically to the other using long, even brush strokes. Avoid short, choppy motions,, they can cause the paint to dry unevenly and leave more noticeable marks. Fusion Mineral Paint dries fairly quickly, so overworking an area can drag your brush through semi-dry paint and create extra texture. If you end up with a few brush strokes, the light sanding between coats will help smooth them right out.
The paint store will often recommend using Fusion’s Extender to slow down the drying time and help reduce brush strokes. I’ve never used it myself, but feel free to give it a try if you’re after a super smooth finish or working on a larger piece.
So now you know my reasons for choices, here is how to paint a small occasional table
I started with the legs and underside of the table, giving it two coats of paint and letting it dry between coats. I gave everything a light sanding with 220 grit sandpaper to smooth out any brush strokes or little drips. This step makes a big difference in getting a nice finish, especially on those corner details where paint can sometimes pool. Once the second coat dried, the bottom half already looked a hundred times better.
Once the legs and base were finished, I turned my attention to the tabletop. Repeating the process.
Adding a Decal
Long story made short, planned to start selling paint and decals on this blog, drove 800 km to the border to grab my first order of supplies. Covid hit and it didn’t happen. I still have a small stash of leftover Redesign with Prima transfer so I grabbed the Carte Postale one for the table.
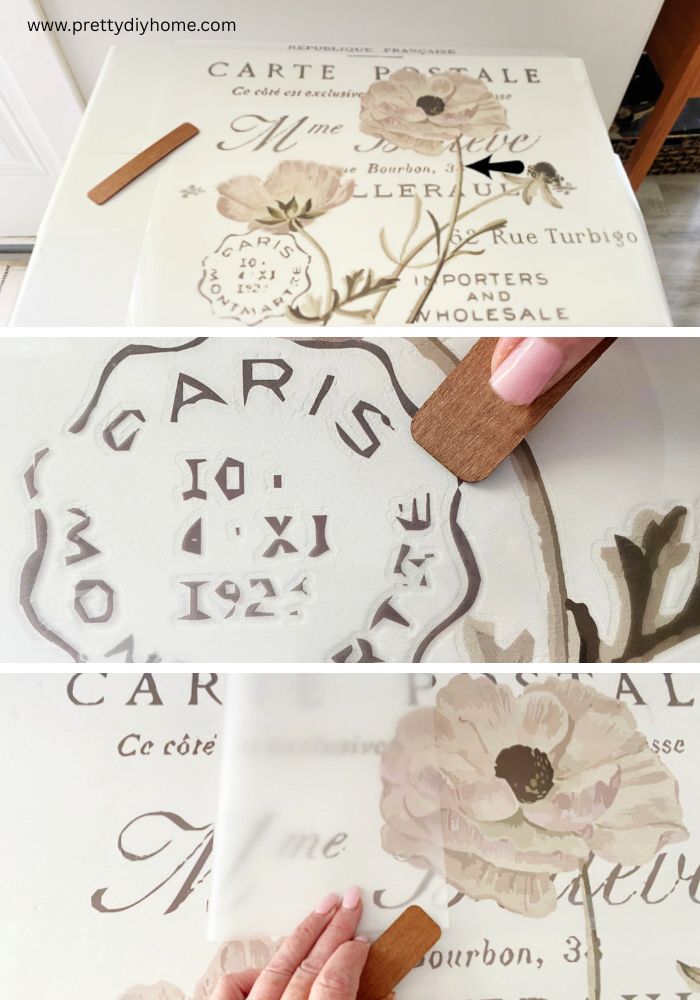
Start by placing the transfer where you want it on your clean, dry table. The transfer comes in four sections. I lined up the first two, making sure the stem pieces met. I placed them towards the right-hand side by choice.
Use the applicator tool that comes in the package and rub the design on really well, going back and forth in both directions. Take your time to press into all the little details. Once you’ve gone over the whole thing, slowly peel the top sheet away. If you see any part that didn’t stick, just lay it back down and rub that spot again before lifting it off.
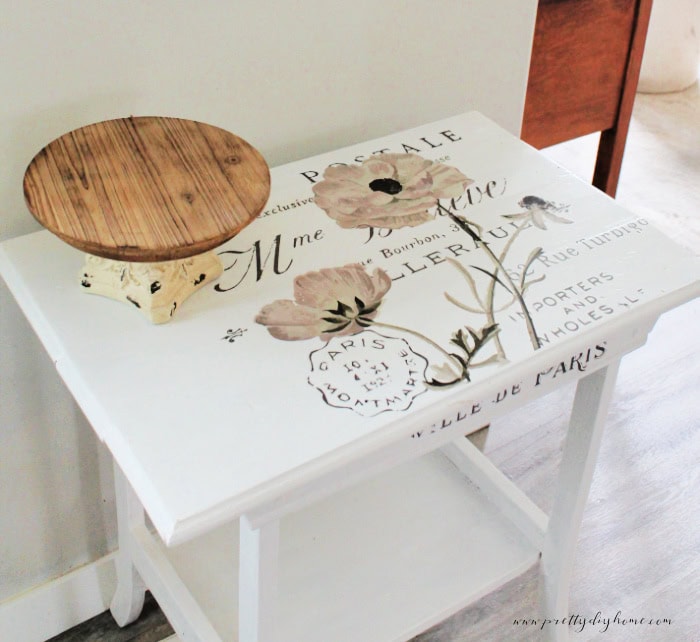
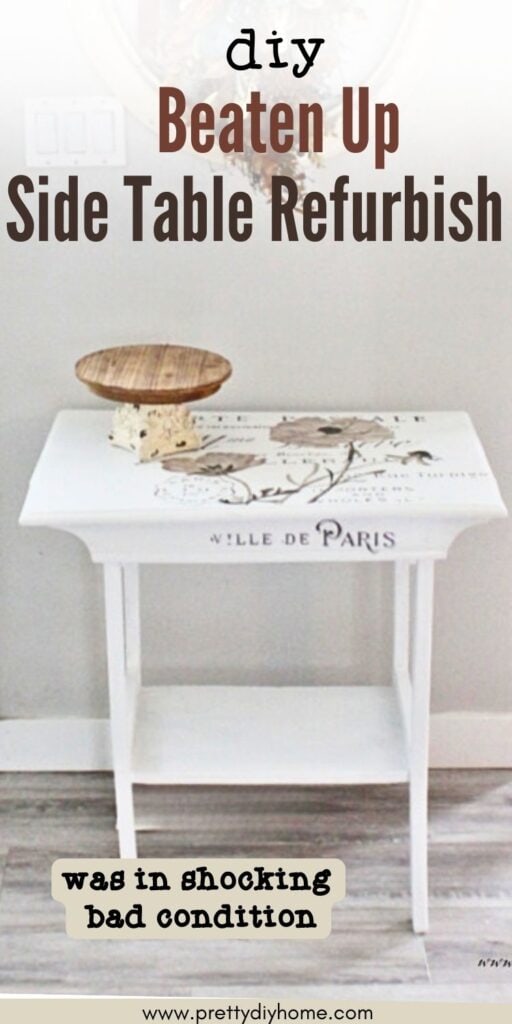
This little side table was in such rough shape it probably should have gone straight to the burn pile, but the price made it worth attempting. The fresh coat of white paint makes it feel bright and cheerful now, and the rub-on transfer draws your eye just enough to hide all the little flaws that couldn’t be fixed. It’s far from perfect, but it has charm and a new sense of purpose. I definitely took on more than I expected with this one, but standing back and seeing it by the front door now, I’m glad I didn’t give up on it.

Go ahead and pin this makeover so you’ll have it handy next time you spot an old table that needs some love. It’s always nice to have a little inspiration saved for later.
Other Vintage Furniture Makeovers
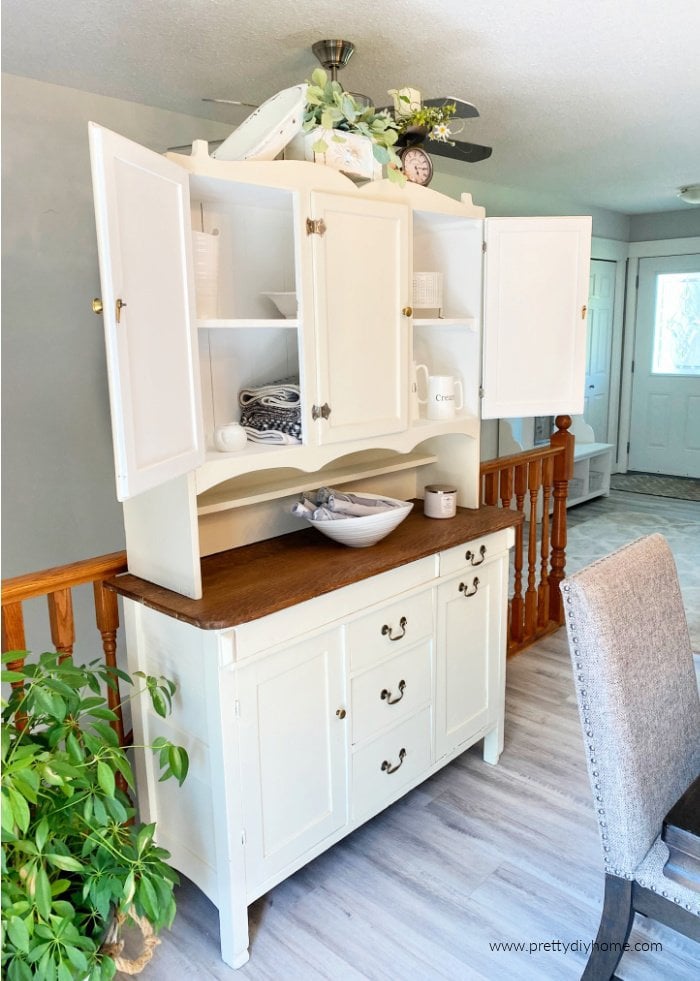
Vintage Hoosier Cabinet Makeover
Here is another furniture makeover that was originally in awful, very rough shape. It’s repaired and beautiful again, and now that it’s all done, friends want to buy it. But this one is all mine.
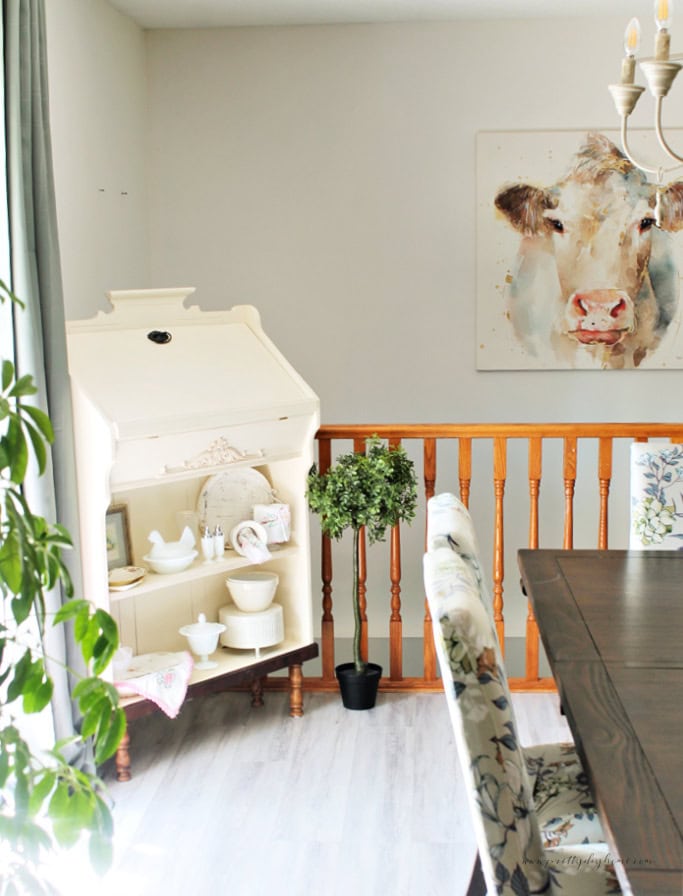
Vintage Secretary Makeover
This vintage secretary is very primitive and, like the Hoosier, handmade locally, who knows how long ago.