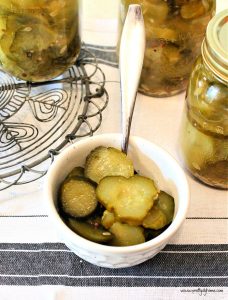
Bread and Butter Pickles Recipe
For recipes like this Bread and Butter Pickles Recipe, you’ll often see words like old-fashioned or classic used in the title. I’m never quite sure how I feel about that, because this “Grama” has been making and sharing bread and butter pickles like these for a very long time.
This recipe is simple, time-honored, and proven. Pickles are one of the easiest foods to can because of their high acidity, followed by jams and fruit. Meats, on the other hand, require a pressure canner. If you’re new to canning, a small batch of pickles is a wonderful place to start.
We make these bread and butter pickles to use on hamburgers and sandwiches, and they’re always a favorite straight from the jar

What you’ll love about this recipe:
Canning Pickles
Pickles are high in acid, which makes them straightforward to can and safe to process in a water bath canner. Canned foods fall into two main categories: high-acid and low-acid. Pickles, along with jams and most fruits, are considered high-acid foods. Meats and other low-acid foods require a pressure canner.
The most important thing to keep in mind when canning is cleanliness. Pay close attention to how clean everything is, including your counters, towels, jars, and hands. Keeping bacteria out at every stage helps ensure safe, successful canning.
Note: One of the best online references for canning is the USDA’s Complete Guide to Home Canning. It’s a reliable resource and free to use.
How to Get Crunchy Pickles
Everyone wants crunchy pickles, and the secret starts with choosing the right cucumbers and handling them properly.
- Use cucumbers that are meant for pickling. Look for small cucumbers about the size of your thumb, often labeled as pickling cucumbers in the store. This variety is commonly known as Kirby cucumbers and is easy to recognize by its small size and slightly prickly skin.
- Choose the freshest cucumbers possible. The longer cucumbers sit after being picked, the more moisture they lose, which can lead to softer pickles.
- Make your pickles as soon as you can after harvesting or purchasing cucumbers. Waiting too long increases the chances of soggy pickles.
- Keep cucumbers cold until you’re ready to use them. Storing them in the refrigerator, or even in a pan of cold water, helps maintain their crunch before slicing.
Ingredients
White vinegar and pickling vinegar are interchangeable in recipes. I prefer using pickling vinegar for canning because it has a slightly higher acidity.
Use pickling salt instead of regular table salt or kosher salt. Pickling salt dissolves cleanly and helps keep the brine clear and uncloudy.
Vegetables
- 5 lbs pickling cucumbers
- 1 cup thinly sliced sweet onion (optional)
Brine
- 3 1/2 cups pickling vinegar
- 1 cup water
- 2 cups white granulated sugar
- 4 teaspoons pickling salt
- 6 teaspoons pickling spice
How to Can Bread and Butter Pickles
Canning Equipment
You need just a few basic items for canning bread and butter pickles.
- Water bath canner with a metal rack on the bottom
- Canning jar lifter tongs
- Sealable canning jars with rings and brand-new metal lids. (Do not reuse canning lids.)
Step 1: Sterilizing Jars and Lids
There are four ways to sterilize jars: in the oven, dishwasher, microwave, or on the stovetop. This simple recipe makes six pint-sized jars of bread and butter pickles, so boiling the jars on the stovetop is an easy and reliable option.
Sterilize the canning jars, lids, and rings just before cooking the bread and butter pickles.
Wash and rinse the jars well. Fill a very large pot with hot (not boiling) water and place the jars open-side up in the pot. Add enough water to cover the jars by at least one inch. If there is room, you can place the rings and lids in the same pot. Otherwise, use a second pot and boil them the same way.

Bring the water to a boil and let it boil for ten minutes. Once boiling, turn the stove down slightly, but make sure the water continues to simmer.
Remove the jars one at a time as you need them, being careful as they will be hot. I use rubber-ended tongs and a pot holder.
Step 2: Prepare the Cucumbers (Day Before)
Scrub the fresh cucumbers well and slice them thinly, about 1/8 inch thick.
Place the sliced cucumbers into a large bowl. Mix the pickling salt with 1 cup of water and stir until the salt is dissolved. Pour the salt water over the cucumbers, then add more water if needed to fully cover the slices.

Cover the bowl with plastic wrap and place it in the refrigerator overnight.
Step 3: Rinse and Drain the Cucumbers
The next day, drain away the salt water. Rinse the sliced cucumbers well in plenty of clear water, then drain again.
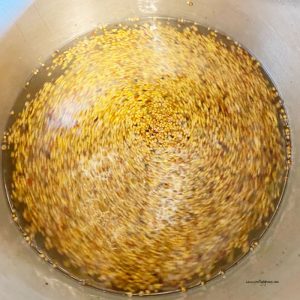
Step 4: Make the Pickling Brine
Combine the sugar, pickling vinegar, water, and pickling spice in a very large pot. Stir well to dissolve the sugar.

Step 5: Cook the Pickles
Combine the drained cucumbers with the pickling brine in the pot. If you’re using sliced onion, add it now as well.
Over medium-high heat, bring the mixture to a gentle boil, stirring regularly. Once boiling, let the pickles cook for 4 minutes.

Step 6: Pack the Jars
Pack the hot pickles into the hot jars, one jar at a time. Leave appropriate headspace at the top of each jar.

Place a hot metal lid on each jar and screw on the ring until fingertip tight. Set the filled jars aside while you prepare for the next step.
Step 7: Choose Refrigerator or Canned Pickles
We used to make pickles to this point and called them hot-packed. The jars were allowed to cool to room temperature, sealing the lids naturally. These are now commonly referred to as refrigerator bread and butter pickles.
If you want to skip water bath canning, you can stop here and store the pickles in the refrigerator.
If you want to can the pickles for longer storage, continue to the next step.
Step 8: Water Bath Can the Pickles (Optional)
Fill a large water bath canner with enough water to fully submerge the jars. Bring the water to a boil. Using a jar lifter, carefully place the hot jars of pickles into the canner.
Return the water to a full boil and process the jars for 10 minutes.
Remember that cooking cucumbers softens them, so watch the processing time carefully. The longer the cucumbers cook, the softer the pickles will be.
Step 9: Processing and Sealing
Once processing is complete, remove the jars and place them on a towel-covered surface to cool completely. As the jars cool, you should hear the lids “pop.” After 24 hours, check the seals by pressing the center of each lid. If the lid moves, the jar did not seal and should be stored in the refrigerator and used within two months.

Storing Canned Pickles
For best quality, don’t make more pickles than your family can eat in a year. Store canned pickles in a cool, dark place.
For the best flavor, let the pickles stand for about six weeks before eating. This resting time allows the flavors to develop fully.
Bread and Butter Pickles
Ingredients
Vegetables
- 5 lbs pickling cucumbers (about 3 quarts or 6 pints)
- 1 cup thinly sliced sweet onion optional
Brine
- 3 ½ cups pickling vinegar
- 1 cup water
- 2 cups white granulated sugar
- 4 tsp pickling salt
- 6 tsp pickling spice
Instructions
Step 1: Sterilize the Jars and Lids
- Sterilize the canning jars, lids, and rings just before cooking the pickles. Boil jars, lids, and rings in hot water for 10 minutes, keeping them hot until ready to use.
Step 2: Prepare the Cucumbers (Day Before)
- Scrub the cucumbers and slice them thinly, about 1/8 inch thick. Place slices in a large bowl. Dissolve the pickling salt in 1 cup of water and pour over the cucumbers. Add more water to cover, cover the bowl, and refrigerate overnight.

Step 3: Rinse and Drain the Cucumbers
- Drain the salt water. Rinse the cucumber slices well in clear water and drain again.
Step 4: Make the Pickling Brine
- Combine the sugar, pickling vinegar, water, and pickling spice in a large pot. Stir well to dissolve the sugar.
Step 5: Cook the Pickles
- Add the drained cucumbers to the brine. Add sliced onion if using. Bring to a gentle boil over medium-high heat and cook for 4 minutes.

Step 6: Pack the Jars
- Pack the hot pickles into hot jars, leaving appropriate headspace. Apply hot lids and rings and tighten to fingertip tight.

Step 7: Choose Refrigerator or Canned Pickles
- For refrigerator pickles, stop here and cool jars to room temperature, then refrigerate. For longer storage, continue to water bath canning.
Step 8: Water Bath Can the Pickles (Optional)
- Place jars in a boiling water bath canner, ensuring they are fully submerged. Return to a full boil and process for 10 minutes.
Step 9: Processing and Sealing
- Remove jars and cool completely. Listen for lids to pop. After 24 hours, check seals. Any jars that did not seal should be refrigerated and used within two months.
Planning to make these bread and butter pickles? Pin this recipe so it’s easy to find when canning season rolls around.

Other Classic Pickle Recipes
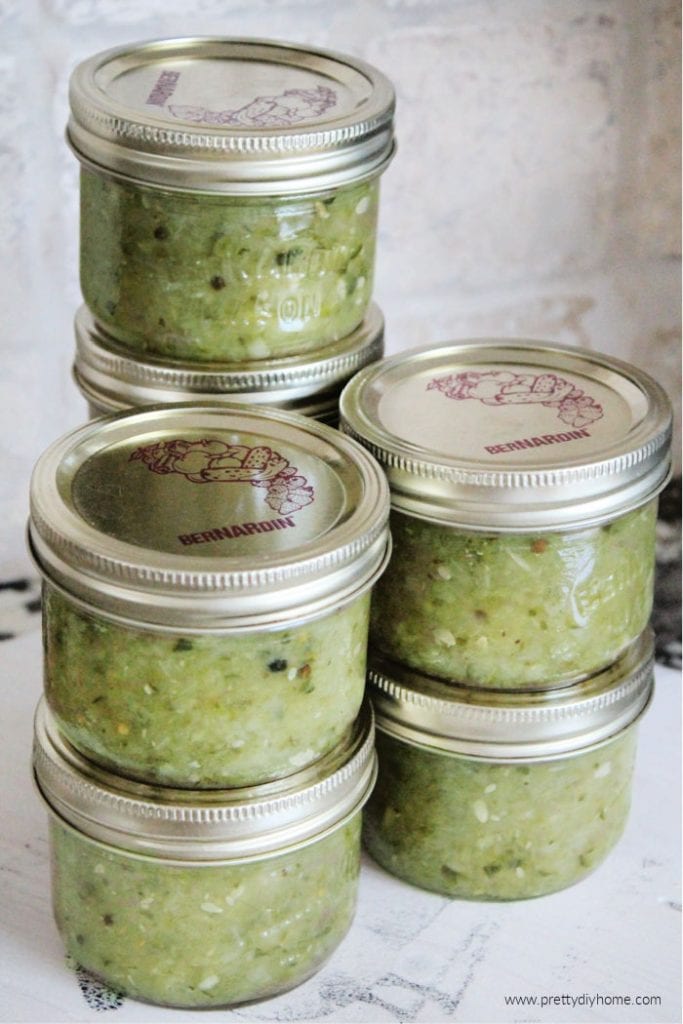
Homemade Sweet Pickle Relish
Every year we make jars and jar of this sweet pickle relish recipe. It’s always well received, and family often asks us for jars to take home. It’s full of flavour, amazing on hot dogs or rice, and easy to make.

Dilled Pickled Carrots and Beans
Instead of just making dilled carrots or beans, I learned to make them together instead. The dilled carrots and beans look nice in the jars, the flavours mix subtly, and it’s wonderful to have the variety for charcuteries and buffets from just one jar instead of two.

Classic Dill Pickle Recipe
Everyone’s favorite pickle, this dill pickle recipe uses basic ingredients so the flavour of the dill really comes through. Lots of salty crunch and always a welcome addition to a buffet or potluck.