Craft Closet Organization – DIY Craft Closet
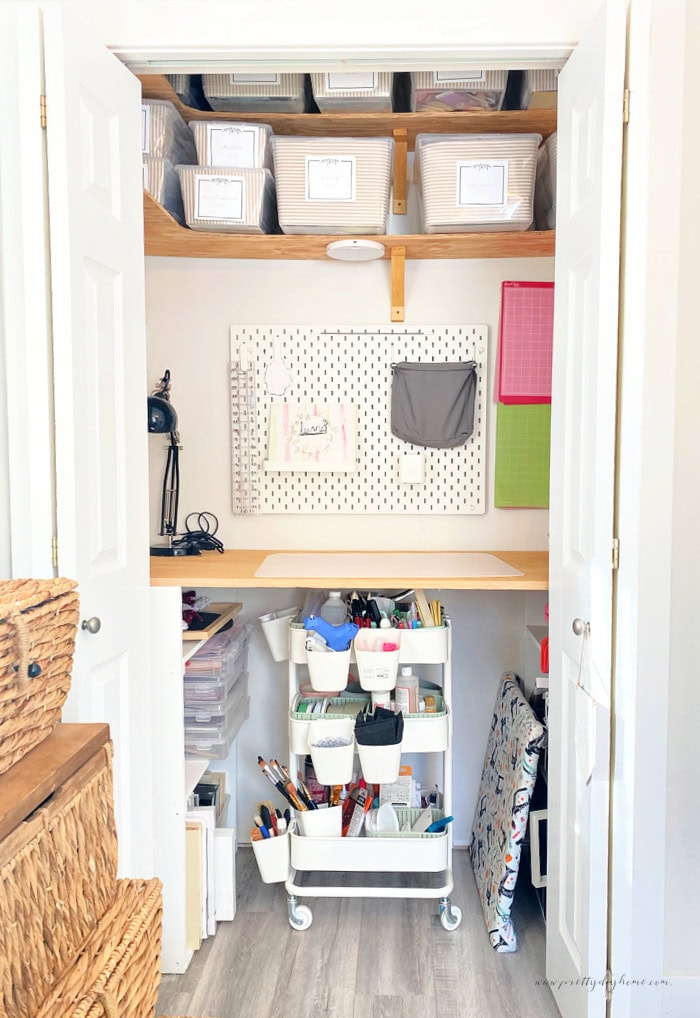
This DIY Craft room closet is the best thing I ever did for my craft room home office combination. You’re going to love having someplace you can work in and set things aside to dry in, or get finished tomorrow, and just shut the door on it. Voila clean and tidy!
Planning the Interior of the Craft Closet
Measure
To make your life easier, measure the inside of your closet in every direction and write the measurements down. Measure the height, width, and depth of both sides of your closet, as it’s quite likely the closet interior isn’t perfectly square.
Remove any existing shelves and closet rods before starting to measure.
Measure the width of the closet at three different points: top, middle, and bottom. Write down all the measurements.
Do the same for the depth of the closet and the height as well. We want to use up as much space as possible.
Find the Studs
Find the studs on your wall at different heights around the interior of your closet. You will want to know where the studs are to hang various items on, both before and after building.
Electricity
After you have the closet dimensions done, decide if you want a plug in or two. I wanted them, and we could get a plug in or two installed because the kitchen is on the other side of the back wall. I chose to skip it because of the cost. I can always use an extension cord if needed.
For the lighting, I went with a rechargeable light that works on a remote. If you have a light in the top of your closet, good for you, just note where it is so you can work around it.
Flat Work Surface
Decide if you want a flat work surface inside the closet and how high you want it to be. If you want to sit, your work surface should be about 28 to 30 inches from the floor to the work surface. If you want to use an IKEA Raskog cart, they are 31 inches high, you may find a smaller rolling cart or raise the work surface. My cart is a Raskog.
A standing workstation is typically between 38 to 42 inches. I went with 38 inches so I can use a stool comfortably if I decide I need to sit to work in there.
The size of the workstation surface depends on the size of the closet, ours is 5 feet wide and 23 1/4 inches deep. So we cut out a flat piece of plywood the same size.
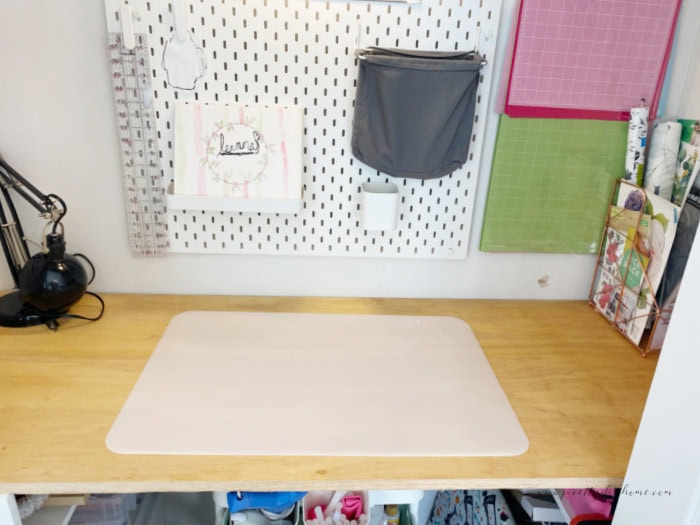
My work surface is not attached to the walls at all. It sits on two storage shelves.
Add Lower Shelving for Storage
Since we were last talking about the workstation surfaces and how they sit on free-standing shelves, let’s do them first.
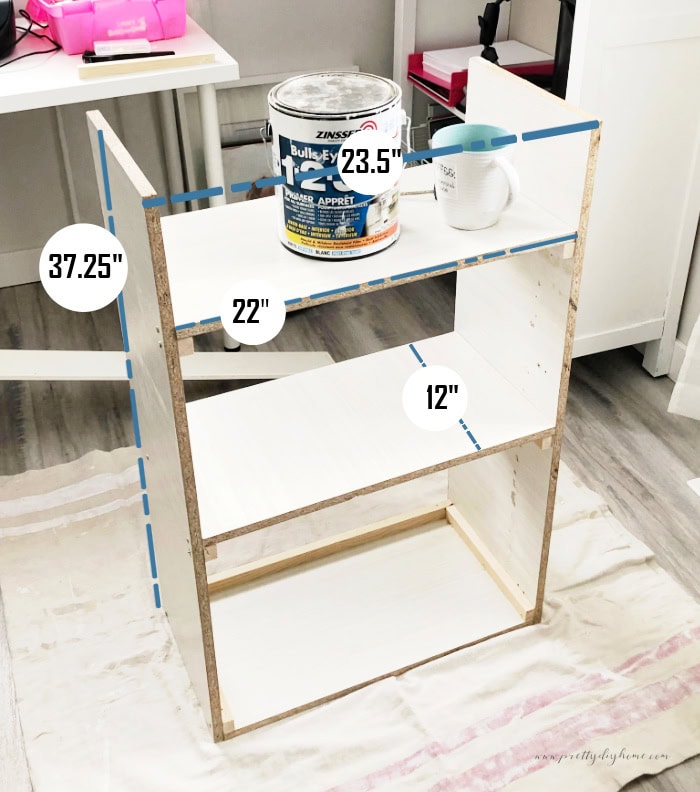
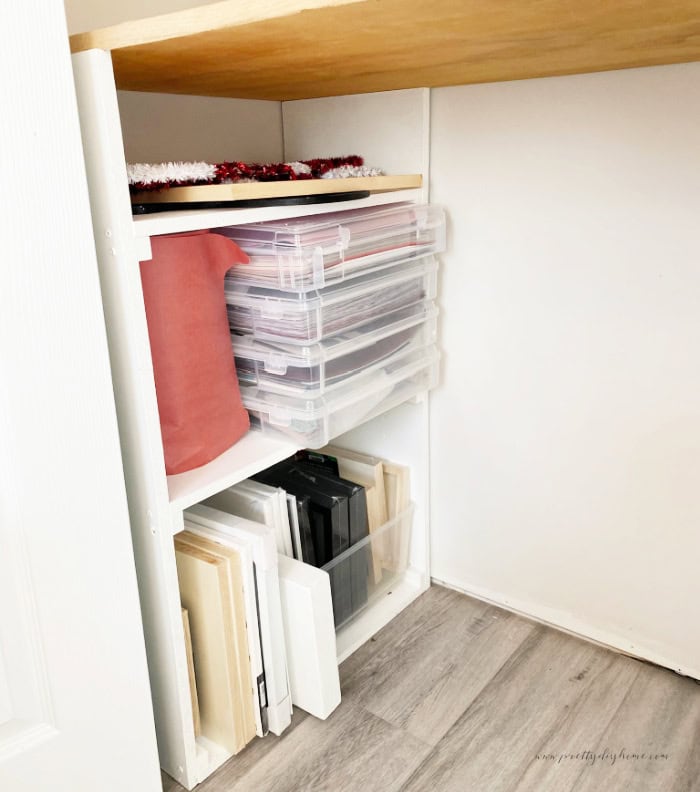
The height of the shelves depends on what height you want your workstation to be, so 38 inches, and the depth of the shelf (front of closet to back) is 23 inches, and each shelf is 12 inches wide. Finally, the two lower shelves have a height of 16 inches, the top one is just over 6 inches.
We used 1/2 inch scrap wood from an earlier craft table. Cut the pieces to size and then simply glued them in place. We reinforced the shelf brackets with screws. Then, the entire shelf was painted with primer and white paint. We made two sets of lower shelves, one for each side.
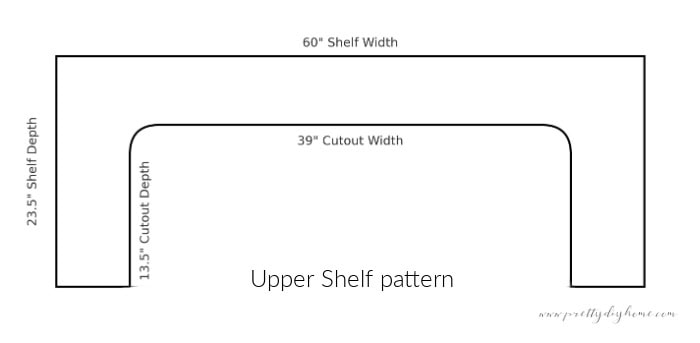
Building the Upper Shelves
Starting at the top, there are two things to consider. Do you want wrap-around shelving like ours for a couple of extra feet of storage space? And how big are your storage containers expected to be? They need room to slide off the shelf.
We made ours wrap around the side and, using parchment paper, drew a pattern.
This is a general drawing of what we did for our closet; your dimensions will be different. But we made the shelves narrow enough to pull items off the shelf and deep enough to balance the Dollar Store bins on top.
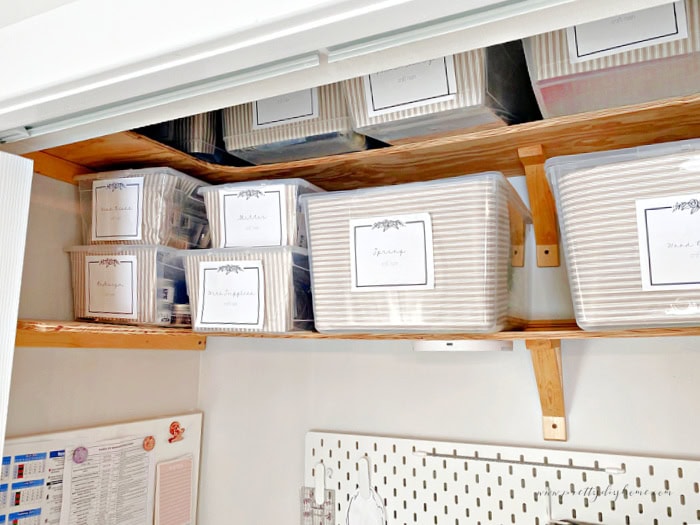
I know the above picture is in a weird angle, but it shows the way we braced the upper shelves by placing bracked with screws into the studs. You can also see how the cutout allowed us to easily remove the upper bings, and the two side pieces give me a little bit more storage space than a simple straight shelf wood.
The Raskog Cart
It doesn’t matter how much I organize this little Raskog cart, it looks cluttered. It carries all the frequently used craft supplies: glue, sandpaper, paint brushes, spray on adhesives, hot glue gun and supplies, mod podge, scissors, staples and staple gun, various tapes, and rubbing alcohol.
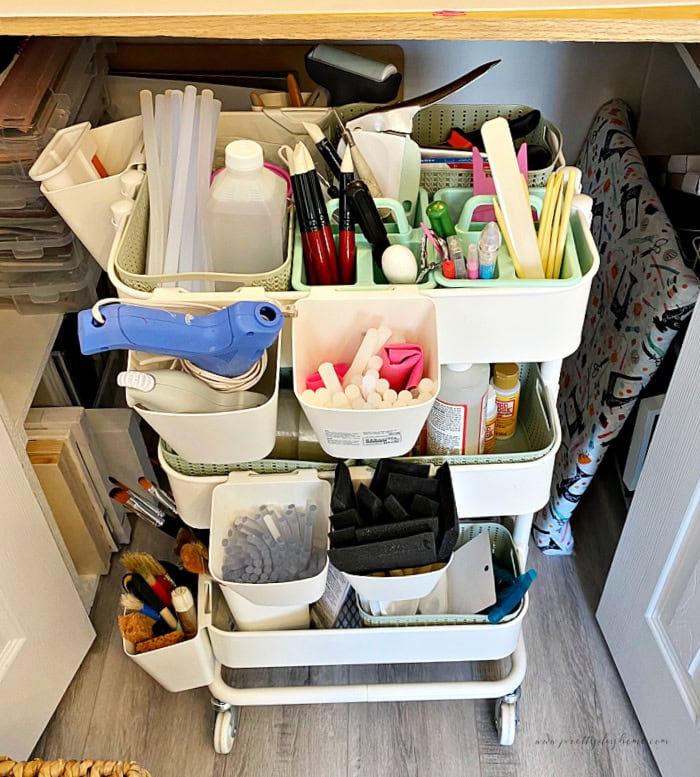
I absolutely love this cart. I have things organized inside it with various baskets etc. I can pull it out into bright light while searching, and it slides back into the craft closet to hide when I don’t need it.
The Best Part of a Craft Closet – The Doors
By far, the biggest advantage of having a DIY craft closet is the doors. If you don’t want the doors getting in the way, consider putting in curtains instead. I don’t mind the doors while working, and for me, it’s worth having the ability to close them.
No matter what you have in this closet, it cleans up in seconds. I keep a roll of freezer paper in this craft closet for quick paint jobs, gluing jobs, or anything that needs time to set. I can just pop whatever unfinished project I have on the work surface, close the doors, and let it dry, set, or wait for me. The perfect no-fuss and no-mess solution to craft clutter.

Besides this DIY craft closet, I have written some other posts about my craft room. As I complete the various posts, I will link them for you.


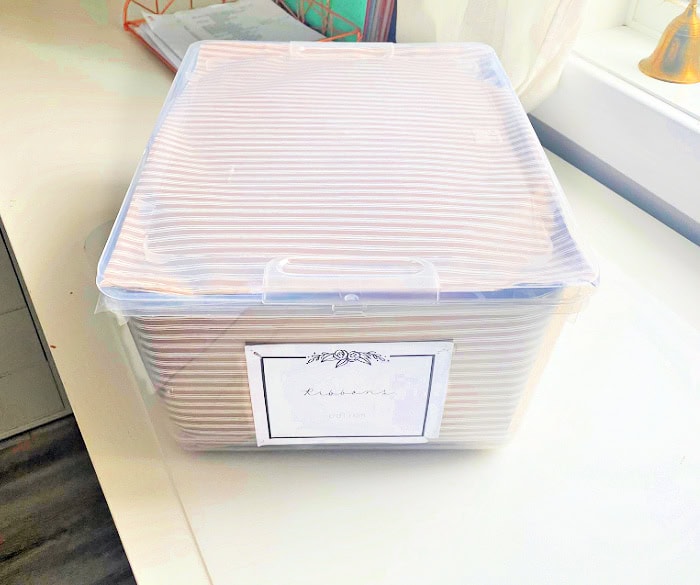
Craft Room Organization – Bins, Baskets, and Jars
This Craft Room Storage post shares all the details on how to organize everything in a craft room in various containers and categories. So you can find what you want when you want it. It makes crafting much more pleasant.