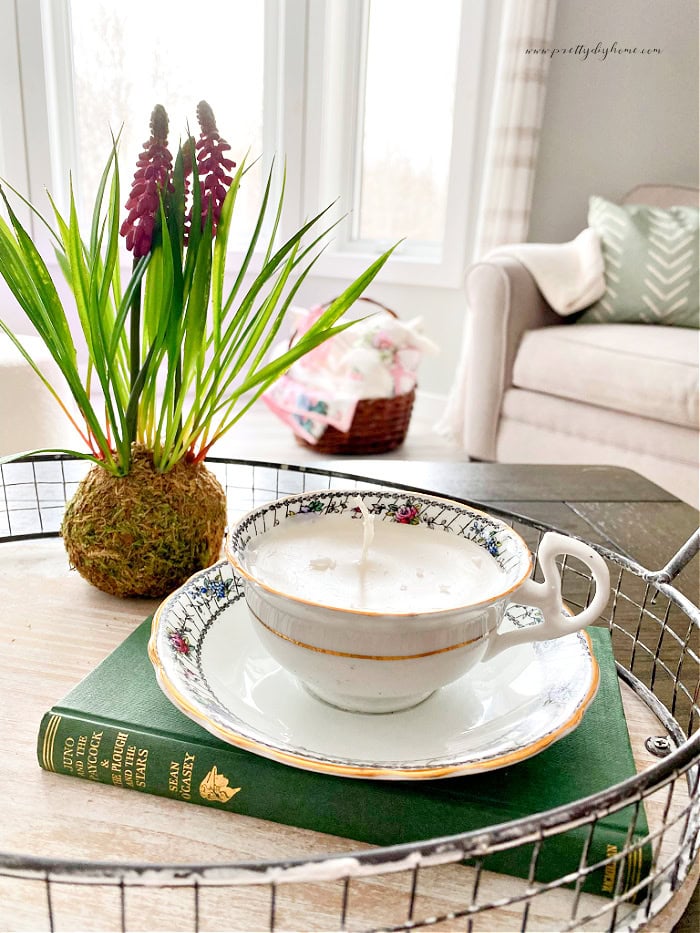
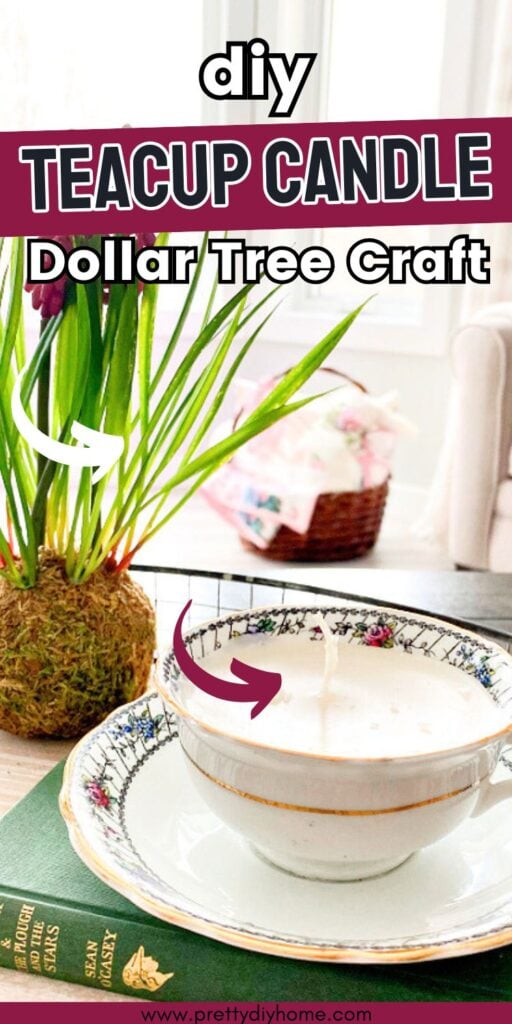
DIY Teacup Candles with Dollar Tree Supplies
Just like farmhouse decor gave new life to the humble mason jar, cottagecore is bringing the vintage teacup back into the spotlight. Once forgotten on dusty thrift store shelves or tucked away in china cabinets, these delicate little vessels are being rediscovered and reimagined, and I am loving it!
Nostalgia like this has always had a hold on me. I can’t pass a vintage bowl or candle mold without wondering about the loving, feminine hands that once used them. And even though I’m pretty ruthless about clutter, I still have a small stash of antique teacups, safely wrapped and hidden away in my entertainment center. Let’s make something pretty with them.
DIY Teacup Candles
You don’t need to buy brand-new candles for this project; any old candles, wax melts, or even a bit of essential oil will work just fine. And if you don’t happen to have a cluttered cupboard full of old, pretty teacups like I do, don’t worry every thrift store has them. Just keep an eye out for ones with a little charm and no cracks.
- 2 Dollar Tree Glass Candles
- Dollar Tree wax melts (Fresh Linen)
- Essential oil (Lavender)
- Slower Cooker
- Slow cooker
- Tin foil, parchment paper
- Wood stir stick, oven mitt
- E6000 (optional)
Once you have your supplies gathered, wash and dry the teacup and decide whether or not you want to attach the saucer to the cup permanently. I liked the idea of having extra stability for a flame candle, so I attached mine. To attach the saucer, I ran a thin strip of E6000 glue around the base of the teacup, then set it in place on the saucer. Set it aside to harden while the wax melts.

How to Melt Old Candles to Reuse
There are a few safe ways to melt old candles: double boiler, slow cooker, or oven.
Avoid using the microwave.
Melting a candle in the microwave is risky. Wax that overheats can ignite, and since microwaves heat unevenly, some spots may become dangerously hot before the rest has melted. Plus, the glass containers (like the Dollar Tree jar candles I’m reusing) can crack or shatter from sudden temperature changes. Even scarier? My microwave is at eye level. That’s a hard pass; thanks..
Any of the other methods work well. The best one for you will depend on what tools you have, the type of candles you’re using, and how many candles you’re melting.
Melting Wax in a Double Boiler
Supplies: large pot to hold water, inner pot (large can) to hold the candles, an unwanted spoon or long wooden popsicle stick, oven mitts.
- Your inner container should be something you don’t mind throwing away afterward. A large tin can works perfectly. Avoid using a good pot, cleaning wax out of it is more work than it’s worth.
- Start by removing any labels and wicks you can from your old candles. If you’re using a tin can, pinch one side to create a makeshift spout (optional, but it helps with pouring). Then, add your candle pieces to the can.
- Fill your outer pot with a couple of inches of water. Turn the heat to low or medium and carefully place the wax container into the water—make sure no water gets into the wax. Let the water come to a gentle simmer.
- Melting the wax takes about 10 to 20 minutes. Stir it occasionally to help the wax melt evenly. Remember to remove any wicks you couldn’t take out earlier. This is especially important if you’re planning on reusing them.
Melting Wax in a Slow Cooker
Since my candles were in glass containers, I chose this method for melting them. The steady, gentle heat makes it one of the safest ways to melt candles in glass jars without risking cracks or breaks.

Start by lining the inside of your slow cooker with foil to make cleanup easier.
Add about two inches of water from the bottom and set the temperature to high.
- If you’re melting candles in glass jars, you can place them directly into the water.
- If you’re working with loose candles, remove the labels and as much of the wick as you can, then place the wax pieces into a tin can before setting it into the slow cooker.
Keep an eye on things as the wax melts; this can take a couple of hours, depending on how much wax you’re working with. Once the wax has started to liquefy, use tongs to carefully remove the old wicks. Wipe any wax off the tongs right away with a paper towel and set the wicks aside to reuse.
Melting Candles in the Oven
This isn’t my go-to method for melting candles. It’s not the most efficient or tidy option unless you’re working with a large number of candles at once. But if you have a bunch of glass jar candles and want to melt them all in one go, the oven can do the job. Here’s how.
Preheat your oven to 200°F (93°C) – low and slow.
Line a baking sheet with aluminum foil or parchment paper to catch any drips and keep cleanup simple. Arrange your glass candle jars on the sheet, making sure they’re spaced out and standing securely.
Place the baking sheet in the oven and let the candles melt gradually. This usually takes about 30 to 60 minutes, depending on the size and type of wax. Keep an eye on them. Once the wax is melted, carefully remove the sheet from the oven using oven mitts. Be careful, I would hate to think anyone can get burned doing this.
Using tongs, gently remove the old wicks and set them aside if you plan to reuse them. Be careful and watch what you’re doing; everything will be hot, including the jars.
If you’re working with loose wax or pillar candles instead of jars, you can place chunks of wax into tin cans and follow the same process. Just be sure they’re placed upright and stable on the baking sheet.

Adding a Pretty Scent
I used two different methods in my tea cup candles. One, I did with Dollar Tree lavender scented wax melts.
As the wax melts, you might notice the level inside your jars slowly dropping; that’s totally normal. Once the wax is fully melted, you can add a little fragrance and turn your candles into something extra special.

If you’re using wax melts, break them into smaller pieces and gently drop them into the melted wax. Give it about 10 more minutes to melt completely. I loved the instant scents once the melts hit the warm wax; it was like alchemy in the kitchen. Once the wax has fully melted, give the mixture a slow stir using a long wooden stick to help blend the scent evenly.
If you’re using essential oils, the process is even simpler. Right before pouring, add about 12 drops of your favorite essential oil per teacup. You can adjust this based on how strong you want the scent to be. Stir gently to blend.
Adding the Wick
You can absolutely purchase new wicks for this step, but I reused the ones from my original candles, and they worked well, One of my wicks still had the metal base attached, so I simply centered it in the teacup and wrapped the top around a wooden stick to hold it upright, balancing the stick across the rim.
The second wick was missing its base, so I got a little creative. I poured a small amount of melted wax into the bottom of the teacup, wrapped the wick around another stick, and gently pressed the end into the cooling wax to secure it in place. Once the wax hardened, the wick stayed right where I needed it.
With your wicks in place and your wax melted and scented, it’s time to pour.

Set your teacups on a protected surface, i suggest parchment paper or a thick dish towel to keep everything steady and mess-free. Carefully pour the wax into each cup, filling just below the rim. Take your time here; it feels a little like pouring tea at a very cozy candle-making tea party.
Once poured, let the candles sit undisturbed for a few hours to cool and set completely. The wax will go from glossy and translucent to soft and matte. Once fully cooled, trim the wick to about ¼ inch.
A Few Fragrance Ideas to Try
One of the best things about making your own candles is being able to create scents that feel personal and comforting. Here are a few sweet combination ideas you may want to try.
- Lavender + Vanilla – calming and cozy
- Eucalyptus + Peppermint – fresh and invigorating
- Orange + Clove – warm and subtly spicy
- Rose + Sandalwood – romantic and earthy
- Lemon + Thyme – clean and herbal
Note: I love Bed Bath and Beyond House scents. I always have them, even Hubs likes them now. I am not an affiliate, but you may want to wander down there for some other ideas.
While you might see tutorials suggesting the use of dried flowers or lavender buds inside candles, I personally don’t recommend it. As pretty as they may look, dried botanicals can become a fire hazard once the candle burns down. It’s just not worth the risk for a little extra aesthetic. Save the flowers for decorating artificial battery lights instead.
This is a straightforward project, but if you want to watch me make the teacup candles, I have included a video that shows the step-by-step process.
The latest on Youtube:

Other Teacup Crafts
I am making several different tea cup crafts this Spring. As I finish, I will add them to this post. I would love to create something for outside in the garden even, but that can’t happen until June. Winter is so long here, thankfully, I can craft pretty things while I wait.

Teacup Fairy Garden Idea
This little faux fairy garden is a fun weekend craft you can do with children. Have the