DIY Vintage Painted Cabinet Furniture Makeover
There’s something special about real wood furniture. I love its solid, timeless, built-to-last quality. For years, painting it was all the rage, especially if it had damage or didn’t quite match the latest style. Lately, though, painting is less popular, and more people want to preserve that beautiful natural wood finish. While that’s lovely in theory, it often leaves worn or damaged pieces sitting off to the side, deemed too far gone to display as is but too “precious” to paint. This old fir cabinet was one of those in-between pieces.
Because settlers arrived later in our area, mainly for farming, we don’t see the same kind of antiques that are common in the Eastern and Southern U.S. The ornate European-style pieces you often find out east are a rare sight around here.
But with a little searching, I can sometimes find homemade or locally crafted furniture from around the turn of the century. Many of these pieces spent decades tucked away in barns or were used in garages, sheds, or outbuildings. Sometimes they surface again if you’re lucky, through a farm auction or estate sale.
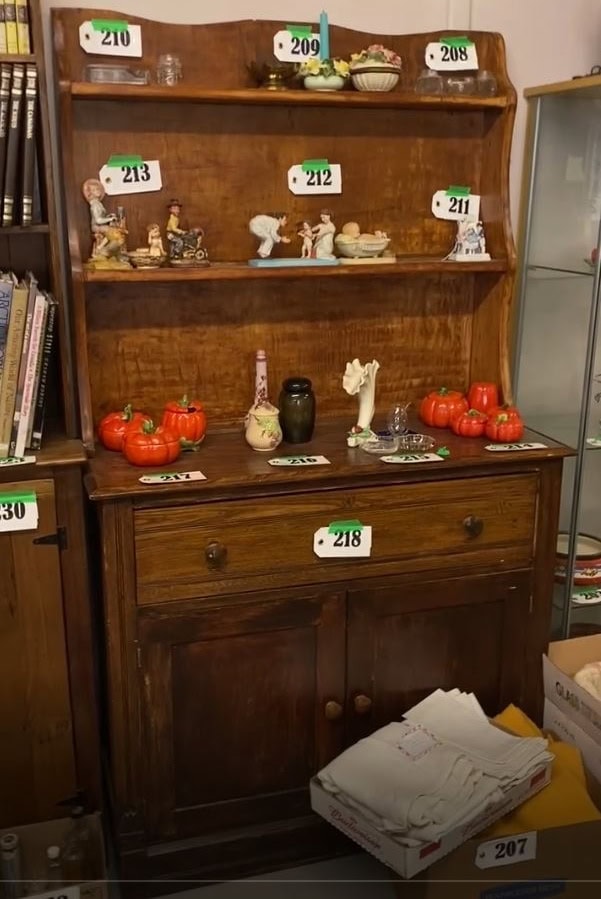
Although these pieces are solid and quite beautiful in their own way, they usually need a bit of work to make them usable again. Their primitive style and occasional “married” construction mean you have to embrace the quirks. This cabinet is one such tale. I’m fairly certain the base and hutch were originally a matched pair, but somewhere along the way, the hutch lost its original tongue and groove backing.
This vintage piece of solid wood has a story to tell, and while it’s too rough to leave as bare wood, it’s far from ready for the junk pile. It’s worth the work to fix it, love it, and I don’t have to feel guilty about painting over something truly antique.
Step One – Cleaning and Assessing
The first thing this cabinet needed was a good vacuum and a very thorough wash. Once it was clean, I could finally get a proper look at it, and that’s when I noticed the back of the hutch was about half an inch thinner than the base. It also had two different colors of stain. The darker stain looked like a later addition, brushed on in patches with thick drips and globs pooled in the corners. My guess is someone put it on in a hurry to “preserve” the wood while it sat out in one of those outbuildings I mentioned earlier.
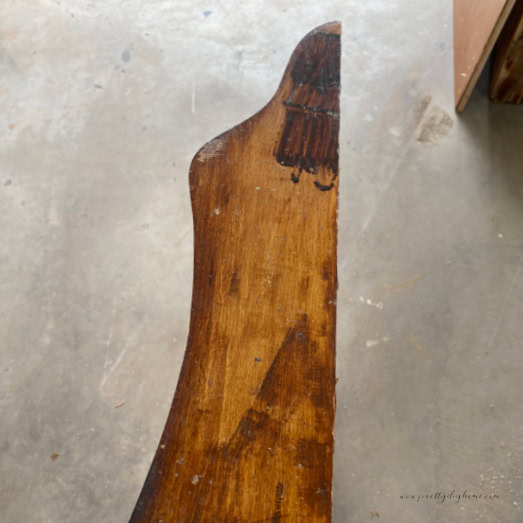
The nasty stain globs were in several places, including the bottom of the front doors.
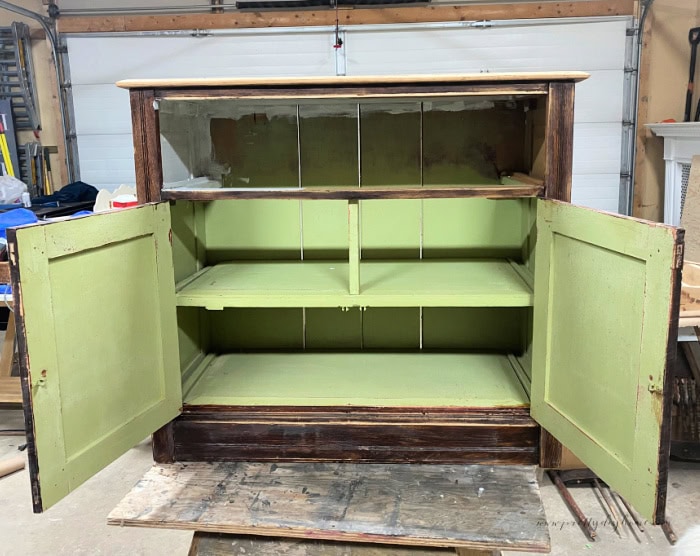
The inside had been painted in sections with a bright neon green, and the hutch backing had either been cut or married on at some point. It was also missing a chunk off the top.
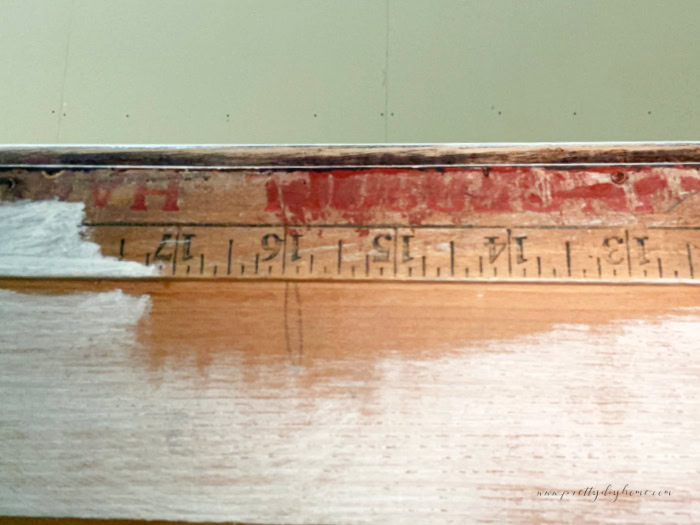
I am not at all certain about why the white paint is there, but later on, while repainting the inside, I found this ruler. It has been used to brace in a warp, maybe. Why it was there, I don’t know, but it made me laugh, and it is a great example of the piece’s story.. I kept it.
The structure of the cabinet was still surprisingly solid. So replacing the tongue and groove backing was the only major repair we needed to make. After that, I asked Hubs to help build a better top for it.
Step Two – Dismantling
The cabinet hutch was still attached with a few screws and a generous amount of that drippy old stain. Using a small pry bar, we carefully separated the hutch from the base. Trying not to damage either piece in the process. Once they were apart, we got to work removing the backing, one tiny old nail at a time.
Step Three – Replacing the Tongue and Groove
We decided to use the original backing as a template for cutting the new tongue and groove. Hubs cut the boards to rough length first. Then we laid them out over the old backing to get everything centered. Once it looked right, he made the final cuts to fit. This is important when working with old furniture, as what was once square is no longer. ( You can see the base and the cabinet shelves in the background. We now have 3 pieces.)
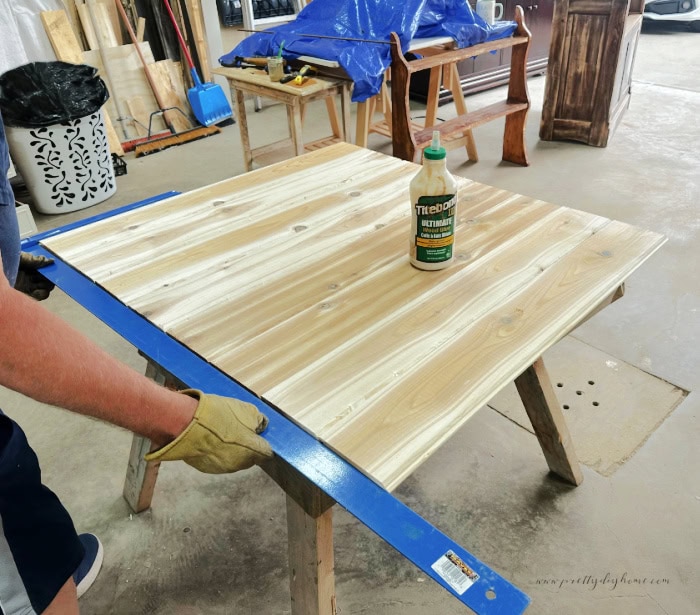
We clamped the first piece in place, making sure it was square, and clamped it for extra strength. That way the first board stays firmly in place while we slide in each piece against it.
Once the first piece is in place securely, you can use this piece to fit all the other pieces.

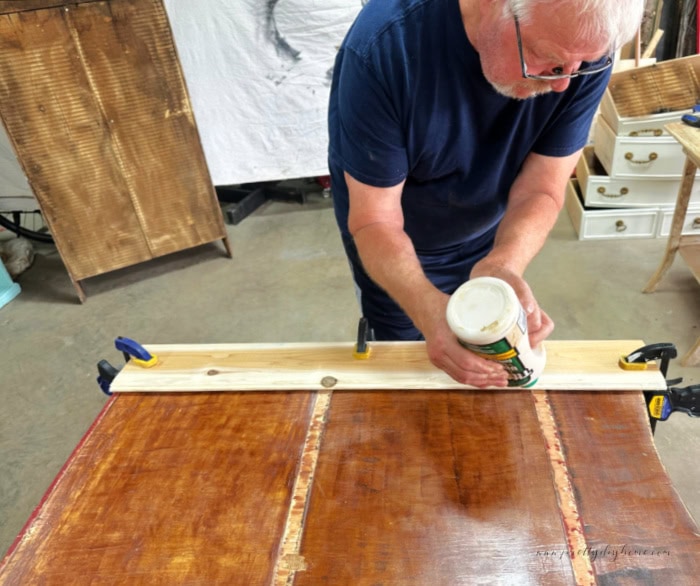
We added wood glue to each tongue and groove seam, along the underside of each piece to help hold everything securely.
The cabinet shelving will be placed in front of the tongue and groove, we did not nail it in place.
Step Four – Sanding
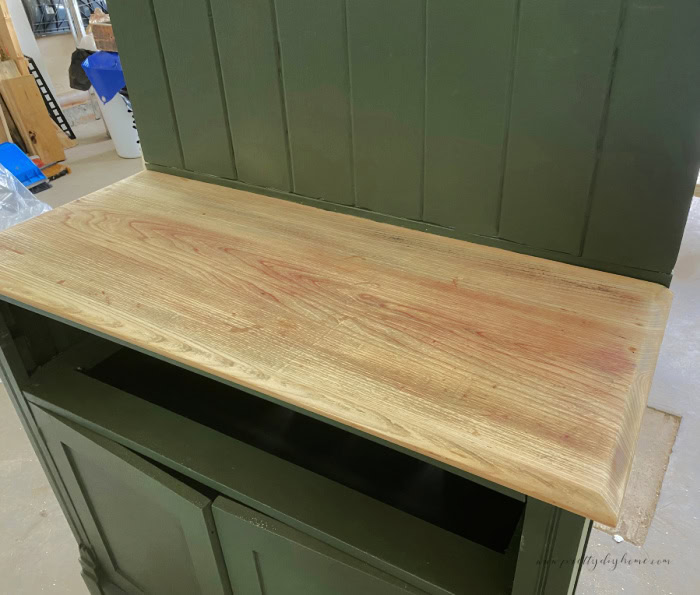
I decided to leave the top of the base, the front of the drawer, and the shelves in their natural wood tone. To prep those areas, I stripped the finish using a heat gun and a metal spatula. Once stripped Hubs hand sanded everything smooth with 120-grit sandpaper. I was pretty excited to find that the globs of old stain came off easily with the heat gun. Even on stain I prefer stripping to sanding to bare wood. The rest of the cabinet is going to be painted, so I gave those surfaces a quick scuff sanding with 120-grit to help the paint stick. I also filled in a few small nicks with wood filler while I was at it.
Step 5 – Painting
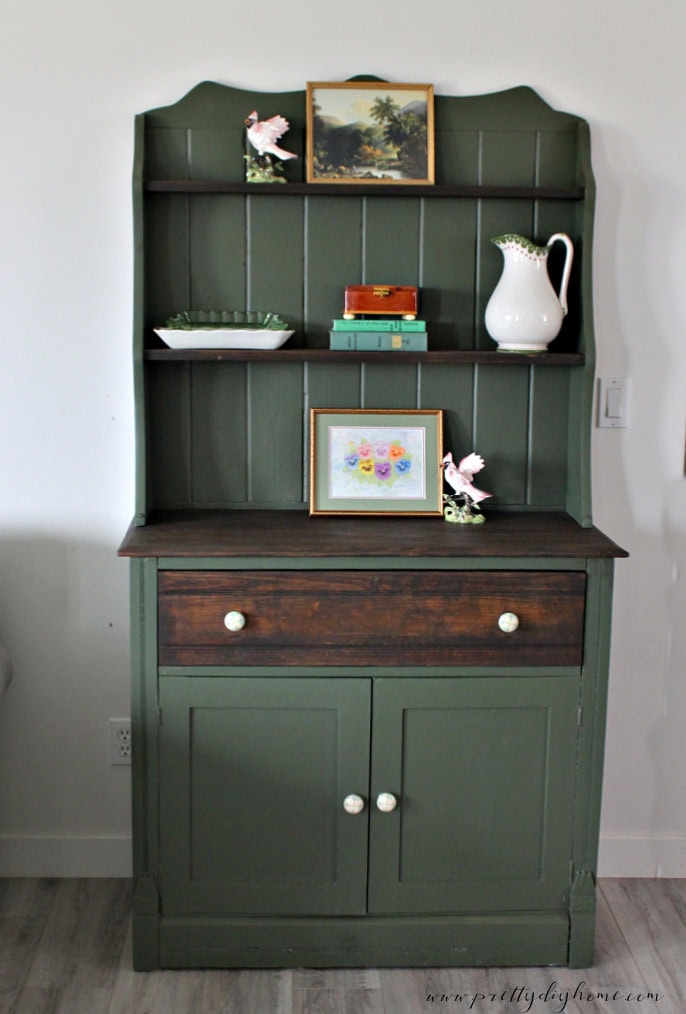
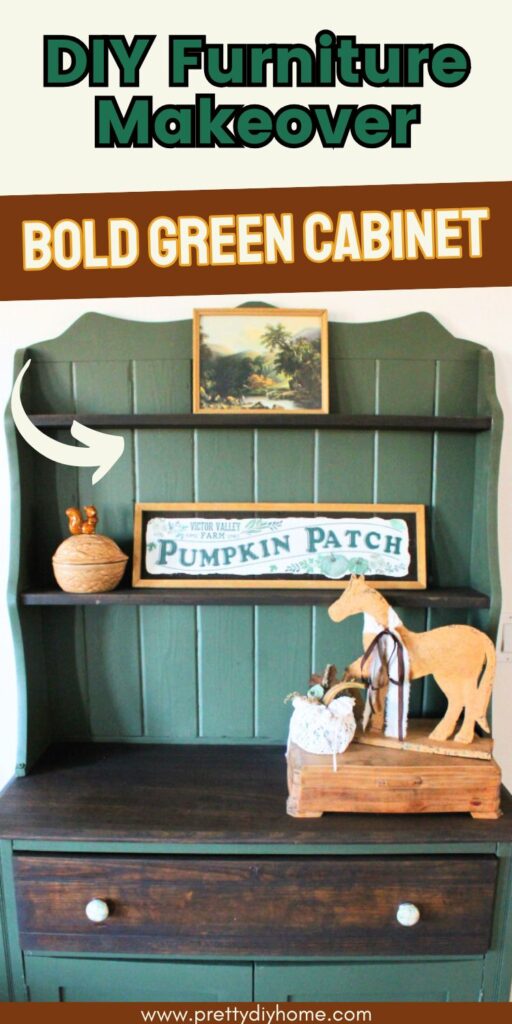
For the front of the drawer and counter, I chose to stain them in Fusion Mineral Paint’s Chocolate stain. T rest of the dresser I painted green using Fusion Mineral Paint Bayberry.
Final Prep Before Paint
After tearing the cabinet apart, stripping off the old stain, and adding tongue and groove, it was finally time to get painting. Since the cabinet had been handled and sanded so much, it needed another thorough cleaning. I vacuumed out all the dust, and wiped it down with TSP to be sure the surface was spotless and ready for paint.
Paint the Inside First
I started on the inside of the cabinet, giving both the cabinet interior and the inside of the drawer two full coats of bayberry Fusion Mineral Paint. I didn’t sand between coats on the interior surfaces. Just let the first coat dry before brushing on the second. Then left it overnight so it would be fully finished before moving on.
Paint the Outside
Using a small roller and a good-quality brush, I painted the outside of the cabinet, including the tongue and groove and cabinet shelves, in Fusion Mineral Paint Bayberry. After the first coat dried, I sanded it lightly with 150-grit sandpaper before applying the second coat. I was very careful to keep the paint only on the areas meant to be painted, avoiding the sections that were being left for staining. I choose to paint the upper sides of the cabinet shelves and stain the shelves themselves.
Smooth the Finish
Once the painting was complete, I sanded the entire cabinet with a brown paper bag to create a silky smooth finish. The nice thing about Fusion Mineral Paint is that there’s no need for a topcoat. Just make sure to let the cabinet paint cure for at least a week before placing anything on it. With the painting finished, the next stage was reassembly and staining.
Step 6 – Staining
We had to finish staining the shelves on the upper part before reattaching them to the cabinet. We did the cabinet top after we had the cabinet reassembled.
Prep the Surface
We sanded the top of the cabinet at the same time as the rest of the piece. Since the painted sections had also been sanded, it was important to carefully wipe down the top again before staining to remove all dust and residue. A clean surface ensures the stain absorbs evenly.
Apply the Stain
Dip a chippy brush lightly into Fusion Mineral Paint Stain & Finishing Oil in Chocolate. Brush it onto the wood in the direction of the grain, working in small sections so the stain doesn’t sit too long before wiping.
Wipe Back the Excess
Right after brushing, use a Fusion stain pad to wipe away the excess stain, again following the wood grain. This step evens out the color and keeps the finish smooth.
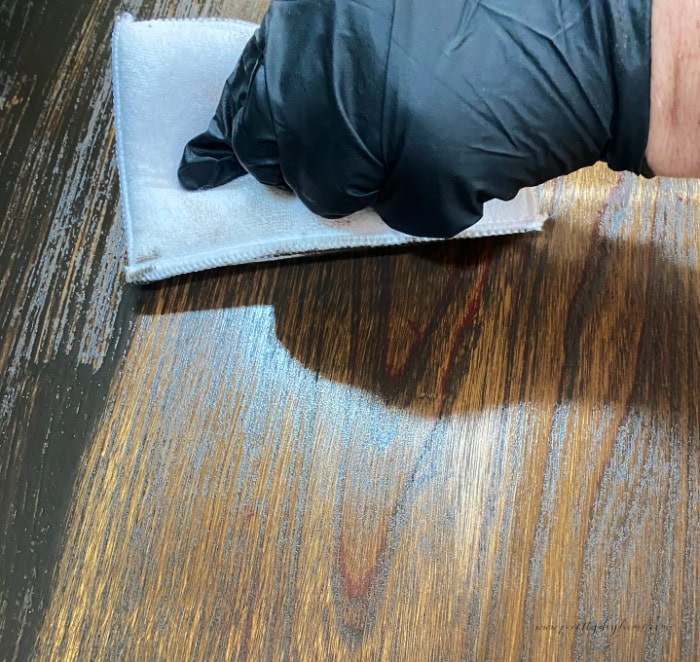
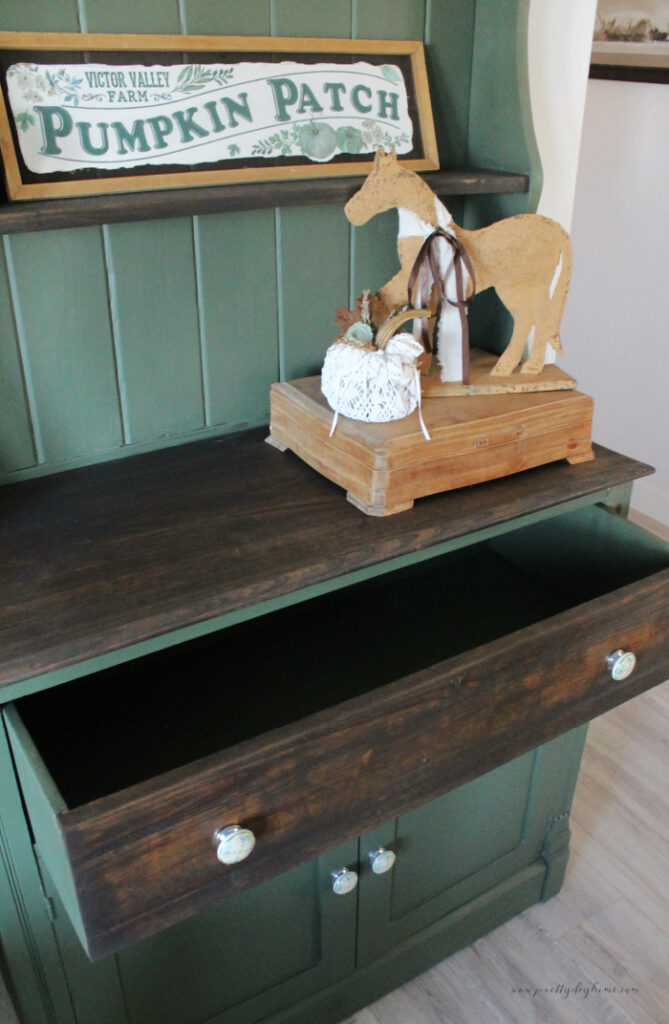
Build the Color
If you want a darker color, you can apply more than one coat. To get the finish you see in the image, I brushed on the stain and then immediately wiped off the excess, which left a warm, even tone.
Let The Stain Cure
Once the stain has been applied and wiped back, allow it to dry and fully cure. Just like the paint, I strongly suggest letting the stain finish sit for at least a week before placing anything on it. This gives the surface time to harden. After all that work, it’s not worth risking even a tiny scratch.
Step 6 – Reassembly
We painted the cabinet with the doors on, but we had to put the cabinet top back together. To make sure it fits the way it was originally meant to, we added the painted tongue and groove with the backing onto the cabinet first.
I held the backing in place while Hubs put the screws back where they originally were.
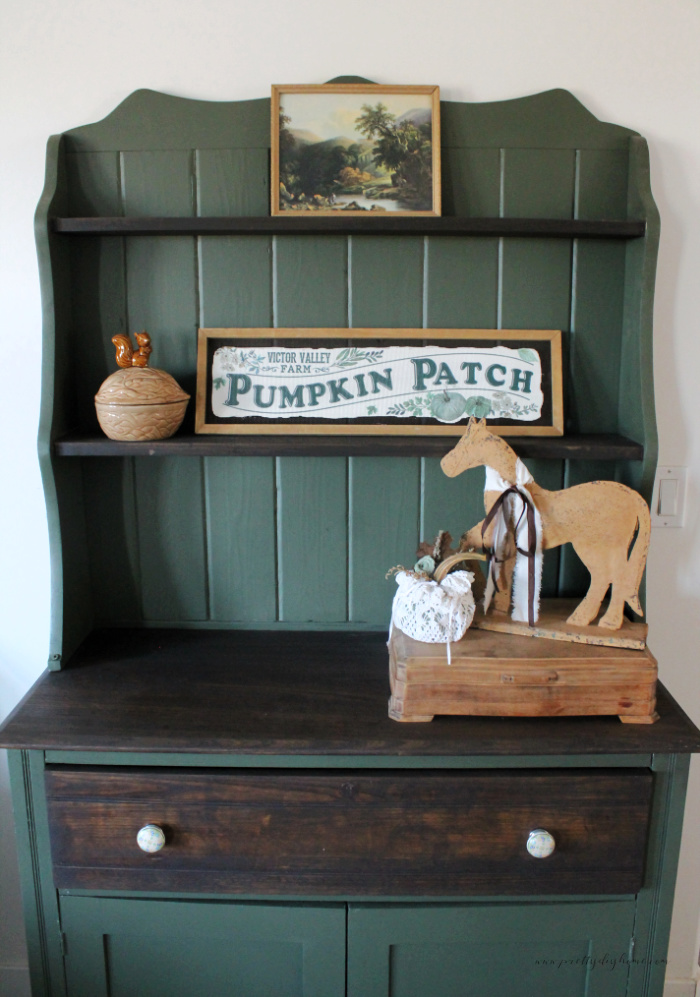
Once we had the back on, we finished staining the top, added some new knobs, and the cabinet was DONE.
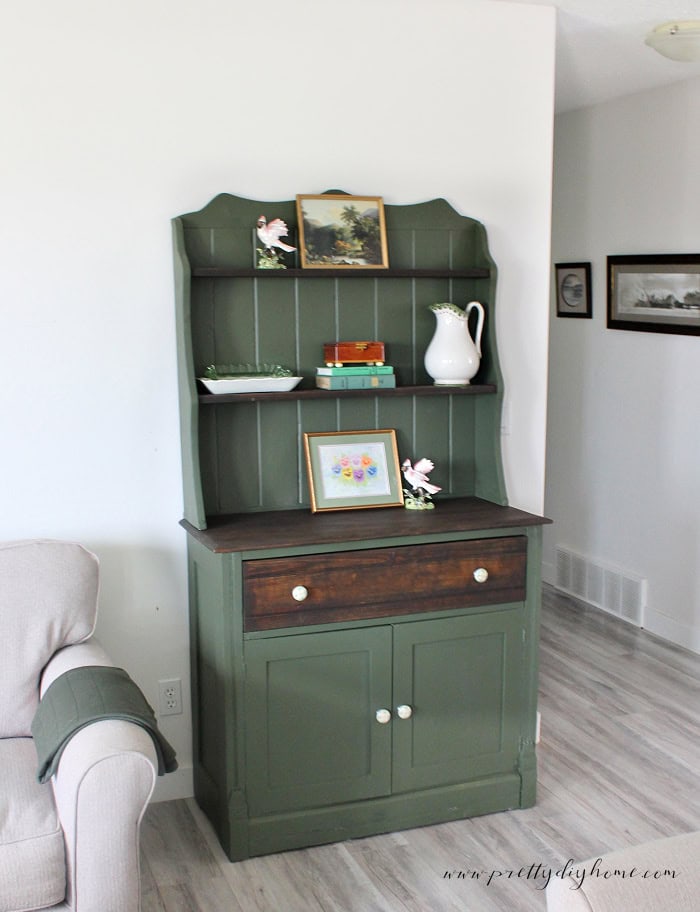
This dark green and wood cabinet turned out beautiful, I hope it inspired your next project. Don’t forget to pin this makeover so you have it available for later.
Other Furniture Makeovers
Whether fixing up something you already own, or a find you got at the right price I find its worth the work to refinish old furniture. Even when I bite off too much work, the before and afters make it worth it. Here are some other projects you may enjoy.

Primitive Secretary: My DIY Makeover
Have you ever instantly fallen in love with a piece of wood furniture because you could see what it “could” be. That’s what happened when I saw this one. I could not wait to come home and fix this primitive secretary for my dining room.

Antique SideTable Makeover DIY
I bought this little table at the same auction as the cabinet. It was in such bad shape, the repairs were challenging but in the end I love how the antique side table turned out.