Hanging Shabby Chic Flower Bundle Using a Vintage Doily
The other day, while browsing an antique store, I noticed something that made me pause. Most of the shoppers were in their twenties. They were lingering, chatting, and pointing at things with genuine interest.
That quiet moment stayed with me. It felt reassuring to see older objects being noticed again, not as novelties, but as things worth slowing down for. Vintage textiles in particular carry a softness and care that still feels meaningful today.
This hanging shabby chic flower bundle is a gentle way to showcase those textiles. A small vintage doily is used much like wrapping paper around a bouquet, adding texture and detail without cutting or damaging the piece. Paired with simple flowers and natural materials, it becomes a soft accent that brings character and warmth to a space.

Supplies
- Three bunches of faux flowers
- I used a mix of Dollar Tree flowers. Dried flowers would be beautiful, but I worked with what I could find locally.
- One small circular doily, about 8 inches
- (An embroidered linen with crochet edging works just as well. See variation note below.)
- White floral wire (Dollar Tree)
- Two sprigs of raffia
- Green fabric ribbon, about 24 inches
- White lace ribbon, about 18 inches
- Needle and thread
- Hot glue
How to Make a Hanging Flower Bundle Using a Vintage Doily
Step 1: Make the Hanging Loop
Cut two 18-inch pieces of white floral wire and twist them together for strength. Once twisted, find the center and bend the wire to form a small loop, about one inch wide. Twist the wire again to secure the loop and create the hanger.
Wrap the loop portion with raffia, covering the wire completely. Set aside until you’re ready to secure your flowers.


Step 2: Arrange the Flowers and Attach the Hanger
Arrange the flowers the way you would like them to hang, allowing the blooms to fall naturally. Trim the stems to length, then wrap them together with floral wire to hold the bundle in place.
Position the raffia-covered wire hanger at the back of the flower bundle and wrap the wire around the stems, twisting to secure it. The stems should remain visible at the top, with the hanger tucked neatly behind the flowers.
Wrap the raffia tails around the wire to conceal it, adding a small amount of hot glue to hold everything in place. Finish by adding a second strip of raffia and tying it into a simple knot around the stems.
Step 3: Add the Doily Wrap
Iron the doily first, then fold it so the lace edge is slightly staggered, about one inch offset. Folding the doily this way adds extra softness and gives it a more frilled, lacy look while showing off the pretty edging.

With the flowers arranged and the hanger attached, place the folded doily around the flower bundle near the hanger to get a general idea of placement. This is a good time to step back and adjust the fold until the lace sits the way you like it.
Once you are happy with the placement, overlap the edges of the doily and sew them together by hand using needle and thread. Keep the seam slightly off to one side so the wrap feels relaxed rather than structured.

Step 4: Make and Attach the Ribbon
Cut a 24-inch length of fabric ribbon. Gather the center together with needle and thread to form two soft loops, allowing the ribbon tails to hang naturally.
Using a small piece of leftover white lace, sew it in place at the center of the ribbon to soften the look and add texture.

Arrange a separate piece of raffia so it ties slightly off to the side, then use it to attach the ribbon to the flower bundle. Positioning the bow off center allows it to cascade gently down the side rather than sitting stiffly in the middle.
Add a few small stitches through the ribbon and into the doily to keep everything secure.
Step 5: Final Adjustments
Take a moment to neaten the arrangement by untucking any stems trapped inside leaves and making small shuffles in the flower placement until everything feels balanced and tidy.
A Note on Vintage Doilies and Linens
Vintage doilies and linens were never meant to be disposable. They were made to be used, washed, and enjoyed over time, not permanently altered or damaged for a single project.
For this flower bundle, the doily is folded and stitched gently, without glue or cutting. It remains intact and could be removed or reused later if desired. Using vintage textiles this way allows them to be appreciated for their craftsmanship while still giving them a place in everyday decor.
These small choices matter. They help preserve the work that went into these pieces while allowing them to add character, softness, and a touch of shabby chic charm to a home.
Variation Idea
This project is not limited to doilies. A small embroidered linen with crochet edging can be used in the same way, allowing you to adapt the wrap to what you already have.
I also made a second flower bundle using a small vintage linen with fine hand-done lace around the edge. It was wrapped and secured using the same method and gives the bundle a slightly different look while keeping the same soft, layered feel.
Styling and Display Ideas
These flower bundles are meant to add character and texture rather than blend in.
They work especially well:
- Hanging from a doorknob in a bedroom
- On a peg rail or pegboard in a kitchen or pantry
- Inside a hutch or cupboard, lightly sprinkled with essential oils for a soft, natural scent
- Grouped with other vintage linens or small handmade pieces
They add a shabby chic or cottage-style note that softens even the most cookie-cutter, builder-grade homes.

Other Ideas for Vintage Doilies

Vintage Blue Doily Pumpkin
This project uses a white vintage doily to add texture and detail to a blue pumpkin. It’s a simple fall craft that keeps the lace intact while adding a soft vintage touch. You can see the full project in this vintage blue doily pumpkin post.
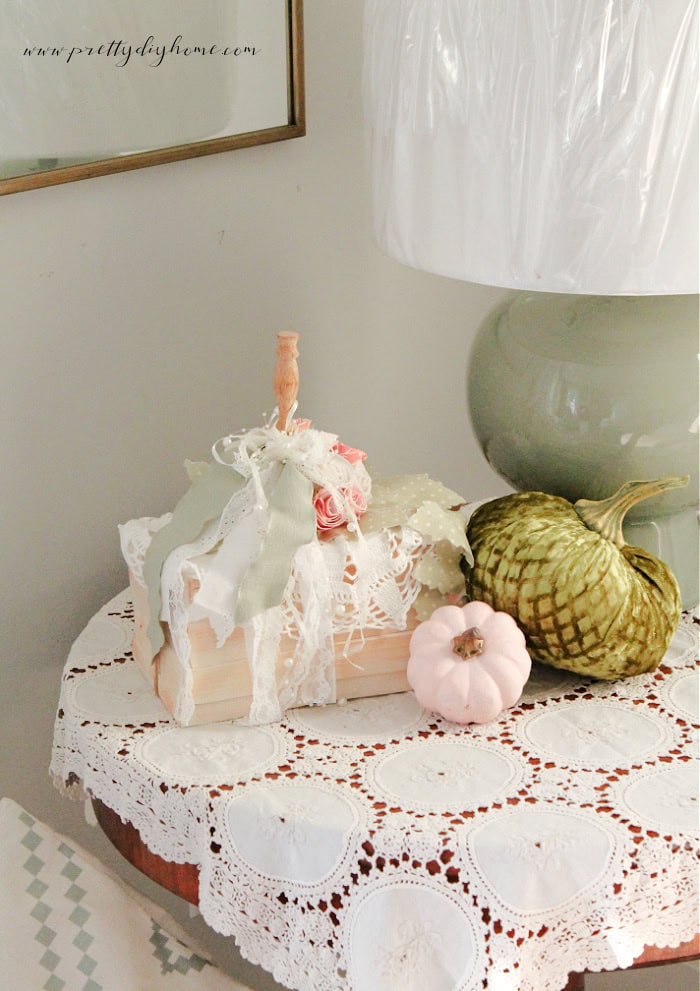
Doily Pumpkin Book Stack
A white doily layered into a pumpkin book stack adds softness and vintage charm to fall decor. The lace stays intact and reusable while bringing texture to a seasonal display, like this doily pumpkin book stack idea.