How to Build a Pea Trellis for Cheap
Are you looking for an easy inexpensive DIY pea trellis idea to support your growing pea plants? Today I will show you how I built a very quick and easy DIY pea trellis for Hub’s garden, using lumber and some dollar tree garden twine. You can make an unstained version for $4.00 in under 2 hours.
I am building this pea trellis to convince my other half that they are necessary for growing healthy and delicious peas. I dislike picking peas in a jumbled mess, and Hub’s family never grew them any other way. I am certain once he sees it he will prefer it. Last summer both the peas and the beans grew on the ground, and Hubs did all the picking.
Why You Should Consider a Pea Trellis
Peas grow on a vine and without a trellis they spread out around the garden and over any nearby plants, Creating a jumbled mess of intertwined plants, and pea pods. The spread uses up valuable garden space and the pea pods can get dirty and even get a powdery mildew laying on the dirt. With a pea trellis, the garden peas have something to lean on and attach to allowing them to grow upwards instead of along the ground and their neighbours.
Different Pea Trellises
Pea trellis come in all kinds of shapes and sizes, depending on the size of your pea patch, and what types of peas you are growing. This pea trellis will work for any type of pea. I would use something prettier and more aesthetic for sweet peas. Pea trellis vary in size and strength, this is stronger than most DIY versions I have seen over the years. As it’s only 4 feet long if you have a larger pea patch I would build several.
Different Pea Varieties
There are different kinds of peas you can grow, the edible varieties are snap peas, sugar peas, and the ones most of us know shelled peas or garden peas. Garden peas are the ones we grow.
Shelled peas have a tough outer casting that grows round tender peas inside the pretty green pods. Once the pods grow and are filled with the plump peas, you pick, remove the shell, and eat them. They are delicious either cooked or raw, right out of the shell.
Sugar peas (snow peas) have slender thin pods, that are eaten when the pods are still flat. Often you will see this type of pea in Chinese food, stir-fry recipes, or salads. You can eat this variety of peas including the pod fresh off the vine, or cooked.
Snap Peas – these peas are often mistaken for garden peas, they come in a wide assortment and can be eaten just like shell peas. To tell the difference I look at the seed packet.
Last but not least are sweet peas. Sweet peas are a beautiful flower that I love to grow and cut for their amazing scent. They aren’t edible, they are one of my favorite flowers, but I don’t plant them in our vegetable garden bed.
The seed packet will give you lots of information on what type of trellis you will want to build, especially the size. This trellis should fulfill your need for any variety of garden peas you want to grow.
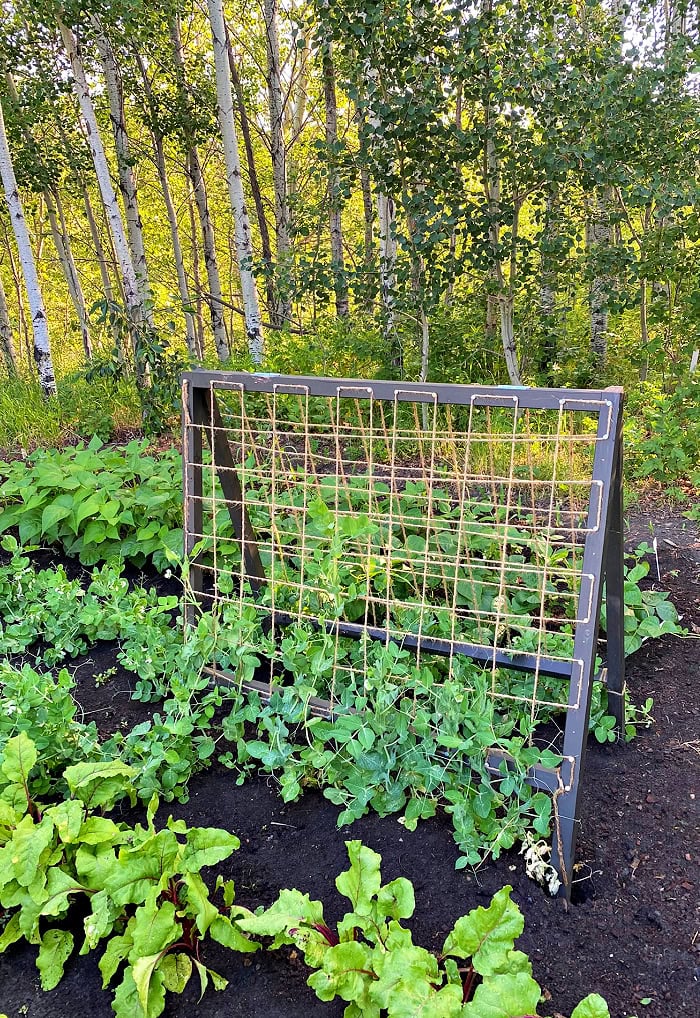
How to Build a Pea Trellis
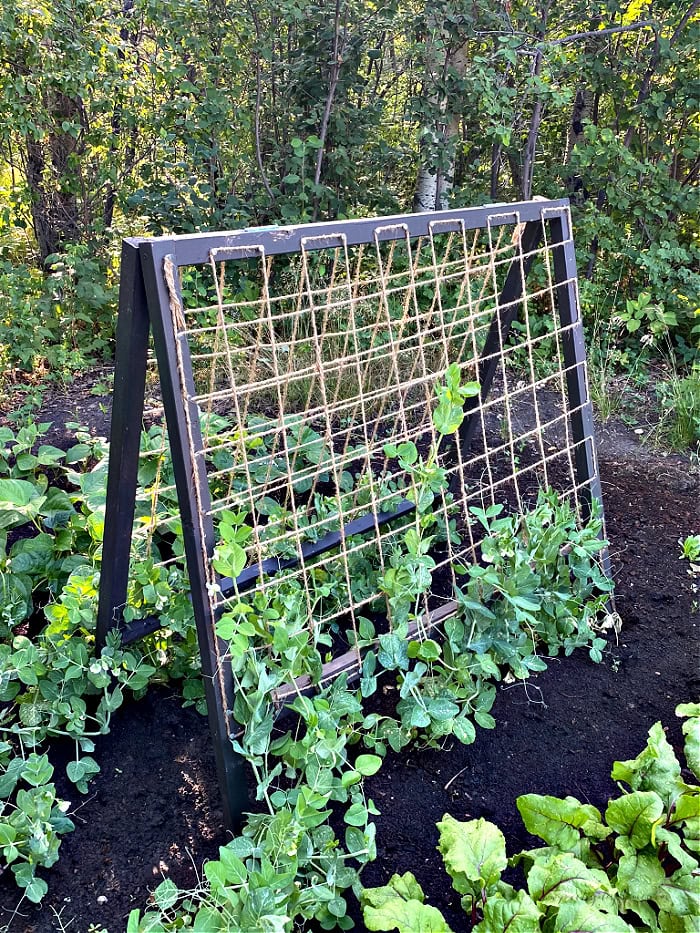
This particular pea trellis is 4 feet long and four feet high with two sides that fold for storage and fold out for stability. I considered rabbit fencing, hog wire panels, chicken wire, Dollar Store floral trellis and finally decided on Dollar Store jute twine. I ruled out the rabbit, and hogwire because they weren’t available in a small size and $100 for 50 feet was too much. Chicken wire is popular but it rusts and I didn’t want that, and I couldn’t find enough matching floral trellis. My mother always used twine, so I know it works, you can find it anywhere and it’s dirt cheap. Using twine means you need to spend a few minutes wrapping it, but the cost-saving makes it worthwhile.
Pea Trellis Supplies
This is a very simple and practical garden project so you don’t need pricey materials, try and use what you have on hand. If you don’t have a 2 by 2, cut a 2 by 4 in half lengthwise, don’t have stain, use paint. I have a stash of hinges I look for at garage sales, and used those in my project. Here is what I used for one trellis.
- 4 – 2 by 2 – 8 feet long
- 80 small nails with large heads
- stain(optional)
- 8 – 3-inch screws
- drill and impact driver (electric screwdriver)
- Two inexpensive 3″ hinges
Cut Lengths
Cut 8 pieces of lumber for the pea trellis
Four leg pieces 48 inches long.
Four cross pieces 44 inches long.

Step 1- Assemble the Wood Frame
Lay the two cross pieces down. Then the two long pieces at the ends.
Drill into the ends of your uprights into the cross pieces, then attach with the 3-inch screws. Do this on all four corners.
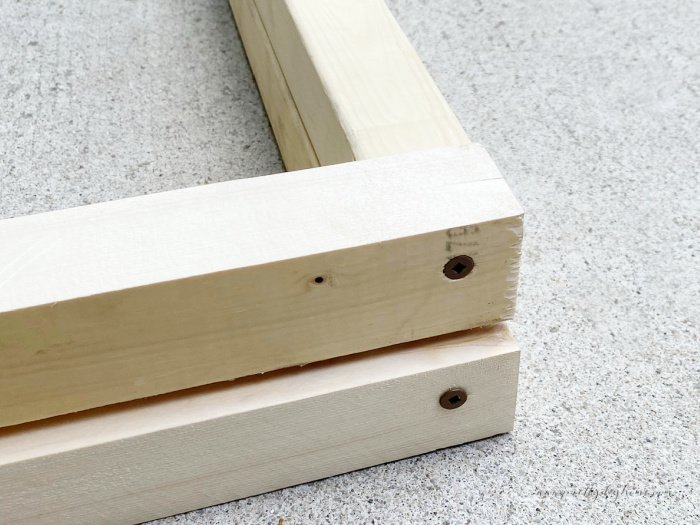
Repeat for the other side.
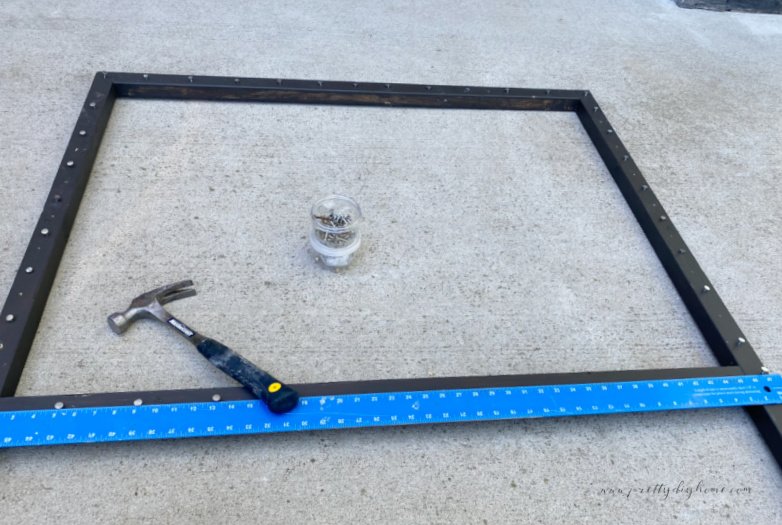
Step 2 – Stain
I stained mine with black mocha fence stain giving it two coats allowing it to dry between coats. You can finish it with whatever you have or leave it bare wood. The stain is more to preserve the lumber than it is for looks.
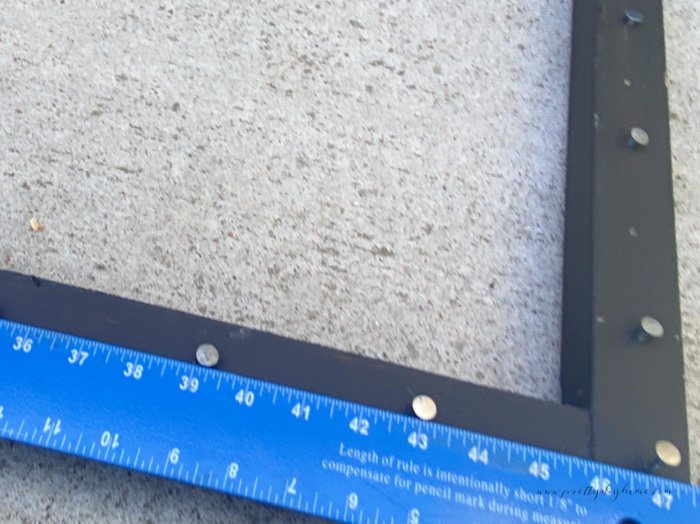
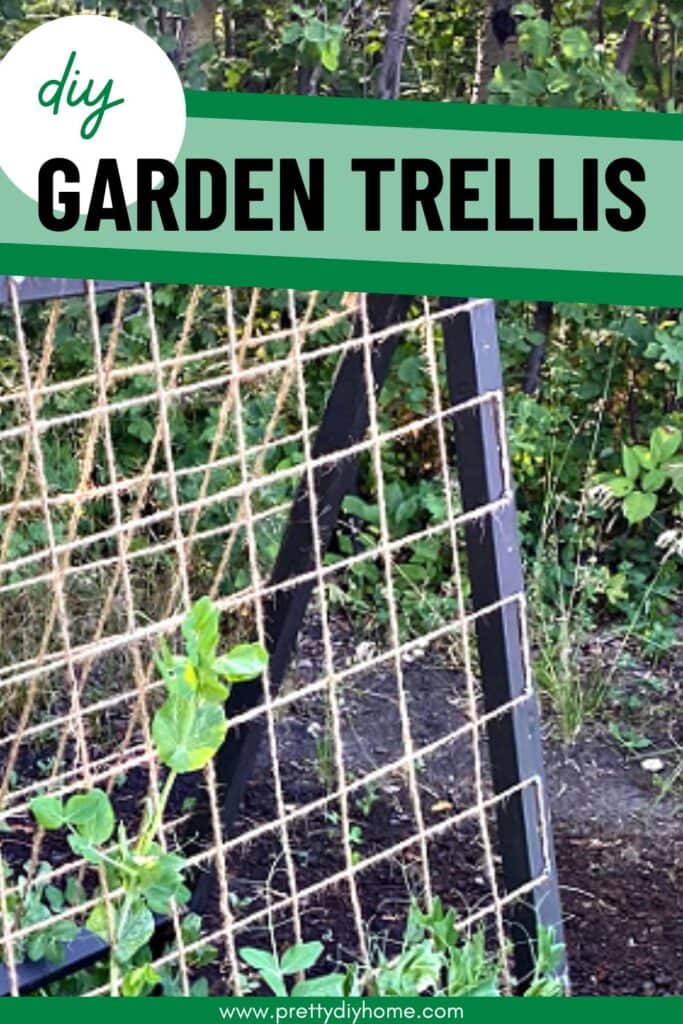
Step 3 – Add the Jute Twine Grid
Hammer a small nail every 4 inches along the sides of your trellis. Take the end of the twine tie it around the first nail, then continue wrapping in a grid pattern. Tie the twine off when you reach the last nail.
The video shows how I wrapped my pea trellis using one piece of twine. I began at one side, wrapped the twine around each nail completely then went across to the other side, wrapped to connect. Then I went horizontally to the next nail, wrapped the cord and up vertically repeating the entire width.
After the width was done, I began at the bottom and weaved the twine through the existing strings. The video shows exactly how I wrapped my pea trellis using one piece of twine.
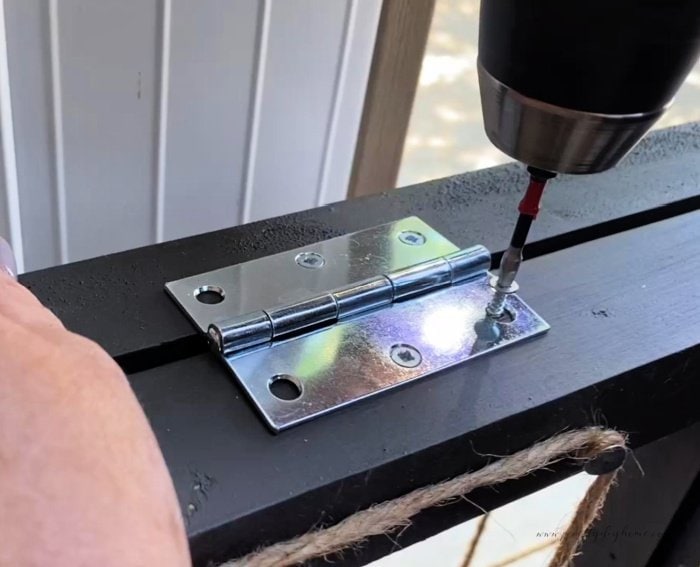
Step 4 – Attach the Hinges
Attach two hinges along the top of your trellis to keep the two sides together and allow you to open and close your pea trellis as needed.
Step 5 -Plant the Pea Trellis in the Garden
We experience strong winds here on the prairies, so our pea trellis needs to be sturdy. That is one reason it’s made with two sides, to stabilize it. The second part of stabilizing the pea trellis is digging the legs of the trellis down into the garden dirt about a foot for each leg. Place it so that the new trellis is over your row of peas.
Place your pea trellis in the garden in the early Spring when you plant your peas. As soon as your peas are long enough to grasp the twine start training them to crawl up the trellis. You may need to separate the pea vines and guide those little feeler stems around the twine. Eventually, the pea plants get larger and the pea tendrils will themselves to the twine on your trellis.
How to Build a Pea Trellis Video
The latest on Youtube:
Storing the Pea Trellis
At the end of the season, after you’ve picked those amazing fresh peas, I suggest cutting all the twine off and tossing it along with the vines away. Then fold the pea trellis closed and place it in either your garden shed, garage, or like us under our balcony.
Other Garden Projects You Can Build
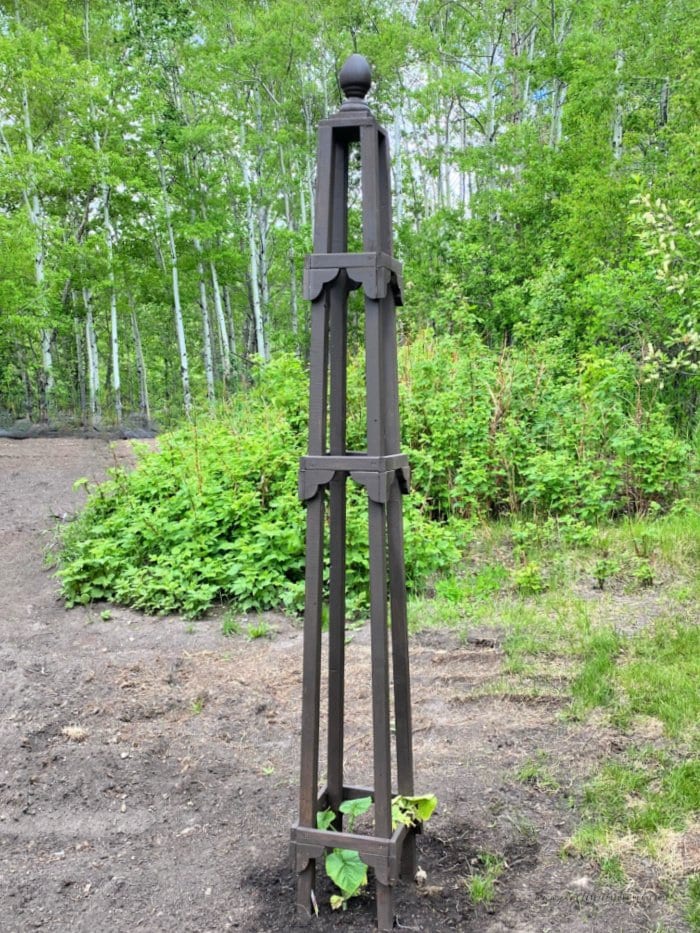
DIY Garden Obelisk
An easy-to-make garden obelisk for cucumbers, squash, or pumpkins. I made two to decorate the front corners of our garden, and they looked fantastic from Spring through Fall.

How to Build a Bucket Garden Stand
This DIY 5-gallon bucket garden stand is now several years old and still works very well. This stand is perfect for growing tomatoes or cucumbers and we used it in our small urban garden for green space before we moved to our new yard.