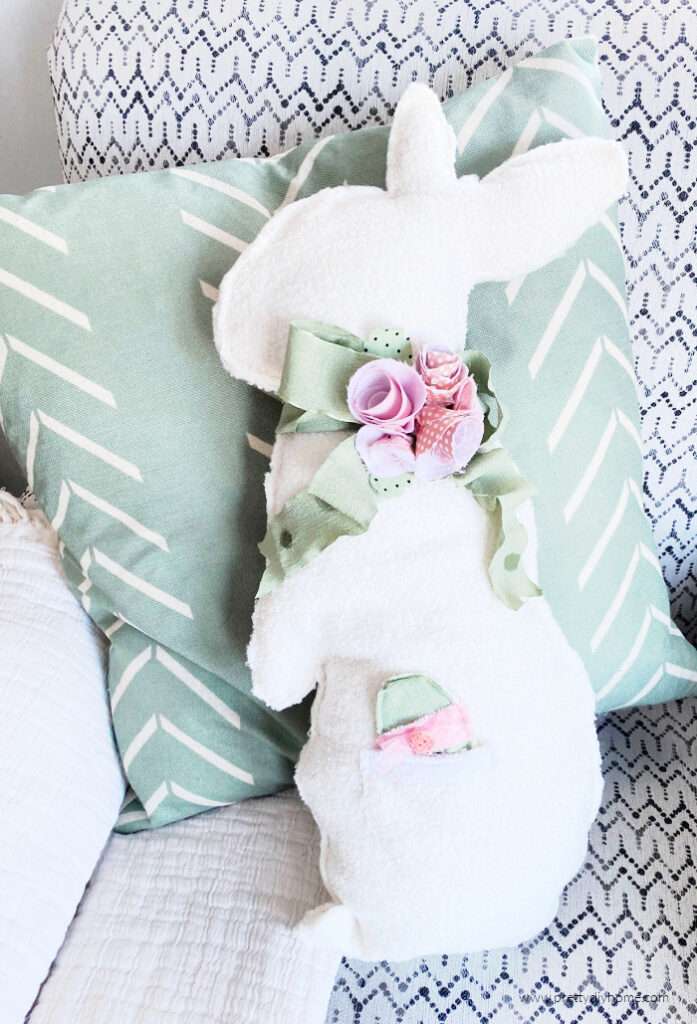
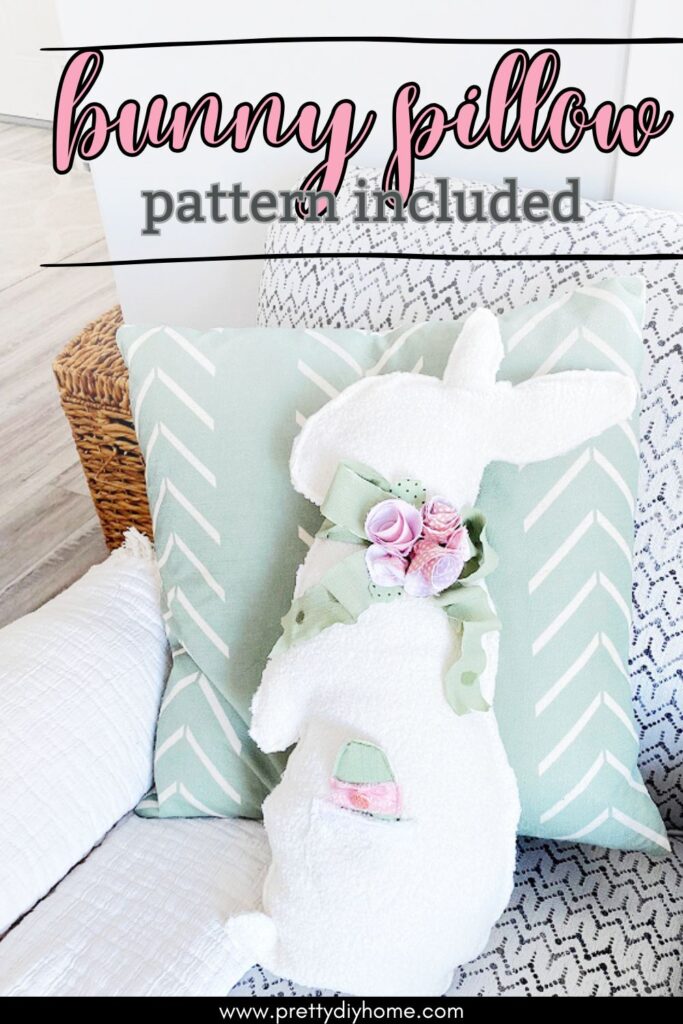
How to Make a Bunny Pillow for Easter
I am very excited to share today’s DIY bunny cushion Easter decor craft. I had this Dollar Tree fabric in my stash for a while, and this project felt like the perfect way to finally use it.
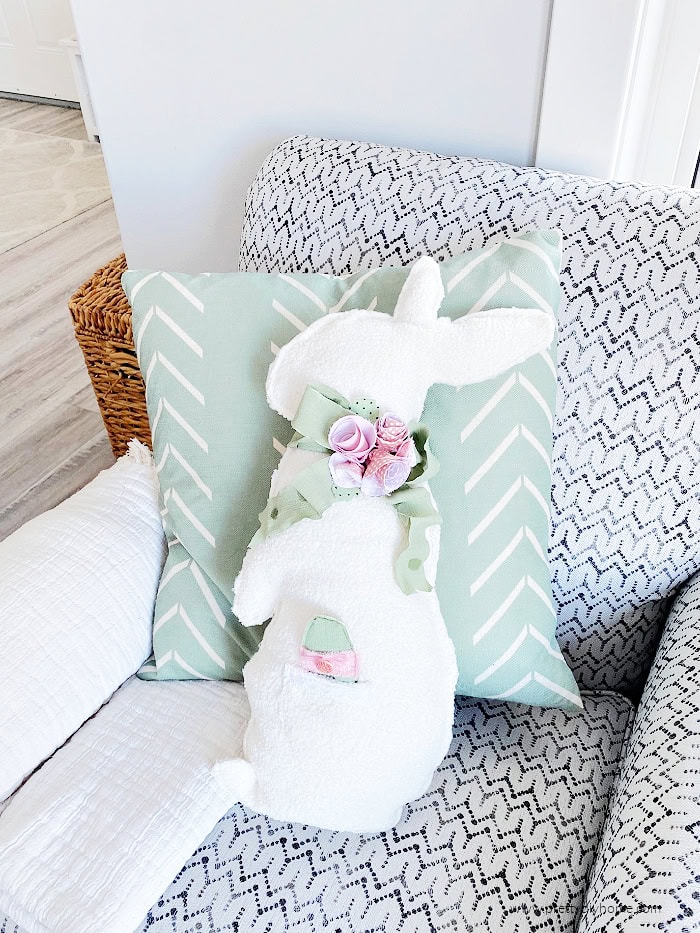
This bunny pillow is simple to sew, with just a couple of seams, and it comes together quickly even if you are not an experienced sewer. It is an easy Easter craft that helps stretch your seasonal decorating budget. I made this bunny for under ten dollars using affordable supplies, and it saved me about fifteen dollars compared to a similar pillow I spotted at Home Sense.
The bunny is sewn in a soft bunny shape and stuffed with polyester filling rather than a pillow insert. I styled mine on a rarely used chair, but it would also be sweet tucked into an Easter basket or layered with other spring decor. This is a decorative pillow rather than an everyday cushion, so it should be hand-washed gently when needed.
Directions
Step 1 – Gather Your Supplies
- Bunny pillow pattern
- Two rolls of Dollar Tree white woven fabric
- 24 by 18 inch piece of quilt batting
- Dollar store stuffing
- Assorted ribbons, felt, fabric scraps for embellishments
- Hot glue gun
- Sewing machine
- Straight pins
If you have other supplies and pretty embellishments in your stash in soft spring pastel colors, feel free to use those instead.
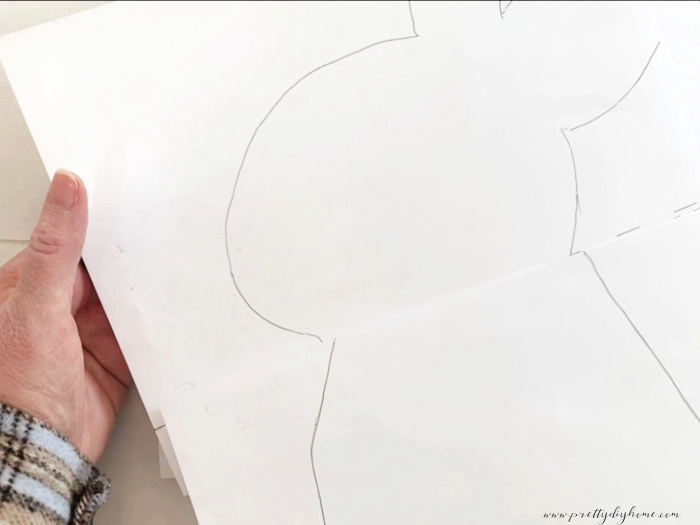
Step 2: Prepare the Bunny Pillow Pattern
Print out the free pattern, align the pages, and tape them together to create the full bunny shape. The pattern is presized to be the largest size possible while still fitting onto the Dollar Tree fabric rolls.
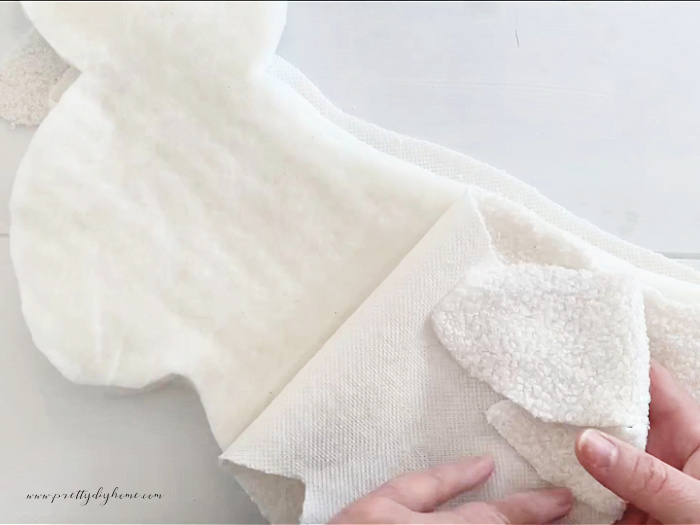
Step 3: Cut the Fabric and Batting
Pin the pattern to your fabric and cut out two bunny shapes. Cut the first piece with the fabric right side up, then cut the second piece with the fabric right side down.
Next, cut two pieces of quilt batting to match the bunny shape. Set these aside while you prepare the accessories.
Step 4: Make the Easter Egg and Bunny Pocket Accessories
Using the leftover fabric from the bunny, cut two pocket shapes. Cut one longer piece for the back of the pocket and one shorter piece for the front.
From coordinating fabric, cut out two Easter egg shapes.
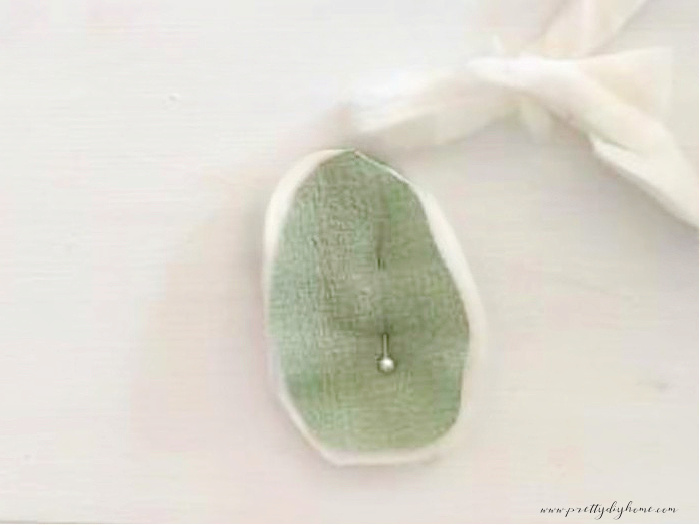
To give the egg a shabby look, cut two pieces of fabric slightly smaller than the quilt batting. I cut the egg fabric first, then reused the pattern and cut the quilt batting about a quarter inch larger. This allows the batting to peek out slightly around the edges.
Sandwich the two pieces of batting between the two pieces of fabric and pin in place.
Step 5: Sew the Accessories
Sewing the Easter Egg
Once the egg layers are pinned, sew a narrow seam around the edge of the egg shape. Trim the edges neatly, allowing a small amount of batting to remain visible around the edge.
Sewing the Bunny Pocket
The pocket is attached to the front piece of the bunny only, before the front and back layers are sewn together.
Place the large pocket shape right side up, then layer the small pocket fabric on top, also right side up. Fold the top of the bunny pocket back over the front.
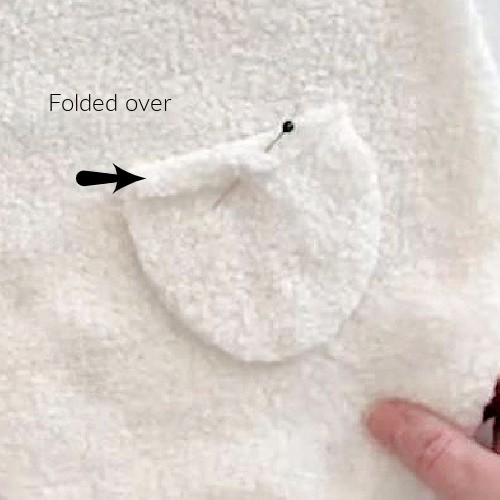
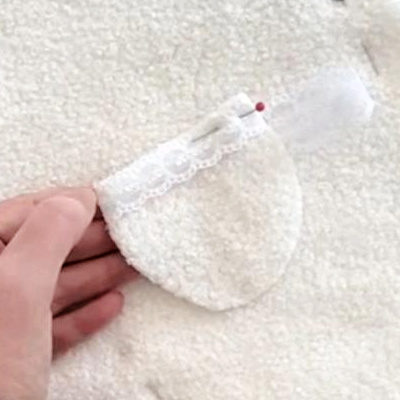
Add a strip of lace along the top edge of the pocket and pin everything in place, then sew along the top of the pocket with a straight stitch to secure the lace to the pocket fabric.
Next, take the front bunny fabric piece and the matching quilt batting piece and pin them together. Lay the bunny flat and decide on the placement of the pocket. Pin the pocket in place, then sew just the U-shaped seam around the pocket.
Step 6: Sew the Bunny Pillow Together
With the pocket attached, align all four bunny pieces together. Because the fabric is stretchy, pin very well around the entire edge to prevent stretching or bunching while sewing.
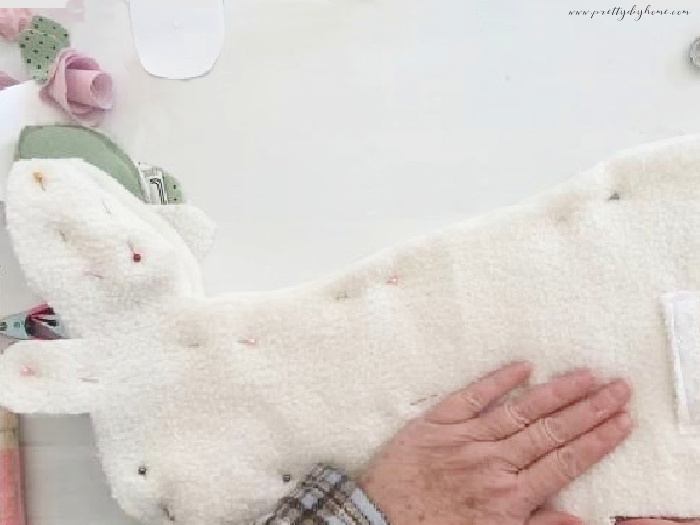
Leave an opening about five inches wide for stuffing. I left this opening along the bottom of the bunny so it would be less noticeable.
Sew a straight stitch around the outer edge of the bunny, making sure all four layers are caught in the seam. In a few spots, there may not be enough fabric for the sewing machine to catch the feed dogs. When this happened, I gently pushed the fabric downward with my scissors to guide it through, being careful not to tug on the fabric.
Step 7: Stuff and Close the Bunny Pillow
Stuff the bunny with fiberfill, being careful not to overstuff it. Add just enough filling to give the pillow shape and dimension.
Once stuffed, sew a straight seam along the bottom opening to close the pillow.

Step 8: Embellish the Bunny Pillow
This spring I have been playing with fabric flowers and pom poms. I had both ready, but decided to use the flowers for this bunny. You could easily buy or make small pom poms instead and use those for embellishment.
he rolled fabric flowers are very easy to make. I have a Rolled Fabric Flowers post that shares the SVG files, along with a printable pattern for those without a cutting machine.
Step by Step Video Tutorial
The latest on Youtube:
Don’t forget to pin this bunny pillow tutorial so it’s easy to find when you’re ready to start sewing for Easter.
More Bunny Crafts for Spring
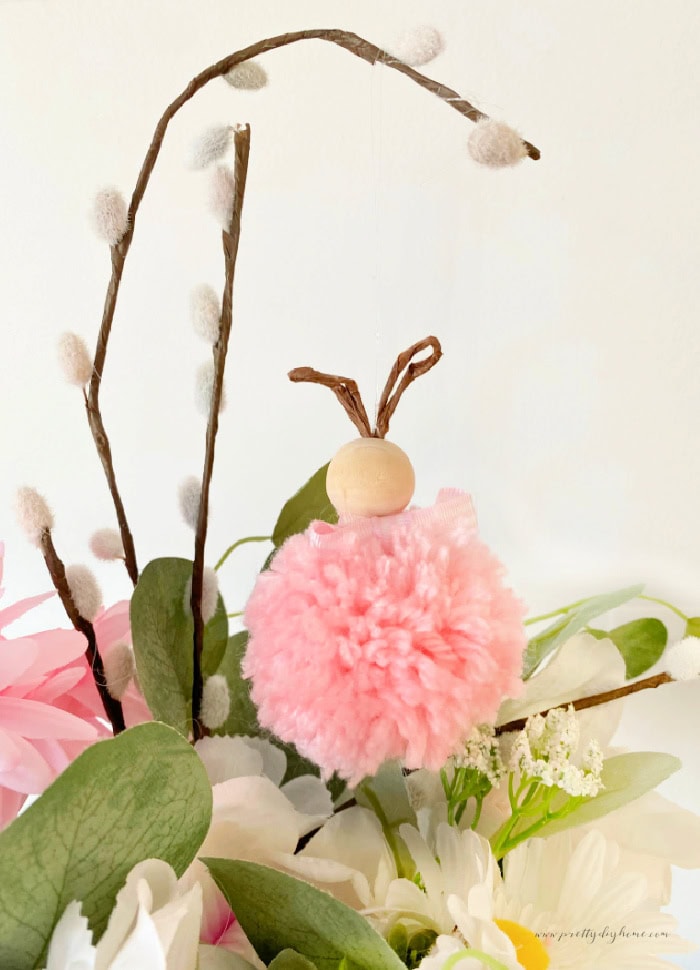
Pom Pom Bunny Ornament Easter Craft
This spring I decided to create simple pom pom crafts to add soft, fluffy ornaments around our home. I am loving the whimsy they bring, and the pom pom bunny ornament Easter craft is surprisingly pretty, playful, and fun.
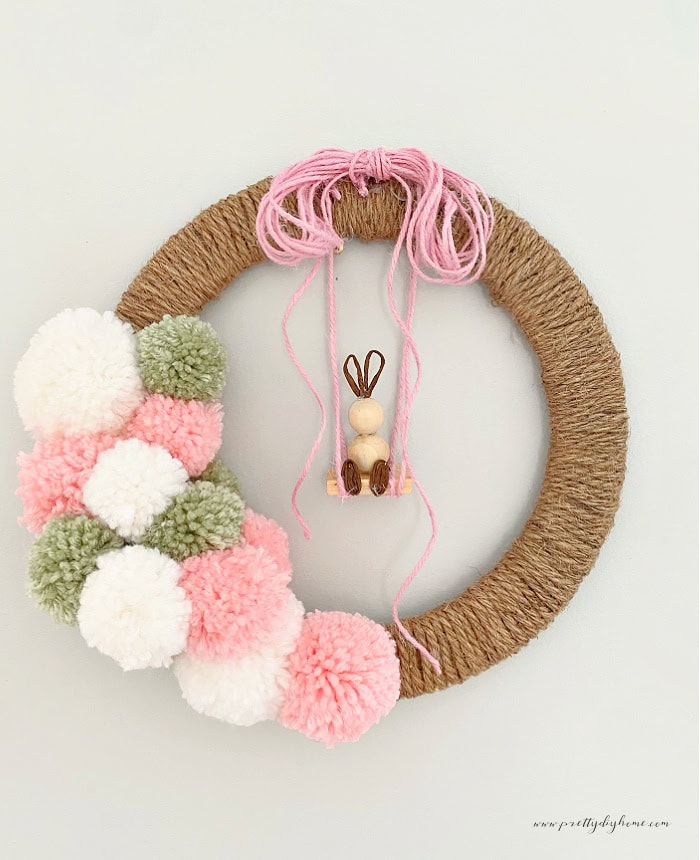
Easter Bunny Wreath with Dollar Tree Supplies
This easy spring wreath features another version of a wooden bead bunny. This little bunny craft is sitting on a swing made from Jenga blocks in my Easter bunny wreath with Dollar Tree supplies.