How to Make DIY Pom Poms with Cardboard and Yarn
Today I am sharing how to make Pom Poms with a DIY cardboard pom pom maker, using a free template and cardboard. There are several ways to make a perfect pom pom, I share how to make them with a purchased clover pom pom makers, and how to make small pom poms with a fork.
The easiest way to make pom poms is with a commercial pom-pom maker, if you are willing to buy a pom-pom maker, here is how to make pom poms with a pom-pom maker. I have several, you can sometimes find them at the Dollar Store. However, purchasing a pom pom maker isn’t necessary. Making your own cardboard pom-pom makers is easy, and you can create them in any size you want.
Why Make Pom Poms with Cardboard
- Consistency in size – You can wrap wool around your hand, then tie it off. But the size will vary when you close your hand each time. It also leaves you with only one hand to work with as the second one is tied up.
- Cardboard makers are free – Although the commercial pom pom makers are free and even available at the Dollar Tree, if you’re making pom poms with several children, you can make several to use at once for free.
- Custom sizes – Using your hand or purchasing pom pom makers limits how large or small your pom poms can be. Cardboard makers can be made in any size you want them to be.
Perfect Yarn Pom Poms
What makes a perfect yarn Pom Pom? You want the pom pom to be thick and densely packed with no sparse areas, so they are round, full, and fuzzy. Typically they are a nice round shape made with uniform strand length, but you can trim them to form different shapes. They also need a secure core so the yarn strands stay firmly in place without unraveling. My secret is to use dental floss tape (or double strands of regular dental floss). Dental floss can be pulled tighter than yarn can, without the risk of breaking apart. Most tutorials suggest using a long piece of yarn to tie the center, I promise it’s worth buying dental floss for it.

How to Make the Perfect Pom Pom
Pom Pom Supplies
- Cardboard ( cereal boxes work well)
- Free pom pom maker template
- Yarn
- Sharp scissors
- Dental tape (dental floss)
DIY pom poms are a fantastic way to use up scrap yarns, just be aware of the weight of the yarn you choose. Using a lightweight baby yarn for a large pom pom would use way too much wool, I would save the light wool or crochet cotton for small pom poms. It’s perfect to use medium-weight wool for larger pom poms. But you can make large pom poms with chunky yarn as well. It doesn’t matter what type of yarn you choose, whether you use cotton, polyester, or wool yarn.
Make the Cardboard Template
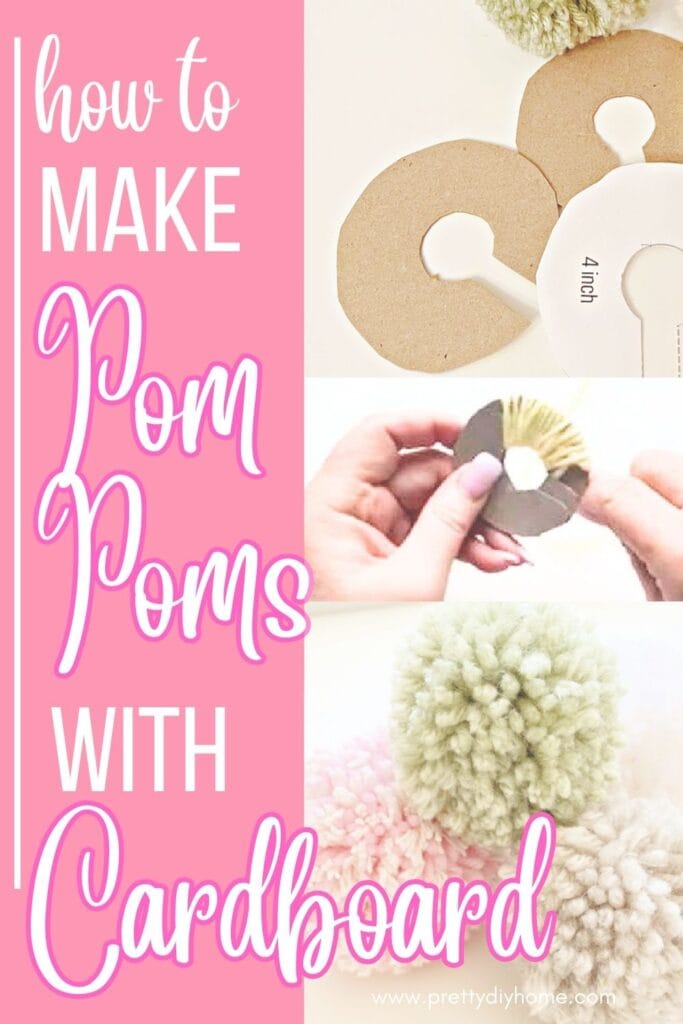
Print the pom pom template, on regular letter-size paper. The free pom pom template includes 5 different sizes. Cut out whatever sizes of pom pom makers you need and trace them onto a piece of cardboard.
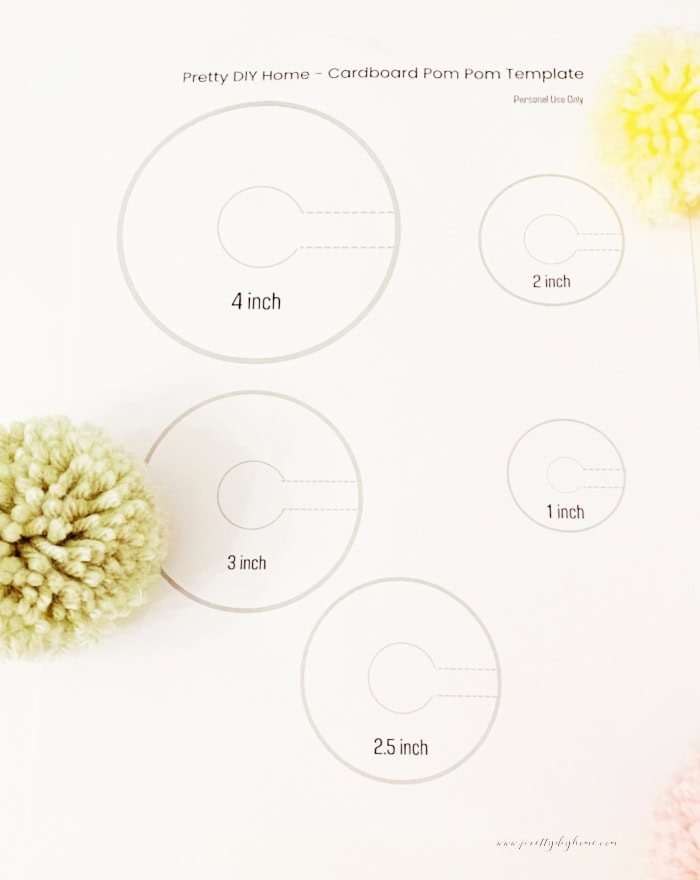
Note: You can use thicker cardboard if you want to reuse your pom pom makers repeatedly. I prefer to use cereal boxes as they are much easier to cut out with regular scissors and get an even smooth line on the circle cut outs.
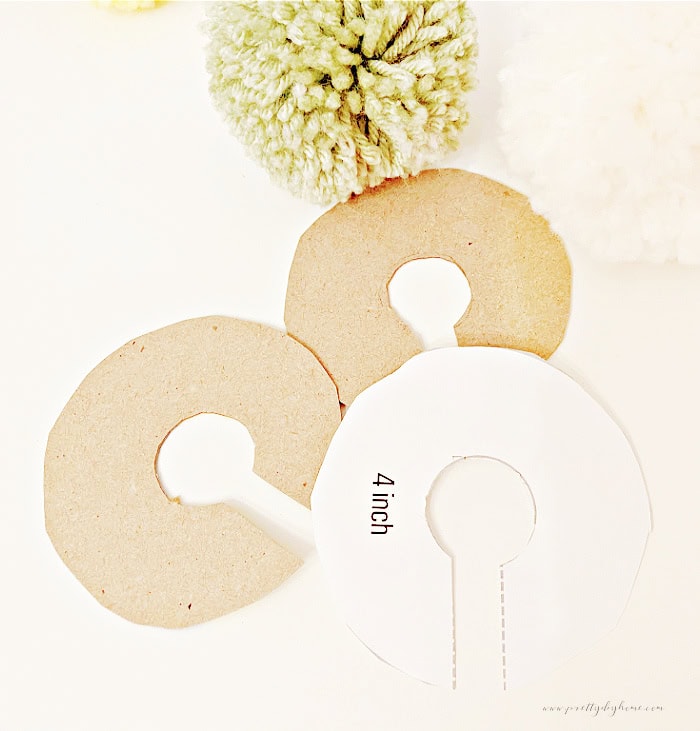
Once traced, cut the cereal box cardboard circles including the slots. You will need two cardboard cutouts for each pom pom maker.
Align the two pieces of cardboard together so that the open slots align and start wrapping the yarn.
Wrap with Yarn
Insert the end of the yarn into the center of your cardboard discs and wrap the yarn around the pom pom maker, using the slot to fit the yarn into the inner circle. Start close to the closest side of the cardboard slot.
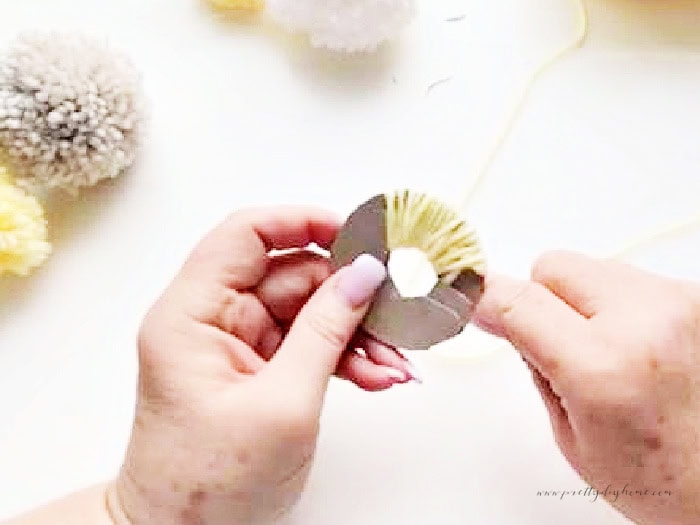
Hold one end of the yarn in place and begin wrapping the yarn around both cardboard rings, one wrap snuggled close to the one before. There is no precise rule for how many strands or wraps you need, and the hole in the middle is almost filled with yarn. The thicker you wrap the yarn, the fluffier your pom-pom will turn out. Keep wrapping until you’ve created plenty of loops and feel you have enough yarn for a nice, dense pom-pom. Continue wrapping until the entire ring is covered. Once done, cut the yarn and leave the end dangling.
Cut the Strands
Holding the cardboard once the strands are cut is the trickiest thing to do when using the cardboard makers, so cut the floss before the yarn. Cut a piece of dental floss 12 inches long and set aside.
Insert a sharp pair of scissors between the two cardboard rings. Carefully cut through the yarn along the entire outer edge. making sure to hold the two cardboard rings in place.
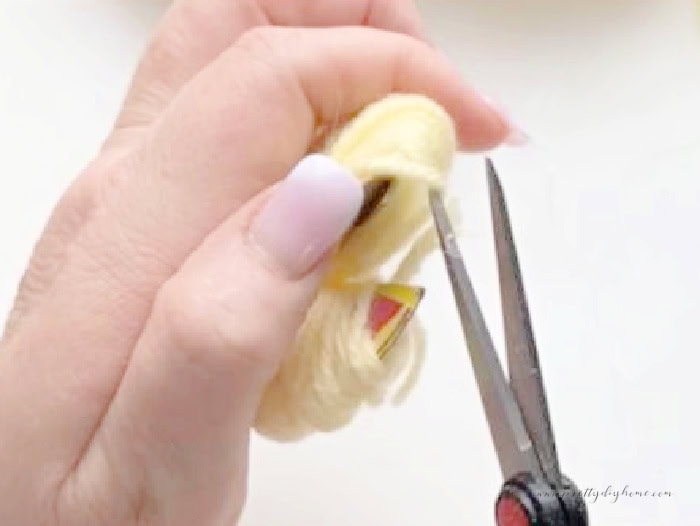
Once the yarn is cut, wrap the dental floss between the two cardboard rings and tie it tightly around the yarn bundle. Tie the floss in place with a double knot.
Once tied, pull the cardboard rings off. Fluff and trim the wool to form the pom pom.
Pom Pom Video Tutorial
This is such an easy craft, but I decided I would do a video tutorial anyways.
The latest on Youtube:

Other Pom Pom Related Posts
Here are some easy ideas you can make using pom poms.
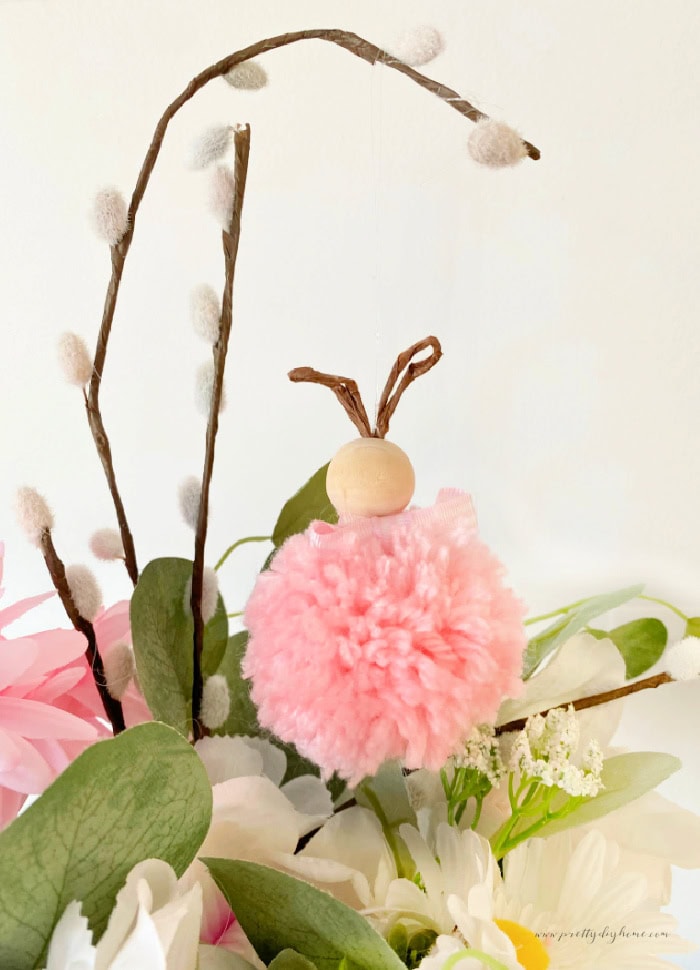
Pom Pom Bunny Ornament Easter Craft
After you make your pom poms, it takes less than 5 minutes to create these adorable pom pom bunny ornaments for Easter. They are adorable hanging from windows, in floral arrangements or sitting in little clay pots in your Easter decor.
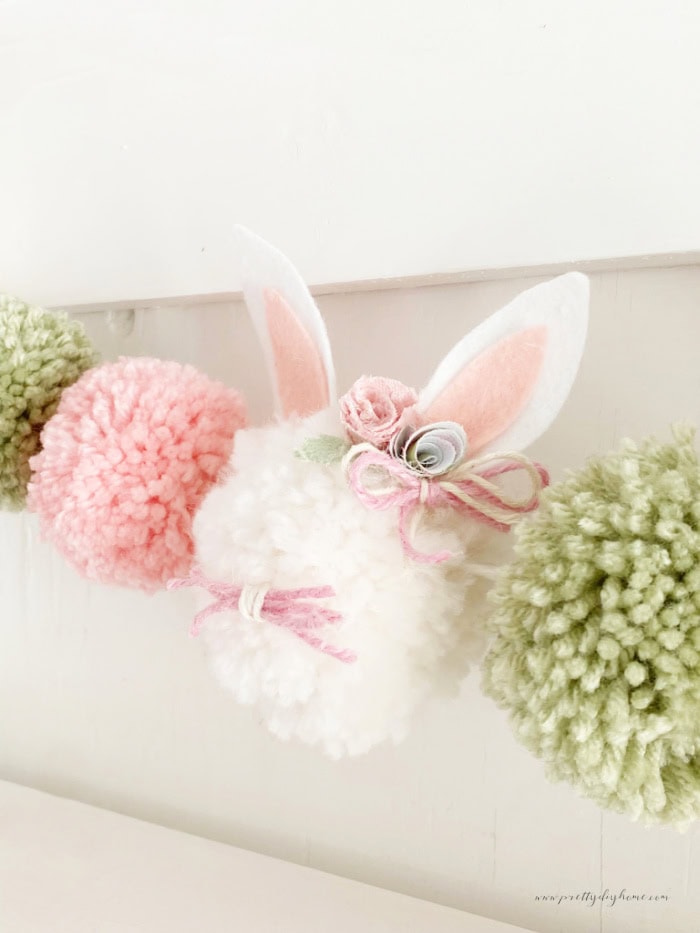
DIY Easter Bunny Pom Pom Garland
This adorable pom pom garland is fun to make, and adds a playful whimsical mood to your Easter decorations. It would be adorable year-round in a nursery or little girl’s room as well.
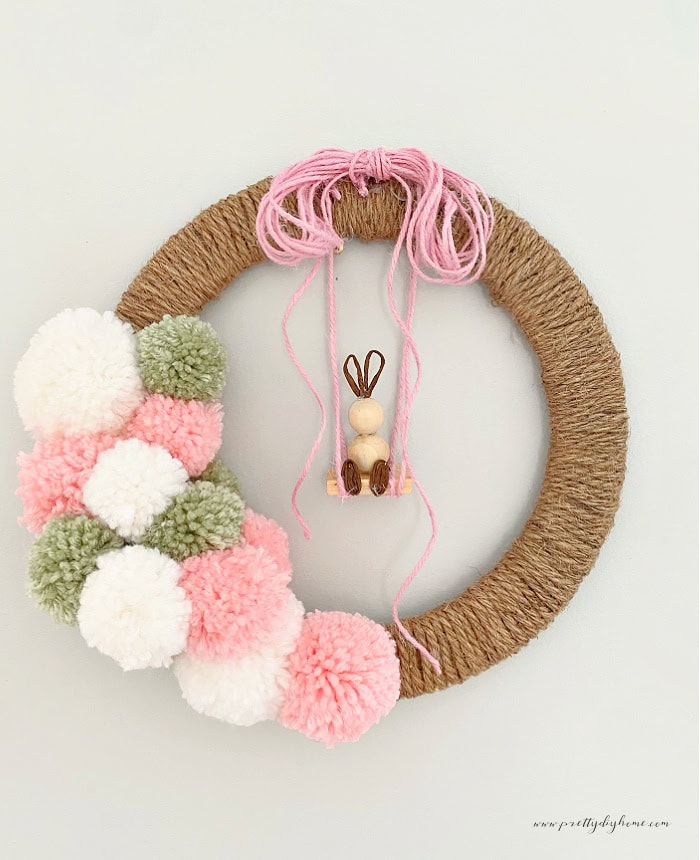
How to Make a DIY Easter Wreath with Pom Poms
Made with several pom poms of different sizes and Dollar Tree supplies, this DIY Easter Wreath with Pom Poms is a great weekend craft you can do on your own or as a family.
