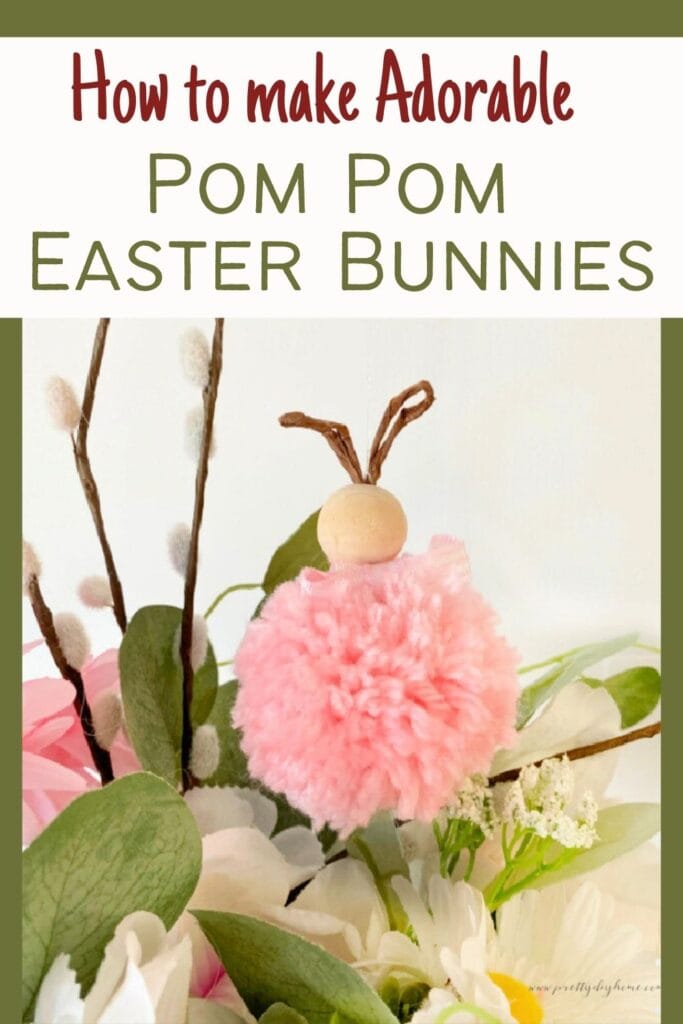
Pom Pom Bunny Ornament Easter Craft
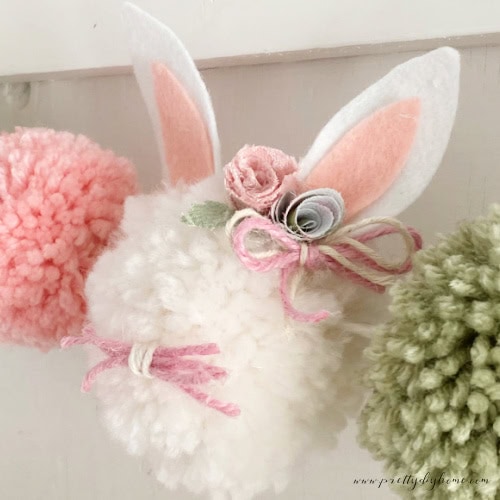
These pom pom bunnies are a fun and easy Easter craft you can make with just a few simple supplies. They are inexpensive, quick to put together, and full of charm with their fluffy pom pom bodies and bendable wire ears.
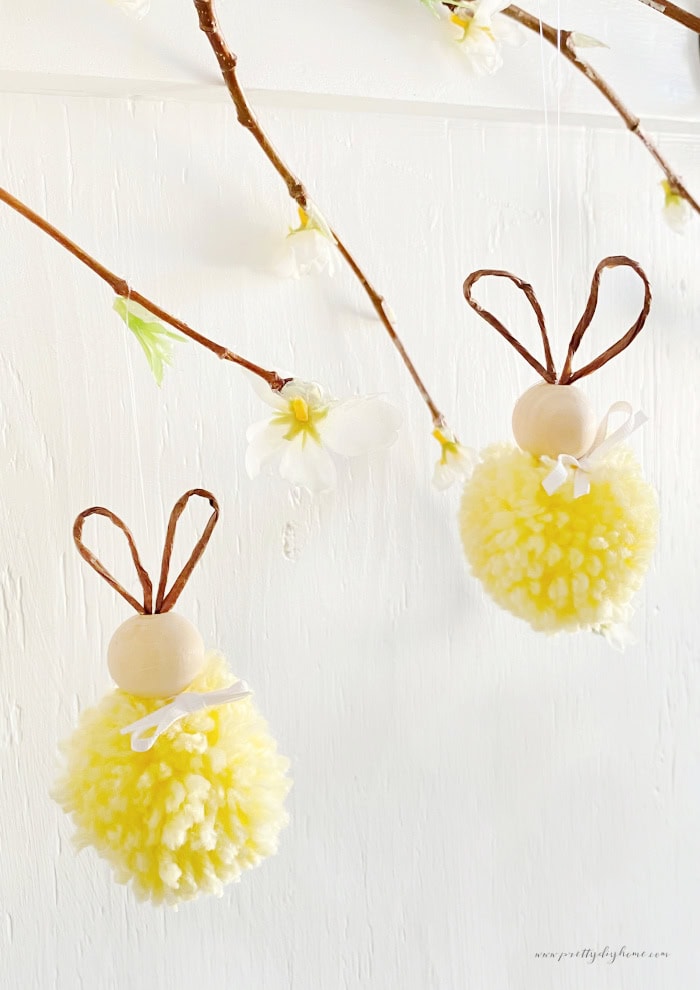
One of the things I love most about this pom pom bunny craft is how versatile it is. You can string the bunnies together as an Easter garland, hang them from a spring branch, tuck them into a terra cotta pot, add them to an Easter basket, or even hang them from a dining room chandelier. Because they are so affordable and fast to make, it is easy to create several in different colors to suit your Easter decor.
This spring I decided to create a small collection of very inexpensive Dollar Tree crafts using pom poms. I will link a few of my other Easter pom pom projects near the end of this post if you would like more simple spring crafting ideas.
How to Make an Adorable Pom Pom Bunny
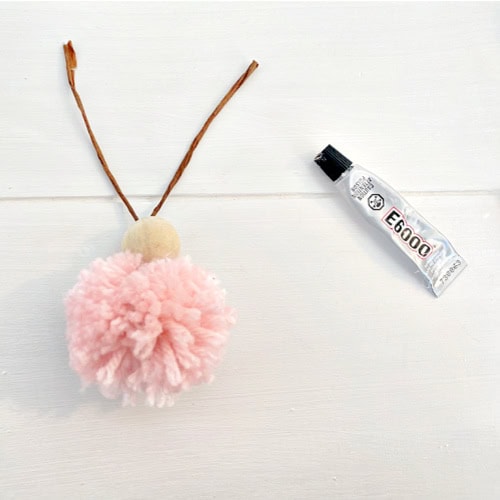
Materials for Making an Easter Bunny Pom Pom
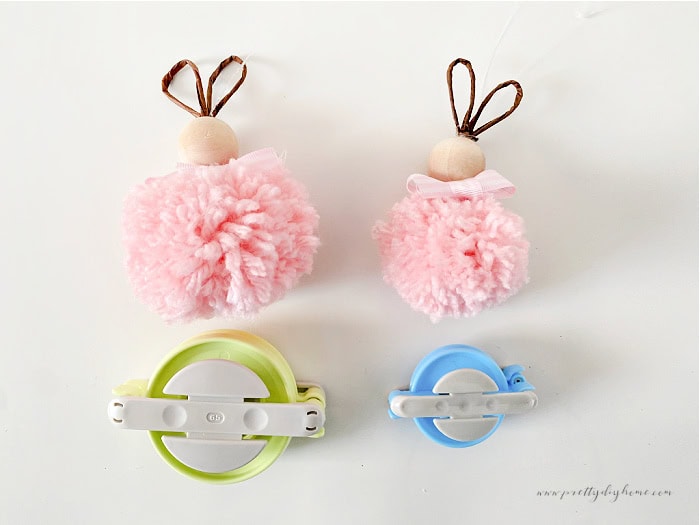
The size of your pom pom should be proportional to the wooden bead you use for the bunny’s body. When I tried making bunnies with larger three inch pom poms, I found it difficult to find wooden beads large enough to keep everything looking balanced. For the best proportions, I recommend choosing your wooden bead first, then selecting a pom pom size that suits it. Small pom pom makers are easy to find at Dollar Tree and make it simple to create evenly sized pom poms without fussing with cardboard templates. Shown here are two pom pom bunnies made with two inch and one and a half inch pom pom makers. Both bunnies use three quarter inch wooden bead heads.
- Yarn in any colors you like
- Pom pom maker (2-inch or 1.5-inch)
- Dental floss
- Paper wrapped wire
- Ruler
- Wire cutter
- 3/4-inch wooden bead
- Hot glue gun / E6000 glue
- Fishing line, a small clay pot, or a dowel for displaying the bunnies
Step 1: How to Make Pom Poms with Yarn
The first step to making these pom pom bunnies is to create one pom pom for each bunny.
I used both a Clover pom pom maker and a Dollar Tree pom pom maker for this project. The pom pom making process is also included in the video tutorial, but here is a simple written overview.
Begin by rolling your skein of yarn into a ball. This helps prevent knots and tangles while wrapping the pom pom maker.
Wrap the yarn around the first two arms of the pom pom maker until it is completely full. Swing the arms closed, then repeat the process on the other side, wrapping until the maker is full on both sides.
Once both sides are filled, use sharp craft scissors to cut the yarn loops by sliding the scissors into the groove between the arms and cutting all the way around.
Cut a 10-inch piece of dental floss and wrap it tightly around the groove in the center of the pom pom maker. I like to wrap it twice for extra security. Pull the floss tight and tie a firm double knot to hold everything in place.
Putting the Pom Pom Easter Bunnies Together
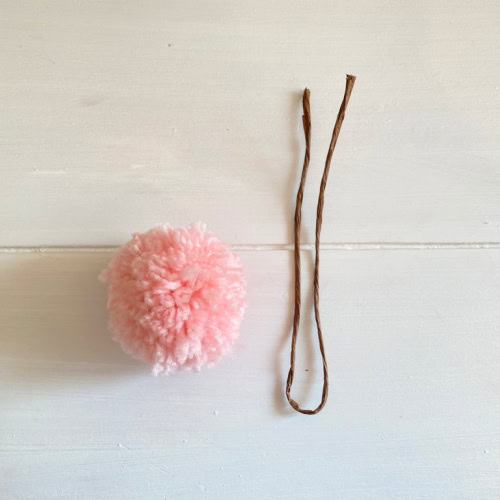
Putting the pom pom bunny together is very quick to do once the pom pom has already been made.
Begin by preparing the wire that will form the bunny’s ears. Cut a piece of paper wrapped wire 11 inches long and fold it gently in half without creasing it.
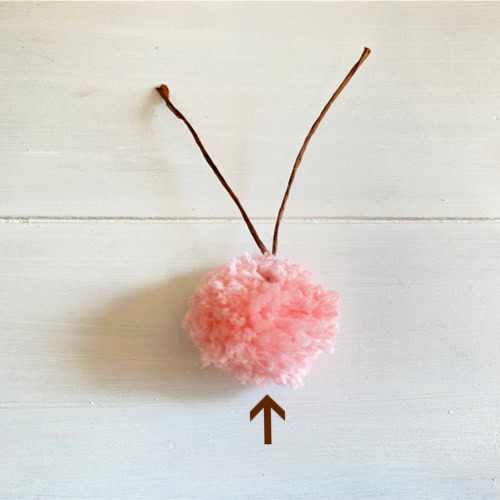
Feel for the center of the pom pom where the floss is tied, then insert one end of the wire through the middle so the wire sits on either side of the floss. This helps keep the wire centered and prevents it from being pulled through the pom pom.
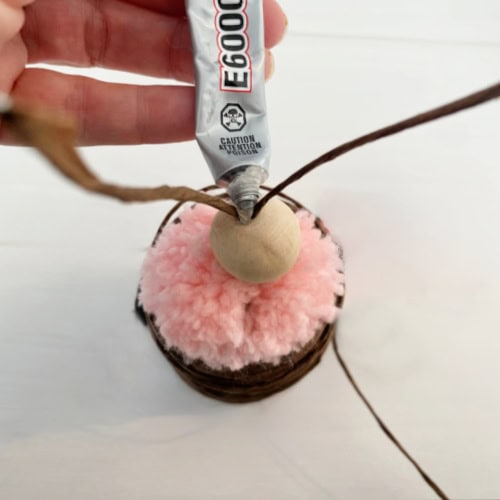
Thread both wire ends through a wooden bead to form the bunny’s head. Slide the bead down until it rests against the top of the pom pom, then add a small dab of glue at the base of the bead to hold it securely in place.
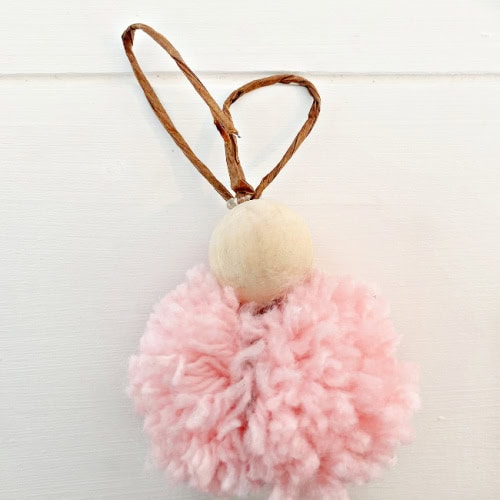
Fold both sides of the wire by gently pushing the ends back into the hole in the bead. Because the bead is hollow and the pom pom sits underneath, you can adjust the wire until you get the ear length you like.
Don’t worry about shaping the ears just yet. Repeat with the second wire, then adjust both sides so the ends are secure inside the bead. Once everything is in place, bend the wires into soft, playful ear shapes.
Optional: How to Hang the Pom Pom Bunny
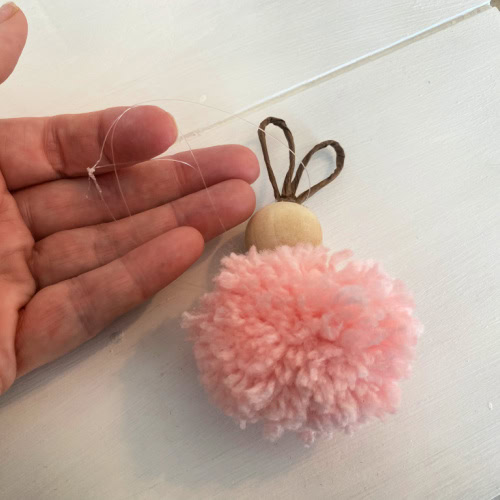
If you would like to hang your pom pom bunny, cut a piece of fishing line at least 12 inches long and tie a double knot at one end. Take the looped end and pass it over the wooden bead where the neck would be, then tie a knot as close to the bead as possible to secure it.
Suspend the bunny from your finger to check how it hangs, then use a tiny dab of hot glue to attach the fishing line to the back of the bunny. I secured mine at the back of the wooden bead, near the folded ears, where it is barely noticeable.
To finish, cut a short piece of thin ribbon, wrap it around the neck, and tie it into a small bow.
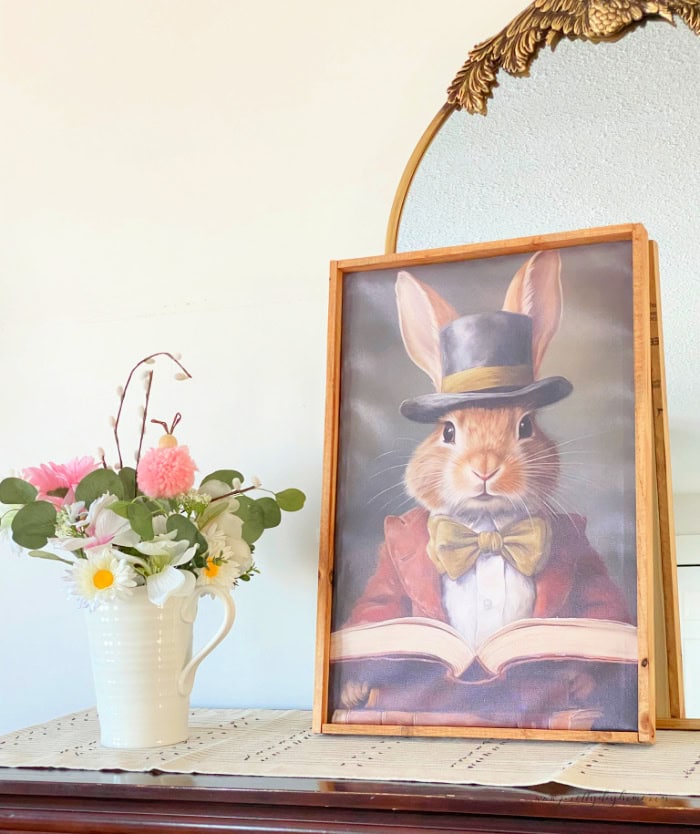
This pom pom bunny is such a sweet little craft with its fluffy body and playful, posable ears. It’s quick and easy to make, and a lovely addition to spring or Easter decor. I especially love how it looks hanging from a mirror for Easter, or given as a thoughtful handmade gift for a teacher.
Step by Step Video Tutorial
The latest on Youtube:
Different Pom Pom Bunny Ideas
You can hang your pom pom bunnies from a pretty branch, glue a small dowel underneath and tuck them into a floral arrangement, hang one in a window, or place a bunny in a small clay pot for display.
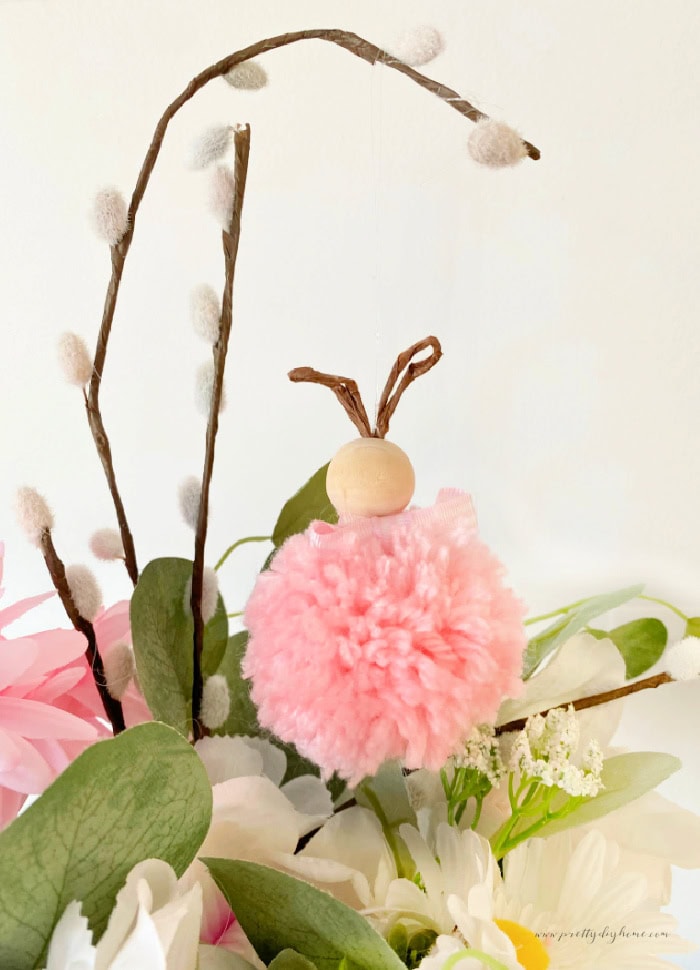
This pom pom bunny ornament is a simple Easter craft made with yarn, wire, and a wooden bead. With its fluffy pom pom body and bendable ears, it’s an easy project to save and come back to for spring decorating, garlands, or Easter baskets.
Other Easter Pom Pom Crafts
If you enjoy pom pom crafts, here are a few other Easter and spring projects I have been playing with lately.
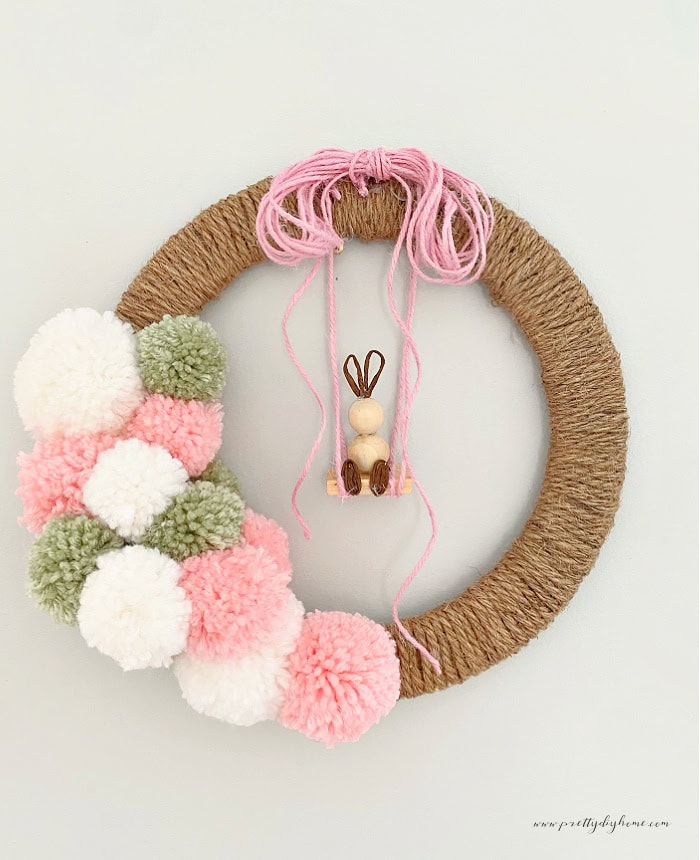
DIY Easter Wreath with Pom Poms
This Easter and spring wreath replaces traditional flowers with colorful pom poms in a mix of sizes. A small bead bunny hangs at the center, adding gentle movement and a playful detail to this classic floral style.
DIY Easter Bunny Pom Pom Garland
This bunny garland is incredibly sweet, with a gentle, old-fashioned charm that makes it hard not to smile.