Prima Stenciled DIY Cushion Cover made with Dropcloth
DIY Envelope Cushion Cover with Painted Stencil
This DIY envelope cushion cover is made to fit an IKEA 16″ by 26″cushion insert. IKEA inserts are the least expensive cushion insert I have found so far and the quality is quite good.
Supplies (contains Amazon Affiliate link)
Bleached drop cloth
Redesign Prima stencil – Dahlia Quest Stencil
Black paint (I used Fusion coal black mineral paint)
Preparing the Fabric
This cushion is going to have a french seam so you need to cut the drop cloth a little bit larger. Start by cutting three pieces of fabric.
Cut one front piece 18 1/2 by 28 1/2 inches.
Cut two back pieces 14 1/2 by 28 1/2 inches
As we’re making french seams, you can skip sealing the raw edges of the fabric. The french seam seals the raw fabric edges within it.
Make the hems on the back pieces. Lay the back piece good side down.
Fold the long edge over one inch. Press to make a crease.
Fold the edge over again at one inch and press well.
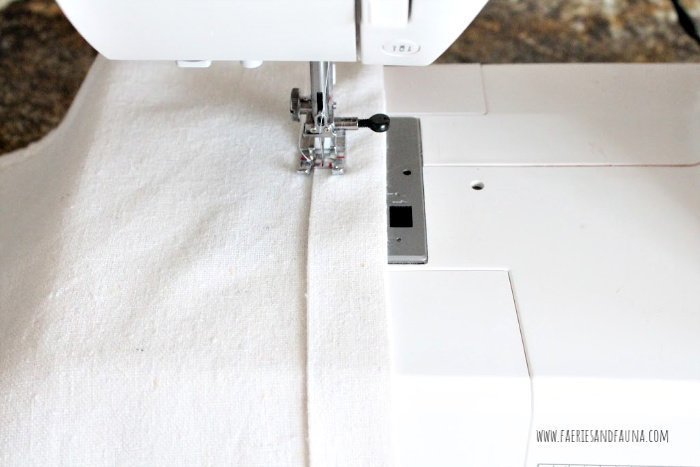
Sew along the edge of the hem.
Set the first back piece aside and repeat the steps on the second back piece.
Assembling the Cushion
Depending on how comfortable you are with stenciling you can stencil the front piece first and then sew it. If you are comfortable with stenciling I suggest sewing the cushion cover first as it makes it easier to center the stencil once its sewn. If your not comfortable with stenciling, I suggest stenciling the large front piece first then let it dry thoroughly before sewing it into the cushion. It would be a shame to sew an entire cushion only to mess it up at the very end with the silly stencil.
With the good sides of the fabric facing, pin the long unhemmed edge of the back piece to the top of the front piece. Pin along the two short sides. I always start at the top as it creates the overflap on the back the way I want it.
Sew along the three unhemmed sides with a half-inch seam. I use the marker on the sewing machine for this. Remove the pins.
Lay the second back piece good side down. Then pin it to the bottom long edge and the two sides.
Making the French Seam
Trim all your seams to 1/4 inch.
Trim the four corners of your cushion cover, making sure not to cut the seam.
Iron all the seams open. This will help create a neat edge on the cushion.
Turn your cushion right side out, check that the edges are neat and creased. Sew a 1/2 inch seam all the way around your cushion. This creates the french seam, with the fabric edges sealed on the inside.
Adding the Stencil
You need to start by placing a large piece of cardboard inside the cushion cover. Otherwise, the paint will soak through the cushion ruining it.
Once the cardboard is in place, iron the front of the cushion. I centered the stencil along the top edge of the cushion, and 2 3/4 inches from each end.
To mix the paint for fabric I took two tablespoons of black paint and one tablespoon of fabric medium mixed well.
To paint the stencil I used a one-inch stencil sponge, dipped it in the paint and removed the excess onto a paper towel. Once the majority of the paint is removed stamp the stencil in a circular manner. Removing the paint before stenciling takes more time but it reduces the risk of bleeding under the stencil.
Once the stencil is done lift it off carefully. Check that there is no paint on the underside of the stencil. Then place the stencil on the bottom half of the cushion and repeat the process.
Let the paint dry well. Cover with a clean rag and press with a hot dry iron sealing the fabric paint.
The final cushion is very dramatic, the black stenciled paint almost looks like velvet.


What a thorough tutorial, Leanna! I loved it so much, I featured you as one of my picks on Tuesday Turn About! The stencil looks so pretty, and I love me a drop cloth project. I hope you continue to join us!
Thank you very very much Crissy.
Very pretty pillow, Leanna and your tutorial is wonderful! IKEA is my go-to source for pillow inserts too – biggest bang for your buck. I must try your tutorial for bleaching a dropcloth, they look so much prettier this way.
This pillow is pretty. I think you outdid your self with this pillow.
This turned out great. Love cushions made form drop cloth and this is a pretty design.
I love this idea Leanna! So pretty.