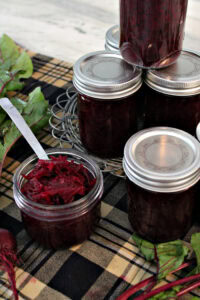
Beet Relish with Horseradish
A small-batch beet relish with fresh horseradish that’s sweet, tangy, and full of color. Great with roast meats, cheese boards, or simple sides.
Servings 6 half pint jars
Ingredients
- 4 to 5 lbs medium-sized beets
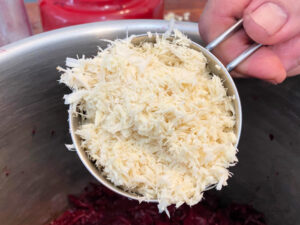
- ½ cup freshly grated horseradish
- 2 cups pickling vinegar
- ¾ cup white granulated sugar
- 2 tsp pickling salt
- 1 tbsp pickling spice
Instructions
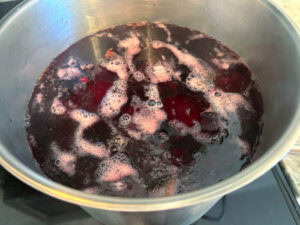
Step 1: Prepare the Beets
- Clean the beets well. Trim off the stems, leaving about one inch attached. Place the beets in a large pot and cover with water. Bring to a boil, then reduce the heat and simmer until the beets are tender when pierced with a fork. Depending on the size of your beets, this takes 30 to 40 minutes.
Step 2: Sterilize the Jars
- While the beets are boiling, wash all jars, lids, and rings thoroughly. Place the clean jars right side up in a large pot and cover completely with water. Bring to a steady boil and boil for ten minutes. Reduce the heat to a simmer and keep the jars hot until ready to use.

- If you don’t have a pot large enough, lids and rings can be placed in a second pot. You can also use the dishwasher, as long as the jars are kept hot until filling.
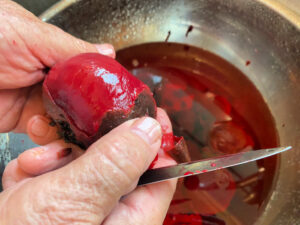
Step 3: Peel and Grate the Beets
- Drain the cooked beets and let them cool just enough to handle. The skins will rub off easily. Remove any remaining bits of stem.
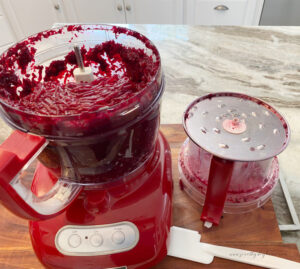
- Grate the peeled beets either by hand or using a food processor fitted with the large grater attachment.
Step 4: Combine and Cook the Relish
- Add the grated beets to a large pot. Peel and grate the fresh horseradish and add it to the beets. Tie the pickling spice into a piece of cheesecloth and add it to the pot.
- Add the pickling vinegar, pickling salt, and white granulated sugar. Stir well and cook over medium-high heat, stirring constantly, until the mixture comes to a boil, about 5 minutes. Remove and discard the cheesecloth bundle.

Step 5: Fill the Jars
- Set up a water bath canner or large pot, hot sterilized jars with lids and rings, a canning funnel, a ladle, and clean cloths.
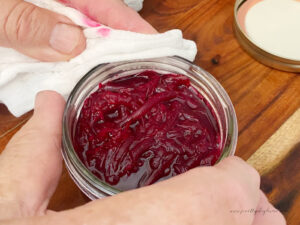
- Using tongs, remove one hot jar from the water. Place a funnel on the jar and ladle in the hot beet relish. Leave about 1/2 inch of headspace. Wipe the rim clean, add the lid and ring, and tighten to finger tight.
Step 6: Process the Jars
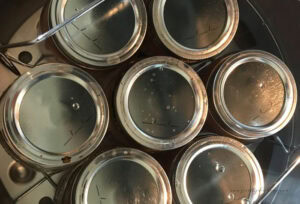
- Place the filled jars into a water bath canner or large pot, making sure they are covered with at least one inch of water. Bring the water back to a boil and process for 20 minutes. Remove the jars and let them cool undisturbed.
Step 7: Check the Seals
- Once the jars are completely cool, check the seals by pressing the center of each lid. If the lid moves, the jar has not sealed. Unsealed jars should be refrigerated and used right away.