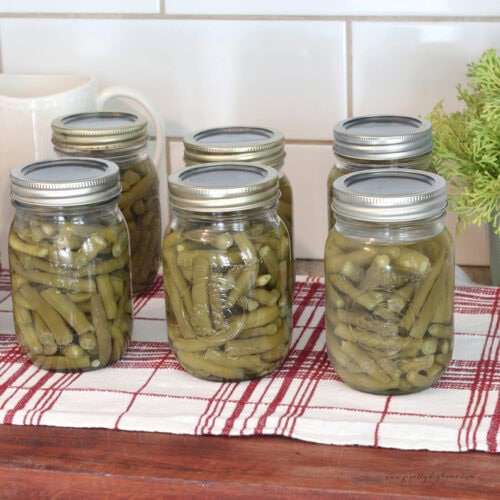
Pressure Canned Green Beans
Pressure canned green beans are an easy way to preserve fresh garden beans for winter. This recipe uses fresh green beans, boiling water, and optional pickling salt, with simple step by step instructions for preparing the jars, processing them safely, and storing the finished beans.
Servings 9 pints
Equipment
- Pressure canner with wire rack
- 9 pint canning jars
- Canning lids and rings
- Jar lifter
- Canning funnel
- Large pot for blanching the beans
- Large pot or kettle for boiling water
- Clean towel or wooden board for cooling the jars
- Measuring spoons
Ingredients
- 9 pounds fresh green beans
- Boiling water enough to fill the jars
- ½ teaspoon pickling salt per pint jar optional
Instructions
- Wash the green beans well in cold water. Trim the ends and leave them whole or cut them into approximately 1 inch pieces.
- Wash the canning jars, lids, and rings well. Keep the jars warm and prepare the lids according to the manufacturer’s directions.
- Bring a large pot of water to a boil. Add the green beans and blanch them for about 5 minutes.
- Pack the hot green beans into warm pint jars, leaving 1 inch of headspace.
- Add ½ teaspoon of pickling salt to each pint jar, if using.
- Fill each jar with boiling water, leaving 1 inch of headspace.
- Wipe the jar rims clean. Add the lids and rings, tightening the rings until fingertip tight.
- Place the filled jars upright on the wire rack inside the pressure canner, leaving a little space between each jar. Add water according to the directions for your particular pressure canner.
- Secure the canner lid and leave the vent open. Heat until a steady stream of steam escapes, then vent for 10 full minutes before adding the weight.
- Process pint jars for 20 minutes at the correct pressure for your elevation. For a weighted gauge canner, use 10 pounds pressure from 0 to 1,000 feet and 15 pounds pressure above 1,000 feet.
- When processing is complete, turn off the heat and allow the canner to depressurize naturally.
- Once fully depressurized, remove the weight. Wait 10 minutes, then carefully open the lid away from your face and body.
- Remove the jars with a jar lifter and place them upright on a towel or wooden board. Allow them to cool undisturbed for 12 to 24 hours.
- Check the seals once the jars are completely cool. Remove the rings, wipe the jars clean, label them, and store them in a cool, dry, dark place.
Notes
Pressure canning is safe when done properly, but do not shortcut the cooling or depressurizing process. Keep kids and pets away while opening the canner.