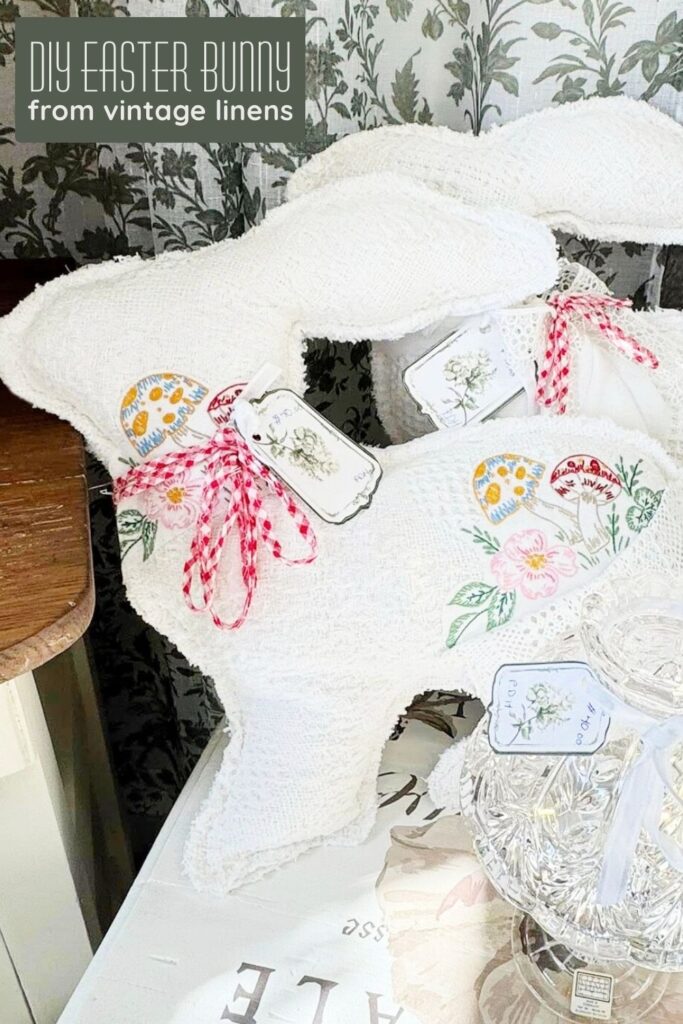
DIY Easter Bunny from Repurposed Vintage Linens
I recently purchased a storage cabinet from someone who was downsizing. She told me she would give me a deal as long as I took all the contents. Unbelievably, inside the bottom drawer was a stack of old linens, including large embroidered tablecloths. Sadly, they were in rough shape and had not seen daylight in decades.

Is it just me, or does getting something for free always mean work is incoming?
I saved some to use again as tablecloths, another for kitchen curtains, and the rest for smaller craft projects like these bunny cushions. Although a few were beyond saving as full tablecloths, I was able to revive and reuse the gorgeous hand embroidery, giving it a new life in this simple spring bunny project.
Materials
- 1 yard heavy woven fabric
- Repurposed vintage embroidered linens
- Bunny pattern (upsized to your preferred size)
- Parchment paper
- Double-sided fusible interfacing
- Quilt batting
- Polyester stuffing
- Thread
- Ribbon for decorating
How to Make This DIY Easter Bunny
If you are able to find vintage linens that are stained but generally clean, you can often just wash, dry, and iron them before starting your project.
If your linens are in rough shape, it is still very likely you can revive them enough to use for this stuffed bunny idea. Even heavily worn tablecloths can have beautiful embroidered sections that are worth saving. When buying, just look for linens that are stain-free on the stitching.
Step 1: Clean the Vintage Linens
Cleaning the linens can take some time, but it is not much work, and the hand stitching is worth the effort. With a little patience, many pieces can be brought back to life.
Soak the linens in an OxiClean solution for about six hours. Keep a close eye on them. If the water becomes very dirty, replace it with a fresh solution.
Be gentle. Vintage fabric can weaken over time, and you want to avoid creating holes.
Rinse, then soak in a vinegar and water solution to remove odors. Wash gently.
If stains remain, treat them and scrub lightly with a soft toothbrush. Hydrogen peroxide can help lift deeper stains.
Do not dry the linens until you are sure they are as clean as you can get them. Heat can set stains permanently.
You only need the best embroidered sections.
Step 2: Enlarge and Print the Bunny Pattern
There are all kinds of bunny templates available for free online. Choose one you like and enlarge it to the size you want before printing. I increased mine to 300 percent, which created a pillow sized bunny.
When printing, make sure your settings are on actual size rather than fit to page so the pieces line up correctly.
Because I enlarged it so much, my template printed onto six separate pages. I trimmed the margins, lined them up carefully, taped them together, and then traced the full pattern onto a single piece of parchment paper to create a reusable template.
Step 3: Cut the Fabric and Batting
Using the parchment template, cut one front and one back bunny piece from your heavy woven fabric. As soon as they are cut, run a zig zag stitch around the edges to prevent fraying.
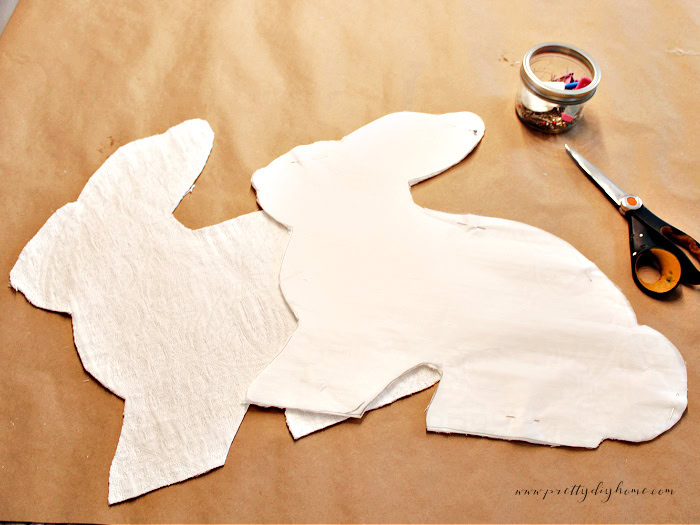
Next, using the same pattern, cut two pieces of quilt batting. Zig-zag the edges of the batting as well, then set everything aside.
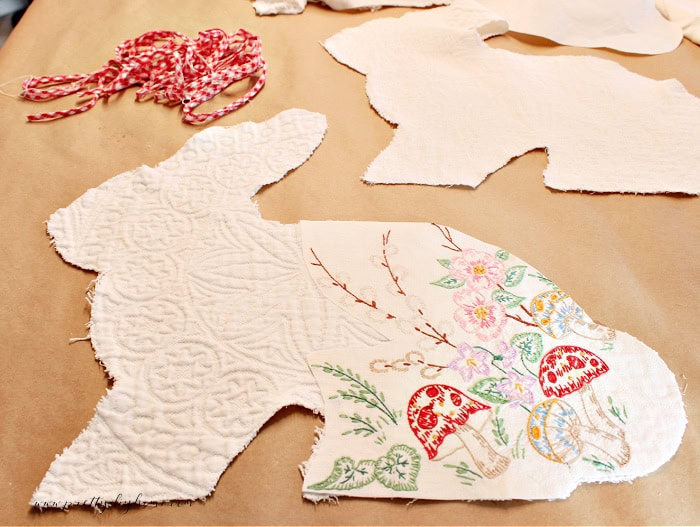
Step 4: Add the Embroidery Appliqué
Cut out a usable section of embroidered linen, keeping the natural shape of the floral design. Try to avoid cutting through the embroidery itself, but if you need to, you can. Just be sure to stitch over any cut threads when you appliqué it to secure them in place.
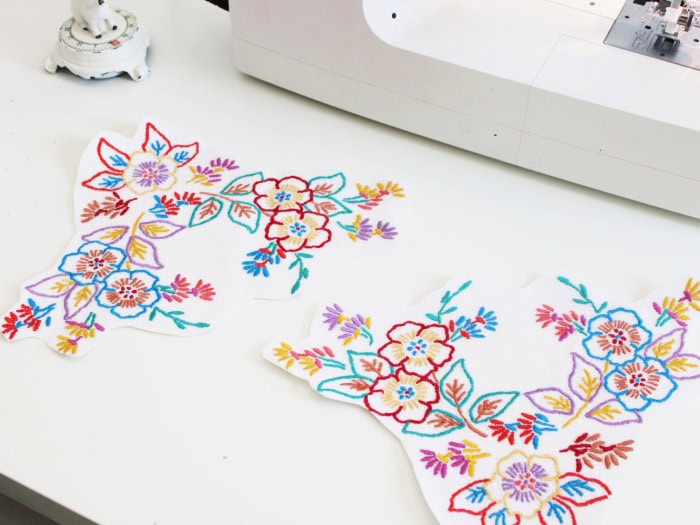
Lay the piece over the bunny front and adjust the placement to your liking.
Using a hot iron without steam, fuse double-sided interfacing to the back of the embroidery. This stabilizes the fabric and prevents fraying before you appliqué it to the bunny front.
Trim neatly around the design, leaving about 1/4 inch beyond the stitching.
Remove the backing paper and, using your iron, fuse the embroidery onto the bunny front panel.
Finish by sewing a narrow zig-zag stitch around the outer edge of the embroidery to secure it permanently, making sure to stitch over any cut embroidery threads.

Step 5: Assemble the Bunny
The bunny is sewn with open edge seams, so layer the fabric pieces right side out, exactly as it will appear when finished.
I added the quilt batting layer to soften any bumps and lumps from the stuffing and to give the exposed seams a fuller, softer look that fits the bunny’s shabby style.
Layer the four fabric pieces with the two layers of quilt batting in the center. Line up the edges carefully and pin well, especially around the ears and curves.
Sew a 3/8 inch seam around the bunny, leaving a 3 inch opening at the bottom for stuffing.
Step 6: Stuff and Close
Stuff the bunny through the bottom opening, starting with the ears, feet, and tail. Use small amounts at a time so the curves stay smooth.
Once the smaller areas are filled, stuff the center until the bunny feels soft but firm.
Sew the opening closed with a straight stitch along the bottom edge.
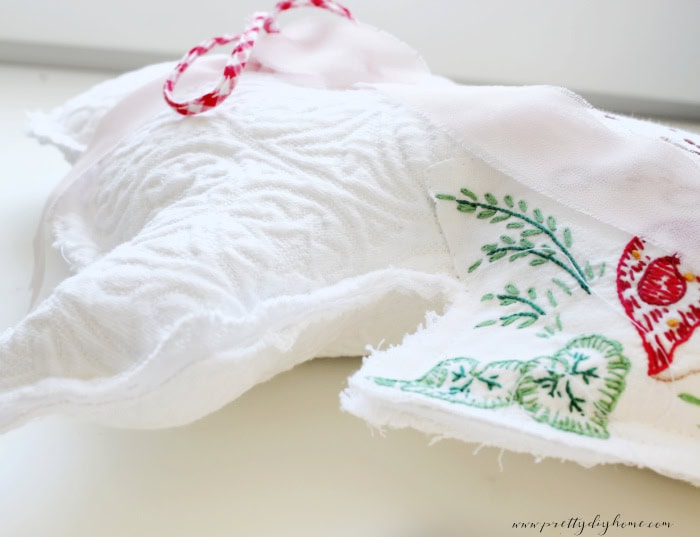
Step 7: Decorate Your Easter Bunny for Spring
Decorating your bunny is completely up to you.
I kept mine soft and shabby with pale pink or curly ribbon. For a country look, try gingham and twine. For a cottage feel, use a torn strip of fabric.
I kept the embellishments simple because I wanted the focus to remain on the stitching.
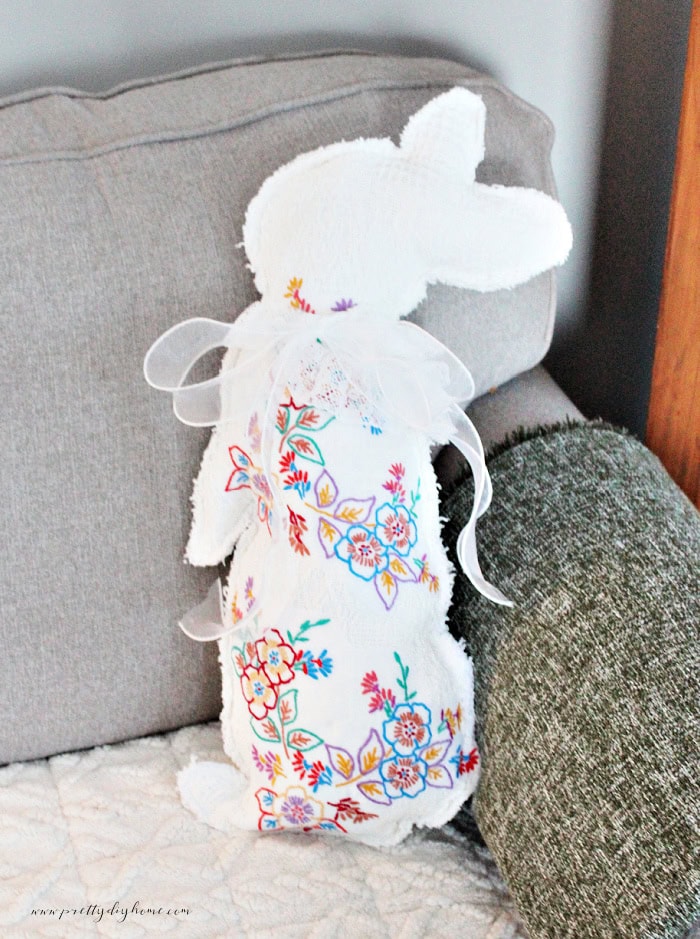
I am really enjoying finding new ways to repurpose these vintage linens. It feels good to preserve the hand embroidery, turn something forgotten into fresh spring decor, and spend time creating crafts for next to nothing.
These DIY Easter bunnies made from vintage linens sold right away in my booth, which tells me I am not the only one who loves giving old embroidery a new life. If you enjoy repurposing thrifted finds and creating soft spring decor, be sure to save this idea for later.
More Easter Bunny DIY Ideas
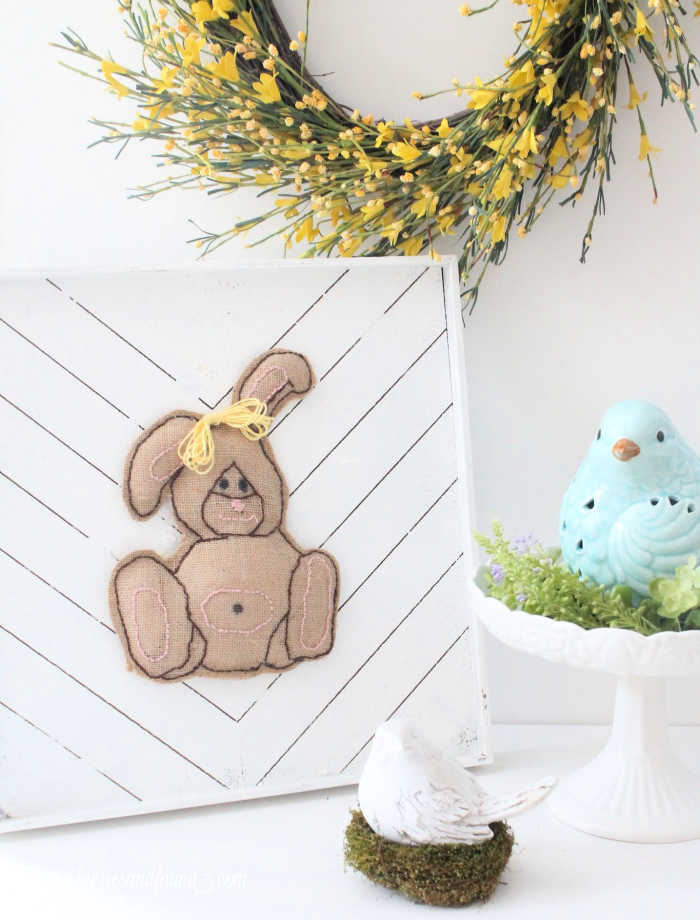
Burlap Bunny Artwork Craft
If you love Easter bunny crafts, check out this stuffed burlap bunny artwork tutorial for another fun project.
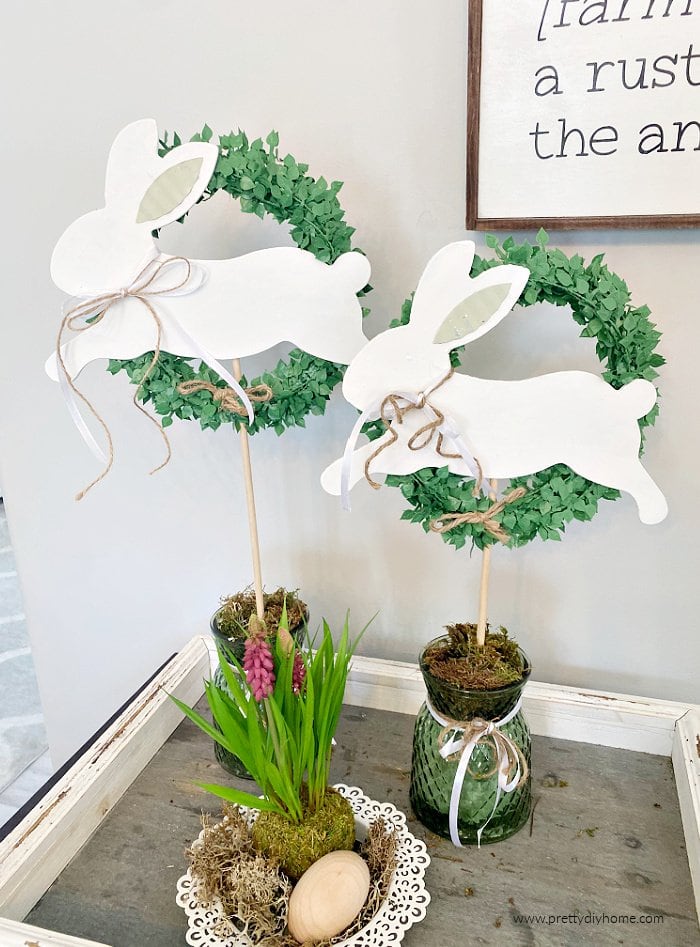
Dollar Tree Easter Bunny Craft
This project shows a simple dollar store Easter bunny DIY that pairs well with your shabby vintage linen bunnies