How to Make a DIY Apron Using Tea Towels
Have you noticed an uptick in beautiful vintage linens at thrift shops and antique stores lately? I have been seeing so many lovely vintage pieces, including embroidered tea towels, and I could not resist bringing a few home. One in particular caught my eye with the sweetest little donkey stitched in the corner.
Women used to wear aprons every day, not just for cooking, but for everything from cleaning to gardening to gathering eggs. Aprons helped protect their dresses, which were often one of just a few they owned, and the deep pockets made them perfect for carrying clothespins, tools, or even a snack for the kids. Our modern lifestyles are a bit different, but aprons are still just as handy today. They keep your clothes clean, give you a place to wipe your hands, and add a sweet, homey charm to daily tasks. A pretty apron is like a little piece of old-fashioned comfort you can wear. I have even noticed housedresses starting to make a quiet comeback, so why not pair one with a vintage-style half apron?
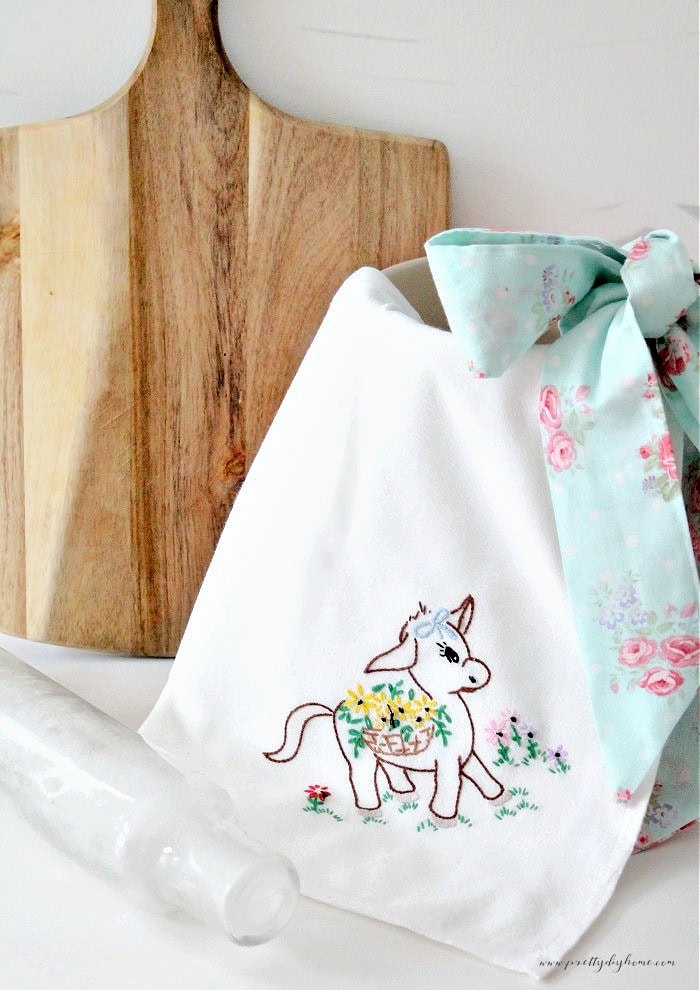
Around here, anytime family or friends stop by, food usually follows. That means I am often in the kitchen, cooking while still trying to look halfway presentable. One simple and easy solution is to keep a collection of pretty DIY aprons made from vintage linens. They are practical, quick to make, and add such a lovely cottage touch to everyday moments. They also make a great gift.
DIY Half Apron with Tea Towels Tutorial
Aprons should be large enough to be useful, and when you make one yourself, you get to choose the size that works best for you. This simple half apron comes together in under 30 minutes and uses just three seams. I used a large white flour sack tea towel folded in half for a double layer, but you can use any size tea towel you have on hand. If your towel is smaller, leave it unfolded or layer two regular ones for extra coverage. It’s a quick, simple project with a lovely cottage-style charm.
r
Supplies
- One large tea towel. Fold it in half if it is oversized to create a double-layered front
- Or one smaller vintage tea towel. You can also add a second plain tea towel underneath for extra thickness if you like
- About three-quarters of a yard of thirty-six-inch-wide cotton fabric for the ties and optional trim.
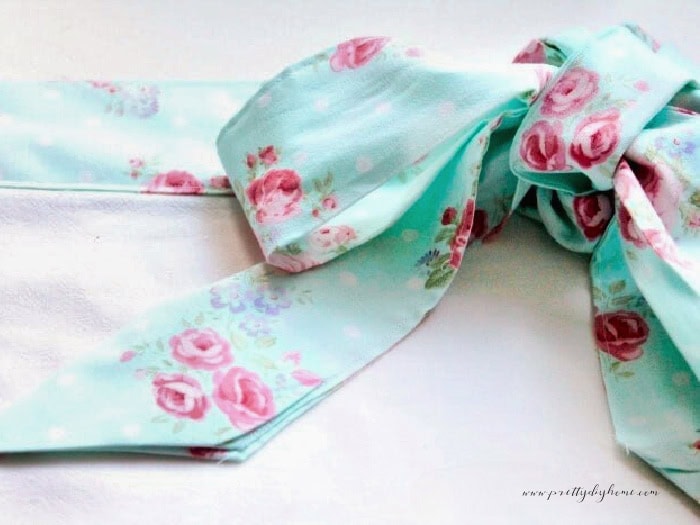
- When picking fabric for the ties, cotton is a great choice because it is easy to work with and holds up well. Look for patterns with a vintage or cottage-style feel, like small florals, gingham, or soft stripes. This is a great spot to show a bit of your personality, whether you go for something sweet and subtle or choose a bold pattern. Pick a favorite color, or choose something that ties in with your kitchen decor.
- Matching thread
- Sewing pins
- Iron
- Scissors or rotary cutter and mat
Step One – Prepare the Tea Towel
Start by prepping your tea towel or towels. If you are using a single large tea towel, fold it in half lengthwise, line up the bottom hems, and press it flat to create a clean crease.
If you are using two smaller tea towels, lay them one on top of the other, making sure they are aligned evenly. Pin them together and sew along the top edge only. The body of the apron is now complete, so let’s move on to the ties.
Step Two – Make the Apron Waist Ties
Now it is time to prepare your fabric for the waistband and ties. A single piece of fabric that is thirty-six inches wide will not stretch across the entire apron and tie in the back, so you will need to cut it into three strips.
Using scissors or a rotary cutter and mat, cut three strips that are seven inches wide, using the full width of your fabric. Press each strip flat, then fold over the top and bottom edges by half an inch and press again to crease.
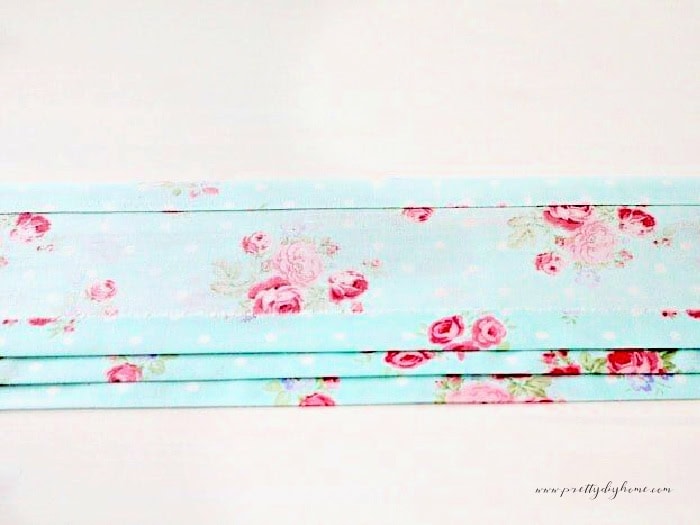
Using the width of your tea towel as a guide, measure your fabric for the center waistband piece. Add one inch to each end of the tea towel (for seam allowance) and cut the fabric strip to that length.
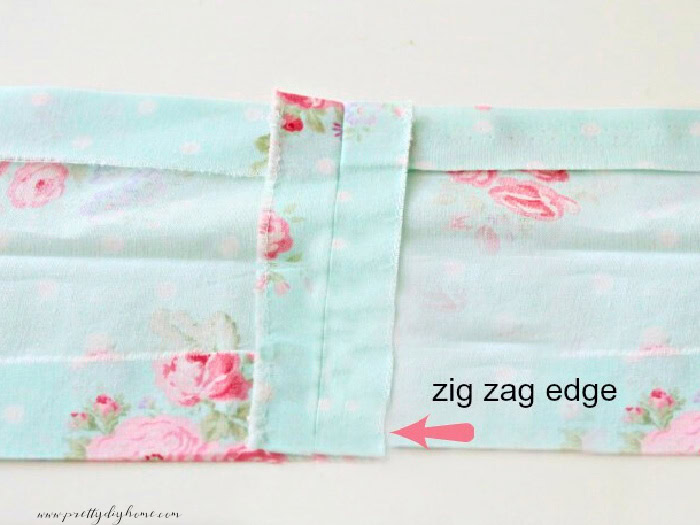
Take the center strip and one of the tie strips and place them right sides together. Sew a one-inch seam to join them, then zigzag along the raw edges to prevent fraying. Press the seam open and flat. Repeat this step with the other tie strip on the opposite side.
Next, fold the entire strip in half lengthwise and press along the edge of the fabric to make a crease. Fold the short ends inward and press again to create a point at the end of each tie.. Sew along the crease and trim.
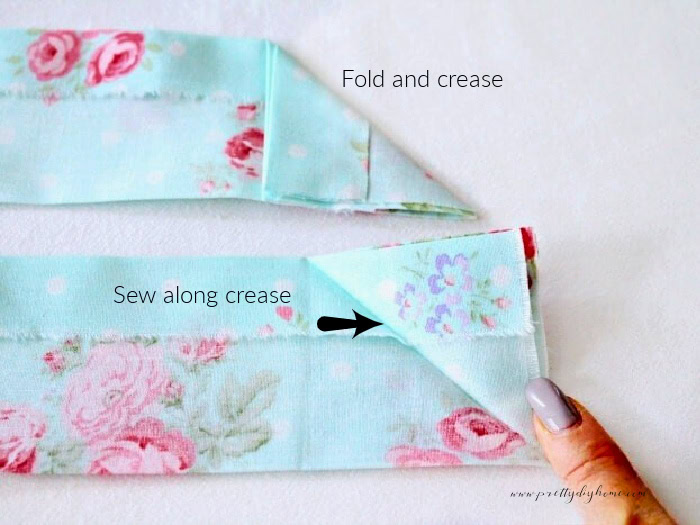
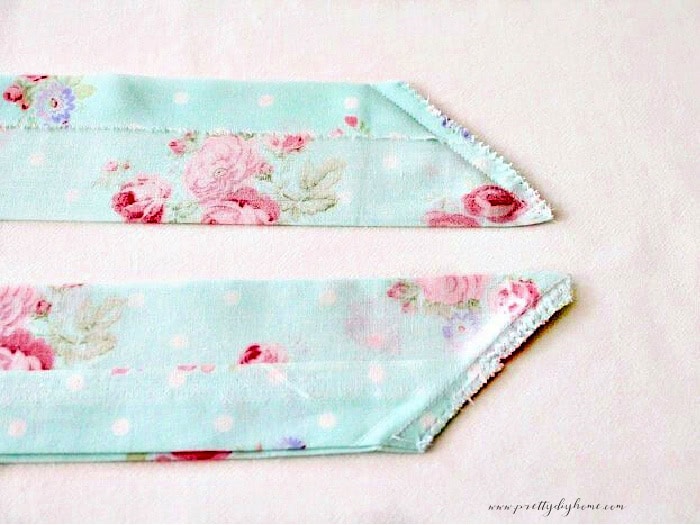
Next, fold the entire strip in half lengthwise and press along the edge of the fabric to make a crease. Fold the short ends inward and press again to create a point at the end of each tie.. Sew along the crease and trim.
Before sewing along the long side and closing the ties, note that turning a narrow sewn strip right side out can be tricky. Instead, go ahead and turn the strip right side out now, then press it well, making sure all the edges are square and crisp. We will topstitch it later.
Step Three – Attaching the Ties to the Apron Skirt
Line up the edges of the tea towel with the seams where the waistband and ties were joined. Fold the fabric of the waistband and ties over the top edge of the tea towel, align the edges, and pin everything in place to hold it securely.
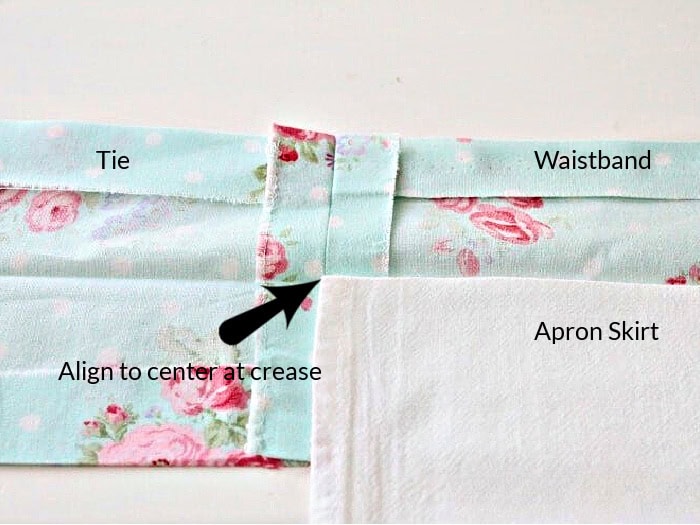
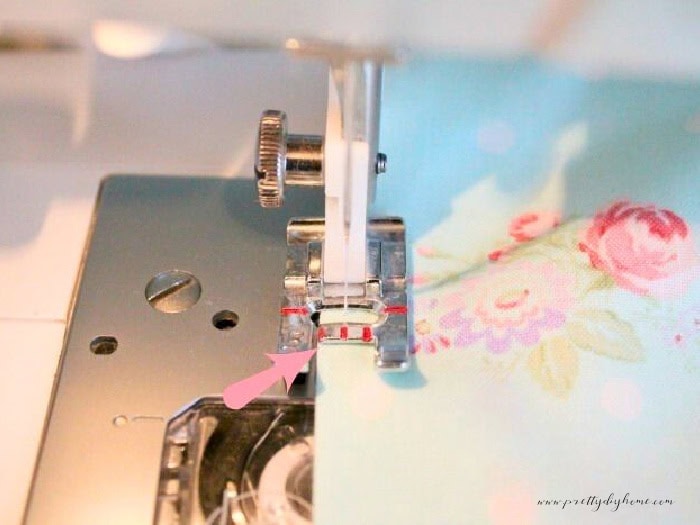
Sew a topstitch along the bottom edge of the tie’s waistband pieces, keeping the stitch as close and neat to the edge as possible. This will secure the ties and give the apron a clean, finished look. Backstitch at both ends to lock the seams in place, and give everything one final press to help the waistband lay flat and crisp.
w
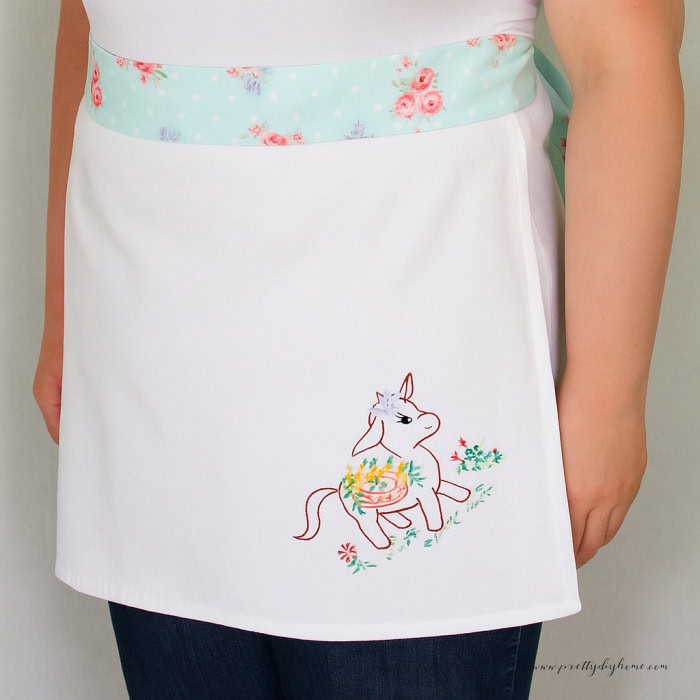
Optional Embellishment
The little donkey is a simple embroidery pattern. I thought about doing a simple appliqué, but decided to do some embroidery because it’s been forever since I did any. If you have a pretty patterned tea towel, you can skip the embellishment or look for some vintage linens to use instead.
t

I hope this little apron idea gives you a reason to dig through your stash or grab a cute old tea towel next time you’re thrifting. You can keep it simple or add a bit of embroidery like I did, whatever suits your mood. It’s quick, it’s useful, and it adds a bit of charm to everyday messes. If you’re in the mood to make more, I’ve linked a few other easy DIYs below that you might like too.

Related Posts

Tea Towel Draw String Bag
While were talking about simple sewing projects using tea towels, I have two more ideas to share with you. Like these Fabric Drawstring Bags you can use for gifts, toys, or laundry bags.
Tea Towel Cafe Curtains
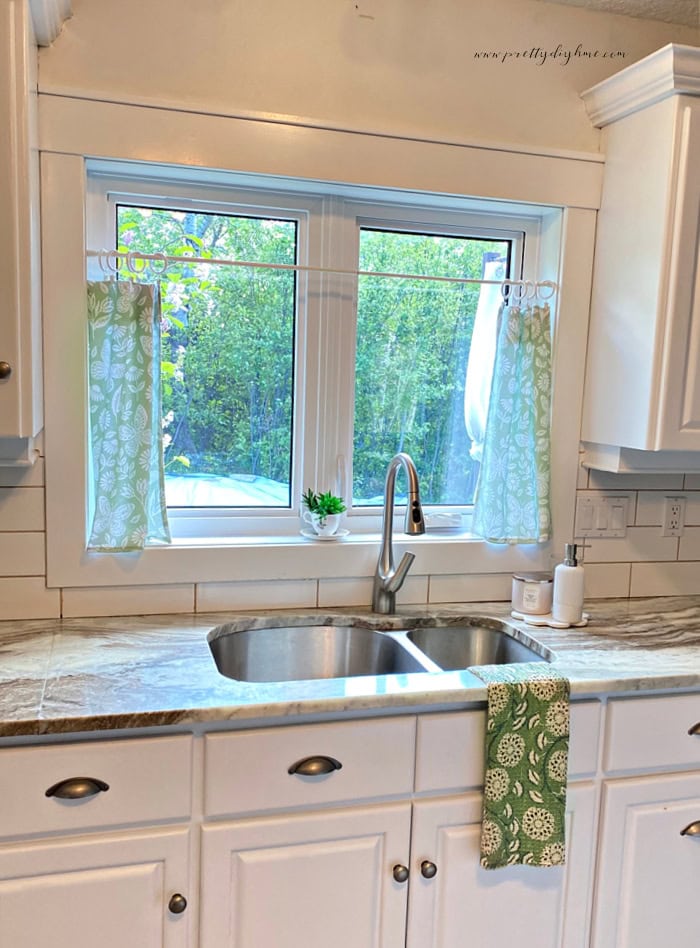
Here is another very quick and easy way to use tea towels for home decor. These cottage-style cafe curtains take about 10 minutes, and there is a no-sew option as well.

This is too cute! I have the pattern for that particular donkey in my collection of vintage Workbasket patterns. One of these days, I’ll get around to stitching it. 🙂
How I would love ten minutes alone in your craft stash….lol…
That turned out so cute. I love the colors.
Thanks Deborah. I am very fond of pinks and turquoise. A cottage feel is so nice for summer. Glad you like it.
What a pretty apron, Leanna! I think I could do this after reading your easy to follow tutorial. I love the pretty fabric you chose for the ties and the embroidery is such an adorable touch. Way better than an iron on applique!
I like the little bit of embroidery on the corner as well. I need to more of it. Hopefully, I can get on it for some Christmas stuff, before Dec 1st lol
Absolutely adorable!,
Thank you Michelle. I find aprons so handy to have on hand. Thanks for commenting.
This is so cute and an easy sewing project also.
Hi Debra. Sorry I missed responding to your comment. This little apron is so fast to put together. It means I can make enough to always have a few on hand.