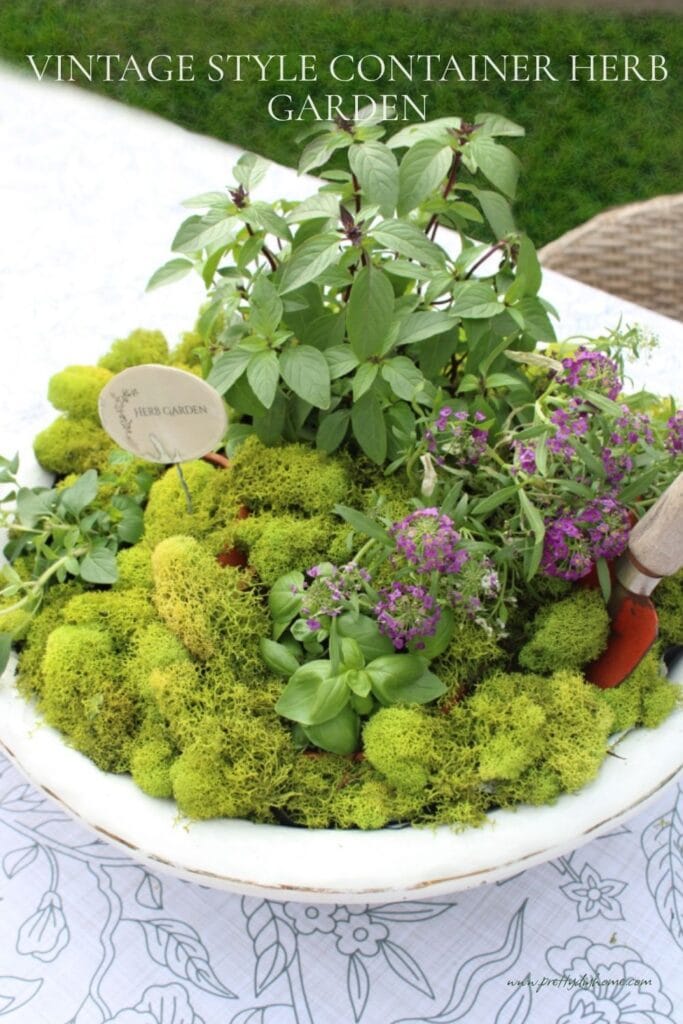
DIY Vintage Style Container Herb Garden
Creating a DIY vintage style herb garden is an easy way to add color and scent to a patio or deck. Almost any large thrifted container can work for this project. I used a vintage porcelain wash basin, but old enamelware, bread pans, and vintage bowls work just as well.
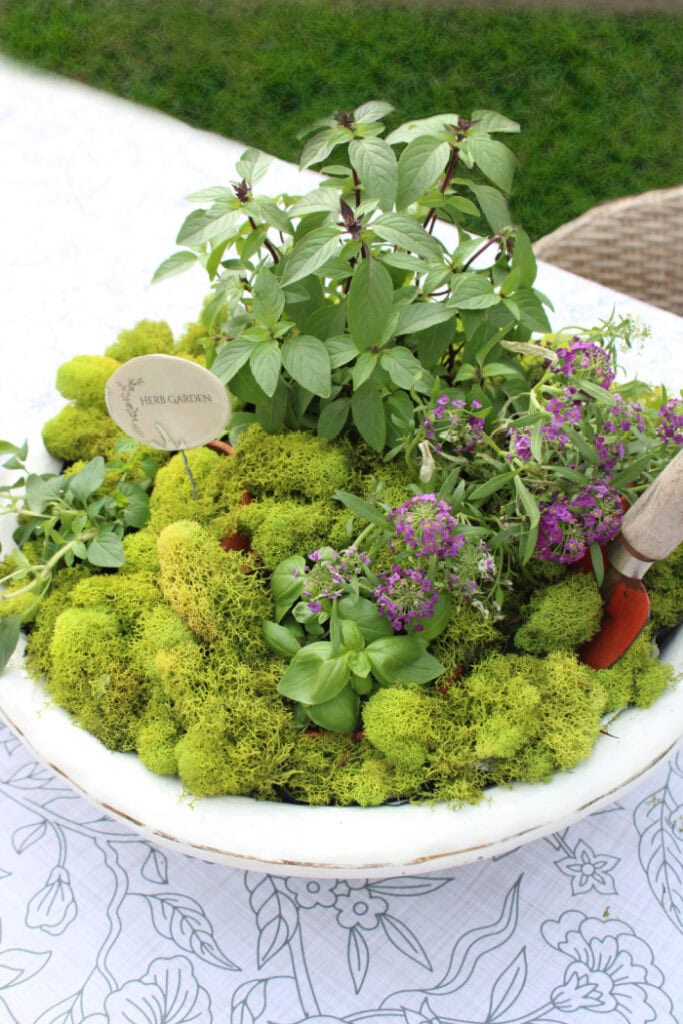
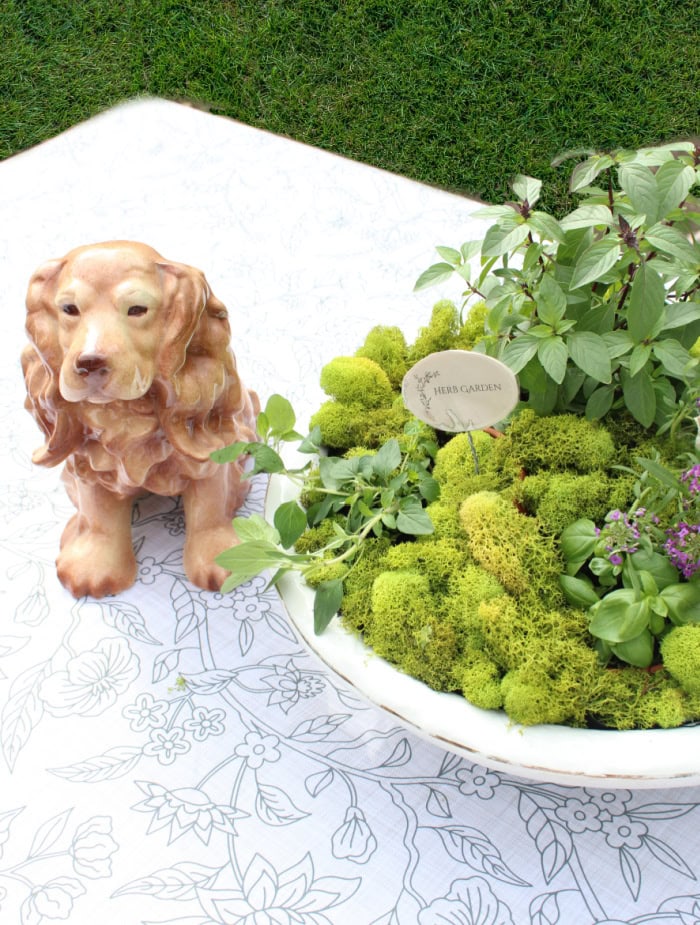
I used my herb garden as a picnic table centerpiece, which made the entire outdoor space smell absolutely amazing while still giving me fresh herbs to snip for cooking throughout the summer.
This little herb garden is both pretty and practical. The container requires very little maintenance, and there is almost no weeding involved. It is also a wonderful beginner gardening project for anyone wanting a simple vintage inspired herb garden without the work of a large outdoor garden bed.
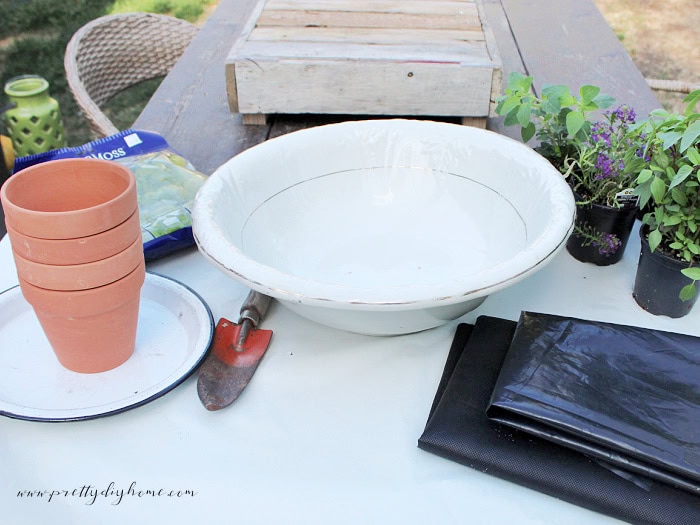
Supplies Needed
- Large vintage style container or bowl
- (mine measured approximately 16 inches across)
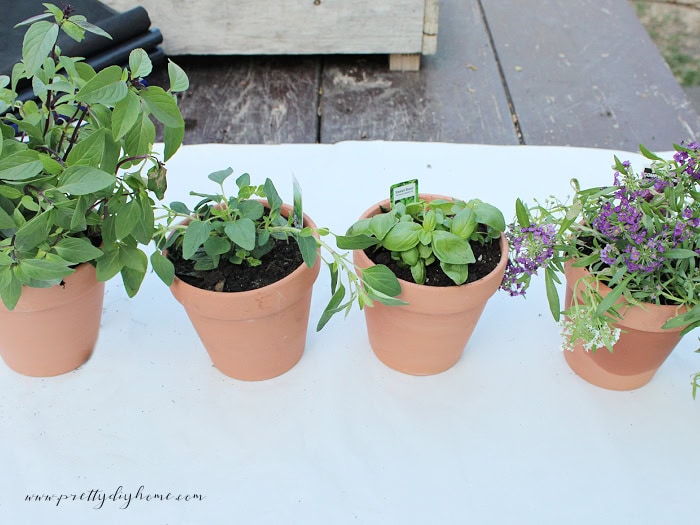
- 4 small herb plants in 4.5 inch pots
- Potting soil for containers
- Moss
- Approximately 1 yard of plastic or tarp material
- Approximately 1 yard of garden fabric
- Old enamel plate
- Vintage bulb shovel (optional)
- Cream linen ribbon or garden twine (optional)
Supplies Needed for the Optional Printable Garden Sign
- Cardstock
- Floral wire
- Hot glue
- Clear packing tape
- Free printable “Herb Garden” sign template
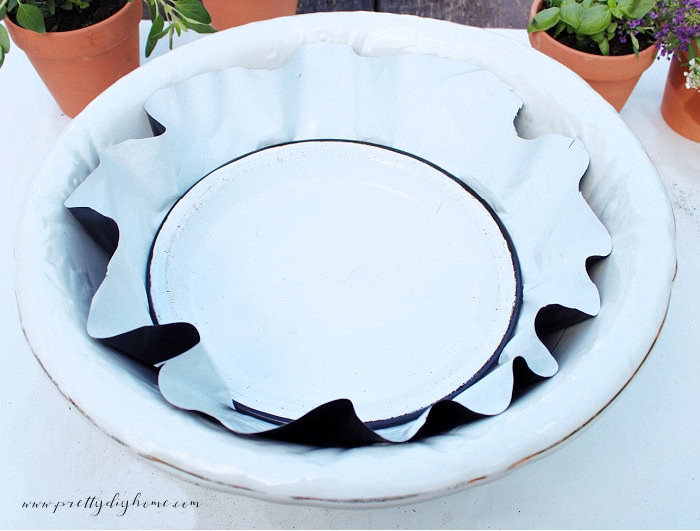
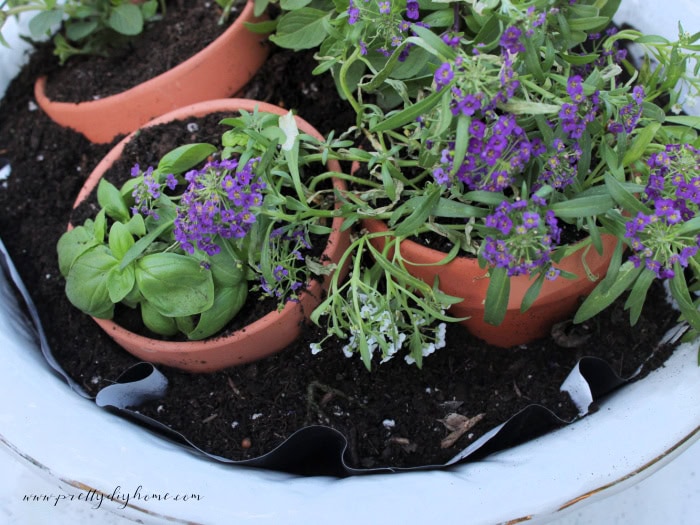
To help protect the antique porcelain bowl from dirt and moisture, I lined the inside with a small piece of plastic and an old enamel plate. Garden fabric was then tucked around the pots to help stabilize the arrangement. It also created a softer barrier between the soil and bowl while still allowing drainage from the plant pots.
Choosing a Vintage Container
One of the things I love most about creating a vintage style container herb garden is that almost any large inexpensive vintage vessel can work. I used an antique porcelain wash basin for mine. However, large bread mixing bowls, enamel roasters, vintage bowls, and shallow crocks would work just as nicely.
Wider bowls work better than deep containers because herbs naturally like to spread outward as they grow.
Since my wash basin was both decorative and porcelain, I could not add drainage holes directly into it. However, if you are using a metal container instead, you could easily add drainage holes using a metal awl or even a large nail.
My wash basin already had such an elegant cottage look that I decided not to decorate the bowl itself. However, if you are using a plainer container, you can easily soften the look with a small cream linen ribbon, torn fabric strip, or a bit of garden twine tied around one of the handles.
Choosing Herbs for a Container Herb Garden
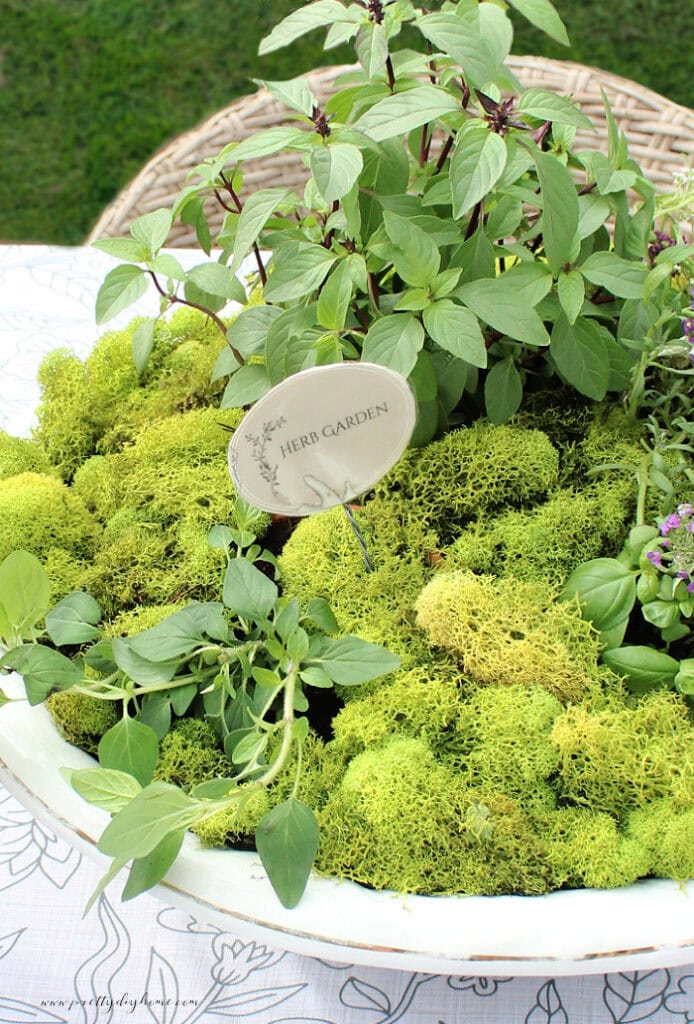
For my vintage style container herb garden, I chose Thai basil, regular basil, thyme, and white and purple lobelia plants for a little extra softness and color. I originally wanted to add lavender as well, but most lavender varieties grow too tall and woody for this particular container.
Other herbs that work well in a container herb garden include rosemary, oregano, sage, parsley, chives, mint, and creeping thyme. Ivy, alyssum, violas, and lobelia can also be added around the edges for softness and color.
Although this is a herb garden, I suggest adding a small flower or two to help the arrangement feel more like a centerpiece instead of just a garden.
When arranging the plants, taller herbs like Thai basil work best near the back or center of the container, while shorter herbs such as thyme look nicest near the front edges, where they can cascade around the bowl as they grow.
Planting the Herb Garden
Step 1: Prepare the Bowl
Since my antique porcelain wash basin has no drainage holes, I needed to protect it from both moisture and dirt while still allowing drainage for the herb pots.
To do this, I cut matching pieces of plastic and garden cloth by placing the bowl upside down on top and trimming around the shape.
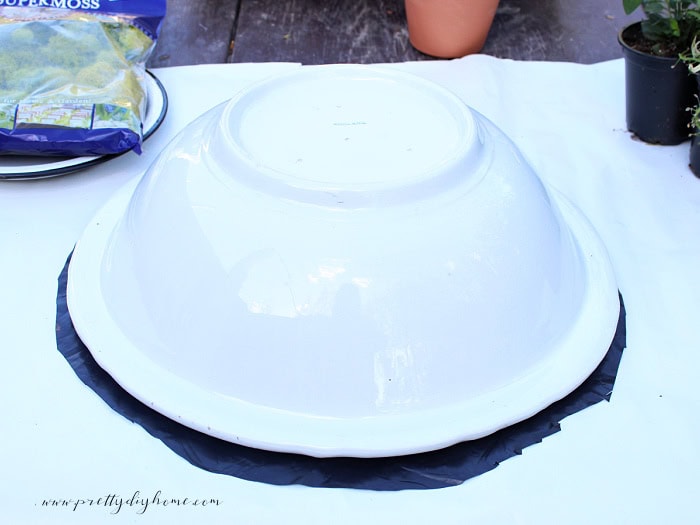
The plastic was added first, followed by the old enamel plate and then the garden cloth before transplanting the herbs into 4.5 inch terracotta pots with drainage holes.
Step 2: Transplant the Herbs
To transplant the herbs, I added a small amount of potting soil to the bottom of each terracotta pot before placing the herb plant inside. I then surrounded the roots with additional soil and gently tapped the pot to help settle the dirt into place.
Step 3: Arrange the Herb Pots
I was able to comfortably fit four 4.5 inch herb pots into my 16-inch wash basin. When arranging the herbs, taller plants like Thai basil work best near the back or center of the bowl, while lower growing herbs and flowers can be tucked closer to the front, where they can eventually cascade outward as they grow.

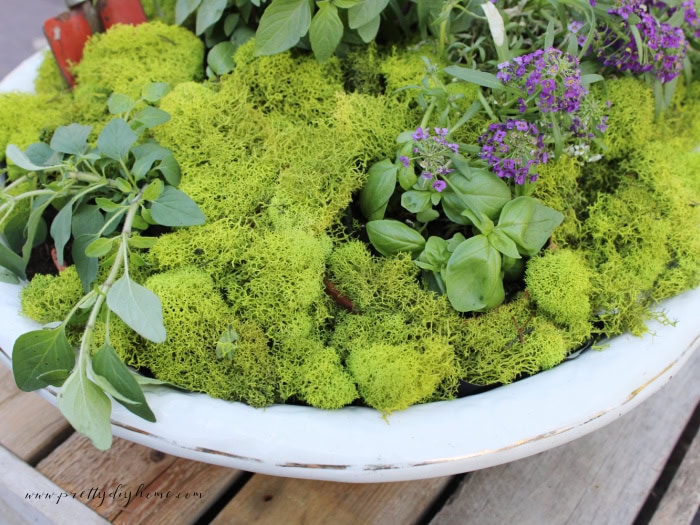
Step 4: Add Soil and Moss
Once the herbs were arranged, I filled the spaces between the pots with soil. I then covered the entire surface with moss to hide the terracotta pots and give the planter a lush cottage garden look.
As the herbs grow and begin to spread, I will likely remove some of the moss and allow the plants to fill in naturally.
Step 5: Add Optional Decorative Details
To finish, I tucked an old vintage bulb shovel into the back of the planter. I then added the small printable “Herb Garden” sign near the front where it could easily peek through the herbs and moss.

Rather than heavily decorating the bowl itself, I wanted the herbs, moss, and vintage garden pieces to create a softer cottage garden centerpiece look.
Step 6: Make the Free Printable Herb Garden Sign
The free printable includes two tiny copies of the herb garden sign so they can easily be attached together with floral wire placed between them.
To make the sign stem, I cut a piece of floral wire about a foot long and folded it in half. The wire was then placed between the two cardstock printables and secured with a small dab of hot glue in the center.
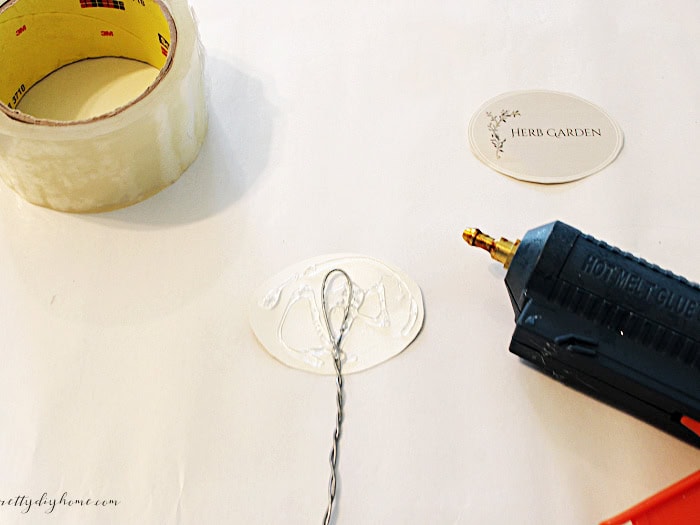
Next, I added a thin strip of hot glue around the outer edge of the printable before pressing both sides together using a small brayer and the back of a spoon while the glue was still warm.
Once the glue cooled, I wrapped both sides with clear packing tape, trimmed around the shape with scissors, and tucked the finished sign directly into the herb garden.
Pin This Project for Later
If you enjoy vintage cottage style decorating, container gardening, or simple outdoor centerpiece ideas, don’t forget to save this DIY Vintage Style Container Herb Garden for later.
It is such an easy and pretty project for patios, picnic tables, porches, and summer entertaining.
I love how easy this little herb garden was to put together, and now I have fresh herbs available and a really beautiful scented herb garden on my patio table.
Although this container garden is not meant for large herb harvests, it is perfect for snipping small amounts of fresh herbs for cooking.
Best of all, this project is very beginner friendly, requires very little maintenance, and can be created using almost any large thrifted vintage container you happen to find.
More Vintage Cottage Garden Ideas

How to Decorate with Vintage Crocks
Vintage crocks, with their soft neutral colors and warm finishes, work beautifully for cottage style decorating. I love using mine for both display and practical storage throughout the kitchen.

DIY Indoor Fairy Garden
This easy-to-make fairy garden is a fun way to use a vintage teacup and faux succulents to create a pretty no maintenance miniature garden.