
Three Tea Towel Sewing Projects with Ruffles
Last week, I stopped at a tiny local thrift store to search for vintage embroidered linens. I told the clerk that stained pieces were perfectly fine because I planned to upcycle them.
There were no embroidered linens that day, but the clerk showed me a vintage damask tablecloth. She explained that she often used old damask to make tea towels because the fabric was so absorbent.
I had no idea, so she poured a little water on the counter and showed me. The vintage damask fabric absorbed the water remarkably well.
When I asked whether she minded me sharing her tip on my blog, she said she would love it if more people saved old damask tablecloths instead of throwing them away.
I bought the thrift store damask tablecloth for only two dollars. Once I brought it home, I knew I had to turn all that beautiful fabric into something pretty and practical. These three tea towel sewing projects were the result.
Why Vintage Damask Is Perfect for Tea Towels
Damask fabric is quite beautiful and was considered suitable for fancy dinners and special celebrations. These tablecloths were often saved for occasions such as Thanksgiving and Christmas, when the largest tablecloth came out for the family meal.
Fine table linens were also popular bridal shower or wedding gifts. A bride might receive a beautiful damask tablecloth to use when entertaining in her new home.
Because they were saved for special occasions, many damask tablecloths lasted for decades. Of course, large family dinners also meant spills, and over time many ended up with food stains that were difficult to remove.
That makes old damask tablecloths fairly easy to find in thrift stores. Even a stained tablecloth can provide a surprising amount of usable, beautiful fabric.
Damask tablecloths can also cost less than buying new muslin or linen by the metre. Simply cut around any permanent stains and discard the damaged sections.
The fabric is soft, absorbent, durable, and covered in a subtle woven pattern. Because the patterns are usually quiet and elegant, you can mix and match fabric from different tablecloths and still create a coordinated set of tea towels.
The finished towels look much more luxurious than their thrift store price.
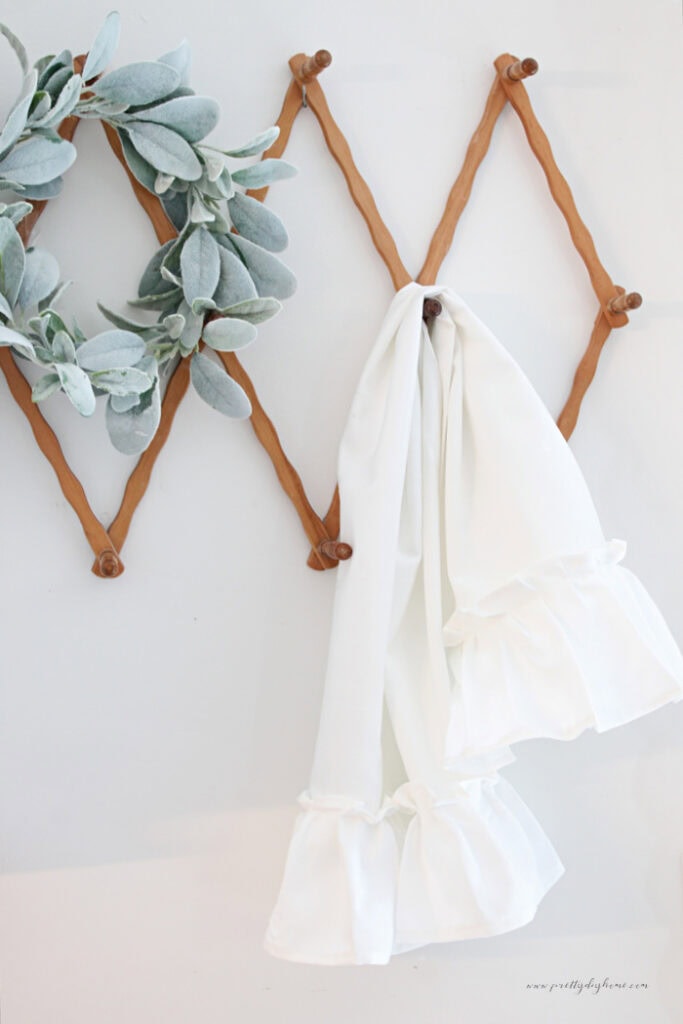
How to Recognize a Damask Tablecloth
At the thrift store, start by looking through the larger white tablecloths. I recommend choosing white whenever possible because it is easier to clean, brighten, and mix with other linens.
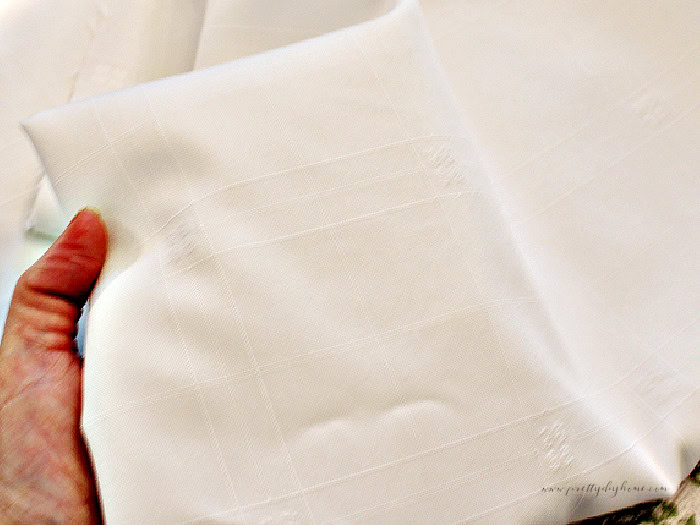
Damask has a subtle pattern woven into the fabric instead of printed on top. Look for geometric or botanical designs that become easier to see when the fabric catches the light.
The shiny and matte areas of the pattern are typically reversed on the opposite side.
Test the Fabric for Absorbency
Once you bring the tablecloth home, test its absorbency to make sure the fabric is suitable for tea towels and worth taking the time to wash and sew.
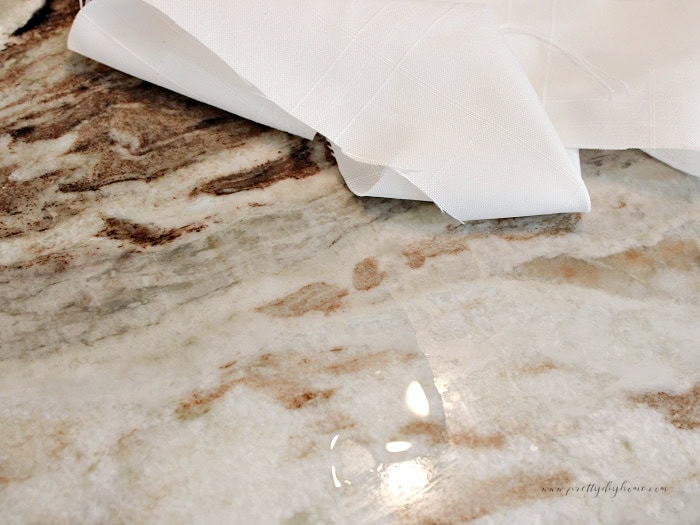
Pour a small amount of water onto a clean counter and wipe it up with one corner of the tablecloth. The fabric should absorb the water quickly instead of pushing it around or leaving beads of water behind. You can see in the image below how the damask removed all the water from the right-hand side.
How to Clean Vintage Linens Before Sewing
Wash the tablecloth before you measure or cut anything. Vintage linens can hold dust and old storage smells, and the fabric may shrink a little in the wash.
I filled a large basin with about two gallons of warm water and added one large scoop of OxiClean. I used warm water instead of hot because I did not want to be too hard on the older fabric.
Once the OxiClean had dissolved, I added the tablecloth and let it soak for about six hours.
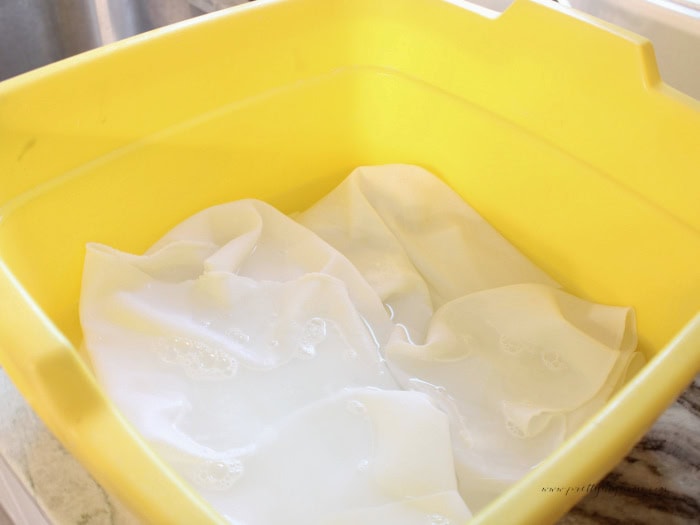
This was a two-dollar thrift store tablecloth, so I decided to take the small risk and soak the whole thing. I would rather know it is clean before taking the time to turn it into tea towels.
After soaking, wash the tablecloth in the washing machine with regular laundry detergent. Do not use chlorine bleach because it can yellow the fabric and weaken older fibres.
Hang the tablecloth to dry, then give it a good press with the iron. Any stains that remain can be cut around when you lay out the tea towels.
Now that you know the fabric can be cleaned successfully, you can feel confident using the finished tea towels and washing them again afterward.
These vintage damask tea towels can be practical, not just pretty.
How to Make Vintage Damask Tea Towels
Now that I have happily shared my thrift store story and hopefully convinced you to pick up some inexpensive damask of your own, let’s begin sewing these pretty tea towels.
All three designs begin with the same classic damask towel. Leave it plain, or add gathered ruffles and a hanging loop to create the other variations.
Classic Damask Tea Towel
The wide hems give this towel a clean finish while allowing the woven damask pattern to remain the focus.
The finished tea towel measures approximately 20 by 30 inches before any ruffles are added.
You can certainly make mitered corners if you prefer, but I did not make mine that way. I sewed the two long hems first from end to end, pressed them, and then sewed the two short hems afterward. This creates neat corners without the extra work of making mitered ones. Here is how I made them.
Step 1: Cut the Damask Fabric
Lay the washed and pressed tablecloth on a large, flat surface.
Cut one rectangle measuring 23 by 33 inches. This allows enough fabric for a 1/2-inch fold followed by a 1-inch fold along all four sides.
Check the tablecloth carefully before cutting. Position the rectangle around any permanent stains, thin areas, or small holes.
My tablecloth has a geometric pattern, which made it much easier to follow straight lines while measuring and cutting. If your towel needs to be slightly larger so you can follow the woven pattern, I recommend doing that. Mine ended up about ¼ inch wider, which will not make any noticeable difference.
Step 2: Sew the Long Hems
Press the First Fold
Place the fabric wrong side up on your ironing board.
Begin with the two long sides. Fold each raw edge toward the wrong side by ½ inch and press it firmly with the iron.
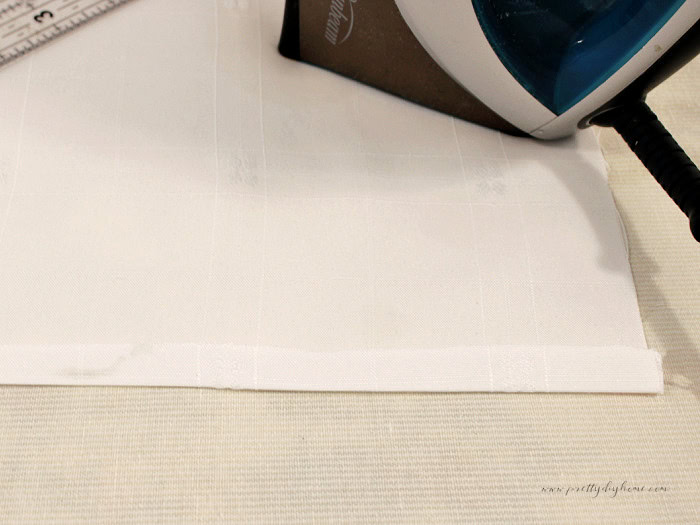
Work from one end to the other, keeping the fold as straight and even as possible.
Make the Wide Hems
Fold each long edge toward the wrong side again by 1 inch.
The raw edges should now be completely enclosed inside the hems.
Press the second folds well, then place a few pins along each long side to keep the slippery damask from shifting while you sew.
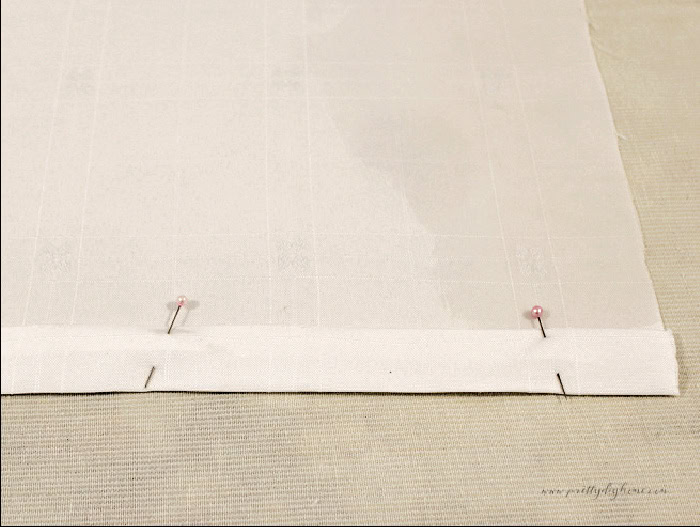
Sew the Long Hems
Sew along the inside folded edge of each long hem.
Start at one end and sew all the way to the other. Backstitch at the beginning and end of each seam.
Once both long hems are sewn, press them flat.
Step 3: Sew the Short Hems
Fold and Press the Short Hems
Fold each short raw edge toward the wrong side by ½ inch and press.
Fold the edge over again by 1 inch. The short hem will lie over the ends of the finished long hems, creating a simple, neat corner.
Press the folds well and pin them in place.
Sew the Short Hems
Sew along the inside folded edge of each short hem.
Backstitch at the beginning and end of each seam.
Step 4: Give the Classic Tea Towel a Final Press
Trim away any loose threads and press the finished tea towel once more.
The finished towel should measure approximately 20 by 30 inches, although the exact size may vary slightly depending on the fabric and the depth of the hems.
You can leave the towel plain for a simple, luxurious finish or continue with one of the gathered ruffle variations.
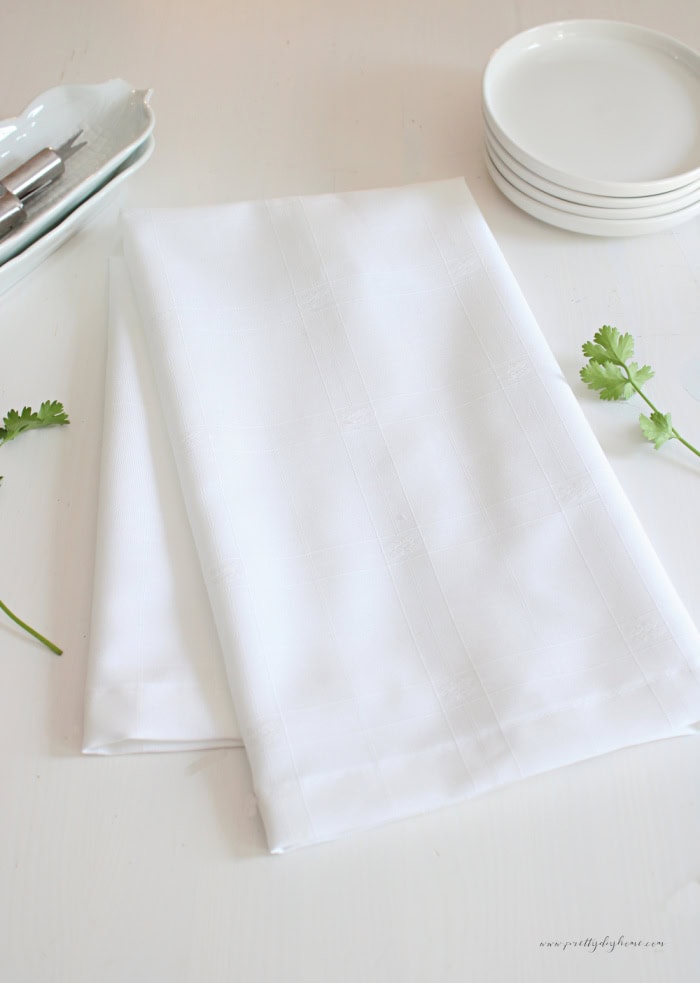
Long Ruffled Damask Tea Towel
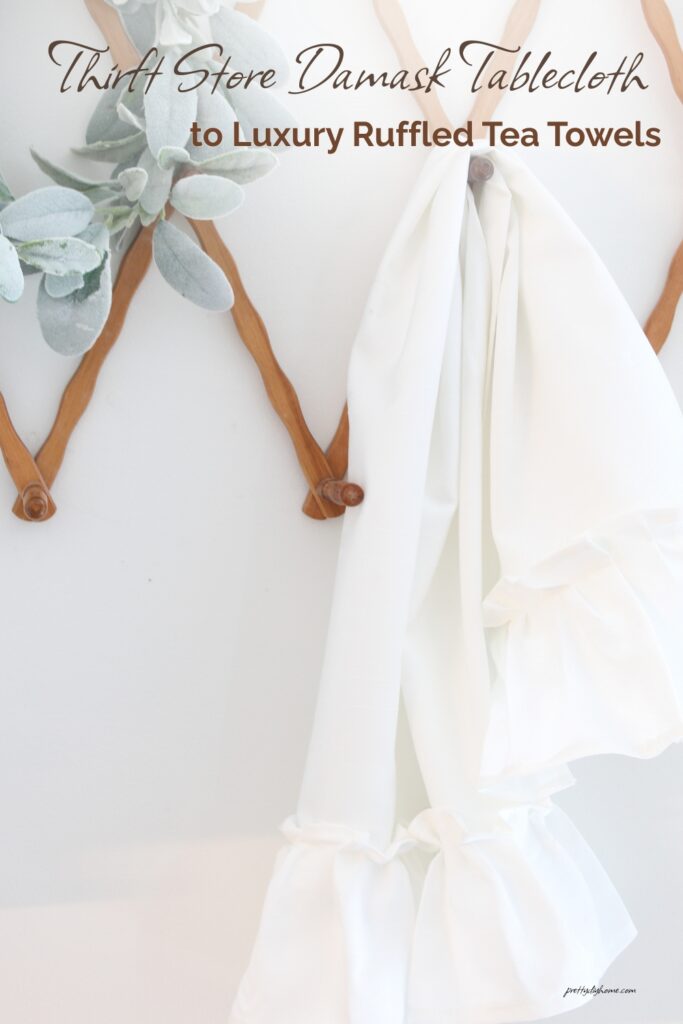
This ruffled variation begins with the finished classic damask tea towel. You will need to make two long ruffles, one for each end. Adding a ruffle to both ends balances the weight and helps the towel stay in place when it is folded over a towel bar.
This simple ruffles tutorial shows you how to sew ruffles by hand without adjusting the stitch length or tension on your sewing machine. It is an easy way to learn how to make ruffles with fabric, especially if you prefer a slower method with more control.
Step 1: Cut the Long Ruffle Strips
Cut two strips of damask fabric measuring 41 by 6 1/2 inches.
Step 2: Hem the Ruffle Strips
Hem the Short Ends
Begin with the two short ends of each ruffle strip.
Fold the fabric over by 1/2 inch and press it well to create a crease. Open the fold again, then bring the raw edge up to meet the pressed crease.
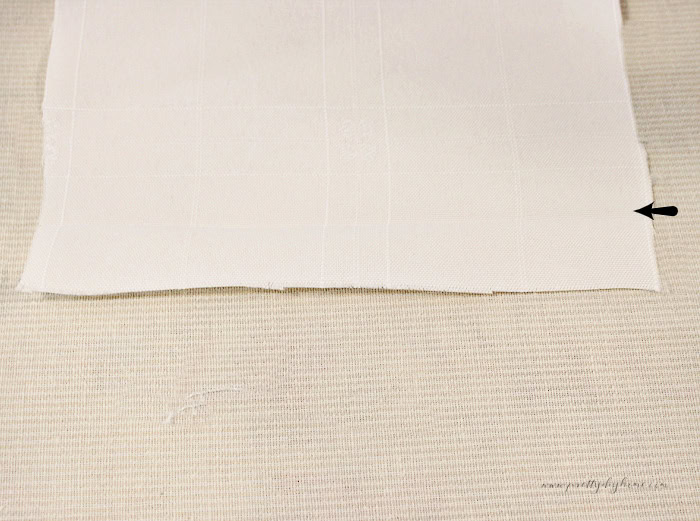
Fold the fabric along the original crease, enclosing the raw edge inside the hem. Pin it in place, then sew close to the inside folded edge.
Repeat on the second short end.
Hem the Long Sides
Use the same method along both long sides.
Fold the fabric over by 1/2 inch and press. Open the fold, bring the raw edge up to the crease, then fold again along the original pressed line.
At each corner, fold the long hem over the finished short hem. Pin the layers in place, making sure the corner lies flat before sewing. This creates a neat finished corner without needing to miter it.
Pin and sew close to the inside folded edge.
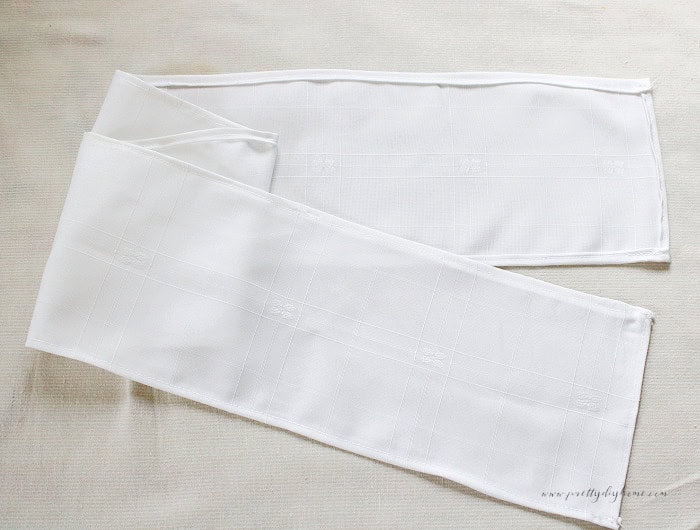
Step 3: Gather and Pin the First Ruffle
You can gather the ruffle with your sewing machine if you are comfortable adjusting the stitch length and tension. I personally do not enjoy fiddling with those settings, so I gather mine by hand.
Thread a hand-sewing needle and make long running stitches about ½ inch long. Sew the gathering line about ½ inch below the finished top edge of the ruffle, leaving a long thread tail at both ends.
I used black thread for the gathering stitches so they would be easy to see in the tutorial images. Use coordinating thread for your own towel if you prefer.
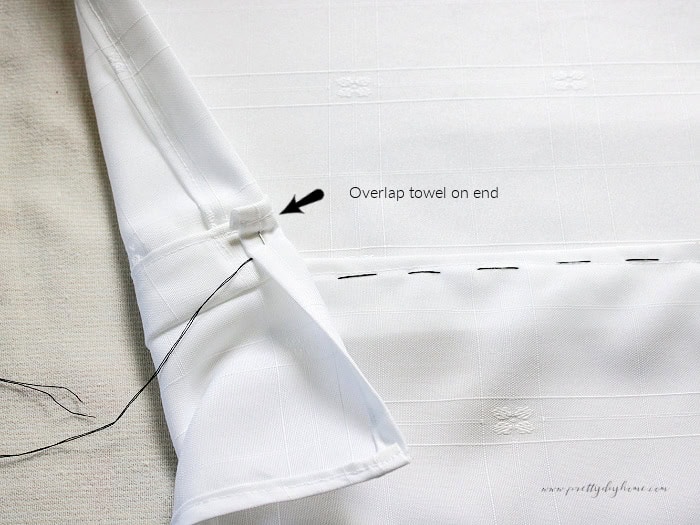
Lay the tea towel flat on your work surface.
Wrap one finished end of the ruffle around the side edge of the towel so a small amount sits on the back. Pin it securely in place.
Gently pull the gathering thread until the ruffle is the same width as the towel. Wrap the other finished end around the opposite side edge in the same way and pin it to the back.
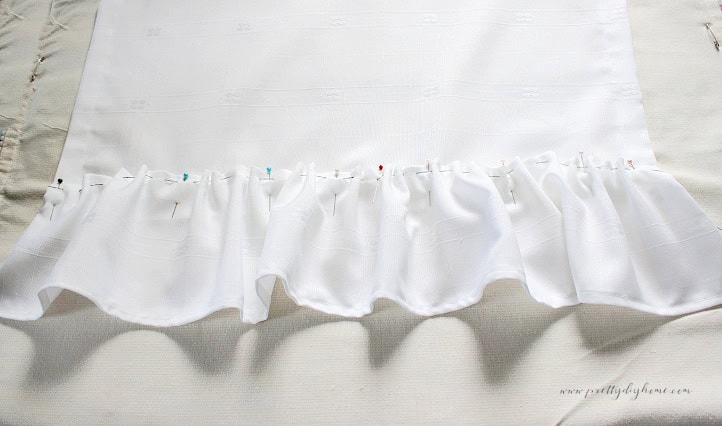
Once both ends are secure, adjust the gathers until they are spread evenly across the width of the towel.
Position the ruffle so it overlaps the front of the towel by about 1 inch. The gathering line should sit close to the finished edge of the towel, leaving a small ruffle above the sewing line.
Step 4: Repeat on the Other End
Repeat Step 3 with the second ruffle strip on the opposite end of the tea towel.
Gather the fabric, wrap both finished ends around to the back, pin the ruffle in place, and adjust the gathers until they are even.
Then sew both ruffles securely in place.
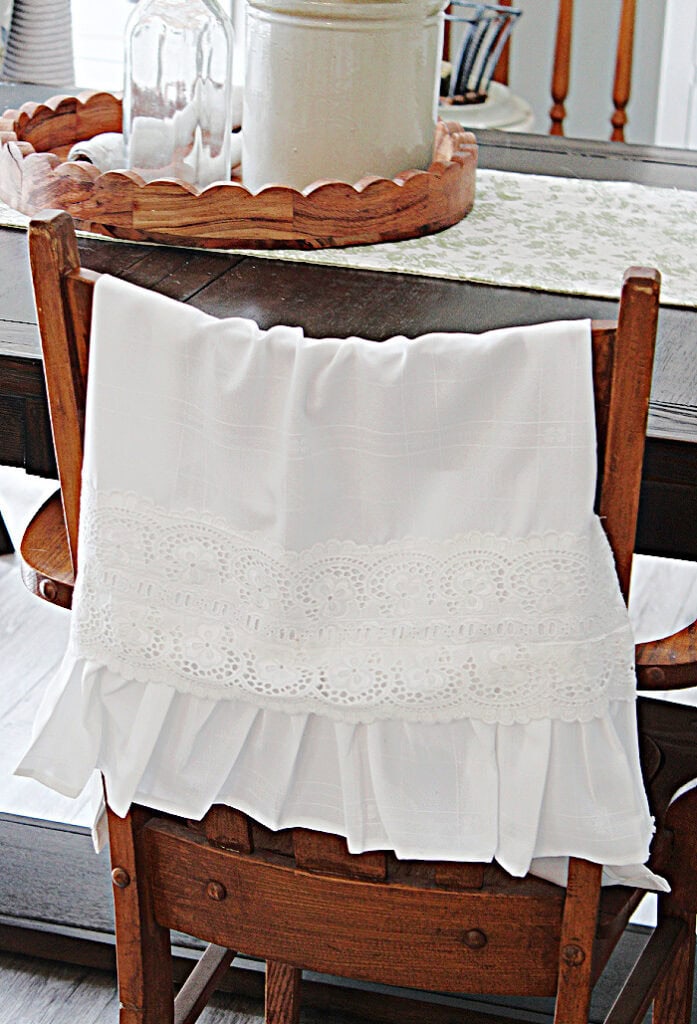
These damask tea towels are also pretty enough to use as small table runners. Lay one across a kitchen table, sideboard, or the centre of a larger table, then add a simple arrangement of dishes, flowers, or seasonal decor. The soft woven pattern and gathered ruffle add a little vintage detail while still keeping the table relaxed and practical.
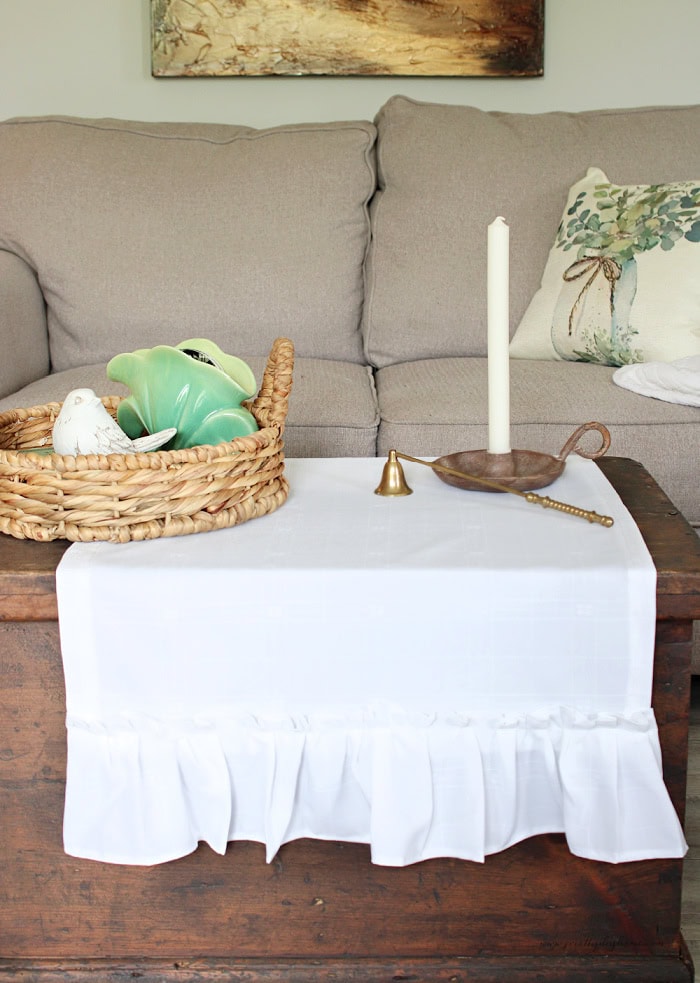
Damask Tea Towel with Ruffle and Vintage Ribbon
Step 1: Attach the Vintage Cotton Ribbon
Once the ruffle is sewn to the towel, lay your vintage cotton ribbon over the attachment line. My ribbon is 5 inches wide and cotton, but you can use whatever ribbon you like.
Position the ribbon so it covers the zigzagged edge, the gathering stitches, and the seam where the ruffle joins the towel. Let the ribbon overlap the ruffle by about 1 inch, with the remaining width extending upward onto the towel.
Cut the ribbon slightly longer than the width of the towel. Fold each end around the side edge so a small amount sits on the back, then pin everything securely in place.
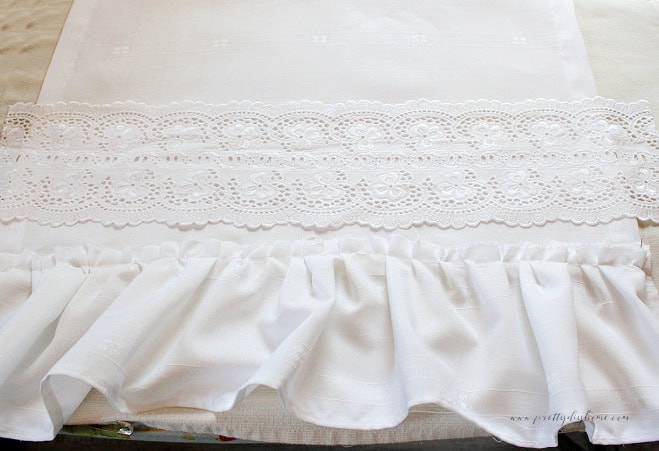
Sew close to the top and bottom edges of the ribbon, backstitching at both ends. This holds the ribbon flat and completely hides the ruffle seam.
Vintage Damask Made Practical Again
I hope these tea towel sewing projects encourage you to look at old damask tablecloths a little differently. Even a stained thrift store tablecloth can hold plenty of usable, beautiful fabric.
Whether you leave the towel plain, add soft gathered ruffles, or finish it with vintage ribbon, each version gives the fabric a practical new purpose while keeping its special occasion beauty.
These towels can be used in the kitchen, displayed over a chair, or styled as a small table runner. Most importantly, they are practical, not just pretty.

Repurposed Vintage Linen Hanger Covers
Vintage linens can also be repurposed into useful storage pieces for the bedroom. These repurposed vintage linen hanger covers are a simple sewing project that protects special clothing while adding a soft vintage touch to the closet.

DIY Tea Cloths
For another simple tea towel sewing project, take a look at these DIY muslin tea towels with crochet trim. The handmade crochet edging gives the towels a pretty vintage look, and they can be used to line galvanized containers or displayed as part of your kitchen decor.