
Mixed Leaf Fall Garland DIY with Fabric, Lace and Paper
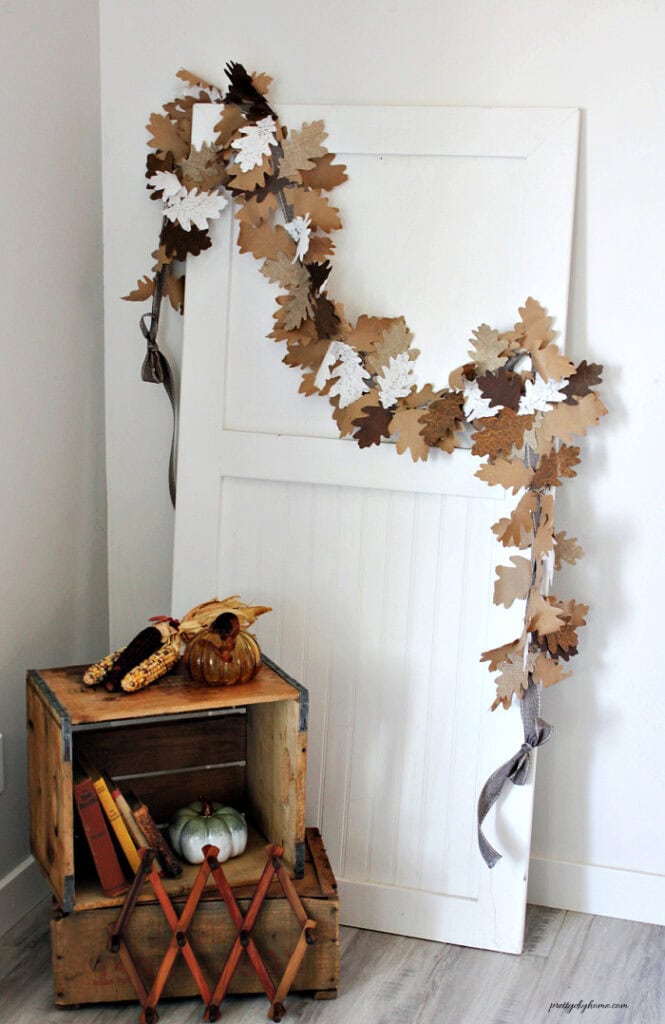
This mixed leaf fall garland is my way of celebrating all the glorious varieties of fall leaves. Instead of using traditional fall colors, the variety comes from the different textures of fabric, lace, paper, coarse linen, and faux leather scrapbook paper.
I wanted the finished garland to feel full and interesting while still keeping the colors soft and neutral. My leaves are made in various shades of brown and cream, but you could easily make yours in traditional fall colors, all whites and creams, or a combination of teals and greens to suit your own fall decor.
This project is a good way to use up odds and ends from previous crafts, including 12-inch squares of fabric, scrapbook paper, wrapping paper, lace scraps, and other materials you already have on hand. Once the oak leaves are cut, they are layered along the garland in different directions, creating a simple fall decoration filled with texture and movement.
How to Make a Mixed Leaf Fall Garland
Materials and Supplies
The materials list may look long, but this fall garland is inexpensive to make because only small pieces of each paper and fabric are needed. It is a great opportunity to use leftover scraps from your craft stash, and it could easily become a Dollar Tree project using their fabric, lace, scrapbook paper, ribbon, and seasonal craft supplies.
This project is made using a Cricut cutting machine. I typically provide a printable template for readers who prefer to cut the pieces by hand, but cutting this many detailed oak leaves individually with scissors would be far too time-consuming.
Materials
- Plain brown wrapping paper
- Scrapbook paper
- Faux leather scrapbook paper
- Coarse linen
- Lace fabric
- Other fabric scraps
- Iron-on interfacing
- 1-inch wired brown ribbon about 10 feet
- Hot glue sticks
Tools
- Cricut cutting machine
- StandardGrip mat for paper
- FabricGrip mat
- Fine-point blade
- Rotary blade
- Cricut brayer or scraper
- Cricut spatula, weeding tool
- Iron
- Low-temperature hot glue gun
- Scissors
- Painter’s Tape
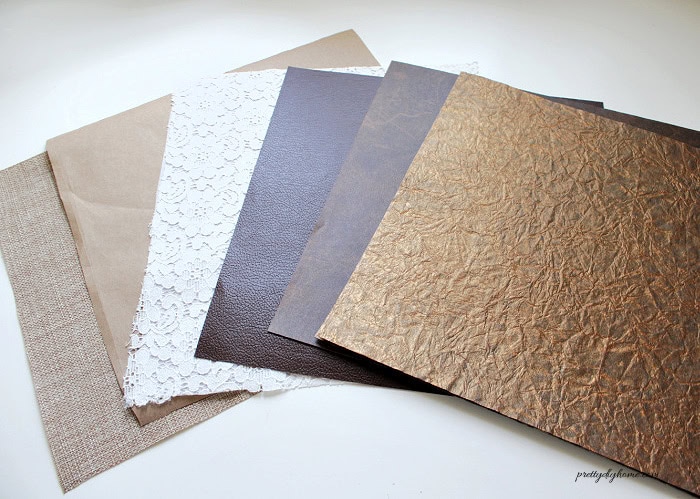
Here is a look at the different papers and fabrics I used to create the mixed leaf garland. The exact combination is flexible, so feel free to substitute whatever textures and colors you already have on hand.
Preparing the Materials
I prefer to prepare all of my papers and fabrics before opening Cricut Design Space. This keeps the cutting process organized and makes it easier to move from one material to the next.
You can prepare the papers and fabrics in either 12-by-12-inch or 12-by-24-inch pieces, depending on the size of your Cricut mat and how much material you want to cut at one time. I kept mine to 12-by-12-inch squares to make the instructions consistent and easier to follow.
Step 1: Choose Your Materials
Begin by gathering the papers, fabrics, and other materials you have on hand for making the leaves.
Step 2: Prepare the Paper Materials
Cut the plain brown paper into a 12-inch square and smooth out any folds or wrinkles. It does not require ironing or any other preparation. My faux leather scrapbook paper was already the correct size and ready to use as it was.
Step 3: Prepare the Fabric Materials
Iron the coarse linen and lace to remove any wrinkles. Once smooth, apply iron-on interfacing to the back of each fabric according to the manufacturer’s directions. Make sure the interfacing is fully attached, especially around the edges, then allow the fabrics to cool completely before cutting.
Trim away any loose threads and set all the prepared materials aside until you are ready to place them on the Cricut mats.
Cutting the Oak Leaves with a Cricut
Step 4: Choose an Oak Leaf Pattern
Open Cricut Design Space and search for oak leaf under Images. I chose the solid oak leaf with softly rounded edges by contributing artist Natalie Thompson. The design was included with my Cricut Access subscription when I made this project.
I preferred this oak leaf because its smooth, rounded edges are better suited to lace and coarse linen than a maple leaf with narrow points. I also used one consistent leaf shape because the different colors and textures already provide plenty of variety.
Step 5: Size and Arrange the Oak Leaves
I wanted one complete set of leaves to fit on a single 12-by-12-inch Cricut mat so the cutting layout and material settings would be simple to manage. Once one set was finished, I could load another prepared mat and repeat the same cutting job as many times as needed.
To fit all five leaves onto one mat, I sized three leaves at 4.8 inches long, one leaf at 5.5 inches, and one leaf at 4.3 inches. The slight variation in size gives the finished garland a more natural appearance while making efficient use of each sheet of material.
Step 6: Cutting the Brown Paper Leaves
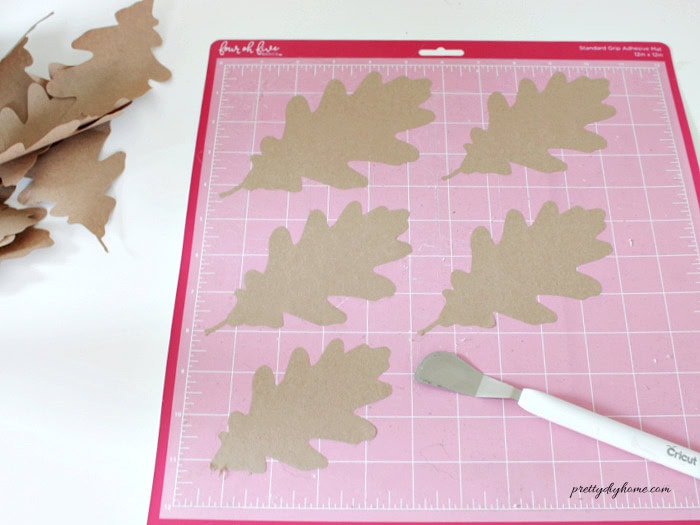
I began with the plain brown paper leaves because they required the least preparation. I used brown wrapping paper from Dollar Tree and cut it into 12-by-12-inch squares to fit my StandardGrip mat.
Connect your Cricut machine, place one sheet of brown paper onto the mat, and smooth it down firmly. In Cricut Design Space, click Make. The five oak leaves will appear on the mat preview. Select On Mat as the material load type, choose 12 by 12 inches as the material size, and then click Continue.
For my brown wrapping paper, I selected Wrapping Paper as the base material and left the pressure set to Default. Load the fine-point blade into Clamp B, position the mat beneath the machine guides, and press the flashing Load/Unload button. Once the mat is loaded, press the flashing Go button to begin cutting.
Before unloading the mat, I gently lifted one corner of the paper to check that the leaves had cut cleanly all the way through. This quick check can save time and helps avoid unloading the mat too soon.
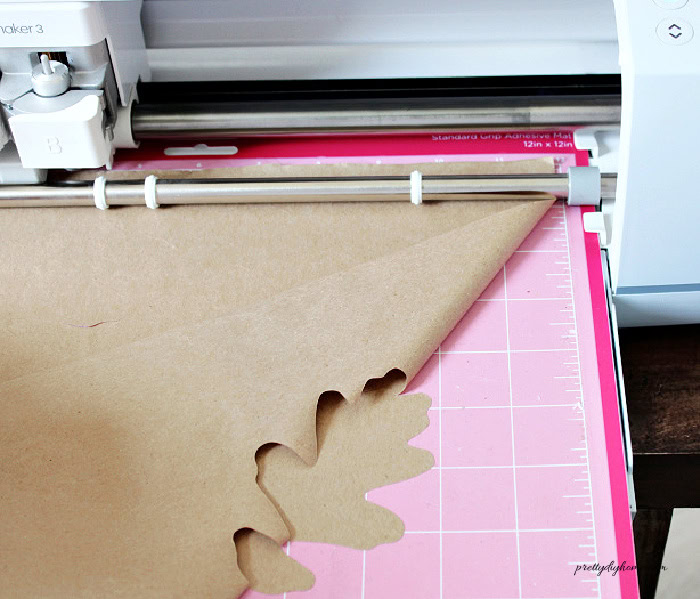
I repeated the same cutting job until I had 70 brown paper leaves.
When removing the leftover paper from the mat, I found that it peeled away in one piece when I started at the upper-right corner and pulled diagonally toward the lower-left. To lift each oak leaf, gently slide a Cricut spatula beneath the stem first, then continue lifting the rest of the leaf. Starting at the stem made the leaves much easier to remove without tearing or bending them.
Step 7: Cutting the Faux Leather Paper Leaves
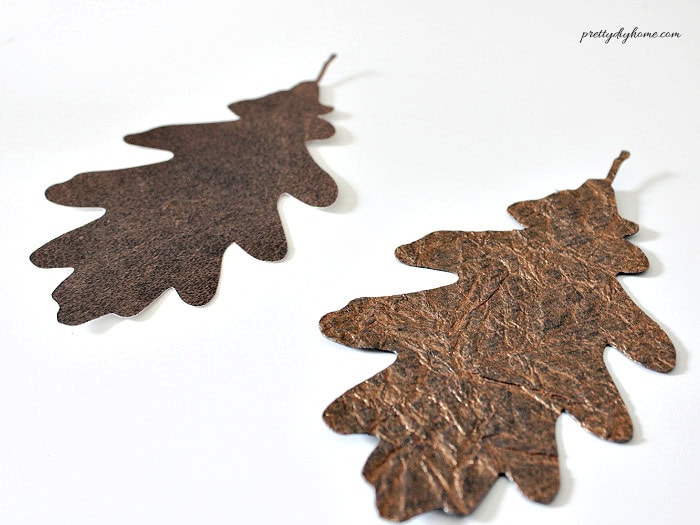
I used two different styles of faux leather scrapbook paper for this garland. Although both had a leather-like finish, they required different Cricut settings because their weight and construction were not the same.
The first paper was called Crinkle Bronze. It appeared to be made from more than one layer, so I used a brayer to press it firmly onto the StandardGrip mat before cutting. In Cricut Design Space, I selected Deluxe Paper, Foil Embossed as the base material and changed the pressure to More.
The second paper was called Leather Couch Brown. For this paper, I selected Medium Cardstock, 80 lb, and left the pressure set to Default.
I used the fine-point blade for both papers and cut 10 oak leaves from each one, giving me 20 faux leather paper leaves altogether. Before unloading each mat, check that the leaves have cut completely through. If they have not, leave the mat loaded and press the Go button again to repeat the cut a second time.
Step 8: Cutting the Fabric Leaves
Cutting the fabric leaves requires a little more preparation and different tools than cutting the paper leaves, but the added texture gives the finished garland a more polished, higher-end look.
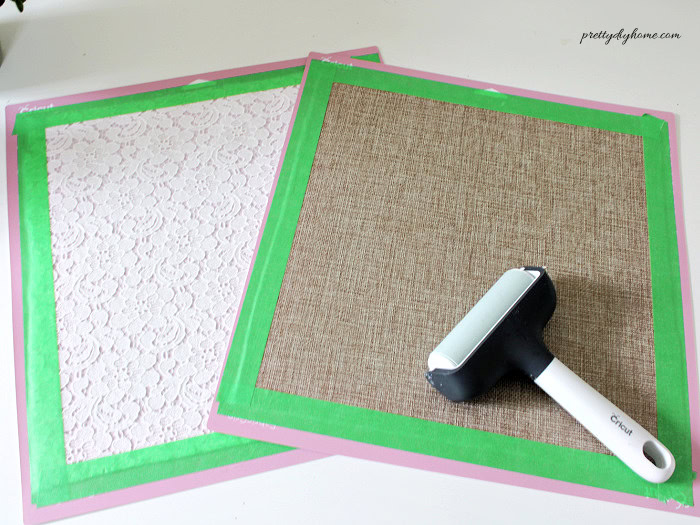
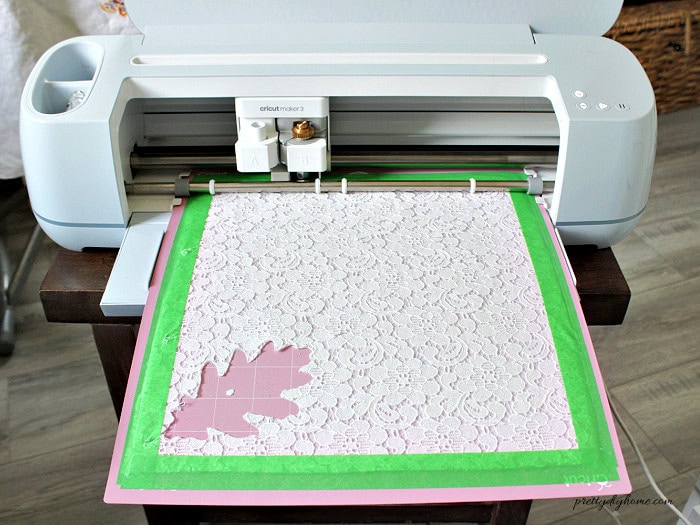
For the fabric leaves, use a FabricGrip mat and rotary blade. Press the prepared fabric firmly onto the mat with a brayer to get the best adhesion possible. I also secure all four sides of the fabric with painter’s tape, keeping the tape outside the cutting area. This may not be necessary with a brand-new FabricGrip mat, but mine have been used for several projects, so the tape helps keep the fabric from shifting while it cuts.
Place the interfaced fabric on the FabricGrip mat with the fabric side facing upward. Press it firmly onto the mat with a brayer, then secure the outside edges with painter’s tape to help keep the fabric from shifting while it cuts.
In Cricut Design Space, click Make, select On Mat, choose the 12-by-12-inch material size, and click Continue. Install the rotary blade, select the base material and pressure listed below, then load the mat and begin the cut.
Before unloading the mat, check that the leaves have cut completely through. If necessary, press the Go button again to repeat the cut.
Cutting the Lace Leaves
For my lace leaves, I selected Medium Fabrics Like Cotton Bonded in Cricut Design Space, set the pressure to More, and used the rotary blade. Because the lace had interfacing attached to the back, this setting worked better than a delicate lace setting.
Once the cut was finished, I used a hook tool to gently check one leaf before unloading the mat. When I could see that both the lace and interfacing had cut cleanly, I removed the mat and finished lifting the remaining lace leaves.
Cutting the Coarse Linen Leaves
For the coarse linen with interfacing attached to the back, I selected Extra Heavy Fabrics Like Burlap as the base material, used the rotary blade, and left the pressure set to Default. This setting cut through both the coarse linen and the interfacing cleanly.
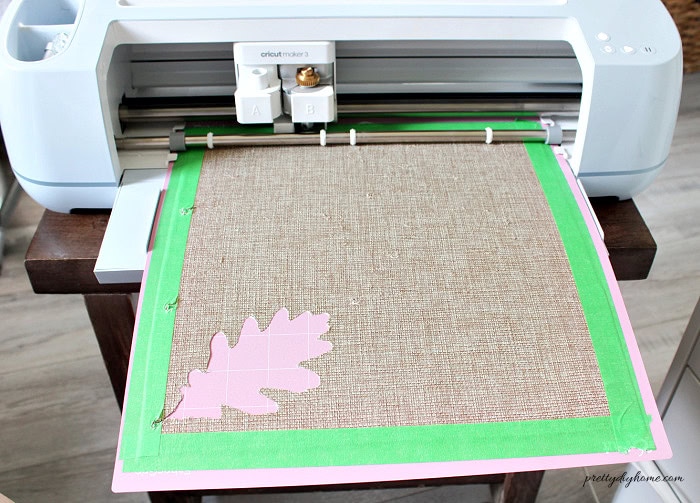
Before unloading the mat, use the hook tool to check that one leaf has cut completely through. If necessary, leave the mat loaded and press the Go button again for a second pass.
Assembling the Mixed Leaf Fall Garland
Step 9: Adding the Brown Paper Leaves
I began with a 1-inch-wide brown wired ribbon that I already had on hand. My ribbon was 10 feet long. Tie a bow at one end, leaving about a 10-inch tail.
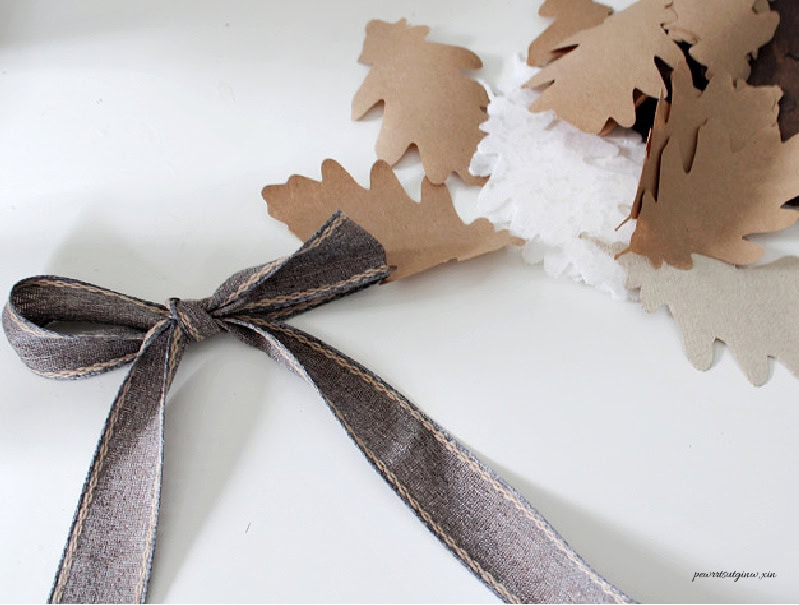
Begin adding the brown paper oak leaves along the ribbon. Position the leaves in both directions, with some pointing upward and others downward, overlapping them as you work. The brown paper leaves will fill in most of the ribbon and create the base for the other textures that will be added later.
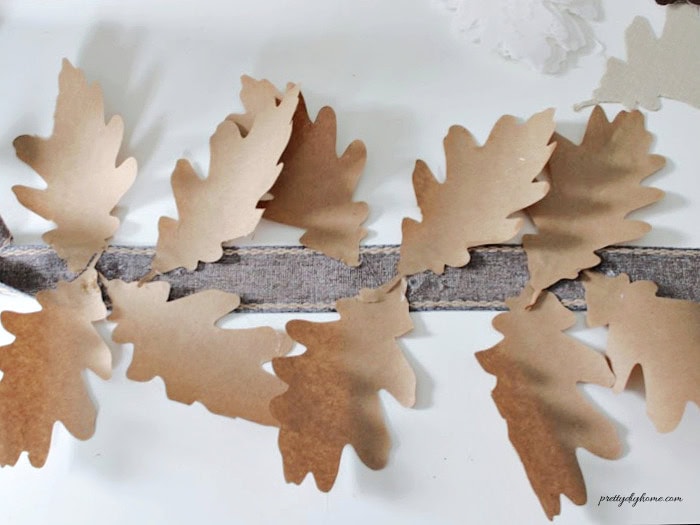
Continue working along the ribbon until you have about 20 inches remaining, then tie a bow at the opposite end.
I originally cut 50 brown paper leaves, but needed another 20 as I assembled the garland, for a total of 70 brown paper leaves.
Step 10: Adding the Remaining Leaves
Once all of the brown paper leaves were attached, I moved the garland to my long kitchen island so I could see the entire length while adding the remaining leaves.
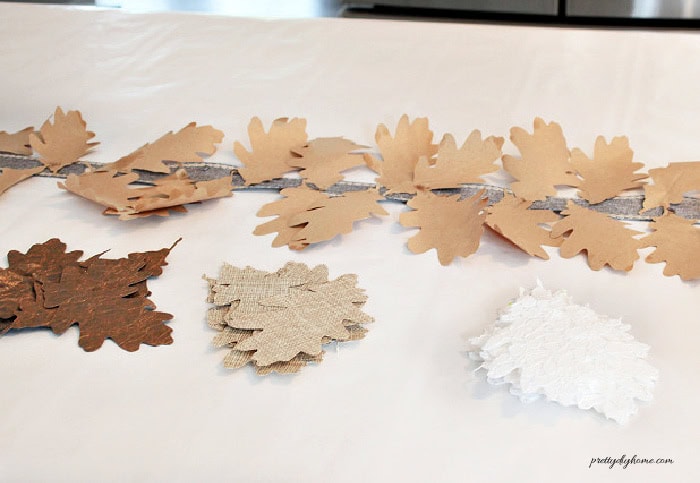
I started with the dark brown faux leather paper leaves, placing them in different directions along the ribbon. I did not measure the distance between them, but I made sure they were evenly spaced from one end of the garland to the other.
Once I was happy with the placement, I went back and added a small amount of hot glue to the back of each leaf before pressing it onto the ribbon.
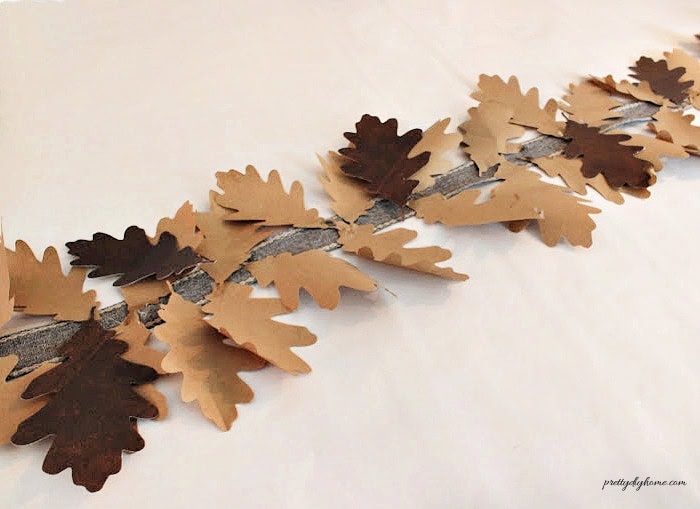
I followed the same process with the remaining leaves, adding the linen leaves first, then the metallic leaves, and finally the white lace leaves. For each type, I arranged the leaves along the full length of the garland before gluing anything in place. Once I was happy with the spacing and direction, I went back and secured each leaf to the ribbon with hot glue.
After all of the leaves were attached, I added a little extra hot glue between some of the overlapping leaves to help hold the layers together and give the garland a bit more stability.
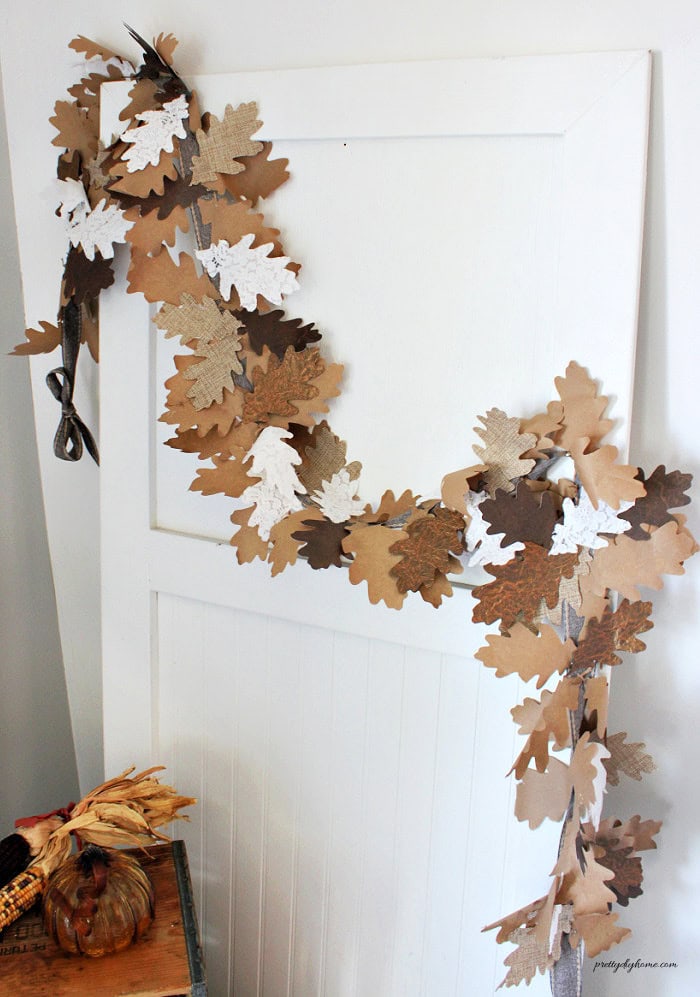
Displaying the Finished Fall Garland
Once the glue has cooled completely, the fall garland is ready to hang. The wired ribbon base makes the garland easy to shape into a gentle swag. Once it is in place, you can adjust the leaves as needed.
I displayed mine across an old white farmhouse door, allowing the garland to drape loosely across the top and cascade down one side. You could also hang it along a mantel, staircase, cabinet, doorway, or anywhere you would normally use a fall garland.
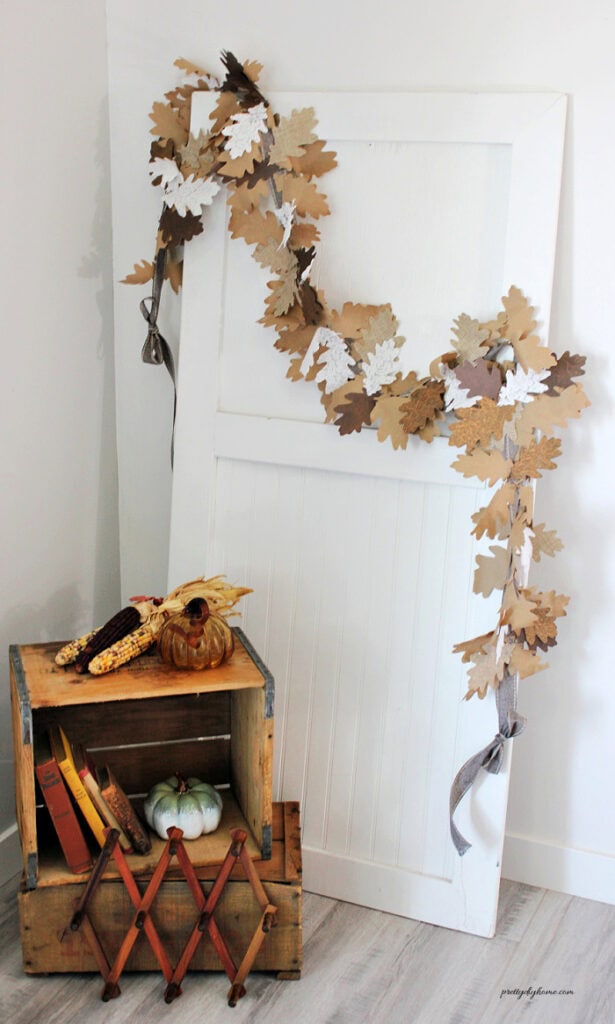
I love how all of the different materials show up once the garland is hanging. The brown paper creates most of the fullness, while the linen, lace, metallic paper, and darker leaves add little changes in texture and color throughout. It is a simple neutral fall decoration, but there is lots to look at when you see it up close.
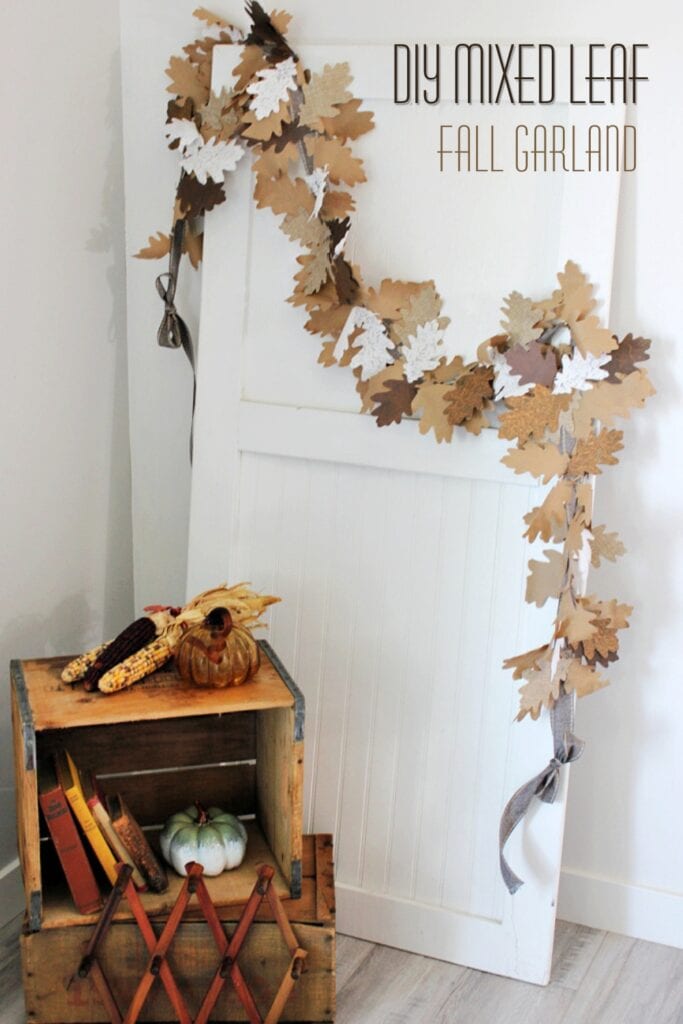
Pin this DIY mixed leaf fall garland for later. The layered oak leaves are cut from paper, lace, linen, and faux leather paper. It is an inexpensive way to add soft, neutral texture to your fall decor.
More Fall DIY Projects
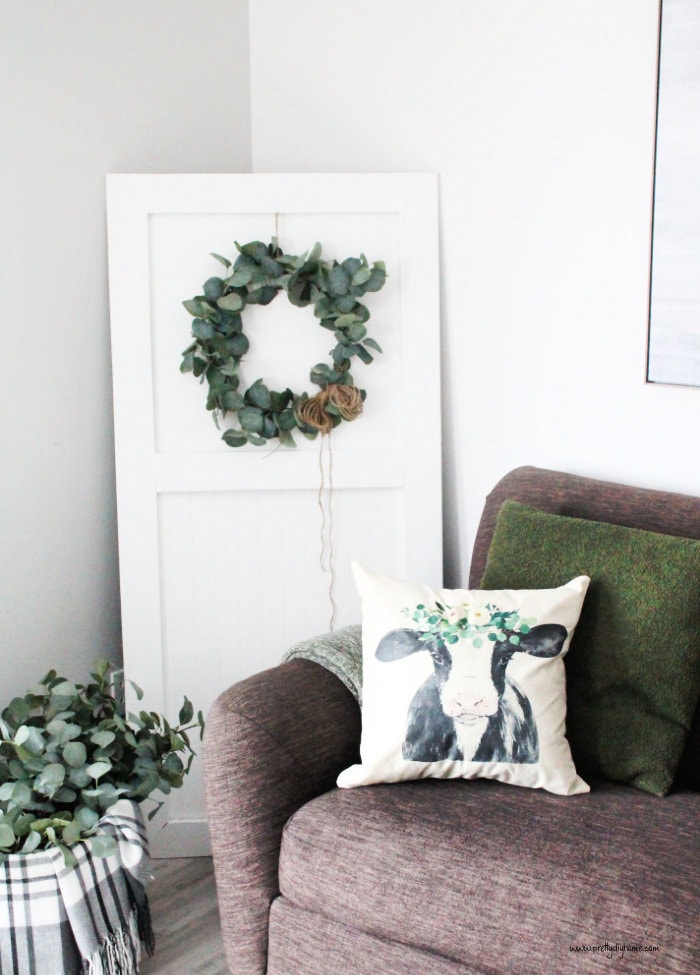
DIY Farmhouse Door
The white farmhouse-style door I used to display the garland is another DIY project. I have really enjoyed having this door for decorating and have used it to brighten different corners of my home for many years.

DIY Book Page Fall Garland
If you enjoy making fall garlands, you may also like my book page fall leaf garland. It has a completely different look but is another inexpensive way to decorate for fall.