
How to Wash Burlap and Cut It for DIY Projects
Burlap fabric is one of those simple natural materials that works beautifully for all kinds of DIY projects, especially rustic and fall crafts. If you are wondering how to wash burlap before using it, the process is quite simple. I love using burlap for rustic home decor because the coarse texture adds so much character, whether you are making table runners, burlap sacks, curtains, or seasonal decorations.
Unfortunately, because burlap is made from natural fibers, it often has a strong, slightly unpleasant smell when new, and used burlap sacks can come with dust, dirt, lint, or persistent odors. The good news is that burlap is quite easy to cut once you know how to follow the weave.
Burlap is easy to clean and fun to use once you know how to deal with it. In this post, I will show you how to wash burlap by hand or in the washing machine, how to dry and iron it, and how to cut it straight without fraying.
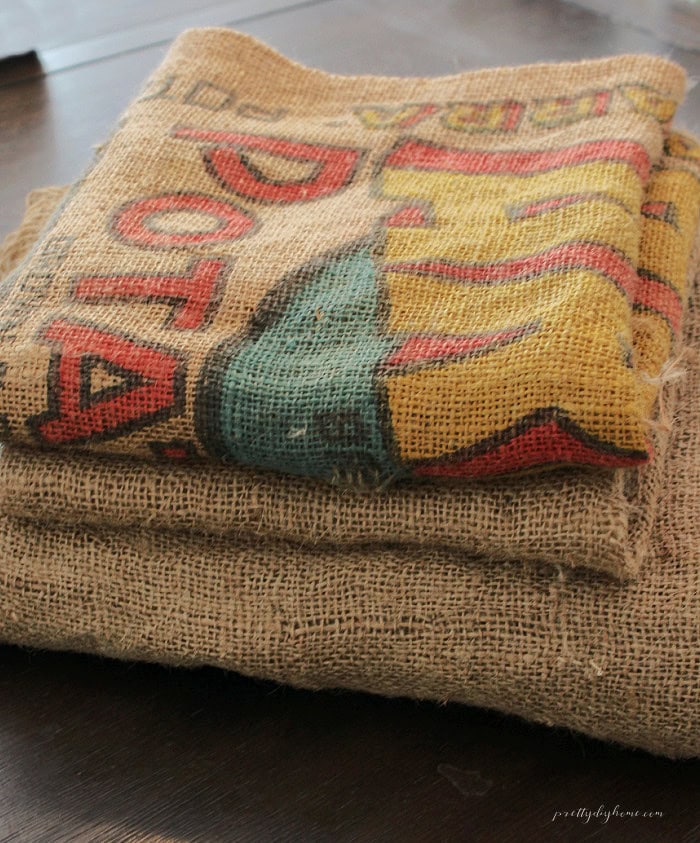
How to Wash Burlap
How you wash burlap depends on the condition of your fabric and how dirty it is.
If you are working with new burlap and just want to remove the natural burlap scent or soften the coarse texture, hand washing is usually enough.
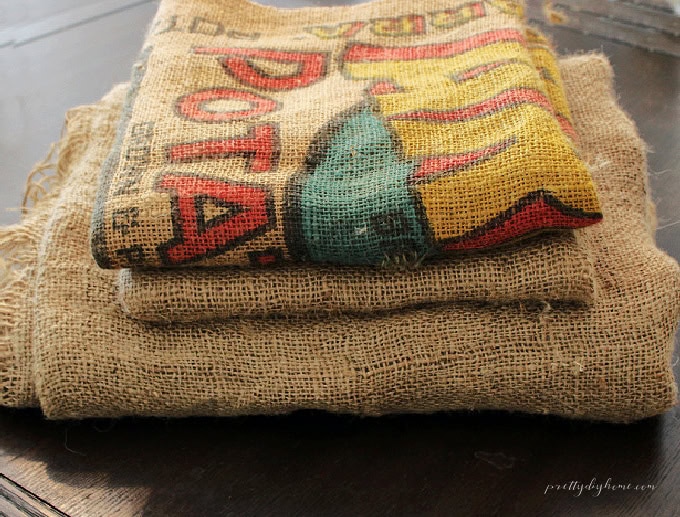
Used burlap, including old potato sacks, jute sacks, burlap coffee bags, and other reused burlap items, often needs a more thorough cleaning.
Because burlap is usually made from natural jute fiber rather than synthetic fibers, it needs a little more care than an ordinary piece of fabric. Hot water, heavy agitation, twisting, and high dryer heat can all cause the woven fabric to stretch and distort or shrink.
Why I Wash Burlap Before Using It
You don’t always have to wash burlap before using it, but I usually prefer to if the fabric will be used for home decor.
Fresh burlap can have a very distinctive natural scent. Some people don’t mind it, but if you are making something that will be used inside your home, washing it and letting it dry in the fresh air makes a big difference.
Washing also helps remove loose dust, leftover residue, and some of the tiny fibers that naturally come off the material.
It can also soften the coarse texture a little, which makes the burlap easier to handle when sewing or working on burlap projects.
This is particularly helpful if you are making things such as table runners, a burlap tablecloth, burlap curtains, decorative sacks, seasonal home decor, or other DIY projects.
Hand Washing Burlap
For new burlap fabric that is already in good condition, I think hand washing is the best way to remove the burlap scent without being unnecessarily hard on the natural fibers.
I wash mine in a utility sink.
Fill the sink with cool or lukewarm water and add a small amount of mild liquid detergent. Avoid very hot water, which can cause natural jute fiber to shrink or lose its original shape.
Place the burlap in the water and gently move it around with your hands. You don’t need active agitation or heavy scrubbing.
Drain the dirty water and rinse the burlap with clean water until the detergent and any leftover residue are gone.
I also like to use liquid fabric softener because it helps soften the coarse texture of natural burlap.
Refill the sink with clean water and add about 1/4 cup of fabric softener. Let the burlap soak for about an hour.
Once it has soaked, drain the sink and carefully lift the burlap out. Do not twist or wring the fabric to remove excess water. Wet burlap is much easier to stretch out of shape than dry burlap.
Washing Burlap in the Washing Machine
Machine washing works well for used burlap that needs more than a simple hand wash.
Before washing old potato sacks, jute sacks, burlap coffee bags, or other reused burlap items, take them outside and give them a good shake. I also like to use a handheld vacuum to remove as much loose dust, dirt, and debris as possible.
If your burlap has printed graphics, test the ink before putting it in the washing machine. Dampen a small area of the print and blot it with a clean white cloth or paper towel. If any color transfers, I would spot wash the burlap instead.
If the graphics are colorfast, place the burlap in the washing machine by itself. Use cool water, a small amount of mild laundry detergent, and choose the gentle or delicate cycle. I also add a full capful of liquid fabric softener to help soften the coarse natural fibers.
If your washing machine allows you to stop or skip the spin cycle, I think that is a good idea. Wet burlap is heavy, and avoiding the spin cycle helps prevent the fabric from stretching and distorting.
Once the wash cycle is finished, carefully remove the wet burlap and transfer it to a plastic wash tub or laundry basket so you can support its weight while carrying it outside to dry.
A Note About Your Washing Machine
Natural burlap sheds, and sometimes it sheds a lot.
After washing burlap in the washing machine, carefully wipe the inside of the washing drum with a damp cloth to remove any visible fibers.
I also like to run a load of cleaning rags or old washcloths through the machine before washing regular clothes. Those rags aren’t going to be worn against your skin, and they can help pick up any stray burlap fibers that may still be hiding inside the washer.
Spot Washing Vintage Burlap
If you are worried about the printed graphics on an old burlap sack and don’t want to risk the colors running in the washing machine, spot washing may be the better choice.
Use a damp cloth or wet sponge with a small amount of mild detergent and gently clean the areas that need it. Then go over the area again with a clean damp cloth to remove any leftover detergent.
Even if you only spot wash the burlap, I would still take it outside to freshen up. Hang it from a sturdy hanger in the breeze, or use a clothesline if you have one, and let the fresh air help remove any lingering burlap scent or unpleasant odors.
How to Dry Burlap
You can dry burlap in the dryer, but because of all those loose jute fibers, I wouldn’t recommend it.
Burlap can shed large amounts of lint and tiny fibers. Some may end up in the lint trap, but others can remain in the dryer and transfer to your next load of laundry. Those coarse little fibers can make clothing very itchy.
Fresh air is also one of the best fabric fresheners there is, especially if you are trying to remove that strong burlap smell or freshen an old sack.
I prefer to take the wet burlap outside to air dry. I like to cover our outdoor table with a plastic sheet and lay the burlap flat over it. You can also hang larger pieces from a clothesline or sturdy hanger and let the breeze do the work.
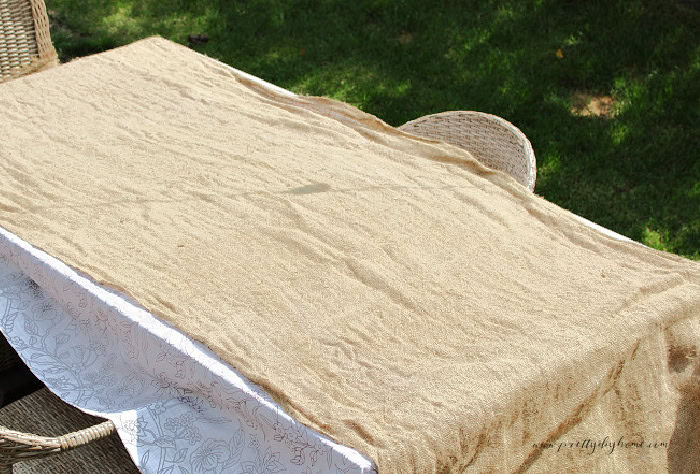
For a smaller burlap item, laying it flat on a clean, dry towel is another option. The towel can absorb some of the excess water without pulling the fabric out of its original shape.
Fresh air is the best fabric freshener there is. Make sure the burlap is completely dry before folding it or bringing it back inside.
How to Iron Burlap
Once the burlap is completely dry, you can iron it if it has wrinkles or creases you want to remove before starting your project.
Lay the burlap flat on your ironing board and straighten the weave as much as possible with your hands first.
Use a medium heat setting and press the burlap rather than aggressively moving the iron back and forth. If you are concerned about scorching the natural fibers, place a clean cotton cloth between the iron and the burlap.
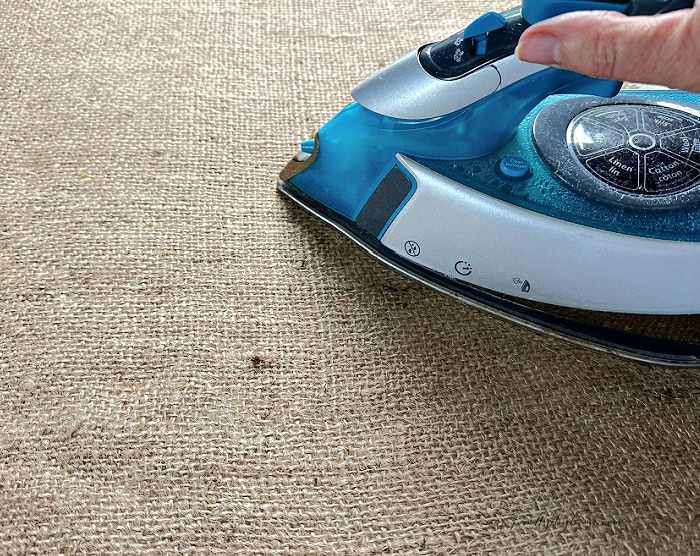
Printed burlap sacks need a little extra care. Avoid placing a hot iron directly over vintage lettering or graphics unless you know the ink can handle the heat.
How to Cut Burlap Straight
Once your burlap is clean, dry, and ironed, it is ready to cut.
Burlap is a loosely woven fabric, which actually makes it quite easy to cut straight once you know how to follow the weave.
Measure where you want your cut to be and select one horizontal or vertical thread in the woven fabric.
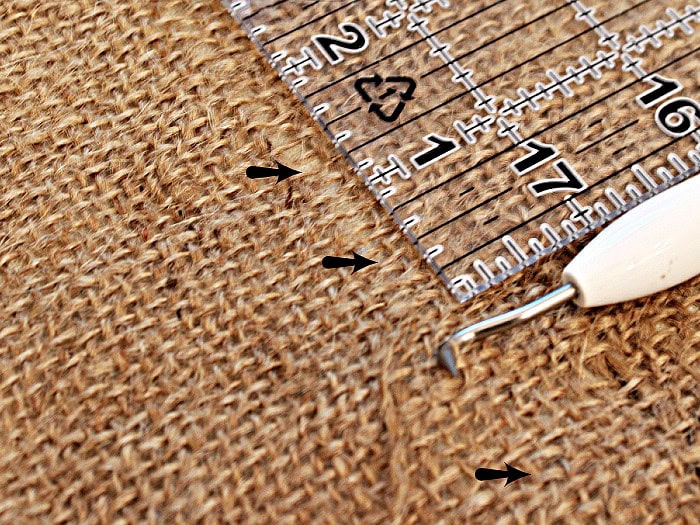
Carefully pull that thread out of the burlap. A crochet hook works great for snagging the twine.
As the thread comes out, it leaves a clearly visible open channel all the way across the fabric.
Cut directly along that empty line.
Because you are following the weave of the natural fabric, your cut stays straight.
How to Cut Burlap Without Fraying
The thread-pulling method also helps control fraying because you aren’t cutting randomly through the weave.
Once you have removed one thread and cut along the open channel, the edge will be much straighter and easier to work with.
A small amount of fraying is part of the charm of natural burlap, especially for rustic home decor, but you can control how much fringe you want.
For a neat fringe, you can pull out several additional threads along the edge after cutting.
For a cleaner finished edge, leave enough fabric to fold under, sew a seam, or attach a border.
This method works especially well when cutting larger pieces for table runners, curtains, burlap bags, flower pot sacks, and other sewing projects where a straight edge matters.
How to Store Burlap
Before storing burlap, make sure it is completely clean and dry. Even a little moisture left in the natural fibers can lead to musty odors while it is stored.
I like to fold larger pieces loosely rather than packing them tightly. Store the burlap in a clean, dry place where it has some air circulation and is protected from dampness.
For vintage potato sacks, burlap coffee bags, or other pieces with pretty graphics, fold them carefully so you aren’t creating a hard crease through the printed design.
I would also avoid sealing burlap in plastic for long-term storage. Because it is a natural fabric, I prefer to let it breathe. A clean cardboard box, fabric storage bag, or open shelf in a dry cupboard works well.
When you are ready to use the burlap again, take it outside and give it a good shake. If it has picked up any stale or unpleasant odors while being stored, hanging it in the fresh air for a while usually helps freshen it right back up.
Love this burlap tutorial? Pin it for later so you have these simple washing, drying, ironing, and cutting tips handy for your next burlap DIY project.
Burlap DIY Projects to Try
There are countless ways to use burlap, from garden projects and hanging baskets to, of course, fall crafts and rustic home decor. Burlap can be stamped, painted, sewn, and used both indoors and outside, making it a very versatile fabric for DIY projects.
I actually wrote this post in preparation for two upcoming burlap projects. One is a large flower pot cover made from a gorgeous vintage potato sack, and the other is a tutorial for sewing smaller burlap flower pot covers for your fall porch. I will link them to the bottom of this post once they are done.
Once you know how to wash, prepare, and cut burlap, there are so many creative ways to use it.
I have also used burlap to make a DIY fall porch banner and to quickly cover plain plastic flower pots as part of my fall porch decor.
