
How to Make Lavender Sachets
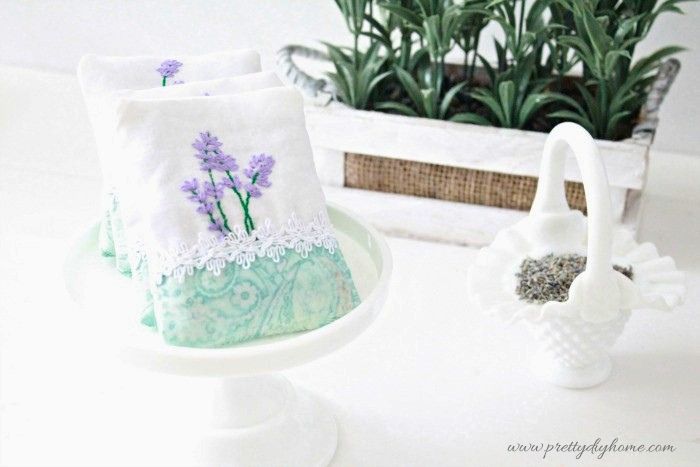
Making your own lavender sachets is one of those simple projects that are both practical and relaxing.
Sweetly scented lavender sachets can be made with just a bit of dried lavender and a few scraps of fabric, creating something that adds a soft, natural fragrance to your home.
They’re perfect for tucking into drawers, closets, or even your suitcase when traveling. I especially love making them this time of year, when everything is being aired out and freshened up for the season.
This tutorial shows you everything you need to know to make your own lavender sachets. If you’re new to embroidery, I’ll walk you through the stitches step by step. And if you already know how to embroider, you can skip ahead to the sewing portion and start creating your sachets right away.
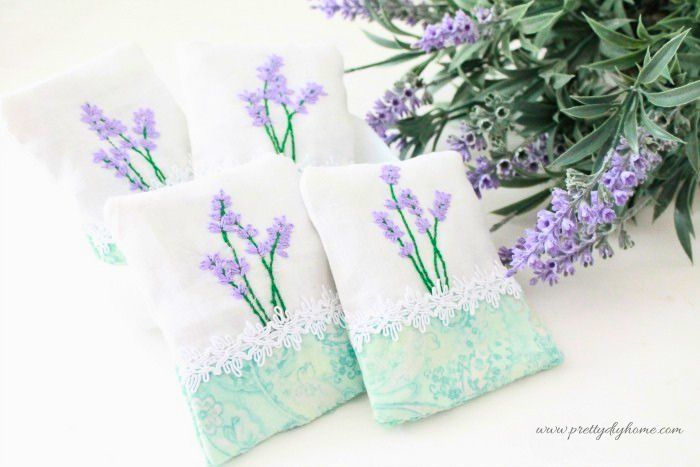
Supplies for Lavender Sachets
To make four lavender sachets, you will need:
- White linen, or handkerchief material 1/2 metre (yard)
- Coordinating blue material 1/3 metre(yard)
- 1/2 metre (5/8 yard) narrow lace
- Small embroidery hoop, 5″ diameter or less
- Embroidery needle (or any needle with a large eye)
- Carbon paper
- Light purple six thread, embroidery floss.
- Dark green six thread, embroidery floss
- Lavender embroidery pattern
- Dried lavender flowers (I found mine in the spices at the Bulk Barn)
- Lavender oil (optional)
How to Embroider the Lavender Pattern
This little lavender embroidery project is perfect for beginners. It’s inexpensive, the pattern is simple, and you get the reward of a finished sachet at the end. There are only two stitches in this design. The stems are done using a back stitch, and the purple blossoms are made with a lazy daisy stitch.
Transferring the Lavender Pattern
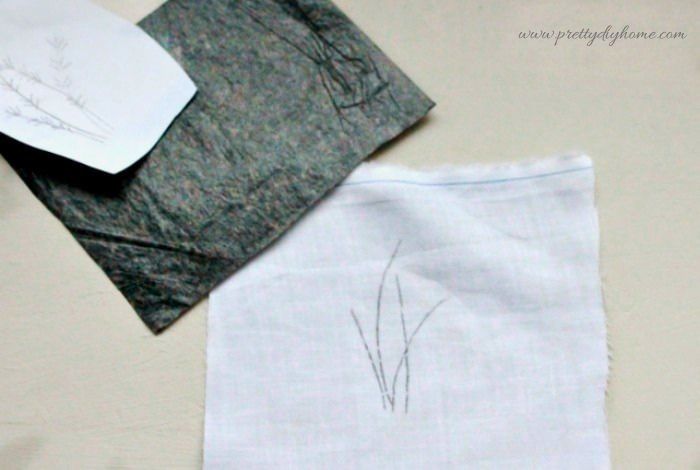
Lay your ironed fabric right side up, then place the carbon paper on top. Position the pattern so the top edge lines up with the top of your fabric, and center it by eye. Using a pointed object, trace over the pattern to transfer the design.
Note: The small marks for placing the daisy stitches are optional. It’s easy to free stitch them, and the pattern simply acts as a guide for placement.
How to Use Embroidery Floss
Embroidery floss is different from regular cotton thread. It’s made up of six strands that can be separated depending on the look you want. For this project, use two strands for the stems and three strands for the blossoms.
Cut a piece of floss about a foot long. Separate the strands from the center of the floss rather than the end, as this helps prevent tangling.
Pinch the strands gently between your fingers and pull them apart one at a time until separated.
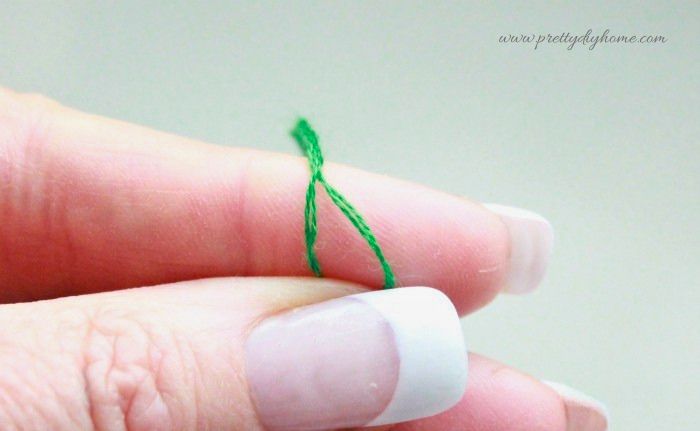
Once you have the strands separated, smooth them out and thread your needle.
Place your fabric into the embroidery hoop with the pattern centered, and tighten the hoop so the fabric is firm.
The Back Stitch
For this design, the stems are sewn using a back stitch. It is a simple embroidery stitch that works well for clean, straight lines.
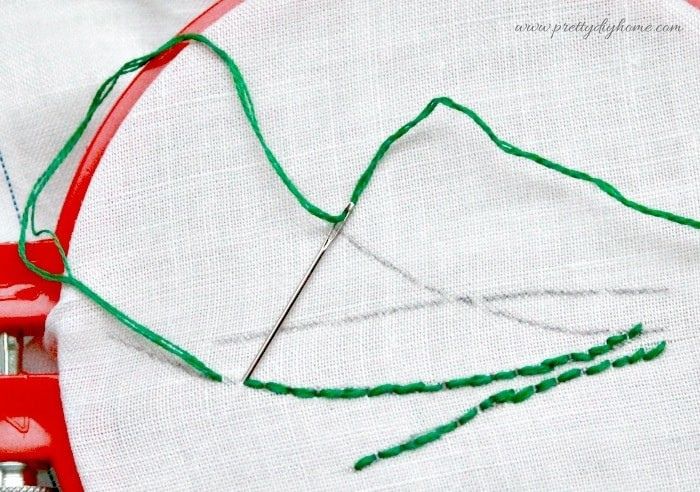
Start your thread at the bottom of an outer stem by bringing the needle up from the back of the fabric. Leave about an inch of thread on the underside, and as you continue stitching, tuck that loose end under your stitches to secure it.
Push the needle down from the top, less than 1/4 inch away, and pull it through to the back. Bring the needle up again about 1/4 inch ahead, then insert it back down into the end of the previous stitch. Repeat this process along the stem.
Because the fabric is thin and light in color, any loose threads may show through. When you reach the end of the stem, secure the thread on the back by tucking it into your stitches.
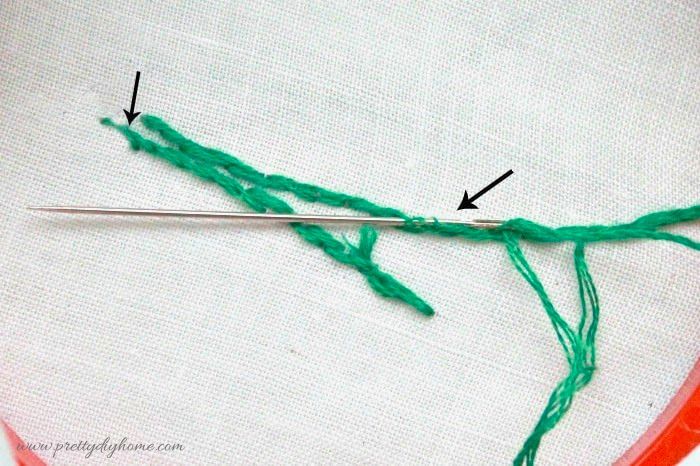
The image above shows the start and end of the branches, and how the thread ends are tucked in before trimming.
The Lazy Daisy Stitch
Use the lazy daisy stitch for the purple blossoms. The stitches can vary in length from about 1/8 to 1/3 inch. I made one larger example to show the steps more clearly, but it’s actually a very quick stitch to sew.
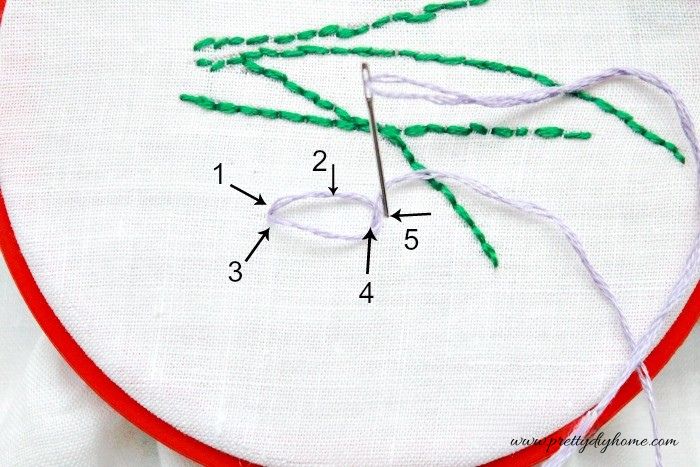
- Push the needle up from the underside of the fabric.
- Leave enough thread to make a loop.
- Push the needle back down close to where the thread came up.
- ring the needle up again at the point where you want the petal to end.
- Push the needle down over the loop to hold it in place.
Build your petals outward in groups of four wherever you like on the branches. I did three at the top and one farther down the stems.
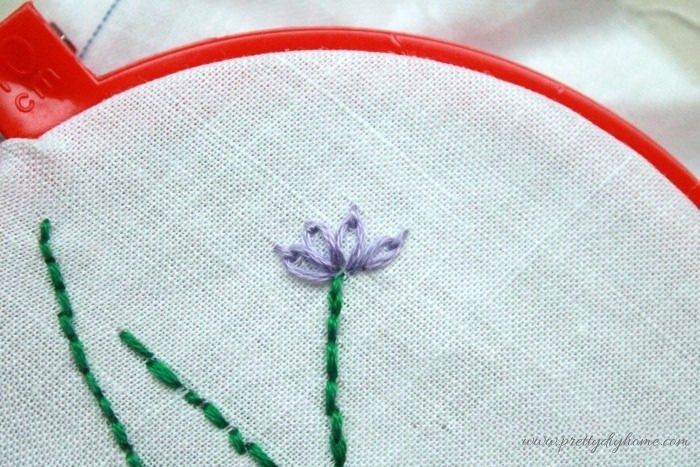
The embroidery does not need to be perfect. Just remember to tie in the ends, trim the extra threads, and keep your stitches small.
Embroidery is like painting with no mess. You take a little more time creating, and a lot less time cleaning.
I made each one in about half an hour. These will likely take you between half an hour and an hour to sew. I especially enjoy working on them outside on the deck in the sunshine.
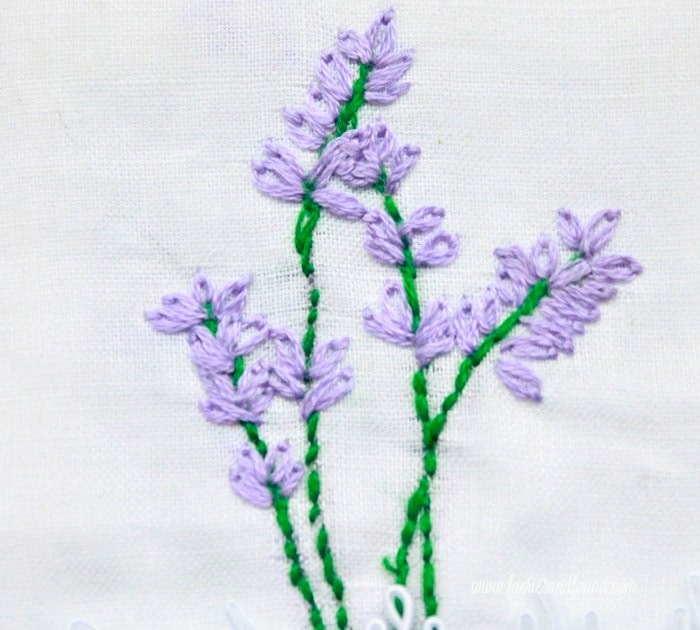
Before sewing the sachets, check the back of your stitching and trim any excess threads. I missed a couple and had to open a sachet to remove them.
Sewing Lavender Sachets
Cutting the Fabric
In addition to your embroidered squares, cut twelve pieces of white linen measuring 5″ x 6″, and eight pieces of coordinating blue fabric the same size.
The embroidered pieces will be larger at first to fit in the embroidery hoop.
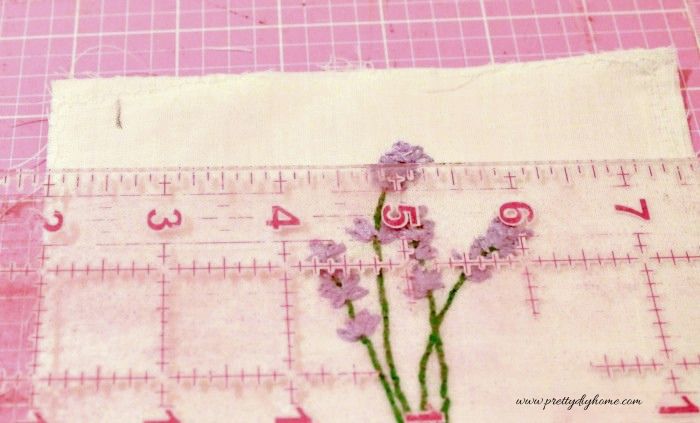
Find the center of your embroidery design and measure about 2.5 inches out on each side. Trim the fabric down to a 5-inch square.
Preparing the Coordinating Fabric
Place your blue fabric so the 5″ side runs horizontally. Fold the top edge down to create a 1″ hem and press it well. Repeat this for all eight pieces.
Layering the Fabric
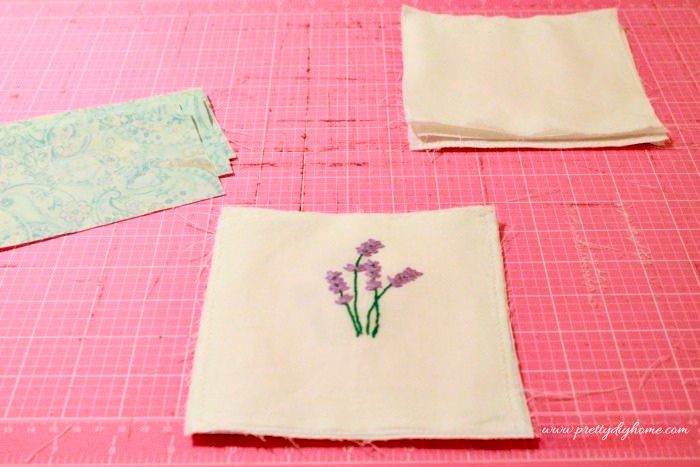
Layer each embroidered piece with a second piece of white fabric. Zig-zag stitch all the way around to hold them together and seal the edges.
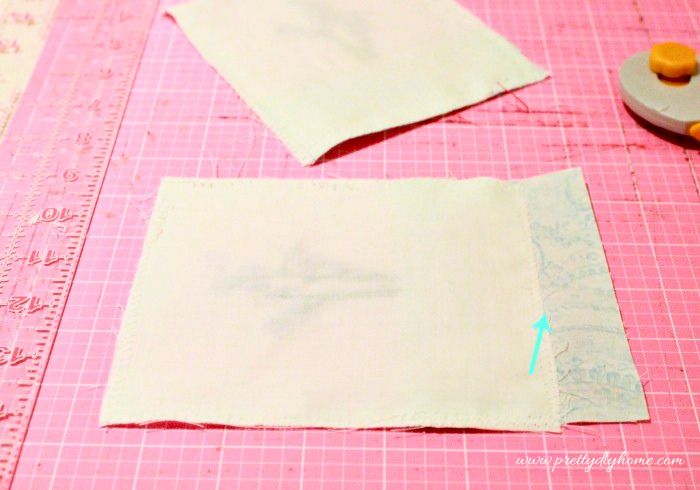
Position the blue fabric so the folded edge sits just below the embroidered stems. Line up each piece the same way on all your sachets. You will likely have some extra blue fabric hanging below, and that’s perfectly fine.
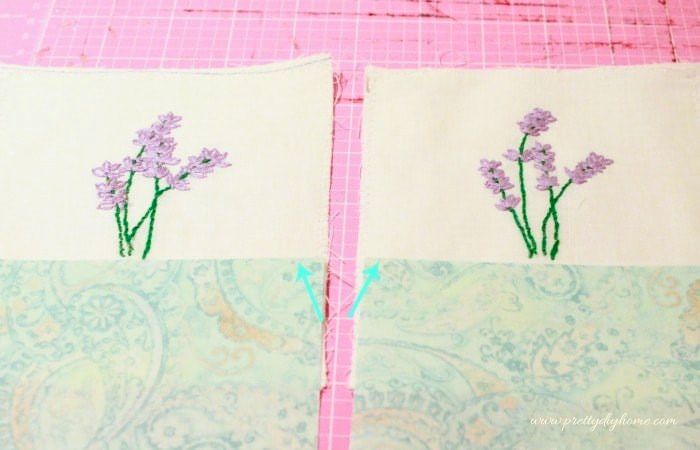
Leave the folded edge of the blue fabric unsewn. Stitch along the other three sides, following the edges of the white fabric.
g
Depending on how your embroidery was placed, you may have extra fabric. Trim the excess blue fabric, being careful not to cut into your zig-zag stitching.
Repeat the same process for the back pieces, making sure the top edges of the blue fabric are aligned evenly.
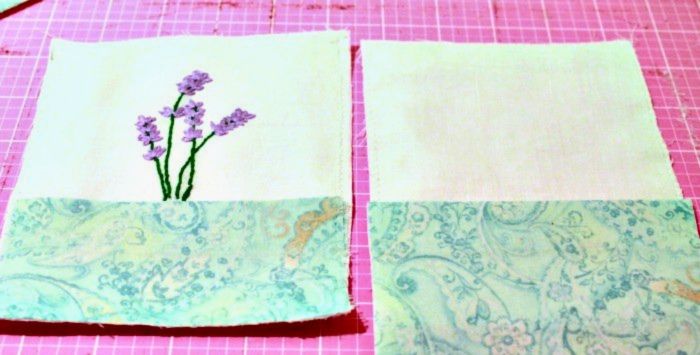
Once everything is sewn and trimmed, pair the front and back pieces together and set them aside.
Finishing the Sachet
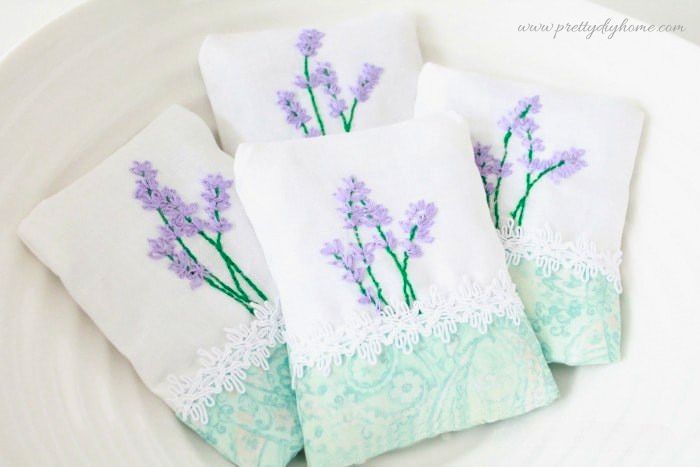
Sew a length of lace along the front sachet panel. For the back panel, you can leave the folded edge as is or sew along it. I left mine as is.
Place the two panels right sides together and sew a 1/2 inch seam all the way around, leaving the bottom open.
Turn the sachet right side out, shape the corners, and press it flat.
Fill each sachet with about 1/2 cup of dried lavender. If you like, add a few drops of lavender oil.
Fold the bottom edges inward and sew the opening closed by hand.
Making the Lavender Sachets Last Longer
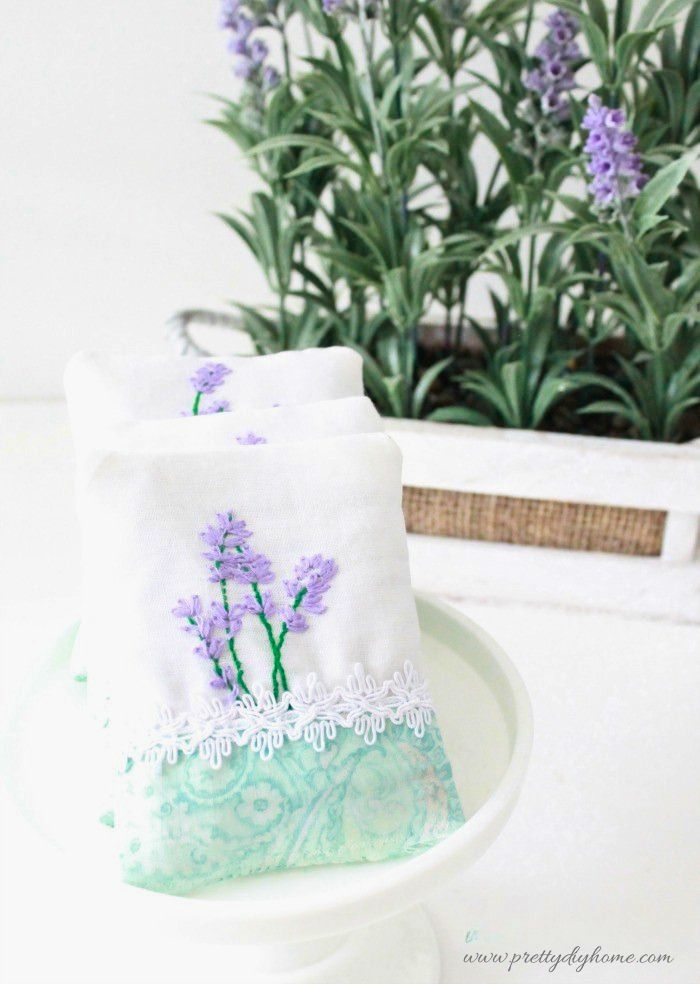
To keep your lavender sachets smelling fresh, store them in a dry place away from direct sunlight. Every so often, gently squeeze the sachet to release more of the natural scent.
If the fragrance begins to fade, you can refresh it with a drop or two of lavender oil. Just be careful not to add too much, as it can dampen the fabric.
These sachets took me two evenings to create — one for the embroidery and one for sewing them together. They’re such a lovely little addition to tuck into luggage or linen drawers, and I’ll definitely be making more in different styles. They’re simply fun to create.

Try Another Easy Embroidery Project

DIY Pin Cushion with Embroidery
If you enjoyed making these lavender sachets, you might also like this simple embroidered pin cushion. It’s another beginner-friendly project and a great way to practice your stitches using scrap fabric.
I love your little sachet packets! So cute and adorable and a great tutorial!
I love lavender and these sweet satchets would be perfect to pop around the house! They would also make wonderful gift ideas!
These are so pretty Leanna, Lavender sachets are so useful.
So so pretty Leanna. Like miniature works of art!
These are so pretty Leanna! I bet they smell amazing!
Thank you so much, Marie. They didn’t take very long to put together, I should make extra for presents.
These turned out so pretty! I’m pinning this to crafts and gifts. Wouldn’t this make a fun gift?
Leanna, these are SO pretty! And such a wonderful tutorial! With this, anyone could make these! Perfect!
Oh my gosh, Leanna, these the most beautiful lavender sachets I’ve ever seen! Seriously, I adore them 🙂 What a treat these would be given as gifts. Pinned and sharing 🙂
Thank you so much, Marie. They didn’t take very long to put together, I should make extra for presents.
I have always enjoyed doing embroidery. This is so pretty and looks like a fun project.
Embroidery is so relaxing eh? These little sachets were fast to put together, and I wanted some for luggage. So nice now that you can purchase essential oils.