
DIY Wood Block Pumpkins for Fall or Thanksgiving
Pumpkin wood crafts are one of my favorite ways to use up leftover lumber. I love spending the last days of summer in the garage playing with scrap wood, and over the years I’ve made several different kinds of pumpkins. Most of them turn out rustic, so I was really surprised and excited by just how feminine and elegant these wood block pumpkins turned out.

How to Make DIY Wood Block Pumpkins
Supplies
- 4 by 4 lumber
- White paint & primer
- Small branch or stick for the pumpkin stems
- Gold Sharpie pen
- Gold spray paint (or other metallic paint)
- Glue gun & glue
- Floral supplies
- Free “We Are Blessed” Printable Pattern
Step 1: Cut and Paint the Wood Block Pumpkins
Cut a 4-by-4 piece of scrap lumber into three lengths: 10 inches, 8 inches, and 5 inches. The different heights make the finished wood pumpkins look much nicer when grouped together.
A chop saw works well for cutting the 4-by-4 lumber. As always, use care and follow the safety instructions for your saw.
For the stems, cut a small branch or stick into three pieces about 4 inches long. Because the pieces are small, I prefer using a handsaw or garden snippers instead of the chop saw.
Paint each wood block with primer, followed by two coats of white latex paint. Let the paint dry completely before adding the lettering.
Step 2: Add the “We Are Blessed” Lettering
Print the free “We Are Blessed” pattern and trim around each word.
To make placement easier, draw a straight line along the top and bottom of the lettering before cutting the words apart.
Place a piece of carbon paper on the painted wood block, then position the printable over it. On the two taller pumpkins, place the words “We” and “Are” about 1 1/2 inches from the top. Trace over the letters with a pen to transfer the design onto the wood.

For the smallest pumpkin, position the word “Blessed” about 3/4 inch from the top and transfer the lettering the same way.
Trace over the transferred letters with a gold Sharpie. Once the lettering is dry, gently erase any remaining carbon marks.
Paint the three stems with gold spray paint, metallic gold craft paint, or Rub ’n Buff. Let them dry completely, then glue one stem to the top of each wood pumpkin.
Glue the sticks to the top of each pumpkin to make stems.

Step 3: Decorate the Wood Pumpkins
Because the “We Are Blessed” lettering is the focal point, I kept the embellishments simple. Wrap a little grey moss around the top of each wood pumpkin, then tuck in a few leaves on one side and small flowers on the other.
Keeping the florals light lets the lettering stand out while still giving the pumpkins a softer, more feminine look for fall and Thanksgiving.
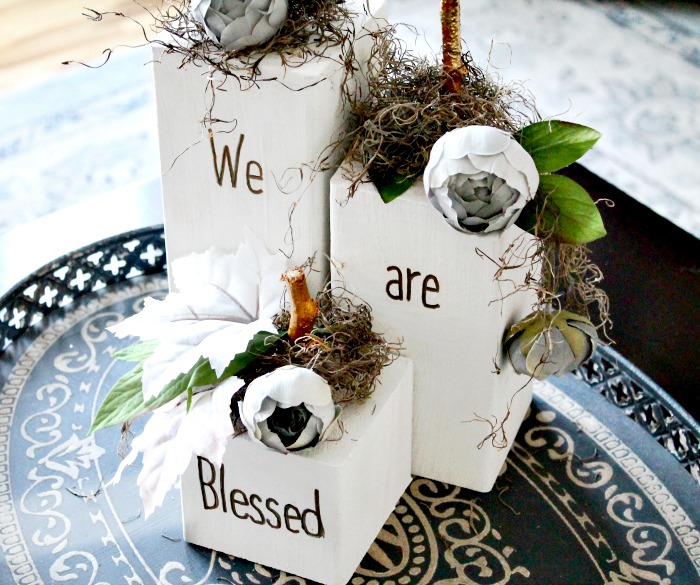
These DIY wood block pumpkins are an easy way to turn leftover lumber into pretty fall decor. I love the contrast between the simple white wood, gold lettering, and soft floral details, and the “We Are Blessed” message makes them especially nice to display for Thanksgiving.
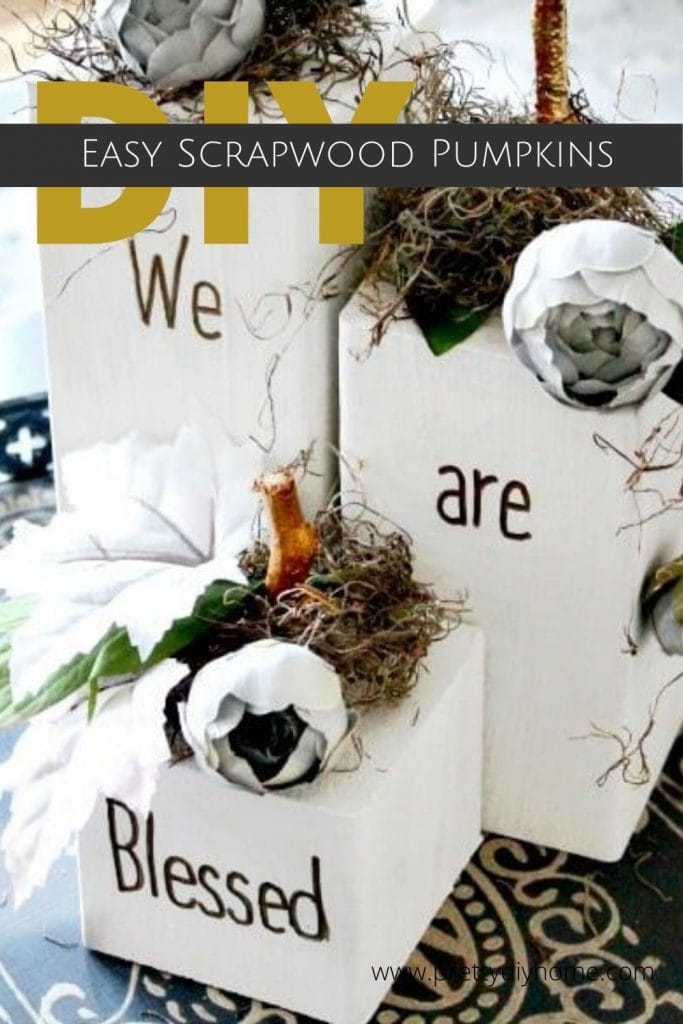
Please Pin to Have for Later!
More DIY Wood Fall Decor Ideas
Over the years I’ve made several fall decorations this way, including more wood pumpkins and a few simple projects for the kitchen and coffee bar.
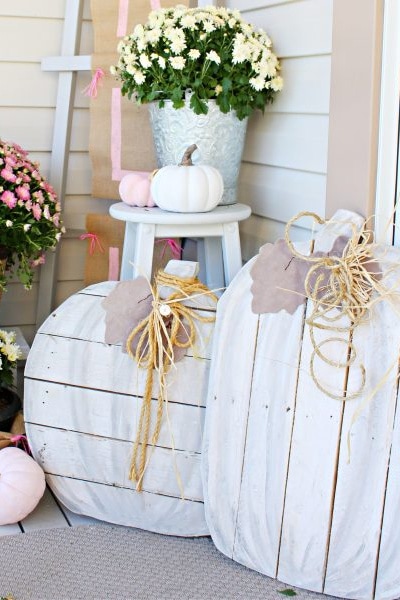
DIY Pallet Wood Pumpkins
These large DIY Wood Pallet Pumpkins are made from scrap wood and old pallet boards. They’re easy to cut and paint, and I included step-by-step instructions so you can make your own for fall porch or indoor decor.
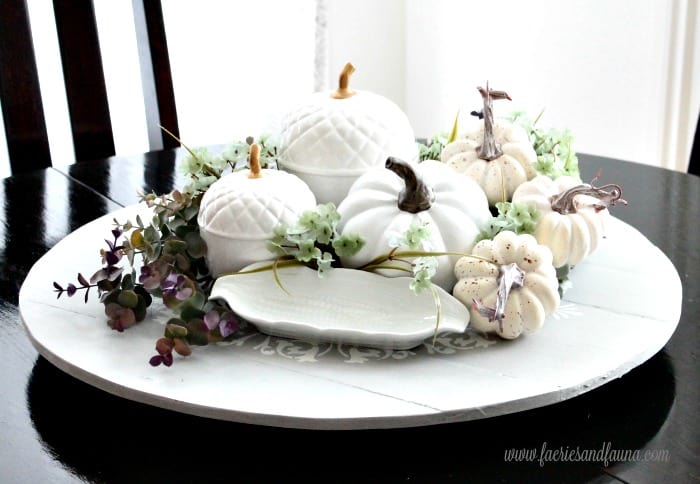
Moveable Fall Centerpiece Lazy Susan
This DIY pallet wood lazy susan makes a practical base for fall table decor. Add pumpkins, candles, or seasonal flowers, then simply move the whole centerpiece when you need more room on the table.
What a beautiful deco it is! I love the that included the moss. It adds this elegance vibe into the piece. I’d love to have that on my coffee table 🙂
Thank you very much Karen. It’s fun to play with embellishments, and see what you can create. I am glad you like them and thank you for commenting.
These are so gorgeous. I love the color combo and the added moss with flowers on the top. I’ll be featuring this on tonight’s MM.
So simple and so cute! Yes, “toppings” do make all the difference, but what a difference!
Thank you, Barb. I am happy you like the way I finished the pumpkins, and I appreciate you taking the time to comment.
How cute are these!! Love how you have popped the words on the front of each pumpkin and embellished them!
Thank you Sam. They looked very much like little blocks of white wood until I added the leaves. I am glad you like them.
I love this idea!!!
They are simply beautiful Leanna. How lovely with the lettering and so appropriate for this time of the year.
Hi Michelle: Thank you, my friend, these are another one of my scrap wood pile projects and they very much evolved on there own, but I really like how they turned out.
I’ve seen lots of scrap wood pumpkins on Pinterest but these, Leanna are quite beautiful! I love how you added the phrase but how you decorated the tops gave them the WOW factor. Pinned 🙂
These turned out cute and love the saying you chose.
Enjoy the rest of your day
Cindy
Thank you Cindy, I know that you see sayings everywhere, but I enjoy having one or two sayings for each holiday. I hope you have a great day as well.
What a pretty idea with scraps of wood! Great for the holidays too!
Thank you Maria. These pumpkins will be out until the Christmas stuff goes up.
Super sweet, Leanna! Love the embellishments you used! Pinned!
Thank you Julie. The new fall colour schemes are so beautiful, although a bit harder to find they are worth looking for I think. Have a great week lady.
What pretty pumpkins. And of course, the verse is so special. It will be so nice to have on display all season long.
Hi Debra, thank you. I was hoping that the wording would make them stand out more than just a simple pumpkin. I am happy to hear you like them.