
Hand Painted Pumpkin Pillow DIY for Fall
Hand painted pumpkin pillows are an easy way to add soft, seasonal color to your home for fall. Instead of searching for large decorative pillows in just the right style, you can paint your own pumpkin design and make the pillow cover to fit a 20 inch insert.
I used neutral grey, white, and brown for my pumpkin pillows, but the same technique would be beautiful with traditional fall colors such as orange, green, cream, and brown.
You do not need to be an artist to make these. The pumpkin is painted one section at a time with simple curved brush strokes, and the shading is very forgiving. Pumpkins are naturally different shapes and sizes, so your design does not need to be perfect to look beautiful.

DIY Pumpkin Pillow Tutorial
Supplies
- Heavy muslin or another sturdy cotton fabric
- One piece of fabric measuring 20 by 20 inches for the pillow front
- Two pieces of fabric measuring 20 by 16 inches for the envelope back
- A 20 inch pillow insert
- Large art paper
- Pencil
- Black marker
- Acrylic paint
- Fabric medium suitable for acrylic paint
- Small paint brushes
- Plate or palette for mixing paint
- Jar of water
- Paper towels
- Iron
For my neutral pumpkin pillows, I used neutral grey, burnt umber, and white acrylic paint mixed with fabric medium. You could easily switch those colors for orange, green, cream, or other fall shades to match your decor.
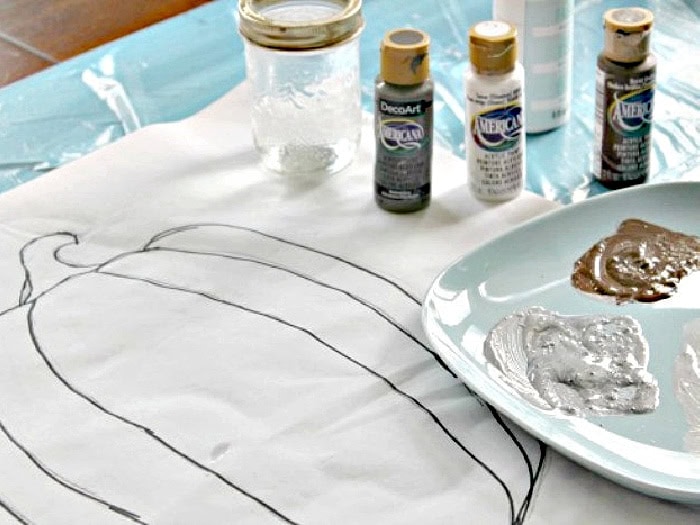
If you are making the pillow cover from fabric, prewash the material first. Finish the raw edges with a serger or zigzag stitch before beginning.
How to Paint a Pumpkin Pillow
Step 1: Make a Pumpkin Template
Cut a piece of paper to approximately 20 by 20 inches so it is the same size as the front of your pillow.
Draw a large pumpkin in pencil. Using paper first makes it easy to erase and reshape your pumpkin until you are happy with the size and proportions.
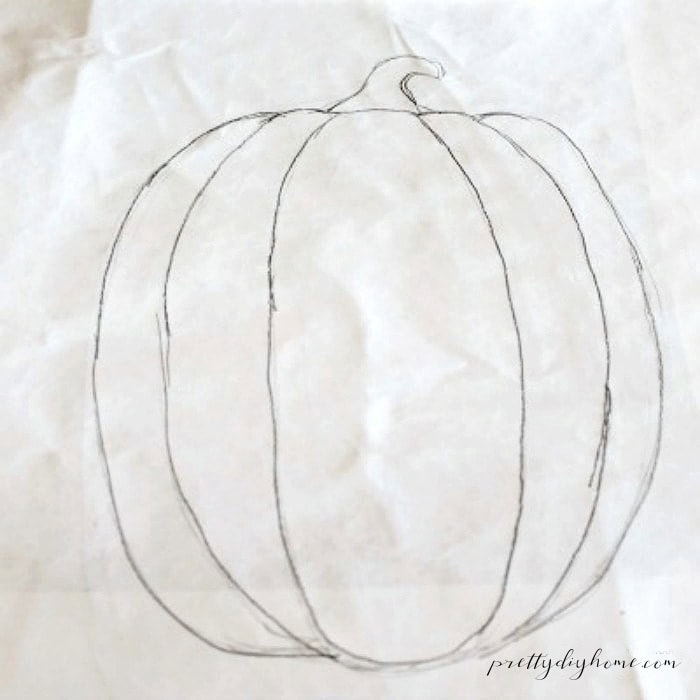
Once you like the shape, trace over the pencil lines with a black marker so they are easy to see through the fabric.
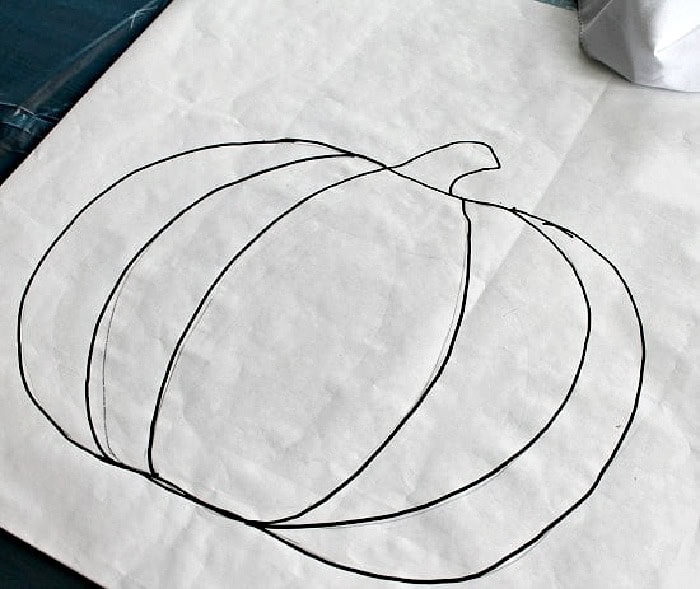
Step 2: Position the Pumpkin Design
Place the 20 by 20 inch front piece of fabric right side up over the paper template.
You should be able to see the dark pumpkin outline through the fabric well enough to use it as your painting guide.
If you are painting a premade pillow cover instead, slide a piece of cardboard inside the cover before painting. Place the pumpkin template on top of the cardboard. The cardboard helps prevent the paint from soaking through to the back of the pillow cover.
Step 3: Paint the Pumpkin
Mix your acrylic paint with fabric medium according to the directions for the product you are using.
Begin by painting the basic pumpkin outline with neutral grey.
Mix some white into the grey to create a slightly lighter shade.
Pumpkins are rounded, so curve your brush strokes to follow the natural shape of each pumpkin section. I like to use long C shaped strokes rather than straight lines.
Work on one pumpkin section at a time until the basic shape is filled in.
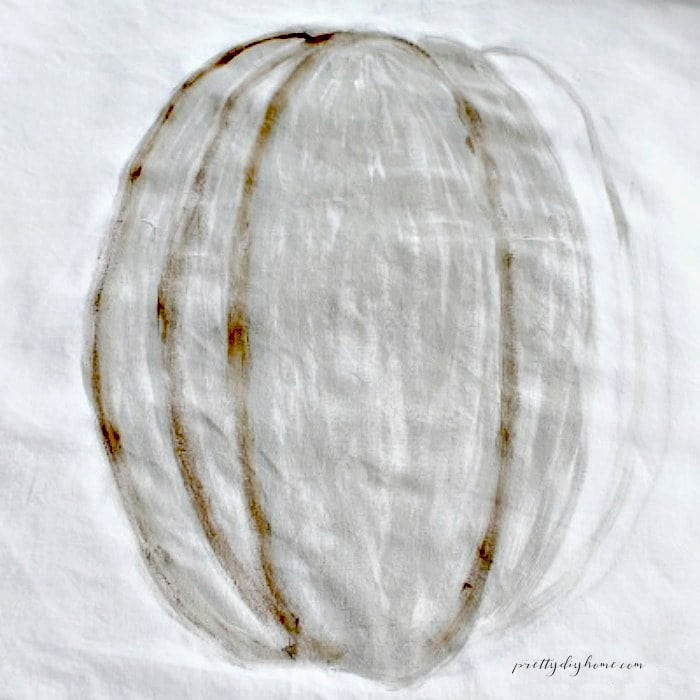
Step 4: Add Shading
Use a small brush and burnt umber to add darker shading along the inside edges of each pumpkin section.
Blend the brown into the grey while the paint is workable.
If an area becomes too dark, add more of the lighter grey and white mixture. If the shading is too pale, add another small amount of burnt umber.
Clean your brush between the dark and light paint colors so the shades stay soft instead of becoming muddy.
Step 5: Paint the Pumpkin Stem
Fill the pumpkin stem with grey, then outline portions of it with burnt umber.
Add a few extra strokes of brown to give the stem more texture.
Do not worry about making every line identical. Real pumpkins have plenty of variation and imperfections, which makes this a very forgiving design to paint.
Step 6: Let the Paint Dry and Heat Set
Allow the painted fabric to dry thoroughly.
Once it is completely dry, heat set the paint with a dry iron following the directions provided with your fabric medium.
After the paint has been heat set, the front of your DIY pumpkin pillow is ready to sew.
How to Sew the Pumpkin Pillow Cover
This simple envelope pillow cover does not require a zipper, making it an easy way to finish the painted pillow.
Step 1: Cut the Back Pieces
The painted front should already measure 20 by 20 inches.
Cut two additional pieces of fabric measuring 20 by 16 inches for the back of the pillow cover.
Step 2: Hem the Envelope Edges
Choose one long edge on each back piece for the envelope opening.
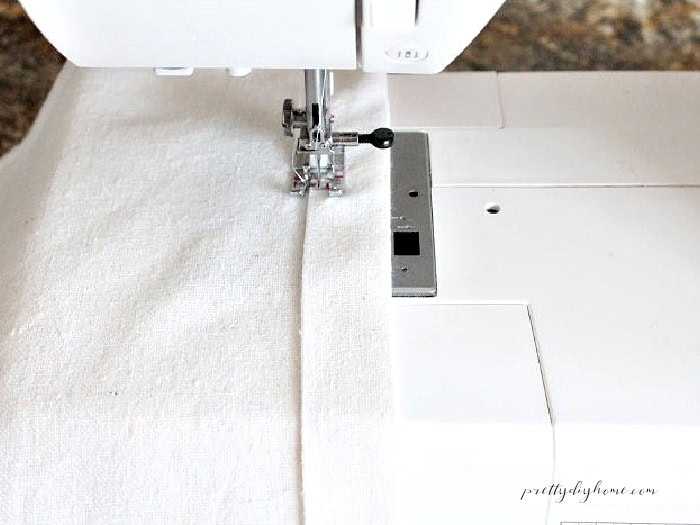
Fold the edge over 1/2 inch and press it with an iron.
Fold it over again by 1 inch and press.
Sew along the folded edge to create a neat hem.
Repeat with the second back piece.
Step 3: Assemble the Pillow Cover
Place the painted pillow front right side up.
Lay the two back pieces over the front with the right sides facing down. Position them so the finished hems overlap in the center to form the envelope opening.
Pin all around the outside edges.
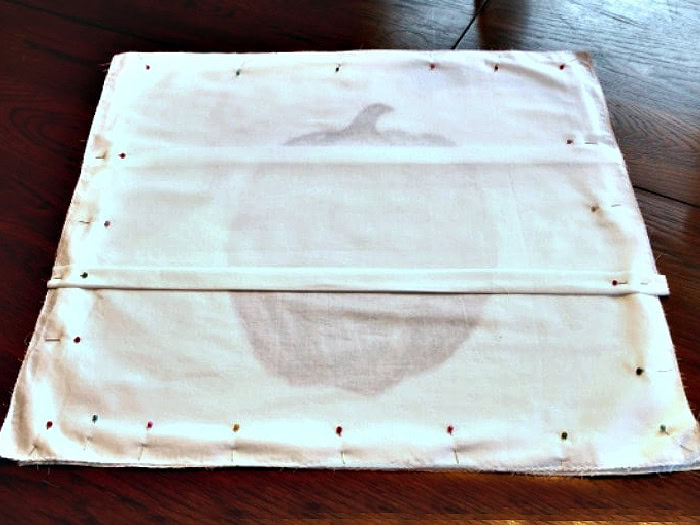
Sew around the entire pillow cover using a 5/8 inch seam allowance.
Finish the raw seams with a zigzag stitch if needed.
Turn the pillow cover right side out and insert a 20 inch pillow form.
Decorating with Your Hand Painted Pumpkin Pillow
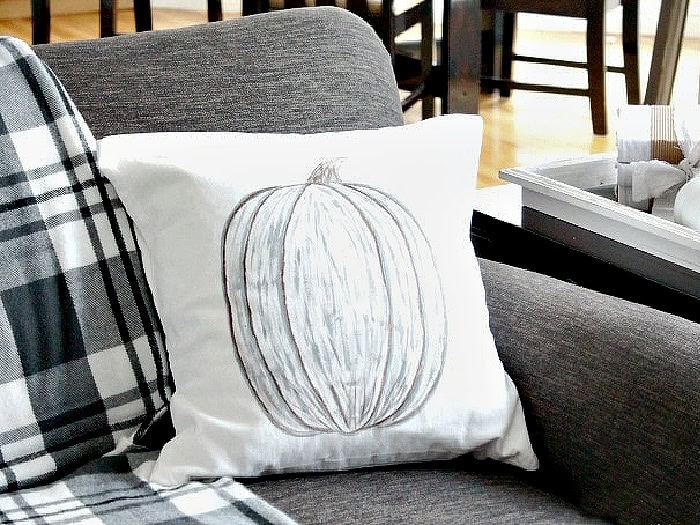
I love the soft look of these neutral pumpkin pillows for fall because they add seasonal decor without using very bright colors. A hand painted pumpkin also gives each pillow a slightly different look, even when you use the same basic technique.
You could make several using different pumpkin shapes, change the paint colors to coordinate with your fall decor, or use the same method to refresh pillow covers you already own.
This DIY pumpkin pillow is simple enough for a relaxed afternoon project, and because you are painting the design yourself, you can make it as rustic, neutral, traditional, or colorful as you like.
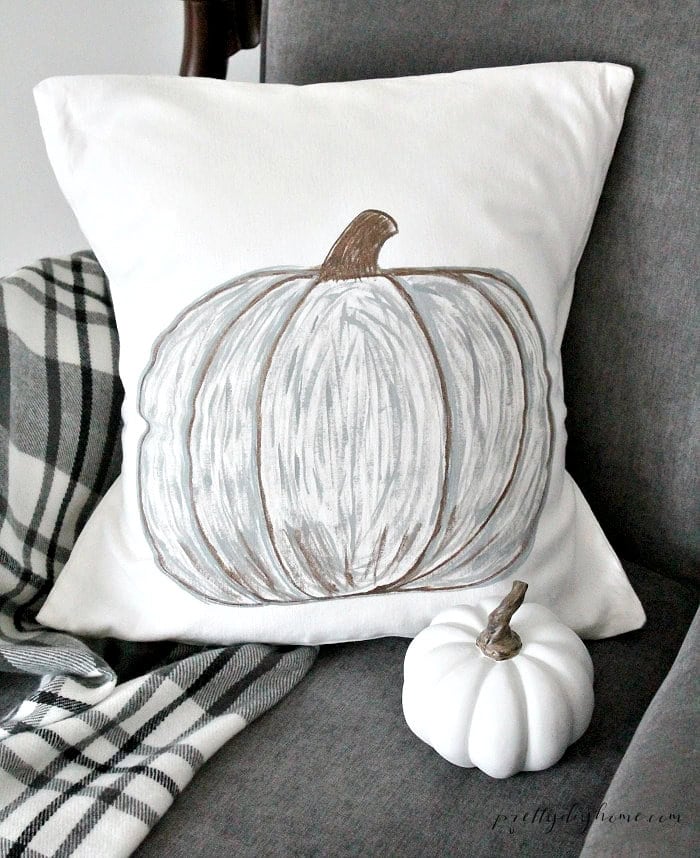
I enjoyed making these hand painted pumpkin pillows so much that I ended up making a few extra sets, and several of them sold. Each painted pumpkin turns out a little different, which is part of what makes them special.
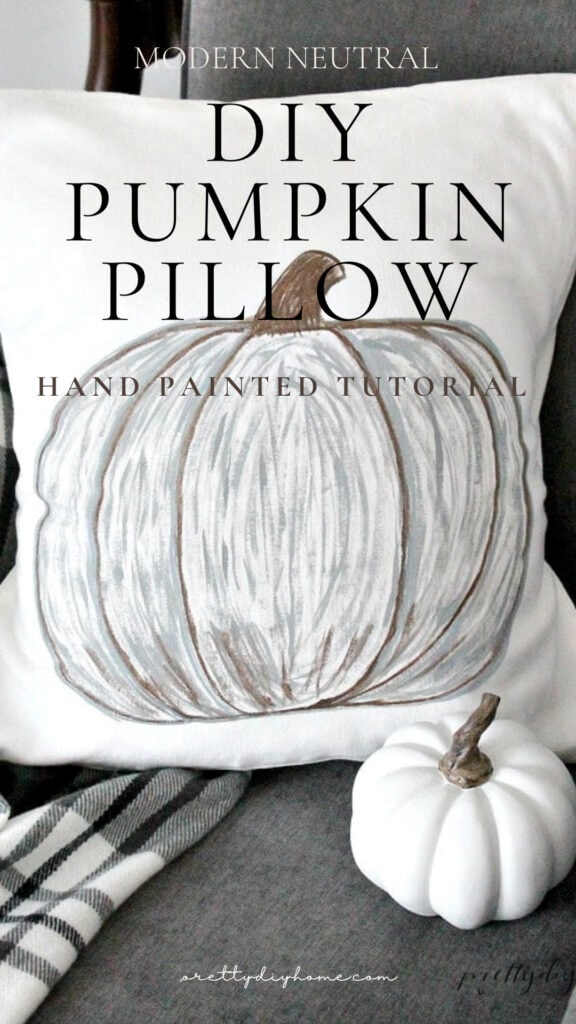
Love this hand painted pumpkin pillow DIY? Save it to Pinterest so you can find the tutorial again when you are ready to decorate for fall. It is an easy way to add a handmade, neutral touch to your seasonal decor.
More Neutral Fall Decor Ideas
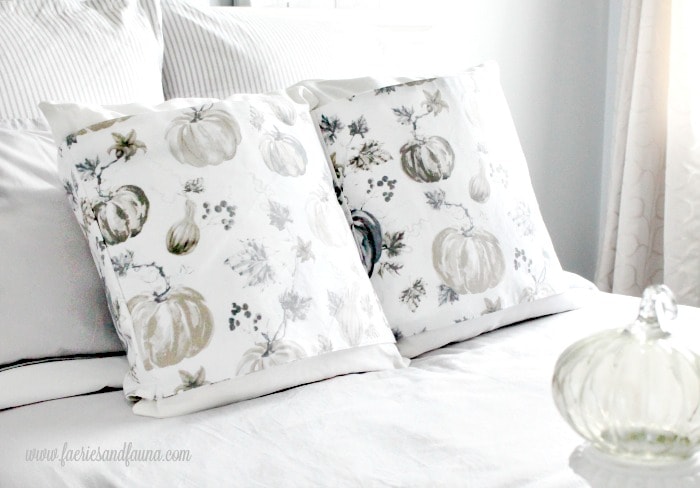
Neutral Fall Pillow Wraps
These easy-to-make neutral fall pillow wraps are a quick and easy way to give your existing cushions a cozy seasonal update without sewing new pillow covers.
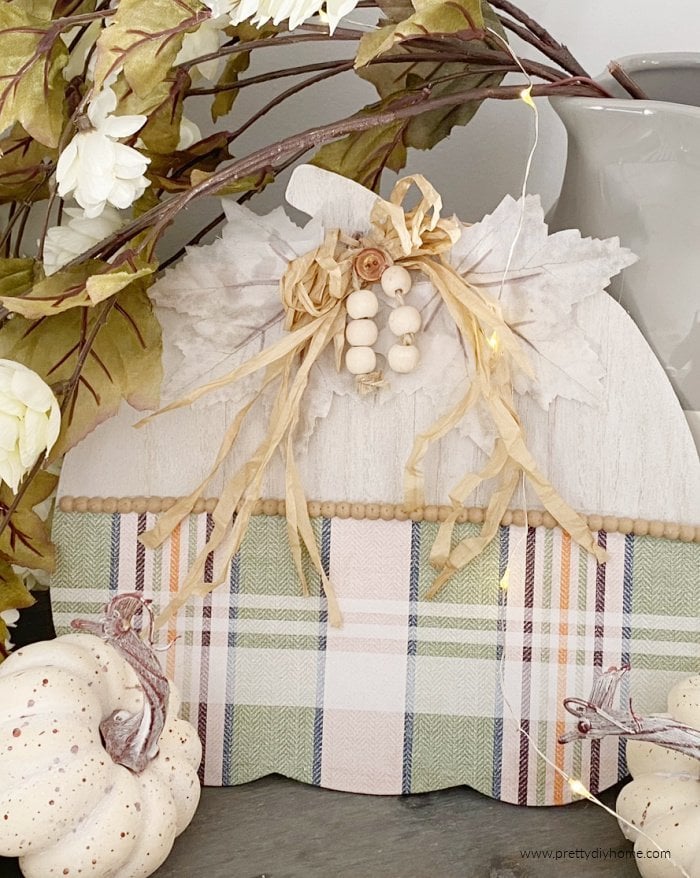
34 Cozy & Creative Pumpkin Crafts
Here are 34 one of a kind DIY pumpkin ideas you can try for adding handmade touches to your fall decor.
What an amazing looking pillow! I love that you actually painted it. Your pumpkin pillow turned out fabulous!
what a beautiful DIY!!
Love your pumpkin pillows Leanna!! Such a great idea to paint your own so you can match the colouring of your decor!!
Your pillows are beautiful and would look so good on my couch! Great job, Leanna!
I am so attracted to the muted colors you used on your pumpkin pillows. I would love to find the time to make some–or even just one! We’ll see; life is pretty busy right now as I have my twin five-year-old grandsons staying at my house w/their mother right now. They keep me pretty busy as you can imagine!
Anyway, I love your cushions. You did a great job!
I love these pillows, coloring is perfect. You did such good work!
Maria
Thank you Maria: I have done some painting for Christmas before but never for fall. I am really proud of these cushions. Thanks for commenting
These are lovely and perfect for the fall. Thanks for sharing your tutorial at Snickerdoodle. Pinning.
Beautiful work, my friend. Beautiful work. Pinned to my Fall board. Best wishes for the week ahead. Keep truckin’. Linda
Thanks Linda. They really are fast to put together and easier than applique is for sure.
Your pumpkins turned out really lovely, almost like Pottery Barn. I actually paint with watercolor and while we’re spending a couple of weeks here at our cottage, I”m hoping to get some painting accomplished and maybe make up a few free printables for autumn. Your tutorial was great!
I wish I was an artist, i especially adore watercolour art. Its so soft and the colours are calming.
Leanna
Leanna, your pumpkin cushions are absolutely beautiful! They’d go perfectly with my style and decor, I think I have to make some now! Love the colours you used, so pretty!!!
Hi Katrin: I much prefer the neutral colours to the bright oranges for fall. I still have quite a few orange fall decor items, but I am phasing them out. Thanks for commenting. Leanna