Small Front Porch Seating Ideas Using a DIY Bench and Cushion Back
Small front porch seating ideas don’t have to be complicated or take up a lot of space. Our little front porch needed something that was small enough to leave room for the door, but still comfortable enough to sit and enjoy the neighbourhood. This simple DIY bench and cushion back turned it into a cozy spot where I can sit and enjoy the neighbourhood.
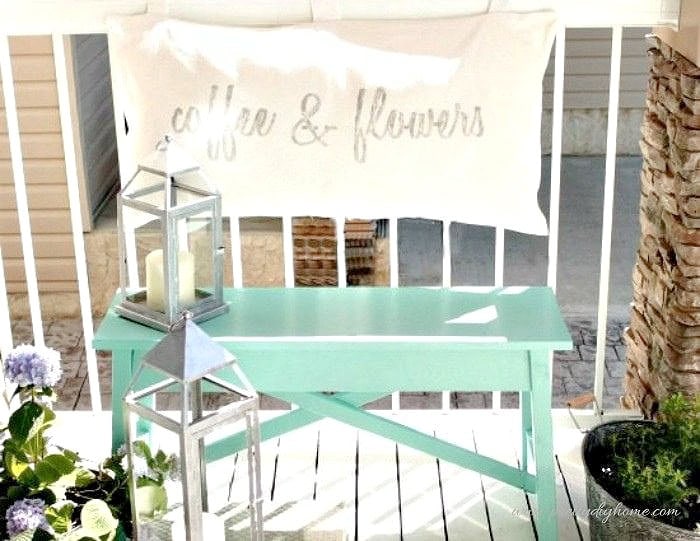
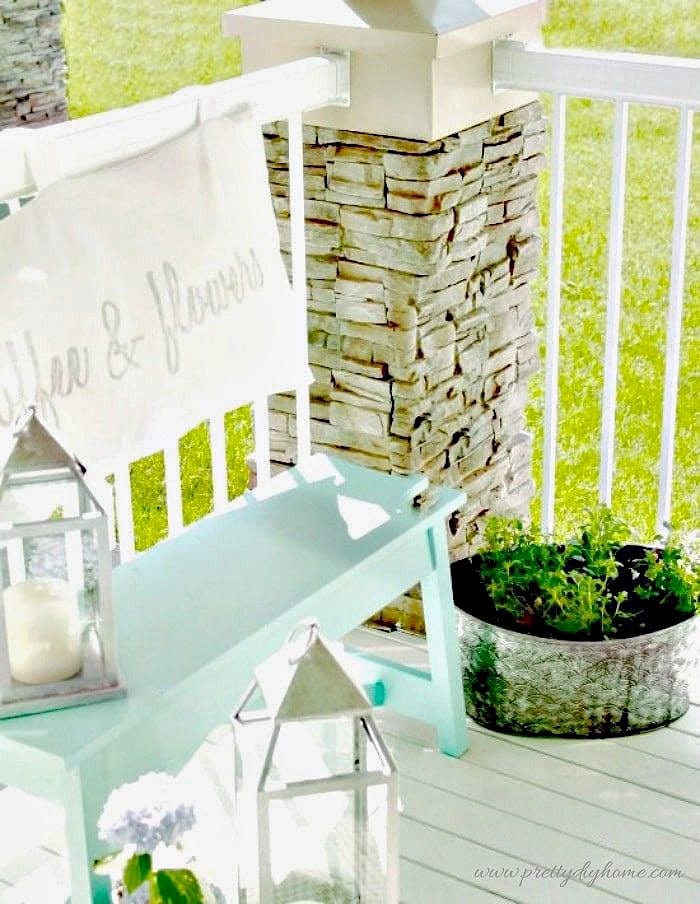
This bench was made to fit into a small front porch. It needed to be small enough to leave room for safe entry, large enough to sit on, and comfortable. Our neighbourhood has several moms who sit out in their front yards visiting while the children play, and I am hopeful that I will find some time to sit out front and join in.
Hubs and I made this bench from Ana White’s Rugged Bench tutorial. We cut the 12-inch board for the seat to 36 inches, and followed the rest of the tutorial as written. I love this bench because it’s different, made from solid wood, and sturdy enough to handle outdoor use. It also only costs about $20 to build. The paint is a Tiffany blue Sherwin-Williams exterior paint mixed at Lowes.
The bench itself is comfortable, but the wrought iron railing behind it is not. I originally thought of tying on two cushions, but instead made one large cushion back sized 16 by 36 inches to make sitting much more comfortable.

Here is how to make your own cushion back.
How to Sew a Front Porch Cushion Cover
Supplies Needed
- Wood bench (or similar size bench)
- Exterior paint
- Cushion fabric
- Muslin fabric (for pillow insert)
- Fiberfill stuffing
- Thread
- Cardstock (for stencil)
- Chalk paint or acrylic paint
- Paint brush
- Velcro
- Waterproof spray (optional)
Step 1 – Make the Pillow Insert
I wanted a very particular sized cushion to match the width of the bench and the height of the wrought iron railing. Instead of trying to find a pillow form, it’s much easier and quicker to make your own using inexpensive muslin.
Cut two pieces of muslin 18 by 38 inches
Iron the fabric, then place the good sides facing each other.
Sew around three sides. On the final seam, leave a 6-inch gap open for stuffing. Turn the fabric right side out and press.
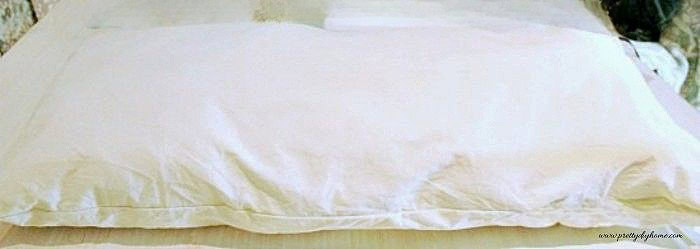
Add the fiberfill stuffing (I reused some from old cushions), then sew the opening closed.
It’s not a glamour photo, but here is how the insert looks finished.
Step 2 – Prepare the Outer Cushion Fabric and Ties
Cut two pieces of outer cushion fabric, 18 by 38 inches.
Cut eight strips of the same material, 4 by 15 inches.
Fold each strip in half and sew along three sides, leaving one narrow end open.
Turn the strips right side out by working the fabric through the open end, then press flat.
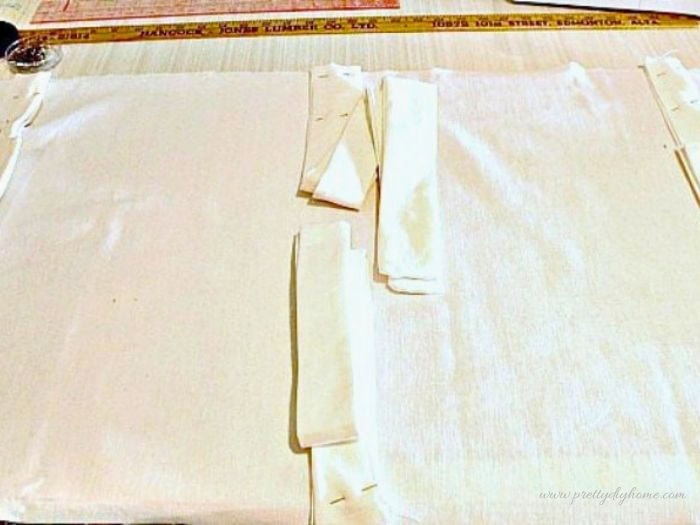
Set the ties aside while you prepare the cushion front.
Step 3 – Create and Paint the Stencil (Optional)
I cut my stencil using a cutting machine, but you could also make a simple paper pattern and trace it onto the fabric using transfer paper. Not everyone loves wording, but I wanted the added whimsy.
Tape the stencil onto the fabric, making sure it is centered and straight.

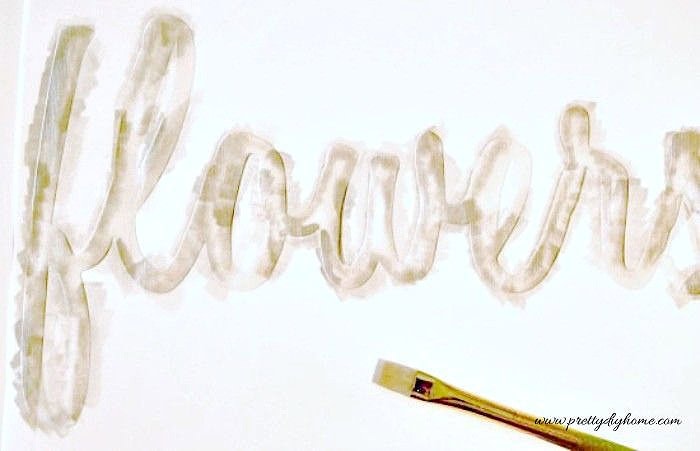
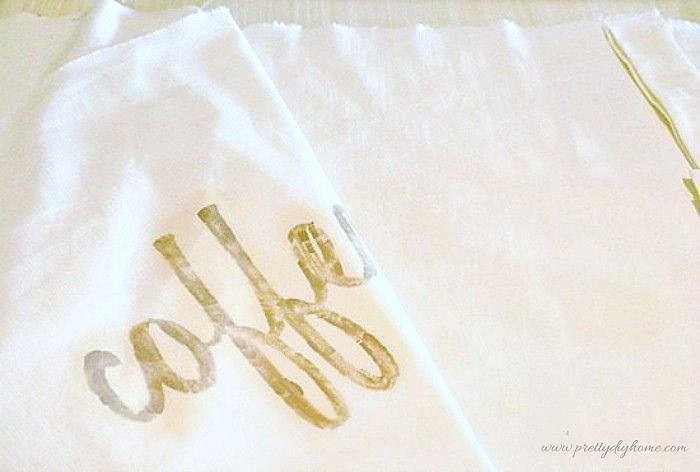
Filling in the Letters with Paint
This is really easy to do, and I love the watercolor look. Mix 1 tablespoon of grey chalk paint with 1 tablespoon of water. If you don’t have chalk paint, you can use regular acrylic paint with fabric medium.
Load your brush lightly and remove most of the paint before applying it to the fabric. Start brushing from the stencil edge inward to help prevent bleeding. Never paint from the center outward, as this can cause uneven edges.
Paint around the letter centers (like o, f, and e) as much as possible while the tape is still in place. At this stage, the letters do not need to be fully filled in, just enough to make the outline clear.
Hold the letter centers in place (I held mine using a large needle), then remove the tape and fill in those areas.
Remove the stencil. Using a dry brush, gently spread the paint to fill in the letters, adding more paint if needed.
Let the paint dry completely, then set it with a hot iron.
Step 4 – Assemble the Cushion Cover
To attach the tie ons, start with the non stenciled piece of fabric.
Pin two tie-ons along the top edge, with the open ends at the seam and the tails facing toward the center. Place one tie about four inches in from each edge and one in the middle.
For the bottom of the cushion, place two ties in the center and sew them into place. Set the piece back on your work surface.
To add the stenciled cushion front, place the painted piece face down on top, with the lettering positioned toward the top edge where the three ties are.
Make sure all of the ties are tucked inward toward the center so you don’t accidentally sew them into the seams, then pin the layers together.
Sew both long sides and one short side, leaving the final side open.
Insert the cushion insert.
Fold the raw edges of the opening inward and secure it with Velcro (hook and loop tape) or snaps.
Outdoor Use and Care
Since this cushion will be used outdoors on our small covered porch, I added a fabric protector to help repel moisture and dirt. You can also use a waterproof spray or bring the cushion inside during heavy rain to help it last longer.
This bench is part of my Small Front Porch Ideas for Summer Days post.
The time it took to make this project was so worth it. It’s wonderful to sit outside, enjoy our all too short summers, unplug for a bit, and enjoy the neighbourhood.
If you like this post, I think you will enjoy seeing how I coordinated all my outdoor spaces in our tiny urban yard.
Hope you love this little porch sitting area as much as I do.

Congrats Leanna! Your post was featured at the #BloggingGrandmothersLinkParty. See here: http://grammysgrid.com/blogging-grandmothers-link-party-17/
The bench and pillow turned out perfect. I love the color you chose for the bench and the pillow is a lovely accent. Thank you for sharing your lovely porch with us at the #BloggingGrandmothersLinkParty! Shared on social media!
I love this project to bits! The cushion is such a fabulous idea and I love the stencil that you used! Perfect combination I say!
I love that you made a cushion to attach to the banister behind your bench. Great project. Thank you for sharing.
Leanna I really like that you added the cushion on the back like that. I know at the end of the day when I sit down I want to lean back and relax into a soft cushion not a hard surface. You have done a great job!
I really loved this little bench when I saw it last week Leanna. It’s the perfect color and fit for your tiny porch. The way you’ve made and hung the pillow at the back is pure genius too.
What a great idea for a porch bench cushion without a back – very clever!
So cute! I am obsessed with that turquoise color you chose! It’s beautiful!
Love your stencilled cushion back. I’d also look forward to see how you get on with the scotch guard waterproofing.
I love this! I wish I could hang out here with you & brainstorm!! The people idea is so creative!
This is beautiful Leanna! I love the pillow too! What a great idea for anywhere outside your home. You did a wonderful job!
This is so beautiful Leanna, I absolutely love this colour and the sweet cushion for the back is a great idea! Wishing you a fun summer time, enjoy your pretty porch!!
Hi Katrin: Thank you. Pup and I sit out there for short periods, we both love watching whats going on. Its so nice to be outdoors in the sun again.
As always your feedback is valued and appreciated.
What a great idea! I love that color!
Hi Cristina. Thanks for commenting. The idea came from problem solving, a small sitting area is much cheaper than a bigger deck lol.
Oh this is gorgeous!! I would love to have this on my front porch. And that color- as a side note, I’ve been going crazy looking at paint samples for my kitchen (as an accent color), and I am TOTALLY going to get a sample of this Tiffany Blue! Thanks so much for the recommendation, I think you just helped me solve my problem LOL.
Randi I asked the people at lowes to match a piece of tiffany blue that I had. If you want let me know know and I will take a picture of the top of the can if it helps.
I love this project since you can customize it to fit the dimensions of the space. If you have a special idea or an odd size it is easier and less stressful to make it yourself.
Absolutely Debra. You the original Ana White Bench was shorter than ours, but to lengthen it all you had to do was cut the 12″ board longer. Same for the cushion and it really is super simple to sew.
Thanks for the feedback, it is much appreciated.