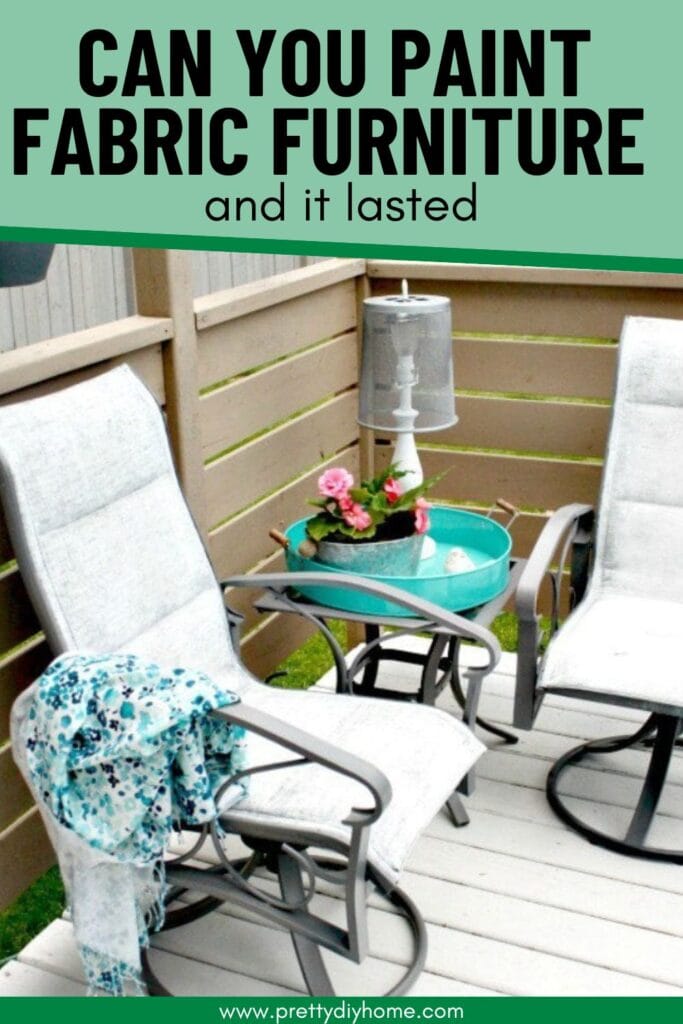
Can You Paint Outdoor Fabric Furniture? Here’s What Worked
decided to try painting fabric furniture instead of replacing our worn patio set, and I am so happy with how well it worked.
This DIY ombre patio set project took longer than expected because of the weather. At one point I thought I had made a mistake starting it, but once it finally cleared, I was able to finish it and I’m really glad I stuck with it.
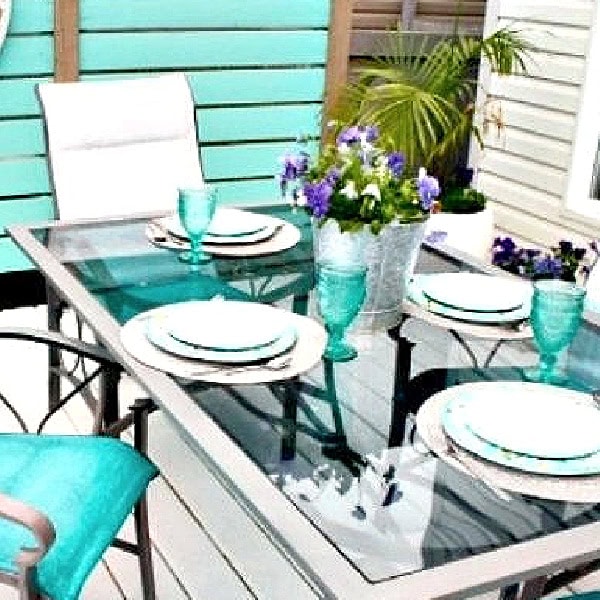
This update cost less than $75 and made a big difference. It gave our back deck a fresher look without having to replace the set.
Our set was about seven years old and stayed outside through our northern Canadian winters, so it was starting to show a lot of wear. It could have lasted a couple more years as is, but it looked dull and worn.

How to Paint Outdoor Fabric Furniture with Chalk Paint
Supplies for Four Chairs and a Table
- 4 cans spray paint with primer (grey)
- 1 quart white chalk paint
- 1 quart teal chalk paint
- Painter’s tape
- Newspaper or plastic bags
- Small artist brush
- Paintbrush
- Mixing jars with lids
Step 1: Clean the Patio Set
Start by cleaning your patio furniture really well. For this set, I used a pressure washer.
Make sure to get into every corner, especially the underside, where dirt and buildup collect.
Let everything dry completely before moving on.
Step 2: Cover and Tape the Fabric
Tape off the fabric portions of the chairs carefully.

I used small garbage bags instead of newspaper, which worked just as well. Make sure all fabric areas are fully covered before painting the metal frame.
Step 3: Paint the Metal Frame
Make sure the spray paint you purchase includes primer so it adheres properly to the metal surface. Make sure the spray paint you purchase includes primer so it adheres properly to the metal surface. I used Rustoleum Painter’s Touch Ultra in Dark Grey. Let it dry, then apply a second coat if needed. I used four cans total for the full set.
Let the spray paint dry and set overnight. This makes it much easier to wipe off any drips if you accidentally get paint on the metal while working on the fabric.
Once the grey paint is fully dry, you can remove the tape and covering from the fabric.
Step 4: Mix the Chalk Paint
We’re going to water down the paint so it soaks into the fabric and blends easily to create the ombre effect.
Use a jar with a wide mouth and a lid so you can mix and shake the paint easily.
Start by pouring your paint into each jar, then add water based on the colour you are mixing.
- White: mix equal parts white chalk paint and water
- Medium teal: Mix equal parts white and teal paint first, then add an equal amount of water
- Dark teal: mix equal parts teal paint and water
Once everything is added, place the lid on tightly and shake well until the mixture is smooth and fully combined.
Shake the mixture again before each use to keep the paint evenly blended.
Step 5: Paint the White Section
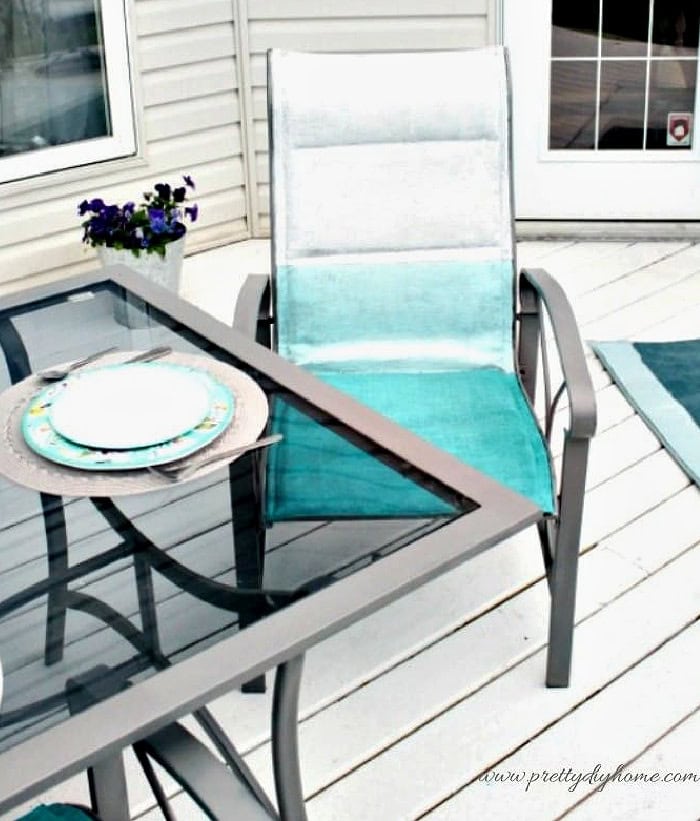
Start with the white section at the top of the chair.
Measure down from the top of the chair to where you want the first section to end. I measured mine at 17 inches.
Use painter’s tape to create a straight line across the chair. The weave of the fabric makes it easier to line up than you might expect. If the tape doesn’t stick well, you can use packing tape instead.
Use a small artist brush to carefully paint along the edges. Then use a larger brush to fill in the rest of the section. Let the paint dry, then apply a second coat. I found two coats gave good coverage.
Once the paint is dry, remove the tape.
Step 6: Paint the Middle Section (Teal Blend)
This section creates the middle colour that blends the white into the darker teal.
Measure down from the top of the chair. On my chair, there was a natural indent at about 24 inches, which made it easy to line up.
Using the fabric as a guide, tape across the chair as squarely as possible.
Paint the edges first with the small artist brush, making sure to get into any awkward areas. Then use a regular paintbrush to fill in the rest of the section.
Let the paint dry well before applying a second coat. To save time, you can move on to the next chair while the first one dries.
Step 7: Paint the Bottom Section (Dark Teal)
This is the darkest section at the bottom of the chair.
If you find it easier, you can tape along the edge of the middle section. I skipped this and carefully painted the edges using a small artist’s brush.
Once the edges are done, use a regular paintbrush to fill in the rest of the section.
Let the paint dry between coats, then apply a second coat.
Step 8: Paint the Front of the Chair
Follow the same process on the front side of the chair.
Measure carefully and line up each section so the sides match.
Step 9: Seal the Chairs
Give each chair two good coats of spray-on polyurethane. This helps protect the chalk paint from the weather as it continues to cure.
This update cost just over $100 and gave our old patio set several more years of use. It does take some time to complete, but the process itself is very simple.
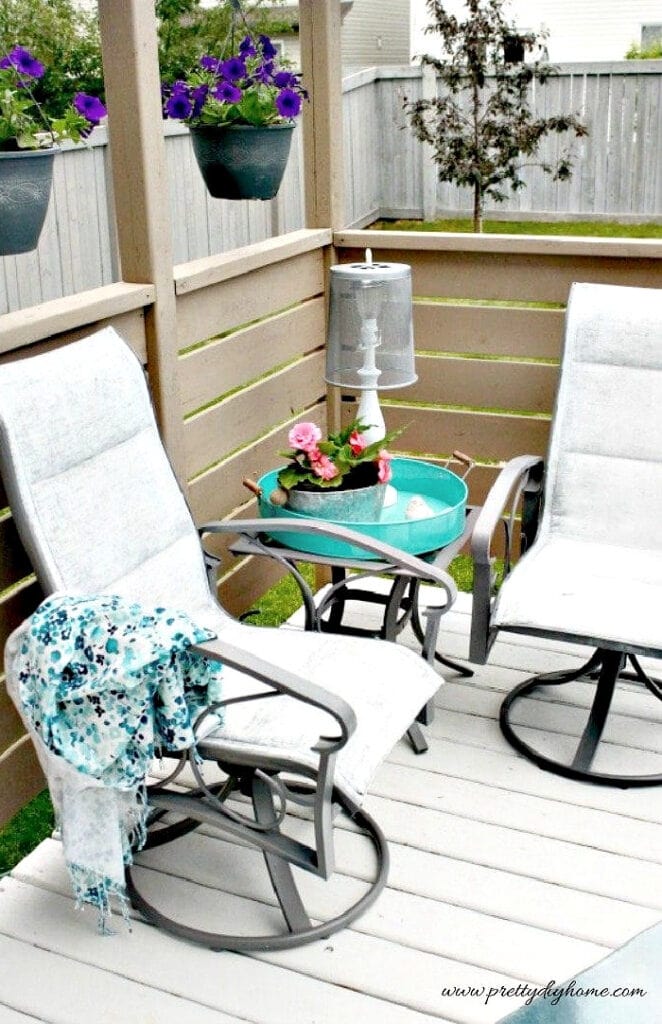
Coordinating Captain’s Chairs
The single quarts of teal and white paint weren’t enough to finish the two captain’s chairs. Instead of buying more paint for such a small amount, I painted them all white.
That way I only needed one additional quart, and I knew I would use the leftover white chalk paint.
The captain’s chairs were spray-painted and then chalk-painted using the same process as the ombre chairs.
If you’re planning to update your outdoor furniture, save this idea for later. Painting fabric furniture with chalk paint worked better than I expected and gave this old patio set several more years of use.
The aqua blue colour of the back yard deck is also featured as part of our small sitting area on the front porch. It’s a bright, cheerful colour that really lends itself to the enjoyment of our small outdoor spaces.

How does it feel to sit on them once it dries? I once painted a chair with chalk paint and it felt rather crusty. So, I was just wondering.
I am not a huge fan of chalk paint texture either, but the chairs aren’t smooth to begin with. Try it again but thin the paint out with water like I did, its worked well, and has lasted a long time.
What kind of fabric is that? I want to paint mine, but was wondering if the same application would work for mesh outdoor chairs.
Hi Cindy. The material is the original mesh that came with the set when I bought it at Home Depot eons ago. Its the everyday mesh from sling back chairs.
Great idea! Love the colors. Visiting from Celebrate Your Story party.
I love how this turned out! Such an inviting outdoor space with wonderful colors. Thanks for sharing at the Inspire My Creativity party!
Love it! I love ombre anything and this was such a great idea!
How fun is this!! Love the transformation of the chairs and how they brighten up the space.
Love the color! Good job!
Such a beautiful effect Leanna! Those cool tones really make the whole space feel calm and relaxing.
This is so gorgeous! The turquoise is beautiful. I love the ombre look!
They look beautiful Leanna! Really fresh and perfect for summer. We’re flying to TO on Wednesday for the month of July, can’t wait and even if it’s cool or rainy, I’m so looking forward to it! Here in Spain there’s lot’s of sunshine which is great but 40 degrees C not so much right now 😉 Enjoy your patio, it looks lovely!
Looks incredible! I bet it was a ton of work too. Good job.
Whoa! These are so cool- I love the color! Hope you are having a good week Leanna:)
You are SO creative! I just love how these chairs turned out. I would have never thought of this… so beautiful, tho!
Carrie
curlycraftymom.com
What a great idea and tutorial. The set looks so pretty and it is definitely custom, not anything you would find in a store! So creative!
They look great Leanna! I would never have thought of using spray poly over the chalk paint.
Wow, those are beautiful Leanna! They look brand new now. Love the teal and white combo! Worth all the hard work, eh?
It never would have occurred to me to try painting the fabric, but this looks great! Thank you for the tutorial! Pinning -Marci @ Stone Cottage Adventures
The set is beautiful. Well worth the time you spent doing it. And it is a custom look you would not find at the store.