Rustic Tart Tin Ornaments with Tartan and Sparkle!
I’ve always had a soft spot for tartan, especially this deep traditional color. My family is so Scottish that somewhere way back, we were even at the Battle of Stirling Bridge. The plaid I used in this year’s Christmas theme isn’t our true ancient one, but it’s close enough to bring that same sense of warmth and nostalgia every time I see it.
When I spotted a set of dirt-cheap tart tins on Temu, I knew a bit of paint and glitter could cover them up. They were twenty-five cents each, so into the cart they went. The dark tartan is deep and rich on the tree, but those tins sparkle from the lights, and that subtle chocolate-brown glitter makes them glow even more.
To make these ornaments fun, I suggest doing all the preparation first and then putting them together at the end. The list looks long, but everything is done as inexpensively as possible with lots of Dollar Tree supplies.
Supplies for Making Rustic Tart Tin Ornaments
Before starting, gather everything you’ll need for this project. I’ve broken it down by the stage you’ll use it in.
For Painting the Tart Tins
- Brown latex paint
- Brown glitter
- Small paint brushes
- Gloves
- Something to protect your work surface
- A few small wood blocks or Dollar Tree Jenga blocks to hold tins upright while drying
For the Fabric
- Dark green tartan fabric
- Scissors or a rotary cutting wheel
- Ruler or straight edge
For Assembly
- Beaded wire (Dollar Tree) cut into 7-inch pieces
- Flameless Dollar Tree candles
- Faux greenery or scraps from an old arrangement
- Faux snow
- Small pinecones
- Rusty brown bells
- Hot glue gun and glue sticks
- Pliers
- A few extra fabric strips for bows
Once everything is prepped and ready, the assembly goes quickly and is the most enjoyable part.
We’re going to start by getting all the little pieces ready. Paint the tart tins, cut the fabric and wire, and gather embellishments, including the small flameless candles.
Step 1- Paint and Add Sparkle to Tart Tins
The first thing you need to do is punch holes in the sides of the tart tins. I was shocked to find my regular paper hole punch worked for my tart tins. If yours doesn’t, you can use a nail and a hammer to make small holes in two opposite sides for the hanger.
I started by giving each tart tin two coats of brown latex paint on the outside and one coat on the inside. You don’t need to worry much about the inside since it will be covered with the fabric and the candle. The outside gets glitter, but the two coats of paint make sure there aren’t any thin or blotchy spots showing through.
I used inexpensive brown glitter from Dollar Tree, poured into a flat plastic container. Using a teaspoon, scoop the glitter onto the still-tacky brown paint, letting the extra fall back into the container. Work your way around the tart tin until the whole surface has a soft shimmer. To let them dry without ruining the lower edges, I used two Jenga blocks and balanced each tart tin on top like a little sparkly mushroom.

Step 2- Cut the Wire and Fabric for You DIY Tart Tin Ornaments
While the paint dries, start working on the fabric and wire hangers. I used beaded wire from Dollar Tree with little pearl-like beads. Cut the wire into seven-inch lengths, one for each Christmas tree tart tin ornament, and set them aside.
Once the wire is ready, take a small piece of tartan. You can use Dollar Tree flannel tartan if you like. Cut it into three-and-a-half-inch squares using either scissors or a cutting mat and rotary cutter, like I did.
Let’s also cut some thin strips to use as fabric ribbons later. Cut one strip for each ornament, making it about half an inch wide and ten inches long.

Step 3 – Gathering Embellishments for Your Rustic Christmas Ornaments
The only thing you really need now is the flameless candles. The other embellishments are a matter of choice and style. For mine, I added a few extra touches, all from my stash and costing very little. I used small brown bells, bits of sparkly greenery, and some shimmery leaves I pulled from a thrift store arrangement.
You don’t need to use anything fancy, just whatever you have on hand, like small buttons, little pinecones, or tiny snowflakes instead of bells. The final touch was a light scattering of faux snow. Each ornament will turn out a little bit different, which keeps them looking handmade instead of commercially reproduced.
Here is everything ready to go before assembly. You can see the painted tart tins, the cut tartan fabric squares, beaded wire, small bells, greenery, sparkly leaves, and the little flameless candles. Having everything laid out makes it easy to see how all the pieces will come together.

Add the Handles to the Tart Tin Ornaments
Use the Dollar Tree beaded wire and cut each piece about seven inches long. Insert the ends into the holes on each side of the tin and pinch them closed with pliers. Add a little dab of hot glue on the inside to keep them secure.
Add the Fabric and Tartan Details
Add a small dab of hot glue in the center of the tart tin. Fold one of your fabric squares in half and half again to form a soft point. Place the point of the fabric into the hot glue, using a glue stick to hold it in place so you don’t burn your fingers. Once cooled, open it up, and the points of the square will be even on all sides.


Add the Vintage Embellishments and Sparkle
Place a small piece of greenery in the bottom of the fabric basket. Add the flameless candle in the center and press it down gently so it sits snugly inside. You can leave your ornament just like this for a simple rustic look, or keep going and decorate it a little more.

I added a small fabric bow and a bell to mine. Fold the fabric strip in half, insert the loop end under the wire handle, and use the other tail to tie a bow. Then hot glue a little bell in the middle. The final touch is a sprinkling of faux snow to give it a bit of sparkle.

Hanging Your Tart Tin Ornaments on the Christmas Tree
When they’re finished, you can either wire the tart tin ornaments directly to the tree or simply hang them from the branches. I also really enjoyed nestling a few right on top of the boughs. They helped add soft light to my very darkly decorated tree and made the whole thing feel more layered and inviting.
The dark tartan looks rich against the evergreen, and the soft candlelight gives each ornament a cozy glow. Whether they’re hanging or tucked in, they blend beautifully with other vintage-style decorations and bring a bit of handmade charm to the tree.

These tart tin candle ornaments turned out even prettier than I imagined, and I love how affordable they were to make. A little paint, a touch of tartan, and some glitter turned a pile of inexpensive supplies into something that feels timeless and special.
I actually had a few extras at a garage sale, and they all sold — so if you enjoy making Christmas crafts to sell, these are a wonderful option. You could easily switch to more traditional Christmas colors like red, gold, or green if you prefer. I stayed true to my favorite tartan because it reminds me of family and those cozy Scottish roots I love so much.

If you enjoy quick and affordable Christmas projects, this tart tin ornament is one to save for later. It’s made almost entirely from Dollar Tree supplies and a few simple touches of tartan and glitter. Go ahead and pin this idea so you can find it easily when you start decorating your tree.

More DIY Vintage Christmas Ornaments You Might Like
If you enjoyed making these rustic tart tin ornaments, here are a couple of other handmade Christmas decorations to try. Each one is easy to make, budget friendly, and adds a personal homemade touch to your tree.
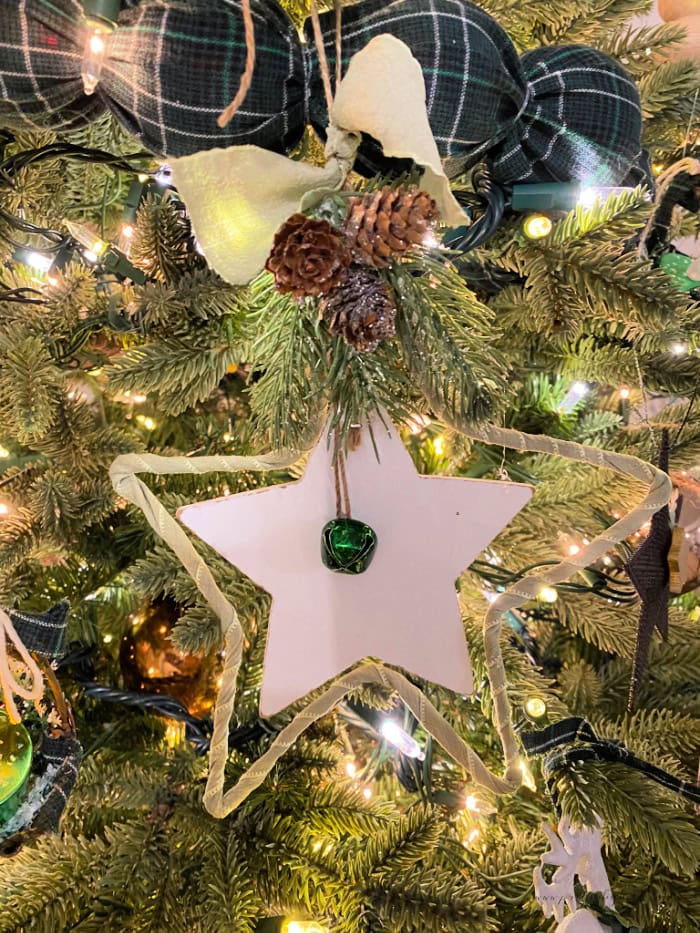
How to Make a Wire Star DIY Christmas Tree Ornament
I saw similar stars at a local shop, but they were too expensive to buy more than one. So I decided to make my own using Dollar Tree supplies and ribbon. These wire star ornaments are simple to make, and I love how they look suspended on the tree.

Thrift Store Christmas DIY Star Ornaments
These pretty sparkling stars began as a thrift store find. With a little paint, some glitter, and a few Bible verses, I turned them into bright, sparkly stars that catch the light beautifully.
Thank you for reading to the end of my post. I hope you found something you want to make. Happy Crafting Leanna