
DIY Vintage Santa Christmas Banner from Postcards
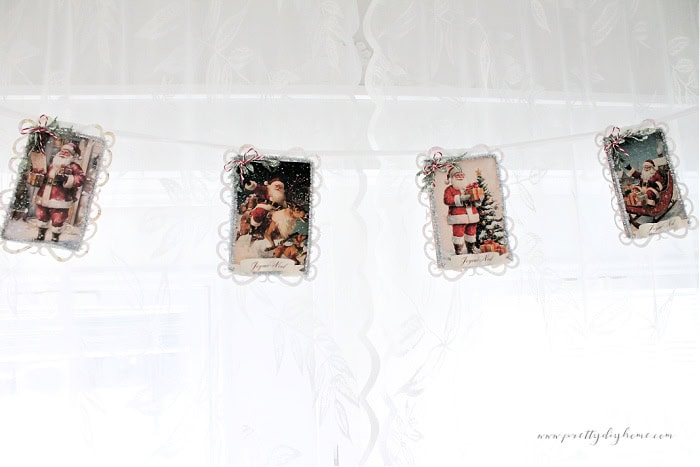
It’s not often I buy a craft supply without knowing exactly what I want to make with it, but that’s how this project began. I ordered a beautiful set of vintage Santa postcards from Temu for crafting, and they instantly inspired me. They’re so nostalgic and detailed that I couldn’t resist turning them into this DIY vintage Santa banner. It’s become one of my favorite ways to decorate for the holidays, simple, creative, and full of old-fashioned Christmas charm.
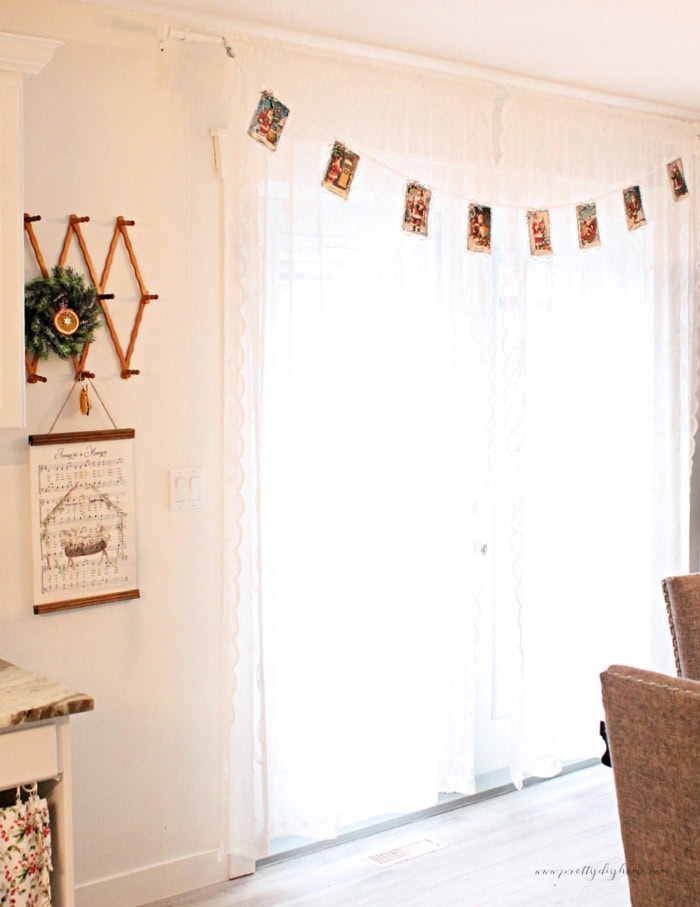
Before we start assembling the banner, let’s gather the supplies you’ll need. I used eight postcards for mine, but you can make your banner shorter or longer depending on your space. Most of the materials are simple craft staples, with the only specialty items being the printable lace background and ribbon accents.
Supplies for a DIY Vintage Santa Banner
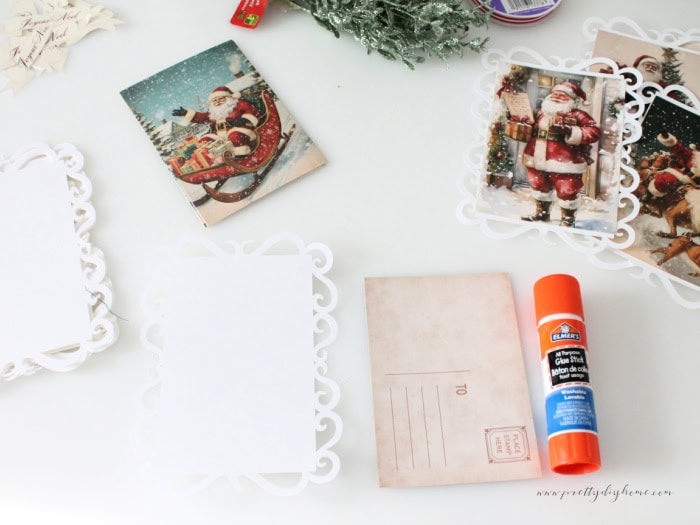
- Vintage Santa postcards (Temu)
- Printable lace background (free download below)
- Printable ribbon accents – Joyeux Noël or Merry Christmas
- Cream or white cardstock (letter size)
- Cricut machine (optional)
- Cricut mat
- Ruler
- Glue stick
- Small roller or brayer
- Silver pipe cleaners
- Greenery sprigs
- Baker’s twine
- Hot glue gun and glue sticks
- Mod Podge
- Fine glitter
- Ribbon for hanging
- Small bells (optional)
Prepare the Vintage Santa Banner Pieces
My postcards measure 4 by 5 3/4 inches, and I wanted to add layers for a vintage sparkling look. The first thing I did was create a lace-style background to frame each Santa. I’ve added a plain printable with a scalloped edge to the printable folder for you. The links to all the printables are at the end of the post.
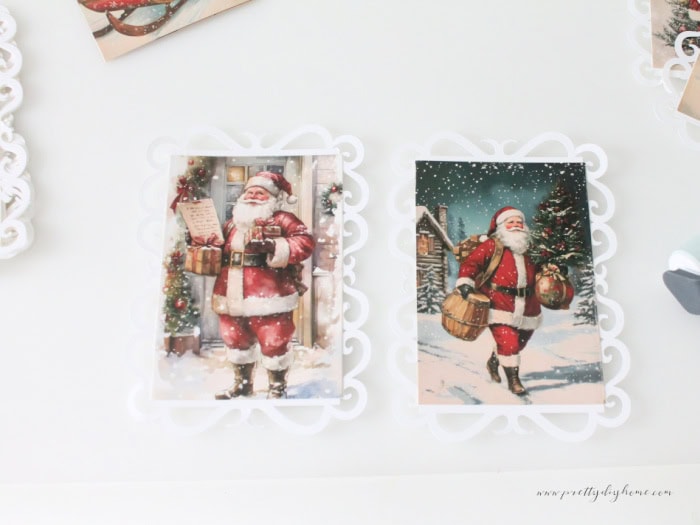
Print it onto cream or white cardstock and cut it out carefully with small scissors, making one lace background for each postcard.
If You Don’t Have a Cricut
If you do not have a Cricut, no worries at all. You can still make this banner using the printable lace background. Print the plain scalloped design onto letter-size cream or white cardstock, then cut it out carefully with small scissors. One sheet makes one lace background for each Santa postcard.
Once you have them all cut out, set the lace pieces aside flat until you are ready to glue on the postcards.
Cricut Option- Cut the Lace Backgrounds
- Open Cricut Design Space and start a new project.
- Go to Images and search Floating Framed Birthday Card by Ronda Sheive. Insert the file.
- Ungroup if needed. Delete the card base and extras, keeping only the intricate lace frame layer.
- Resize the lace so the bottom of the frame inside rectangle is 4 inches across. The outside dimensions of the lace end up being about 4 1/2 by 5 3/4 inches.
- Make one test cut to confirm the size looks right, then duplicate the frame for all postcards.
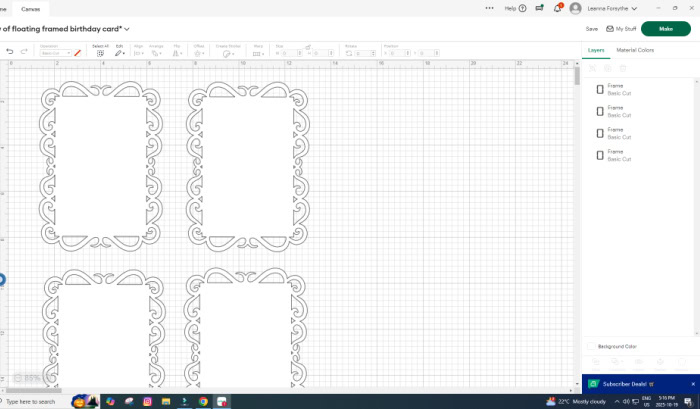
- Click Make It and place letter-size cardstock on a StandardGrip mat.
- Select Cardstock for intricate cuts and use the Fine-Point Blade.
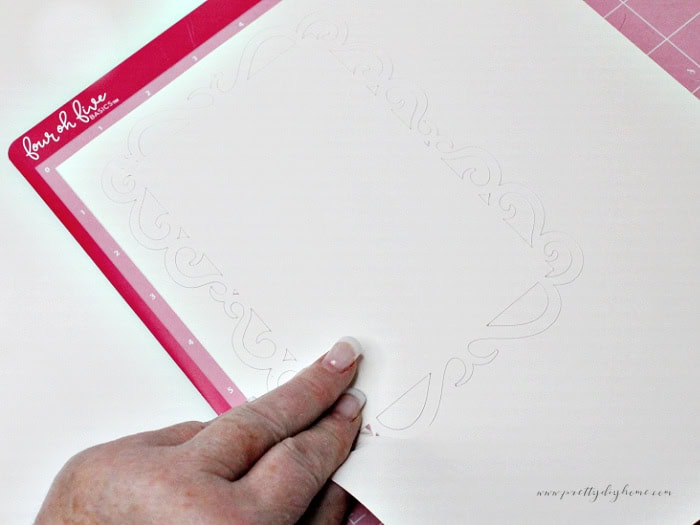
- Carefully remove the large lace piece, leaving the small bits on the mat. The little hook pieces are fragile, and the round sections were easy to weed.
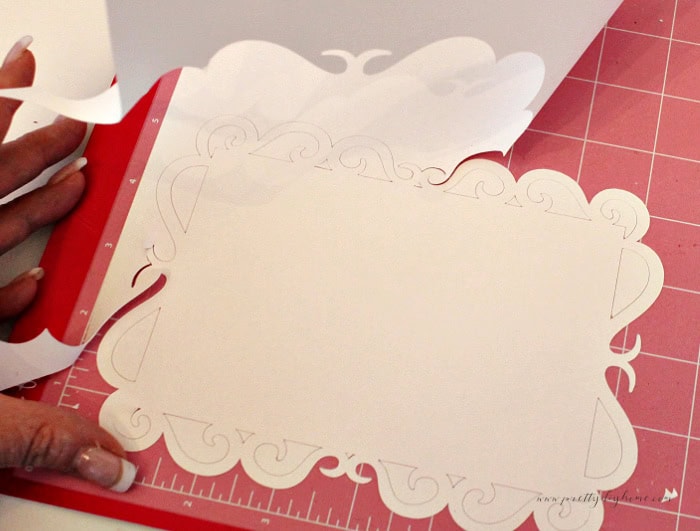
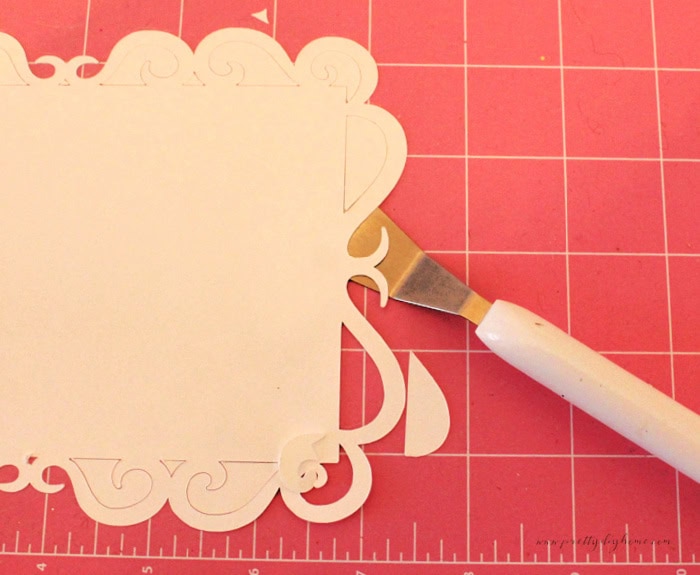
- Once removed, I used a Cricut spatula tool to scrape off the cutouts.
Make the Ribbon Banner Decorations
While you are still in Cricut Design Space, it’s a good time to make the ribbon banners. At the end of the post, I’ve included a printable design that says Joyeux Noël and Merry Christmas. You can either cut these out by hand or use Cricut’s Print Then Cut feature for crisp, even edges.
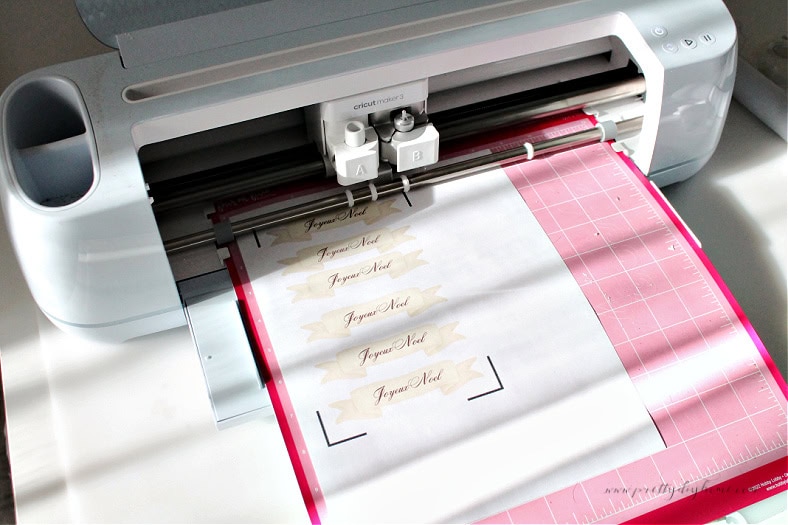
Each banner should be slightly narrower than the postcard so it fits nicely across the lower part of the Santa image. Print them on white cardstock, then either trim them with scissors or set them up for Print Then Cut.
Once printed, set the ribbon banners aside with your lace backgrounds until you are ready to assemble everything later.
Print Then Cut the Ribbon Banners
- Download the ribbon file (Joyeux Noël and Merry Christmas) and upload it to Cricut Design Space.
- Choose Print Then Cut and keep the image as a single flat layer.
- Size each ribbon to about 4 inches wide.
- Click Make It, then Send to Printer.
- Toggle on System Dialog.
- Choose your printer and set it to Best Quality.
- Select Cardstock if available.
- After printing, place the page on a LightGrip mat and load it into your Cricut.
- Select Cardstock as the material and begin cutting.
- When finished, carefully lift the ribbon pieces from the mat and set them aside.
Note: I didn’t include screenshots for this step since the Print Then Cut process looks different on each printer, but the steps above should be everything you need.
Hand-Cut Option for Ribbon Banners
If you don’t have a Cricut, you can still make the ribbon banners easily.
Download the flat printable version of the “Joyeux Noël” and “Merry Christmas” ribbons from the folder below and print them on letter-size cardstock.
Cut each one out carefully with scissors, following the banner edges.
They are designed to be about 4 inches wide, so they fit neatly across the bottom of each postcard. Once cut, set them aside with your lace pieces until you’re ready to assemble the panels.
Assembling the Vintage Santa Panels
Now that all the pieces are ready, it’s time to start putting everything together. This part is my favorite because you can finally see the decoration coming together.
Attach the Postcards to the Lace Backgrounds
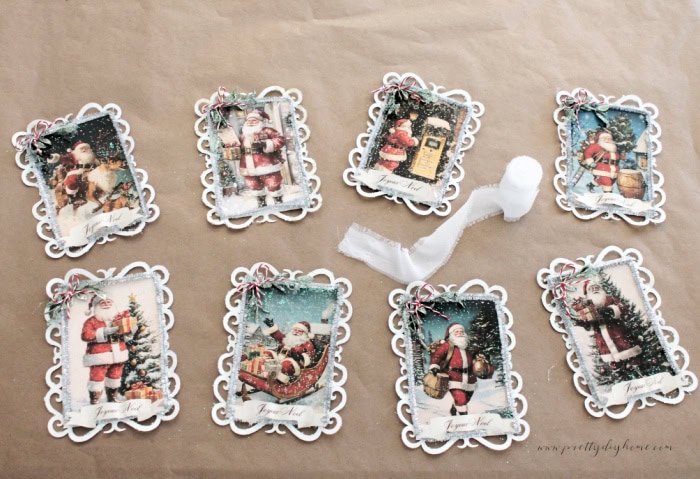
Lay out all the lace backgrounds on your work surface and work in an assembly line. Apply glue stick to the back of each postcard and press it onto a lace background. Once a few are done, use a small roller or the side of a ruler to smooth the surface and remove air bubbles. Continue until all the postcards are attached.
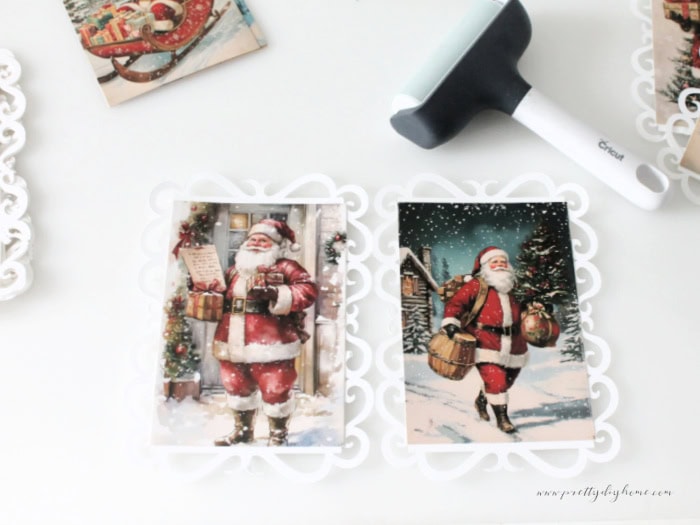
By the time you finish the last one, the first few will have set nicely and be ready for decorating.
Decorate Each Vintage Santa Panel
The postcards do not fit exactly on the lace tops and bottoms, but it is close. I first tried aging the edges with Forever in Time ink and a sponge to give the garland and background a vintage look, but I wasn’t happy with it and decided to start fresh. I switched to a clean cream background and silver pipe cleaners for the edging, which added more sparkle and a lighter, vintage feel.
To add the pipe cleaner edge, start at one corner of the postcard and hold the pipe cleaner in place. Pull it across the top, hold the second corner, make a ninety-degree bend, and pull down the side. Once you have that length, use it as a guide to cut several more pieces the same size.
Run a thin strip of hot glue along the edge of the Santa postcard, then press the pipe cleaner into the glue, starting at one corner. Pull it tight to keep it straight and use a finger protector to press it down. Repeat for the other sides.
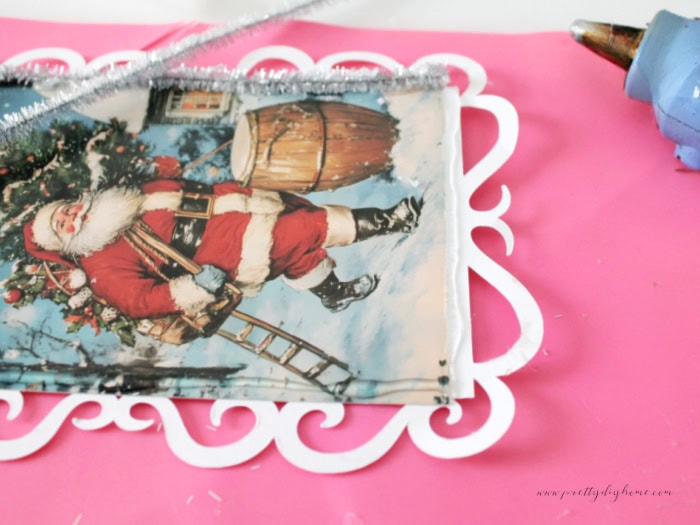
Now that the sparkly pipe cleaner frame is done, you can add the top layers.
Attach the ribbon banner along the bottom of the card with two small spots of glue, centering it and letting the middle of the ribbon bow out slightly.
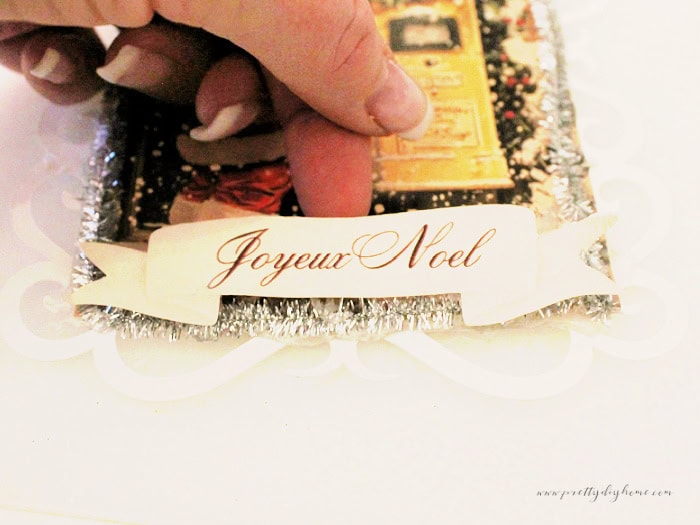
Once the joyeux noel banners are on, cut a few small sparkly greenery sprigs for the top corner and tie a little red bow from baker’s twine. Strengthen the knot in each bow with a tiny drop of hot glue before gluing on top of the branches.

Add Glitter for Sparkle
I decided to keep the edges bright and sparkly instead of darkening them with ink. Choose between fine or medium glitter depending on the look you want.
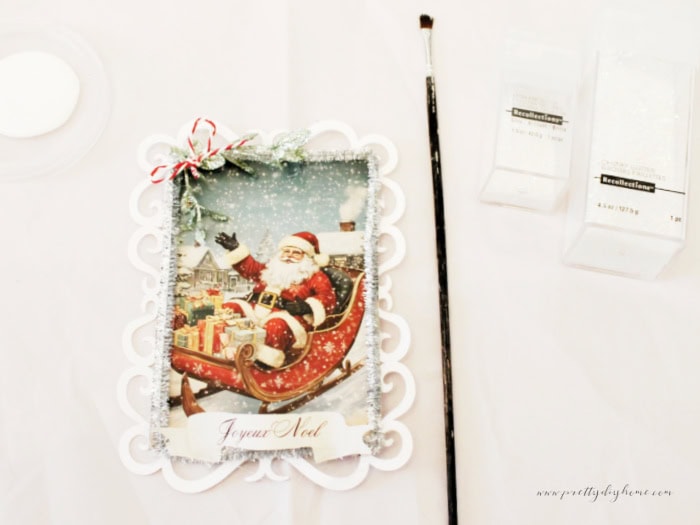
I used medium glitter for a little extra shimmer. Brush the loops of the lace with Mod Podge using a small paintbrush, then dust with glitter. Tap off any extra once it dries.
Assemble and String the Banner
You can use whatever you like for stringing the banner. Baker’s twine, narrow ribbon, or even jute twine all work well. Lay out your finished Santa panels face up in the order you like, then space them evenly along the length of your string or ribbon.
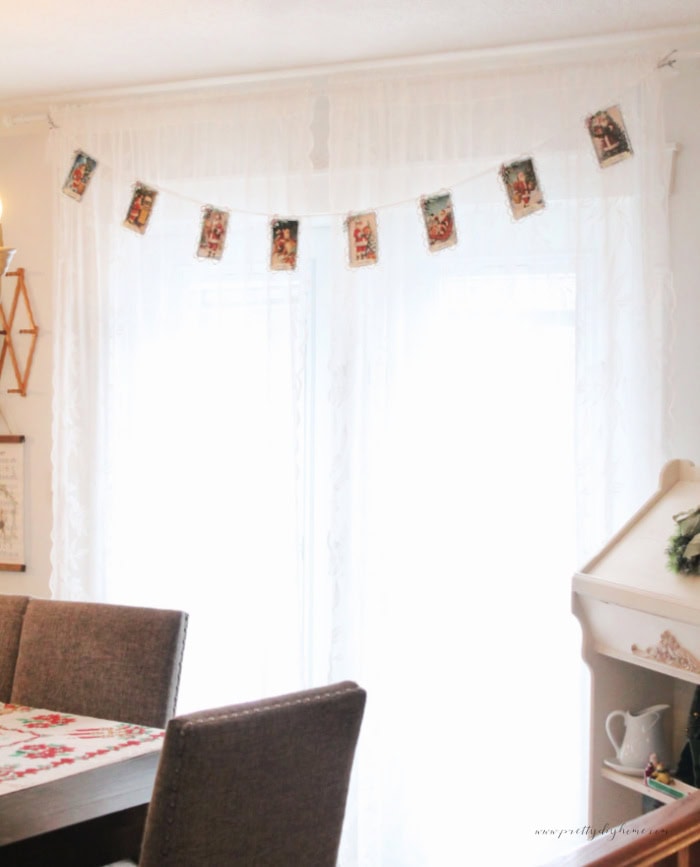
Once all the Santa panels are dry, you can string them together. I used a soft white shabby-style ribbon because it suits the feminine vintage look of the postcards. Cut a single length of ribbon and thread it through the two top openings in the lace background. Bring the ribbon up from the back, then feed it back down through the front so the pretty side of the ribbon shows on the banner. Repeat for all of the postcards, spacing them out along your banner as you go.
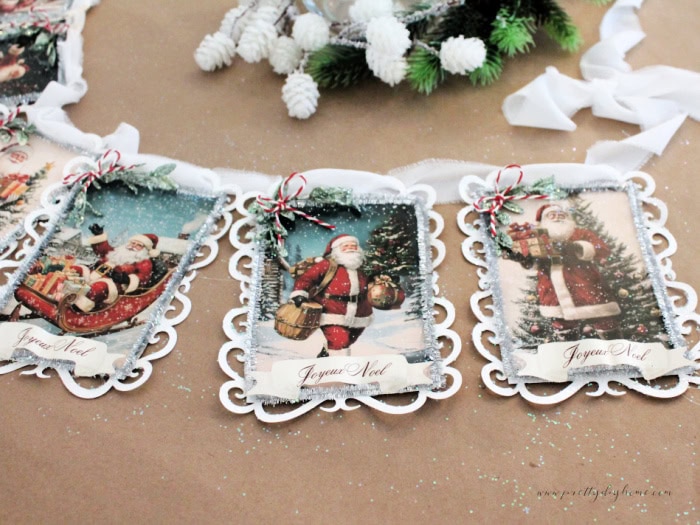
Decorate between each Santa with whatever you have on hand; small bells, bits of ribbon, Dollar Tree snowflakes, or tiny pinecones all look pretty. I decided to leave the space between mine plain and emphasize a soft look using fabric ribbon.
Once everything is in place, hang your banner across a mantel, doorway, or window where the light can catch the glitter and silver edging.
Styling Ideas for a Vintage Santa Banner
This banner looks charming just about anywhere you hang it. For a traditional Christmas look, drape it across a mantel with a few cedar or pine branches tucked behind. The silver edging and glitter will sparkle softly against the greenery.
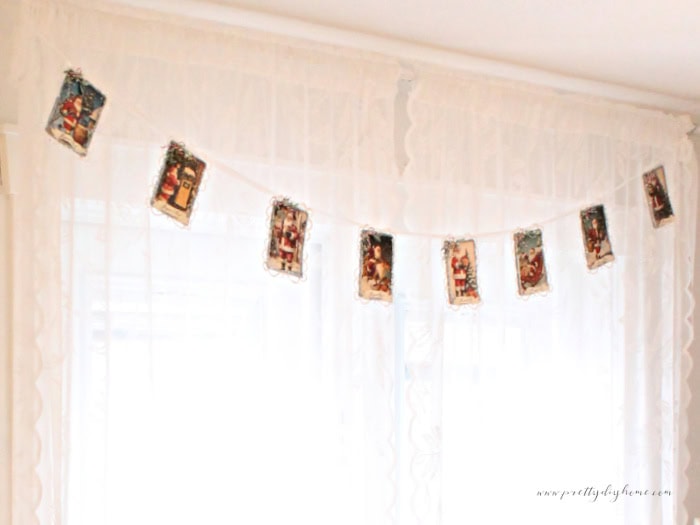
You can also hang it across a mirror or hutch, or use it as a backdrop for a vintage-style vignette with candles, ornaments, and bottle-brush trees. If your style leans cottage or farmhouse, try mixing in plaid or ticking-stripe ribbon for contrast.
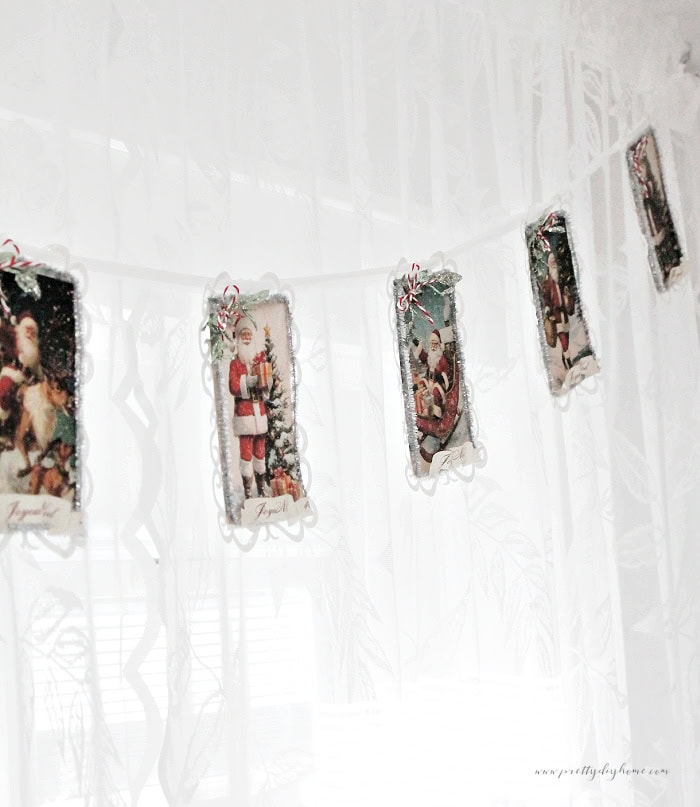
Because the postcards are small and light, this banner is easy to hang with removable hooks or even a bit of tape. Once in place, step back and enjoy how the vintage Santas bring a cheerful, old-fashioned Christmas touch to your space.
Free Printables and Downloads
You can find the lace background and both ribbon banner printables in the download folder below.
They include the scalloped lace background and the Joyeux Noël and Merry Christmas ribbons, sized to fit 4 × 5 3/4 inch postcards.
Download the Printables
Make this DIY vintage Santa banner using printable postcards, lace backgrounds, and simple decorations. An easy-to-make Christmas craft idea for farmhouse, cottage, or vintage Christmas decorating. Pin this DIY vintage Santa banner tutorial for later.
I hope this vintage Santa banner brings joy to your holiday decorating as it did to mine. It’s such a simple way to add a touch of old-fashioned Christmas charm, with sparkle, and on a budget we can all afford. If you make one, I’d love to hear how you displayed it in your home.
Happy Christmas Crafting,
Leanna
More Vintage Christmas Crafts to Make
Vintage Christmas Postcard Holders
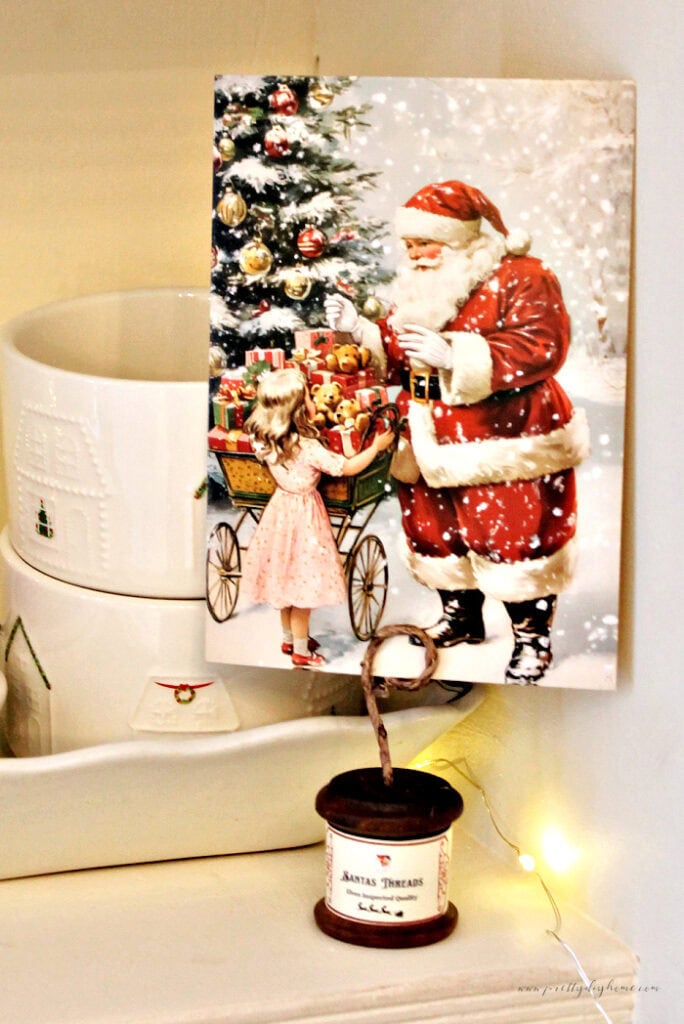
Have a few vintage Christmas postcards left over? These wooden spool postcard holders are another charming way to display them. Made with thrifted thread spools, paper-covered wire, and free printable labels, they add height and old-fashioned character to a Christmas vignette.

Vintage Bottle Brush Trees from Old Spindles
These affordable vintage-style bottle brush Christmas trees are made from old wooden spindles, soft bottle brush trees, lace, and a little faux snow. They are an easy way to turn thrifted or leftover pieces into charming Christmas decor with the same soft, old-fashioned style as this Santa banner.