
How to Make Vintage Bottle Brush Christmas Trees from Old Spindles
Vintage Bottle Brush Christmas Trees for My Kitchen
I am continuing my quest to give this boring bungalow a little vintage personality. This Christmas I am putting extra effort into creating a warm vintage Christmas kitchen. With the cabinets finally finished, I have been hunting for old ironstone and making a few small vintage-inspired Christmas crafts to bring everything together. These bottle brush Christmas trees began with some old wooden spindles I was so excited to add to my stash this summer.

Bottle brush Christmas trees have been everywhere for the past few seasons, but most of the ones I saw never felt quite right for my home. The bright colors and lightweight look did not suit the vintage kitchen style I love. Pairing natural-toned trees with old wooden spindles gave these trees a softer cottage look that fits much better with my warm, old-fashioned Christmas decor.
Supplies
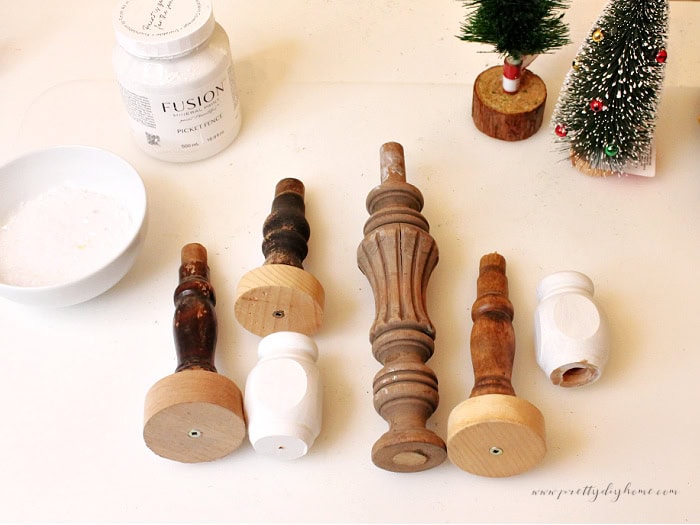
I realize this list looks long, but you only need a handful of supplies to make these bottle brush Christmas trees. I included several different options so you can choose what you already have on hand or whatever best suits the look you want.
Spindles and Trees
- Wooden spindles in different shapes and heights
- Bottle brush trees in natural greens and creams, in assorted shapes and sizes
Bases
Choose any small sturdy item to give the spindle a wider bottom, such as:
- Wood rounds or small wood cutoffs
- Jar lids or candle jar lids
- Coasters
- Drawer knobs turned upside down
Paint and Finishes
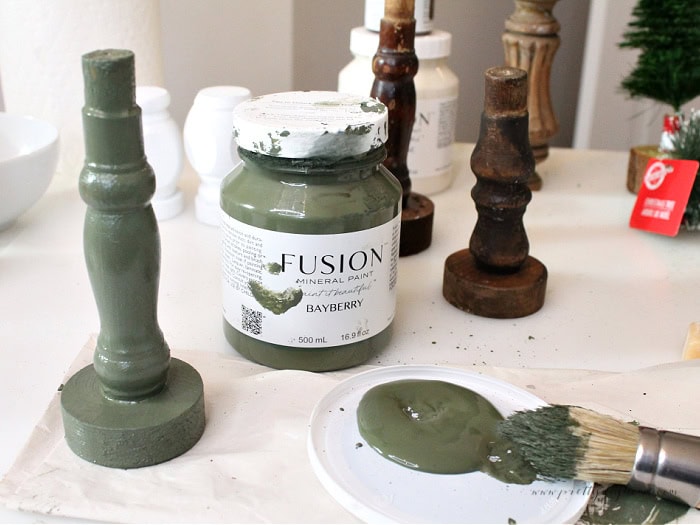
- Fusion Mineral Paint in Bayberry, Conservatory, Limestone, and Picket Fence
- Brown wood stain
- Hard wax stick
- Sandpaper or a small paint scraper
Decorating Details
- Rub-on Christmas transfers
- Rub n Buff in Antique Gold
- Faux snow and spray adhesive
- Homespun fabric or lace
- Small embellishments like snowflakes, buttons, or tiny ornaments
Tools
- Hot glue gun
- E6000 glue
- Needle-nose pliers
How to Make Vintage Bottle Brush Christmas Trees
Step 1: Clean and Prepare the Spindles
Wipe the spindles with a damp cloth to remove any dust or grime. Smooth any rough edges or splinters with sandpaper. Leave the original paint or stain in place since it adds character under the new finish.
Step 2: Darken Pale Wood (Optional)
If your spindle has raw wood or is very light in color, brush on a little brown stain before painting. The darker tone will peek through the distressed paint and emphasize the worn areas, giving the finished spindle a stronger vintage look. Let the stain dry completely before painting.
Step 3: Note the Original Wear and Tear
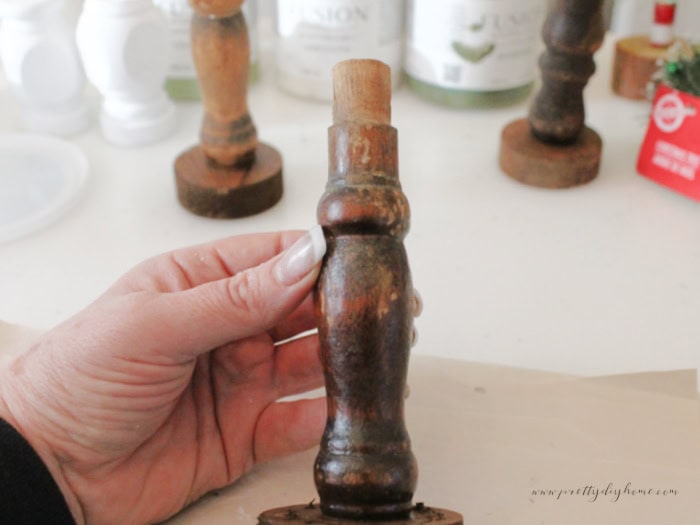
Before you begin painting, take a minute to study the original wear and tear on your spindles to see where they naturally aged. On mine, the wear ran straight down the spindle rather than from side to side. Seeing that helped me decide how to distress my own pieces. I used a hard wax stick and rubbed it on in the same direction as the original wear so the finished distressing would look much more natural.
Step 4: Add Bases to the Spindles
Choose a Base That Fits
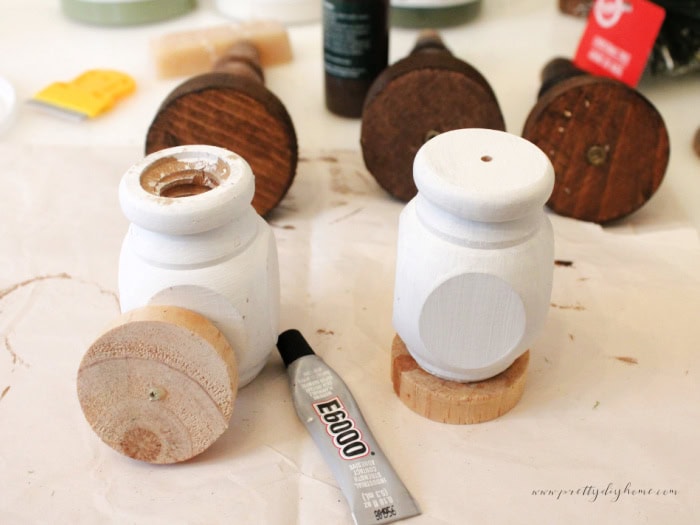
Your spindle may need a wider bottom or a bit more height. If so, choose a base using whatever you already have on hand. I used a small wood cutoff from my stash, but you can also use the base that came on your bottle brush trees, a jar lid, a coaster, or even a drawer knob turned upside down. Anything small and sturdy will work.
Attach the Base Securely
Glue the base to the bottom of the spindle and let it dry until it feels solid. Make sure the spindle stands upright without wobbling before moving on.
Step 5: Paint and Distress the Spindles
Add Wax Before Painting (Optional)
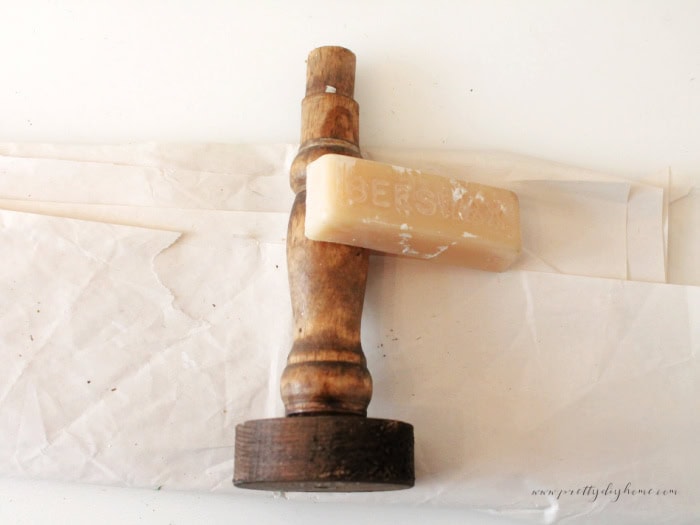
If you plan to distress your spindles, apply the hard wax before painting. Rub thin vertical streaks of wax along the spindle, following the natural wear direction you noted earlier. The paint will resist these waxed areas, making the distressing look more natural once you begin sanding or scraping back the paint.
Paint the First Layer
Give each spindle one even coat of Fusion Mineral Paint. If you are distressing the finish, one coat of paint is usually enough, since a thicker paint layer can be harder to scrape or sand back.
Let the paint dry to the touch; it doesn’t need to cure fully before distressing.
Distress the Spindles
Once the paint is dry, distress each spindle in whatever way suits your style.
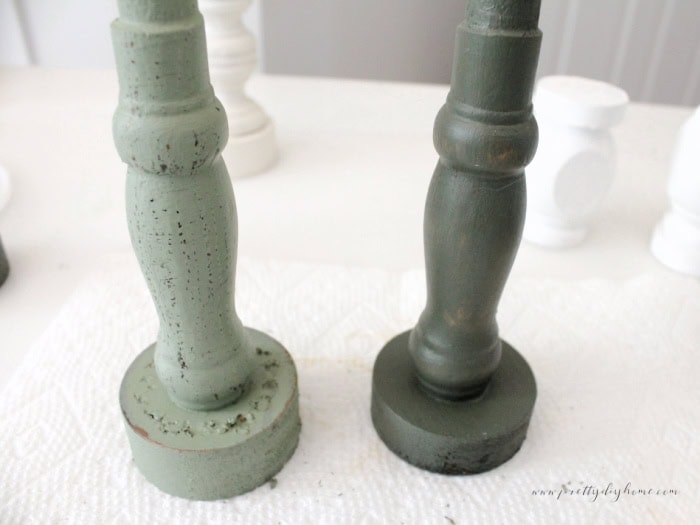
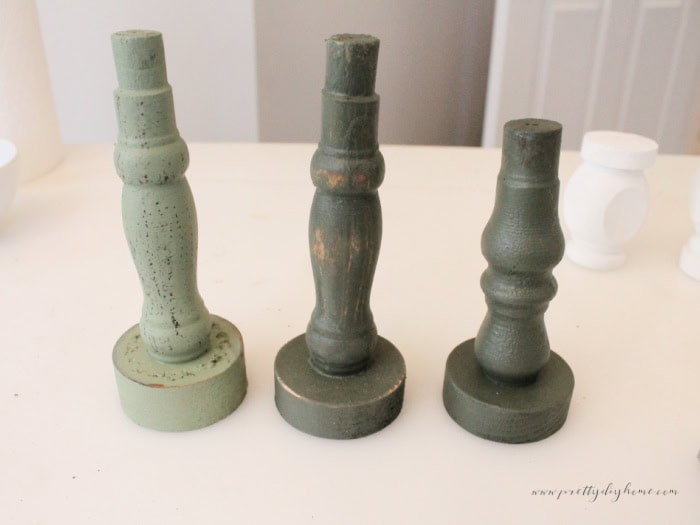
- Bayberry spindles: use a small paint scraper and pull it gently straight down the spindle to reveal the wood underneath.
- Conservatory and Limestone spindles: use a sanding block and lightly sand from top to bottom for a softer, more naturally aged finish.
- White spindles: leave them smooth if you prefer a cleaner, softer finish.
Finish Ideas You Can Try
Feel free to mix and match finishes to get the look you want. You can add:
- Rub n Buff for subtle golden accents
- Rub-on transfers for small pops of color or detail
- Extra sanding for a chippier, older look
- No distressing at all if you want a smooth, clean painted finish
This project is wonderfully flexible, so use whatever methods match your Christmas decor style. I found this project fun and creative to put together, and it was a lovely way to spend a Sunday afternoon.
Step 6: Decorate the Spindles
You can decorate your spindles to suit a specific area in your home or simply play with whatever craft materials you have on hand. I made each one a little different, both for fun and to show you several options.
The white spindles were decorated intentionally to go with my ironstone collection for the holidays, while the green ones were kept more rustic to blend into the rest of my vintage Christmas kitchen.
Soft Feminine Details for the White Spindles
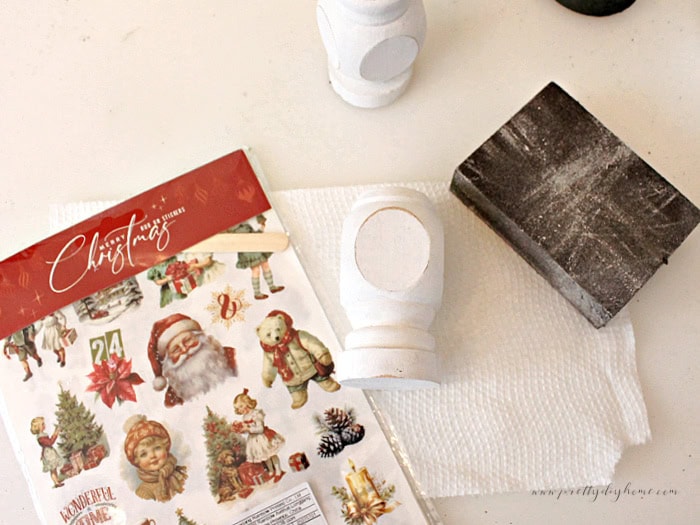
For the white spindles, I wanted a softer and more feminine look to suit my ironstone display. I kept the paint smooth and skipped the distressing. Instead, I added small colourful rub-on Christmas transfers. Cut the transfer close to the design, remove the backing, place it where you want it, and rub firmly with the craft stick until the design releases.
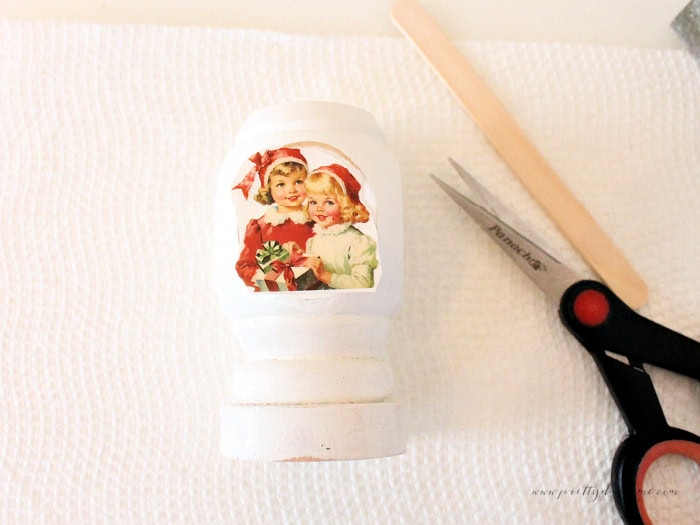

To finish them, I added a light touch of Antique Gold Rub n Buff along the edges to frame the transfer gently without overpowering the design.
Simple Rustic Touches for the Green Spindles
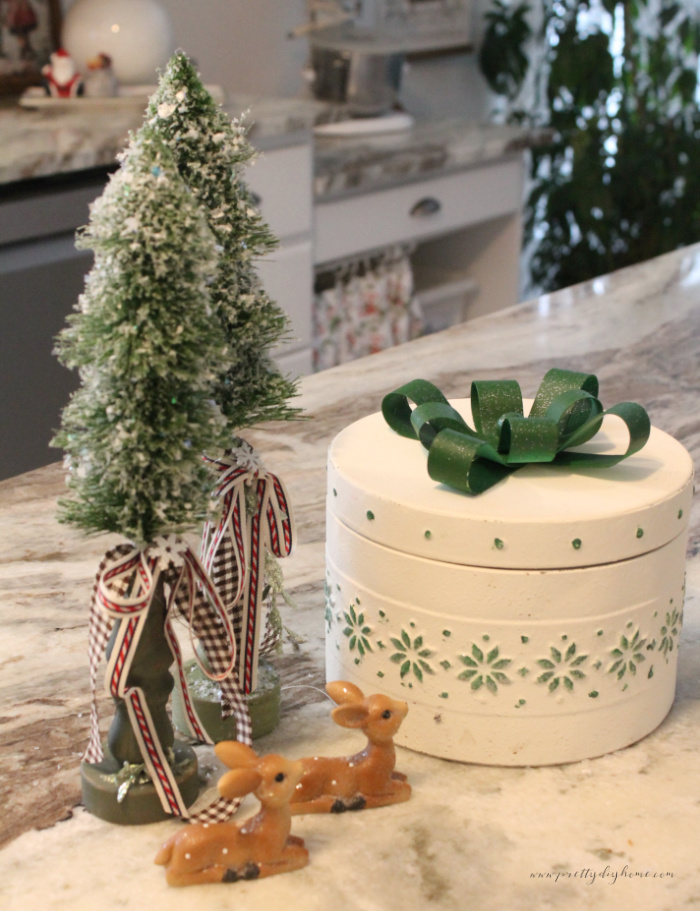
The green spindles felt naturally rustic, so they didn’t need much decoration. I tied a narrow strip of brown homespun fabric around each spindle and threaded a tiny wooden reindeer ornament onto the tie before knotting it. A small white snowflake added just enough contrast. These simple touches kept the look soft and understated, perfect for cozy cottage-style Christmas decor.
Decorating Taller Spindles for Displays
Taller spindles add height and presence, so I kept their embellishments minimal. Mine are displayed in my gingerbread village, where they add charming vertical interest without competing with the little houses. You can tuck taller spindles into any vignette, such as a mantel, shelf, or kitchen counter, where you want a bit of height and quiet vintage character.
Step 7: Choose the Bottle Brush Trees
When I started adding the trees to the spindles, I noticed the proportions felt a little off. Some of my smaller trees looked fine, but a few of the taller spindles needed something bigger to balance them properly. I ended up going back out shopping for a couple of larger bottle brush trees, and once I swapped them in, the proportions looked much better.
Along the way, I also paid attention to the colours. I mixed in a few white flocked trees and some darker green ones for variety. I also chose two little trees with coloured baubles, one to add a bit of cheerful colour to my ironstone display, and the other to act as the Christmas tree in my gingerbread village scene.
Match Tree Height to Spindle Size
Before you attach any trees, take a quick look at your spindles and think about the proportions. Smaller trees naturally suit shorter spindles, and taller spindles usually need something fuller or a little larger so they don’t look too small or out of proportion. A few little adjustments here make everything look more balanced and intentional.
Mix Tree Shapes, Tones, and Colors for a Collected Look
Using different greens, flocking, shapes, and small details helps the finished group look as though it was collected over time rather than bought all at once. I used lightly decorated trees for the white spindles, darker greens for the rustic ones, and the largest trees for my tall spindles in the gingerbread village. A little variety gives the final grouping a charming vintage feel.
Step 8: Attach the Bottle Brush Trees
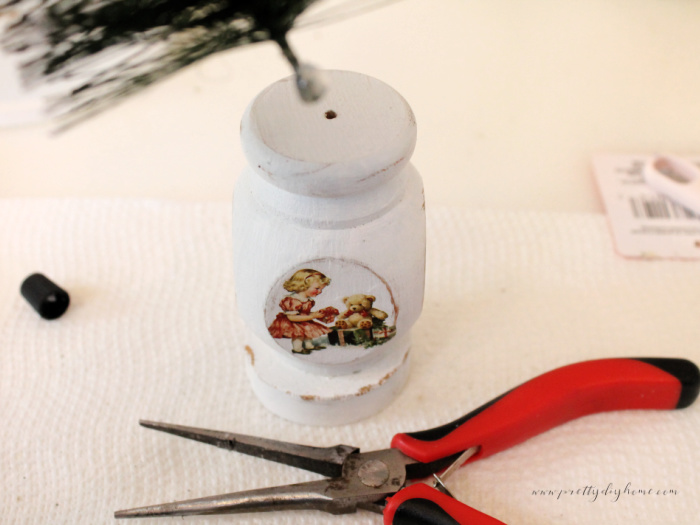
This step is quick and straightforward. Make sure the hole is large enough for your tree’s wire stem. You don’t want to bend or kink the wire by forcing it in. Add a small amount of E6000 or strong glue to the stem before inserting it, and use needle-nose pliers to hold the stem steady, especially if it’s short.
Step 9: Add Faux Snow
A little faux snow is an easy way to give your finished spindles a soft winter sparkle. Lightly mist the tree and the spindle with spray adhesive, then sprinkle the faux snow from a few inches above and let it fall naturally. It creates a gentle dusting and adds just enough brightness without hiding your paint and details.
Styling and Display Ideas
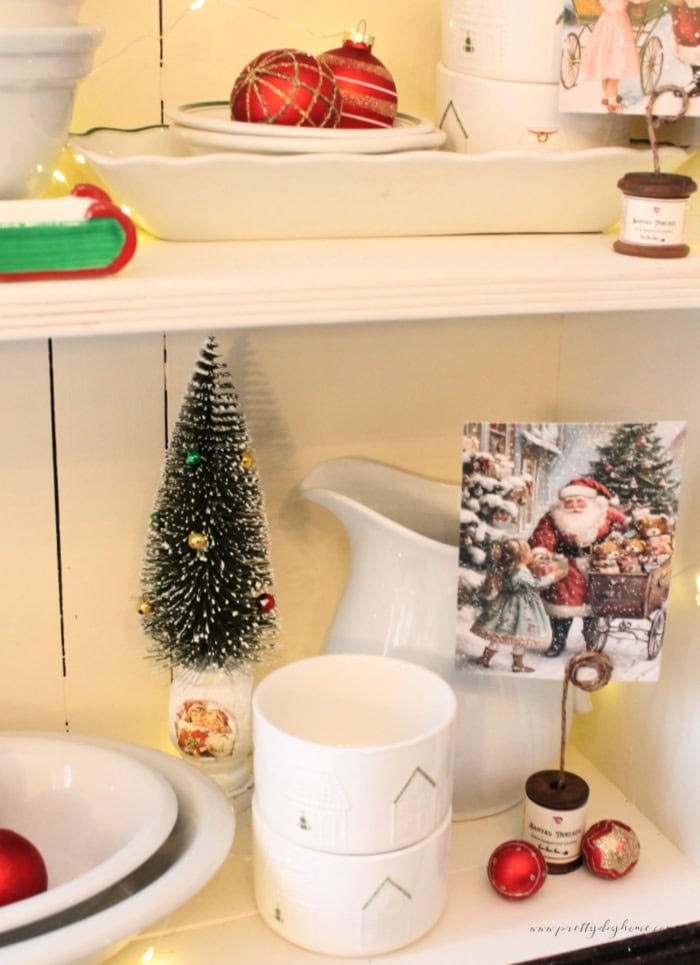
These spindle trees are so easy to tuck into different Christmas vignettes. I placed the taller ones in my gingerbread village, where they added height behind the little houses. They took the scene from a simple row of décor to a charming little village with more depth and sparkle. The white spindles look especially pretty mixed in with ironstone and simple greenery for the holidays. You can also set them on shelves, mantels, or kitchen counters wherever you want a bit of vintage charm.
Love this project? Save it for later!
If you want to make your own spindle Christmas trees this season, pin this project so you can find it again when you’re ready. It’s an easy little craft, perfect for a quiet afternoon, and looks charming tucked into all kinds of Christmas vignettes.
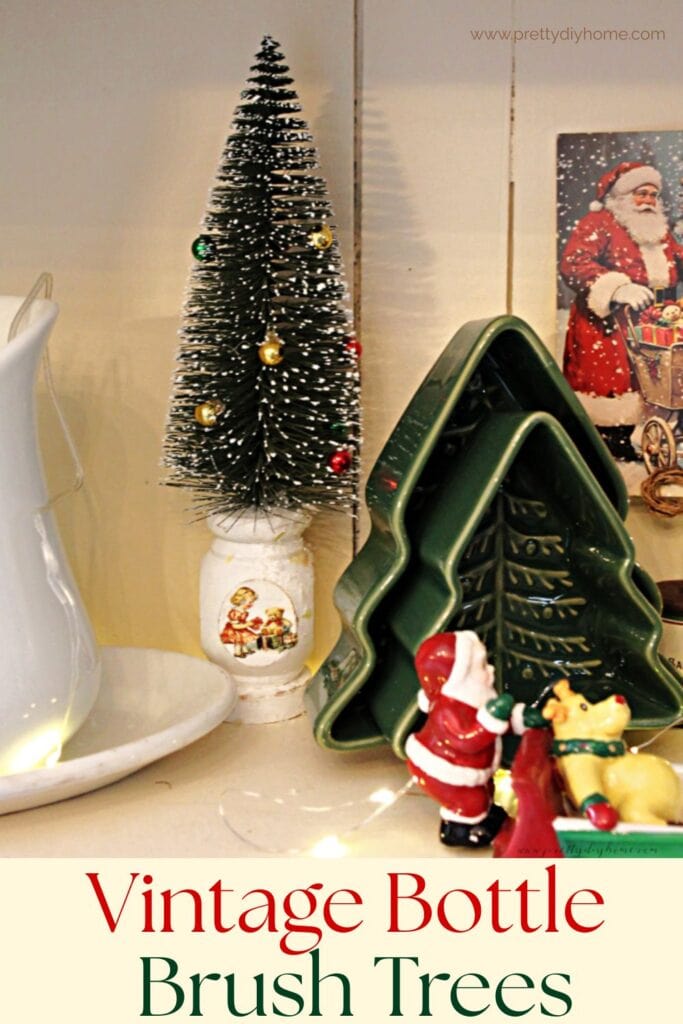
Creating these spindle Christmas trees was such a fun project and one I will be making again. They fit right in with my vintage kitchen and add that soft, cozy Christmas charm I love so much. I hope this tutorial gives you ideas for using whatever spindles, paints, or trees you have on hand. If you decide to make your own version, I would love to hear where you displayed them and how you made them your own.

More Repurposed Vintage Christmas Decor Ideas
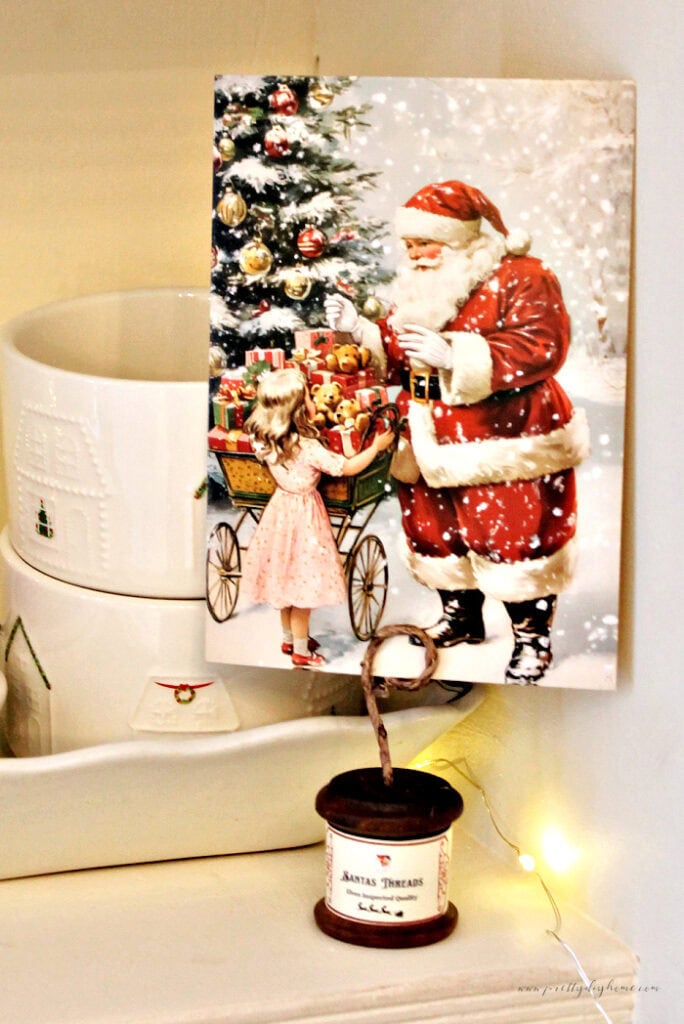
Wooden Spool Vintage Postcard Holders
These vintage photo or postcard holders are made with a vintage thread spool, paper-covered wire, and a free printable label.