DIY Craft Room Storage Jars
These DIY craft room storage jars are designed to add a little pop of colour to the neutral farmhouse shelves. Most of my craft supplies are kept in box shaped storage containers, but for smaller items like buttons, washi tape, and beads and such the boxes are too large, so storage jars are a practical solution.
I have always been obsessed with pink, but lately coral pinks with just a slight hint of orange are my favorite decor colour. Your going to love having these jars, go ahead and pick out whatever colour you love, , order a sample size of paint, grab a jar and enjoy crafting.
How To Make Decoupage A Glass Jar
Waste Not Wednesday
Sam @ Raggedy Bits | Facebook | Pinterest | Instagram | Twitter
Leanna @ Pretty DIY Home | Facebook | Pinterest | Instagram | Twitter
Welcome back to Waste Not Wednesday! For those who have been following along for a while, you’ll know Waste Not Wednesday as a linky party. But Sam and I have decided to change things up a bit. Each Wednesday, we will be bringing you fun projects from us and some of our favourite bloggers. This week’s theme is all about glass jars!
Make sure to check out Sam’s Jar at the end of my tutorial.
This craft jar tutorial has two parts, painting the jar, and then making some simple polymer clay tags for them. The tags are not necessary as you can see the items inside each jar, but I wanted to try stamping some tags, so this was the perfect beginners project to get started.
You will need a jar with a lid, I used IKEA jars, but a mason jar, or a leftover pickle jar would work as well, just make sure it has a nice wide mouth.
Painting the Jar
Zinsser 123 primer, or your favorite primer
Coral coloured latex paint (sample size)
Green painters tape
Ruler and small paint brush
Adding the Twine
Twine, hot glue gun, two towels
Making Clay Tags
Small package polymer clay
Small letter stamps
Rolling pin, toothpick
Parchment paper
Tin foil
Place a piece of green tape at about the height you want your paint to be, mine worked out to be six inches from the rim. To make sure your tape is level, measure the distance from the rim to the bottom of the tape repeatedly as you work around the jar.
Once your tape is attached, run your fingernail along the bottom edge to make sure it has adhered.
Start with one coat ofprimer, paint the bottom of the jar up to the tape, I worked my paint vertically all around the jar. Let dry, for about half an hour.
Repeat the process with three coats of the coral paint. Let it dry well between each coat according to your paint manifuctures drying times.

As soon as you add the last coat of coral paint, carefully remove the green tape. Hopefully it removes evenly, but if you have a little bit of lifting fix it with a little dab ofpaint. Let dry.
If your not adding the labels skip down to the Adding the Twine section.

Making Polymer Clay Labels
You will need some bakeable clay, I used Craftsmart white clay from Michaels
You will need some small letter stamps
A small circle cutter, our store was sold out so I substituted with a large spce lid,
Parchment paper, tin foil, cookie sheet, rollimg pin
Put your small letter stamps together to form the wording for your jar(s). Hold together with an elastic band. Check out how wide the word ends up to be and either shorten the wording or enlarge your circle to fit. My wording for buttons was a bit larger than I wanted. The large spice lid was just big enough even if a bit crowded so I went with it.
Lay out a bit of parchment paper on the counter, Mush up the clay with your hands until its smooth and elastic, form a ball, place on the parchment and pat flat with the palm of your hand.
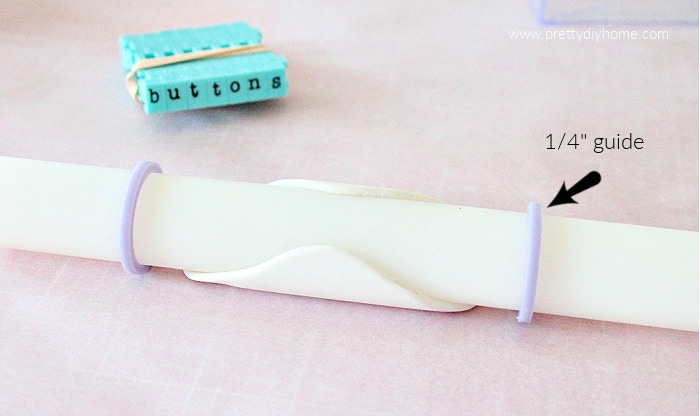
Using a small rolling pin, roll the clay until its approximately 1/4 inch thick.

Cut the clay with your circle just like you would a cookie, remove the excess.
Press the letter stamps lightly into the clay. Remove and check if your off center etc. If you don’t like it just form the polymer clay back into a ball and try again.

I had a couple of tiny little ridges along my letters and along the edge of the cut circle. I found lightly tapping the spot with my finger tips smoothed it out.
Using a toothpick make a small hole in the tag.
Preheat your oven to 275 (or your manufacturers instructions).
While the oven gets to temperature, fold a piece of tin foil a bit larger than the clay tag.
Peel the parchment away from the clay, this prevents the clay from tearing.

Transfer to the tinfoil. Place on a cookie sheet.
Bake on the middle rack of the oven for 15 minutes. (or your manufactures instructions)
Remove from the oven and leave alone until cool.
Adding the Twine Ribbon
Roll up two small towels and place on each side of the jar to hold it in place.
Place the jar front side down between the towels.
Cut two pieces of twine about 30″ long.
Apply a small strip of hot glue just underneath the lowest ridge used for closing the jar.

Fold the twine in half to find the center, and attach the center of the twine to the glue. Wrap the twine around to the front of your jar making sure to add glue to hold it in place.
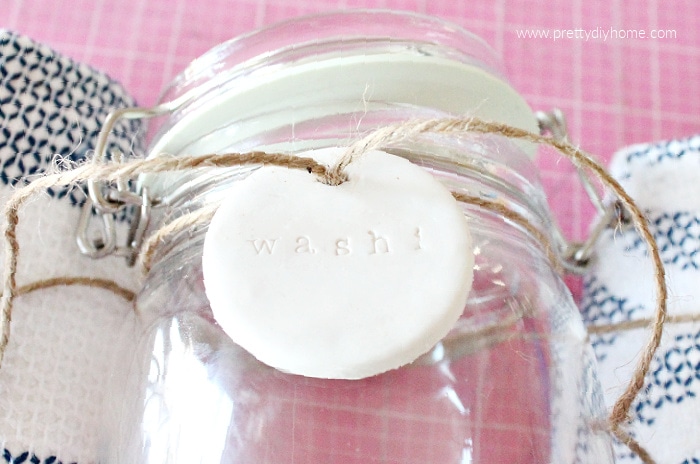
Once most of the twine is attached, take the two ends of the bottom string and push through the hole in the label.

Pair the twine up with their corresponding second strings and tie in a pretty bow.
Trim and your finished.

Now check out this pretty Decourpage Glass Jar from Sam at Raggedy Bits

How to Decoupage a Glass Jar | Sam at Raggedy Bits
Here are some more lovely and affordable jar projects for you to enjoy.
These Fun Animal Storage Jars from Oh so Lovely are affordable, practical and beyond cute. I think they would make wonderful Father’s Day gifts for the dinosaur loving Dad who has anything. He could use them in his office or garage. Of course they are great for kids stuff as well.

These upcycled glass jars from Her Happy Home are elegant in their simplicity. I want some.

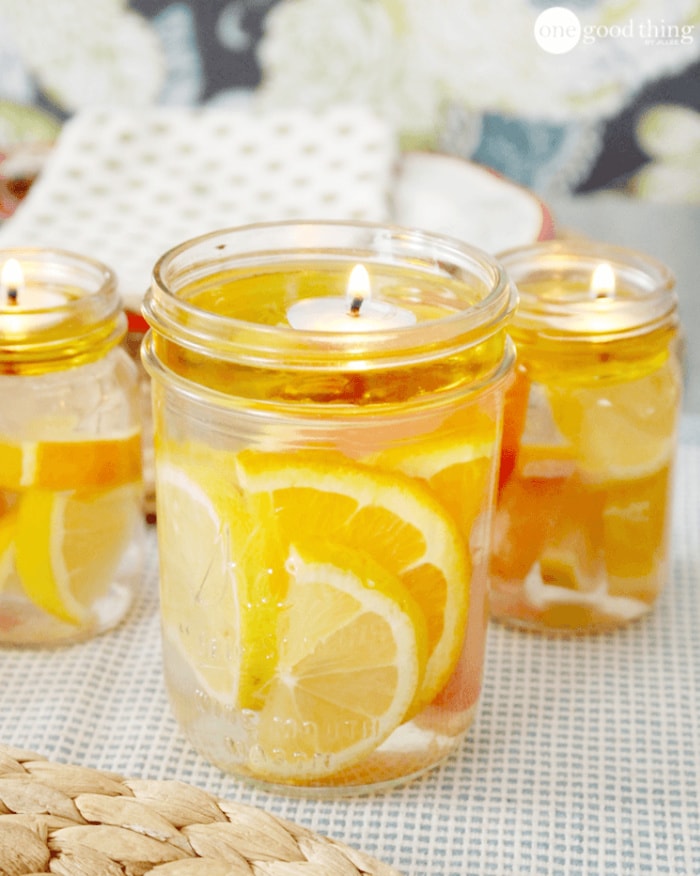
Check out these simple floating mason jar water candles. The orange gives these candles such a warm glow. They would make an amazing table centerpiece for Fall. One Good Thing by Jillie shows us how to simple they are too make.

Mason Jar Cozies Bathroom Storage comes from It All Started with Paint. Linda often joined us at the WNW Link party and her style is simplistic and gorgeous. I think they way she uses metallics in these jars makes the lids the focus, so uniqye and pretty.

This DIY Mini Mason Jar Salt and Pepper Shakers is an earlier post of mine that turned out really well using miniature mason jars I found at the dollar store.


