DIY Easter Bunny Pom Pom Garland
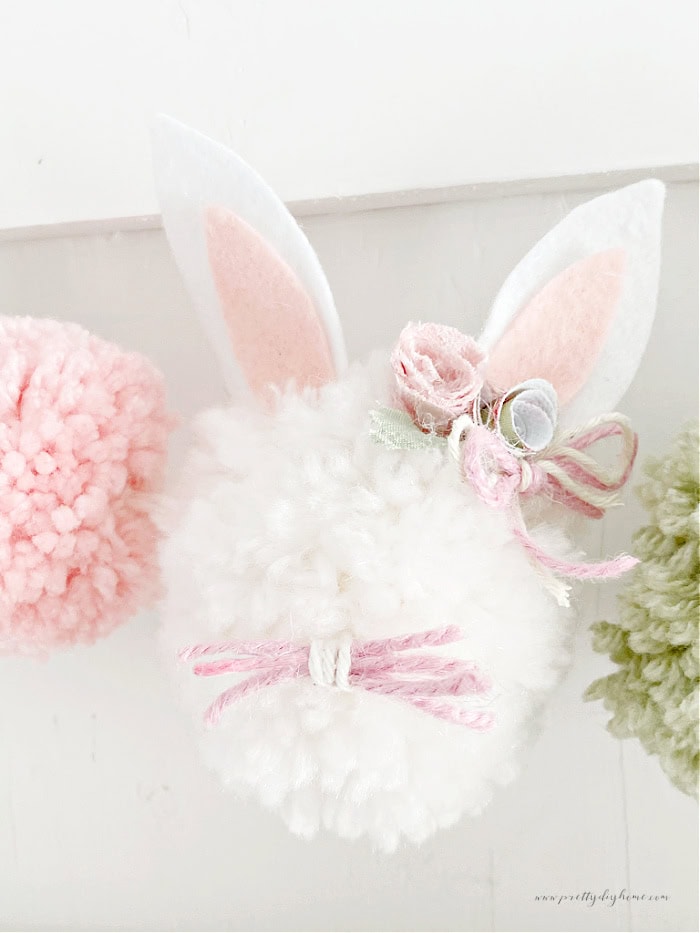
This easy tutorial will show you how to make an Easter Bunny Pom Pom Garland that is just about as sweet as can be. Fluffy white pom pom bunnies with soft pink and white ears are mixed with little fabric flowers and smaller pom poms, all strung together to create a gentle, springtime garland.
One of the things I love about this project is how flexible it is. You can use any colors you like to match your spring decor, and it is a great way to use up leftover yarn. I used white, green, and pink yarn for my pom poms, but you can easily mix colors if you are working with small amounts of wool.
Right now, this pom pom bunny garland is hanging on my entryway hall tree, and it makes me smile every time I see it. The little bunny pom poms are sweet and charming, and soft enough that this garland would be just as lovely in a nursery as it is in a hallway or child’s room.
How to Make an Easter Bunny Pom Pom Garland
Step 1: Gather the Materials
It does not really matter what type of yarn you use for this project. My local Dollar Tree carries a good variety of yarn in different colors. While chunky yarn makes pom poms quicker to wrap, I suggest using a medium-weight yarn instead. It creates pom poms that are fluffier and fuller once trimmed.
I used the Clover pom pom makers that I have owned for several years. I also tried a set of smaller pom pom makers from Dollar Tree, and while they are not as sturdy as the Clover brand, they worked just fine for this project.
Pom Pom Supplies
- White skein of yarn, plus any additional colors you like
- Pom pom makers in two sizes, about 3 inch and 2 inch
- Dental floss (this really does make a difference)
- Sharp scissors
Bunny Ear Supplies
- White felt
- Pink felt
- Ear Pattern Printable
- Craft glue
Fabric Flower Supplies
- Iron-on interfacing
- Twine or ribbon
- Scrap fabric
- Hot glue gun or craft glue
Step 2: Make the Pom Poms
Pom poms are very easy to make, and you can use any method you like. I used my Clover pom pom makers for this project, but a simple cardboard circle cutout works just as well if that is what you have on hand.
If you are new to making pom poms, I have a separate post that shows how to make perfect fluffy pom poms, including a full video tutorial.
Perfect Pom Poms
What does a perfect pom pom consist of? A top-notch pom pom is all about being thick, fluffy, and very full, without any bare spots. The center is tied tightly so that the stands stay in place. The goal is a nice dense pom pom in a nice round shape with evenly cut strands of yarn.
Here’s a quick breakdown of the process:
Step 1 -Wrap the Yarn into Balls
Roll the skeins of yarn into a yarn ball before you begin. This helps prevent knots and tangles while wrapping.
Step 2 – Wrap the Yarn
Wrap the yarn around the first two arms of your pom pom maker until it feels nice and full, about four layers of yarn. Swing the arms shut, then repeat on the other side.
Step 3 – Cut the Yarn
Once both sides are wrapped, cut the loops of yarn using sharp scissors. Place the scissors between the arms and snip along the groove.
Step 4 -Tie It Together
Cut a ten inch piece of dental floss and wrap it tightly around the center groove of the pom pom maker. I like to wrap it twice. Pull it snug and tie a secure double knot to hold everything in place.
Step 5 – Fluff & Trim
Open the arms of the pom pom maker and remove the pom pom. Gently fluff it, then trim any uneven strands until it is round and full.
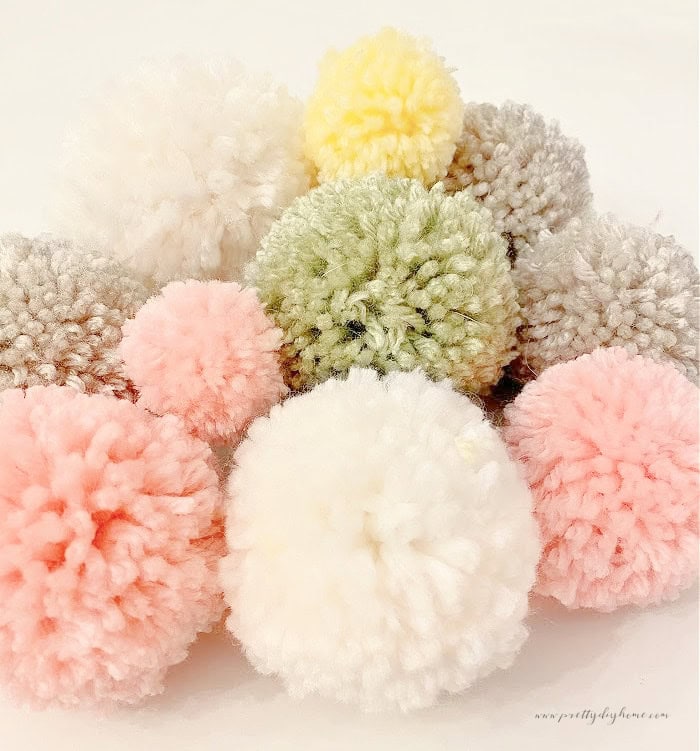
The number of pom poms you make will depend on the length of your garland and how much space you want between each one. For this garland, I made four large three-and-a-half-inch white pom poms for the bunnies, along with three-inch pom poms in pink and green. The finished garland shown here is about six feet long.
I like to spend an evening making a pile of pom poms, then assemble the garland the next day.
Step 3: Make the Bunny Pom Poms
Now that the pom poms are finished, it is time to make the bunny ears and whiskers.
Cut Out the Bunny Ears
Using the free printable template, cut eight white ears and eight pink ear centers from felt.
Cut the ears in pairs so the curved edge faces outward on each one.
Glue the pink centers onto the white ears using craft glue. Press them in place with a brayer if you have one. This step is optional but helps them adhere.
Set the ears aside to dry while you work on the whiskers.
Make the Twine Bunny Whiskers
Wrap pink twine around three fingers two to four times.
Use white twine to tie the bundle together in the center.
Secure the knot with a small dab of hot glue, then trim the whiskers to size.
Note: Five whiskers made my bunny look like it had a mustache, so I pulled out a few strands for a more natural look.
Optional Fabric Flowers
I have a full tutorial with video showing how to make rolled fabric flowers if you would like to try them.
If you prefer to skip this step, Dollar Tree carries a variety of small flowers that work just as well.
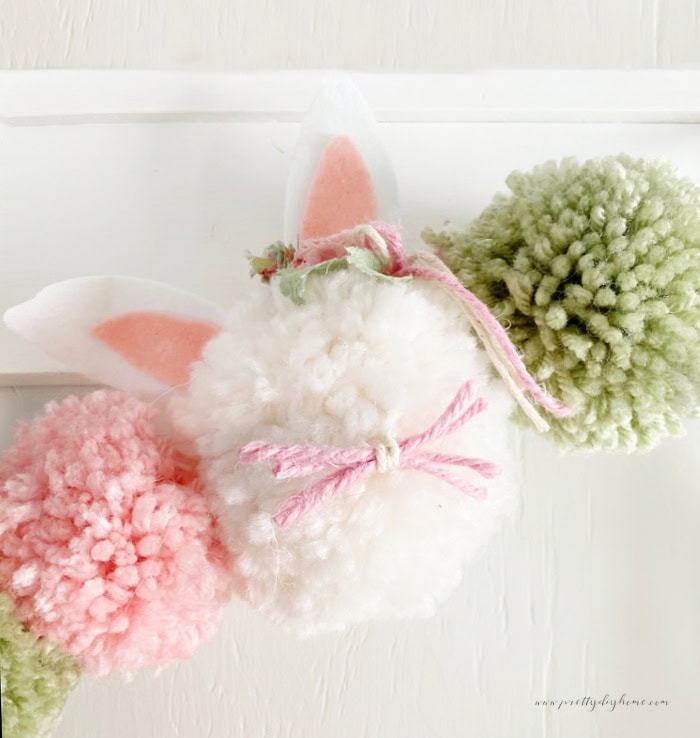
Step 4: Assemble the Pom Pom Garland
Now that all of the pieces are ready, it is time to put the bunny pom poms together. This is the fun part, because the bunnies are just so adorable.
Attach the Ears
Add a generous amount of hot glue to the bottom of each ear and press it firmly into the top of the pom pom. Repeat with the second ear.
If you like a floppy ear look, gently fold the ears over and glue them down. I kept mine upright.
Add the Flowers
Hot glue fabric flowers, or small faux flowers, near the base of the ears for a soft spring touch.
Attach the Whiskers
Hot glue the twine whiskers to the front of the bunny pom pom.
Optional Eyes
I considered adding small blue beads for eyes, but the cost was higher than I expected, so I skipped this step. If you decide to add eyes to your bunnies, I would love to hear how it turns out.
Step 5: Assemble the Pom Pom Garland
This part of the project is very easy and does not take long.
Cut a twelve foot length of yarn and thread it onto a yarn needle. Fold the yarn in half. To find the center of each pom pom, gently squeeze it until you feel the circle of dental floss inside. I like to push my middle finger through the pom pom as a guide, then push the needle through the center.
Thread each pom pom onto the yarn, spacing them however you like. Once all of the pom poms are in place, tie a knot at the end of the yarn to secure them.
Make Tassels for the Ends
Wrap yarn around a piece of cardboard or a large jar about ten times. Slide the wrapped yarn off and cut the bottom of the loop open.
Take another piece of twine and tie it around the top to secure the tassel.
Repeat for the other end. Use sharp scissors to trim the tassel evenly.
I hope you enjoyed making this easy pom pom garland. There is something extra special about these sweet Easter bunnies, and I always love projects that feel like a small sign that winter is ending and spring is on its way.
Happy Crafting Leanna.
Other Easter Bunny Crafts
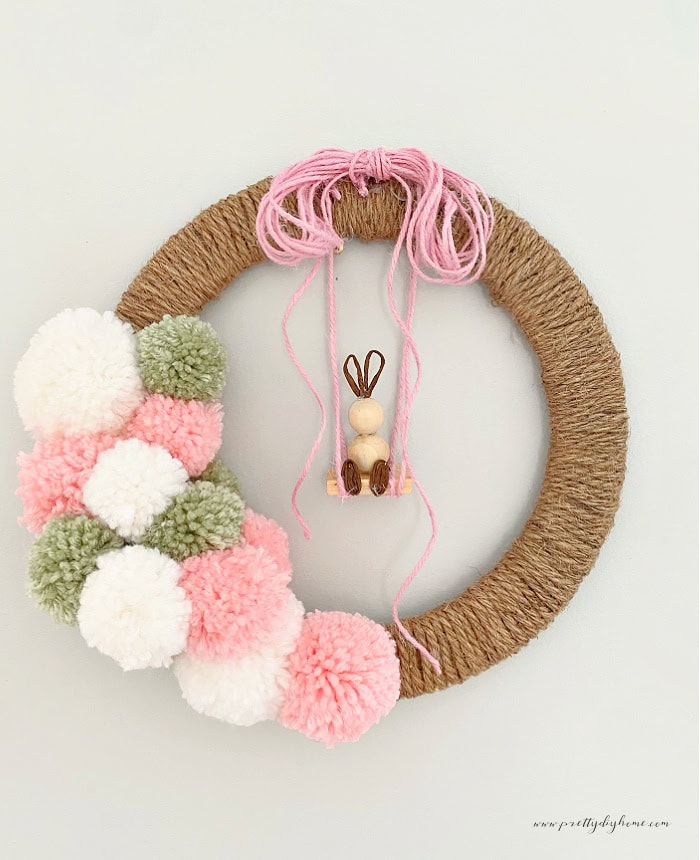
Easter Bunny Pom Pom Wreath
Here is another simple Easter Bunny craft made with Dollar Tree supplies. I share a step-by-step tutorial on how to make the simple bead bunny and the swing as well.

Dollar Store DIY Easy Wood Easter Bunny Craft
This Dollar Store Easter bunny can be made as a simple Easter decoration, or you can make it as a gift. Add a card and a bundle of inexpensive tulips and you have a great personal gift idea.