DIY Table Riser with Grain Stripes
While garage sailing for Christmas in July I found a fun box of old wooden toys for $1. Inside the box was a strange looking item that I instantly recognized as legs for a DIY farmhouse table riser. If you love decor, especially farmhouse decor you cannot have too many table risers.
DIY table risers are so easy to make, and collect in various styles, heights and colours. I hope you love this one as I looked everywhere to find this exact shade of greyish green, ( I already hoarded the Christmas ribbon in this colour). Fusion paint (not an affiliate) just came out with it and its called Eucalyptus. They have other gorgeous new colours but this is my favorite.
The vintage garage sale was simply amazing and I spent a pleasant half hour or so chatting with the 82 year old seller. He was happy to see my excitement, and pleased that the old toys were once again loved.

We will start by upcycling the legs, can you guess what it was originally? Other ideas for table riser legs are upcycled spindles, beads, flat fronted door pulls, or bits of wood. I used wood in this larger rustic table riser.
The senior seller explained that it was a foot massager and not nearly as old as the wooden toys. Hubs tore it apart for me by cutting the plastic strips between each bead, and then dismantling it.

Supplies
A piece of 1 by 6 scrap wood
scrap wood or beads for legs
Zinsser 123 Prier
Fusion Mineral Paint in Eucalyptus and Limestone
Grain Sack Stencil
Paint brush, artist brush, green painter’s tape and rags.
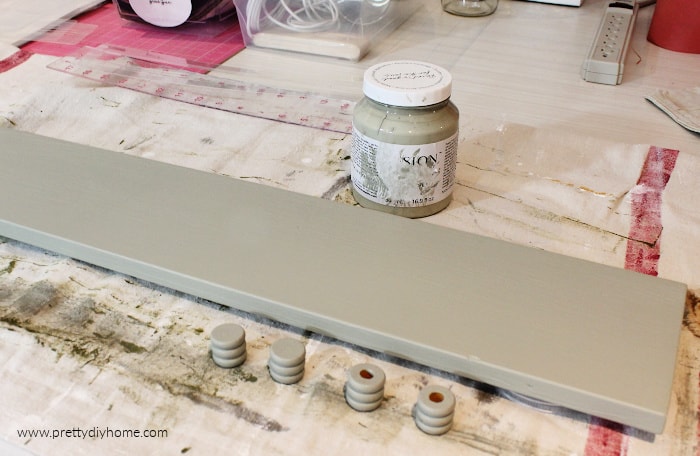
For the wood tray I used a piece of leftover 1 by 6 lumber, about two feet long. It was in our scrap wood, already primed, and about two feet long.
If you don’t have a piece of scrap wood, just cut a 1 by 6 about 2 feet long, sand it lightly with 120 grit sandpaper. Then paint it with Zinsser 123 primer (my favorite brand). Let dry.
Paint the board and the upcycled legs with two coats of Fusion Eucalyptus paint. Let the paint dry between coats.

Adding Table Riser Legs
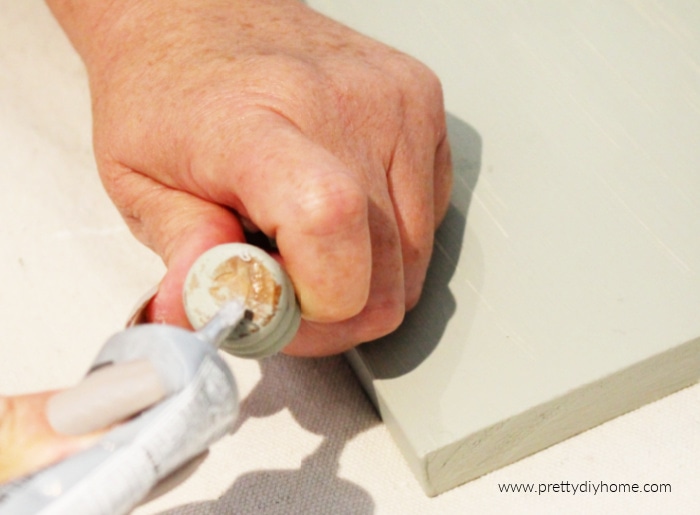
As this table riser is long and low the shape is stable. Because the table riser was so stable it didn’t require screws. Instead I added the legs with E 6000 glue one in each corner.

Let the glue dry before starting to stencil the riser.

Stenciling
After doing so many grain sack projects using green painters tape I finally invested in some grain sack stencils from Funky Junk Interiors. They are much easier to use then lining up strips of green painters tape, I did the stenciling in less than 10 minutes.
Place your stencil so the edge is past the edge of the wood, Eyeball it center then hold in place while you measure to make sure it centered from both sides. Once centered attach using painter tape.

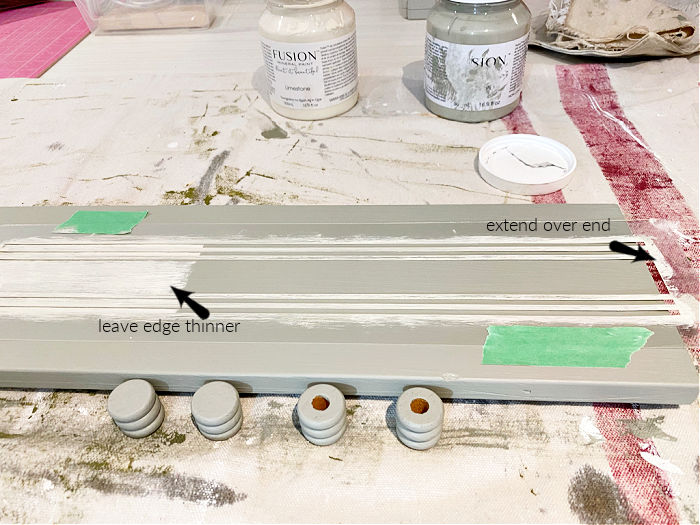
Instead of stippling the paint on with a stencil brush l used a dry brush technique to add the paint.
Place a tiny dab of paint on just the end of your bristles then dap most of it off onto a rag.

Sweep along the grain sack in the length ways direction holding the stencil down as you work. Work a little bit of your stripe at a time holding down the stencil near the painting area as you build up layers of paint.
The board for my DIY table riser was longer than the stencil, so the stencil needed to be repositioned.
When painting leave the last inch of the stencil paint thinner, so that their is no abrupt finish line. Let the paint dry and then overlap to next stencil placement.

Clean the stencil with soap and water, pat dry. Once your sure the paint on the tray and the stencil are both dry, reattach the stencil to the wood, make sure everything is lined up and then once again hold it down with tape before painting.

We were dealing back and forth on a spur of the moment home purchase while I am creating this post. Cross your fingers for me. This is not the final way I will use my table riser, its going to be saved for Christmas decorating.
When I saw this lovely DIY Table Riser from Sam at Raggedy Bits, I was wishing I had added some sort of generic lettering to mine.

Wooden Farmhouse Table Riser | Raggedy Bits
Table risers are so versatile and when you make you own, you can afford all of them you want. I love all of the following ideas, and know I will be making more.
These Rustic Wood Risers from Rustic Orchard Home come in all sorts of shapes, and sizes. She shares a few ideas, all simple and achievable.

My friend Kippi from Kippi at Home made these simple DIY Riser Stands for Display and I love that you don’t need expensive wood foots for them.

This Wood Table Riser from a Salvaged Desktop comes from Marie the Interior Frugalista. Marie used some salvaged wood legs and shares a great step by step tutorial on adding screws to attach them.

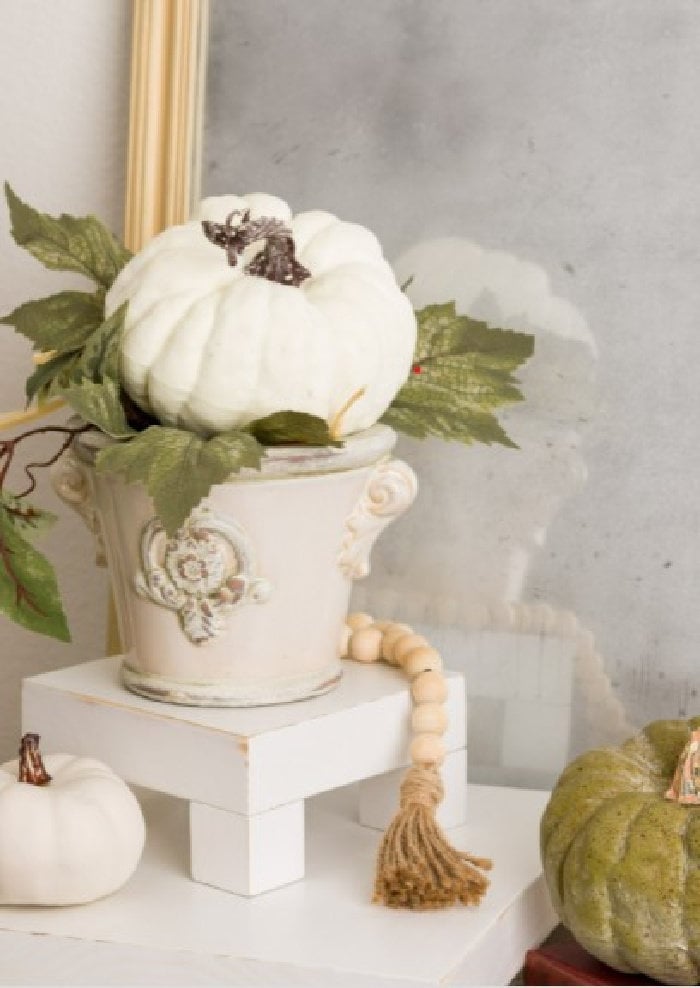
Like I said you can never have too many table risers. I created this DIY Farmhouse Table Riser with wood bead accent. Its small and intricate looking, but it has a simply hack for adding that bead border.

Instead of using scrap wood, Live Oak Nest made a Cutting Board Decor DIY starting with a purchased cutting board. Making one this way requires no cutting.

I hope I have found one or two projects to inspire you, especially if your like me and new to power tools. With some scrap wood and paint you can create a variety of items, and in the case of the one I posted I didn’t even need to cut a board.


.

It looks so good! You never cease to amaze me with your makeover. Thanks for sharing the tutorial;)
Your more than welcome. Glad you like it.