DIY Waterproof Pet Feeding Mat
DIY Waterproof Mat or Large Placemat for Pets
This DIY waterproof pet feeding mat is a simple way to protect your floors while adding something a little more attractive to your home.
Although I made mine for our dog’s feeding area, this large wipeable mat also works well under high chairs, or in front of the stove or sink. Anywhere that tends to get messy is a good spot for it.
We have a large dog, and his eating habits can be a bit… enthusiastic. Water drips, spills happen, and it’s not always noticed right away. Over time, that moisture can damage hardwood floors, especially in the areas right around the bowls.
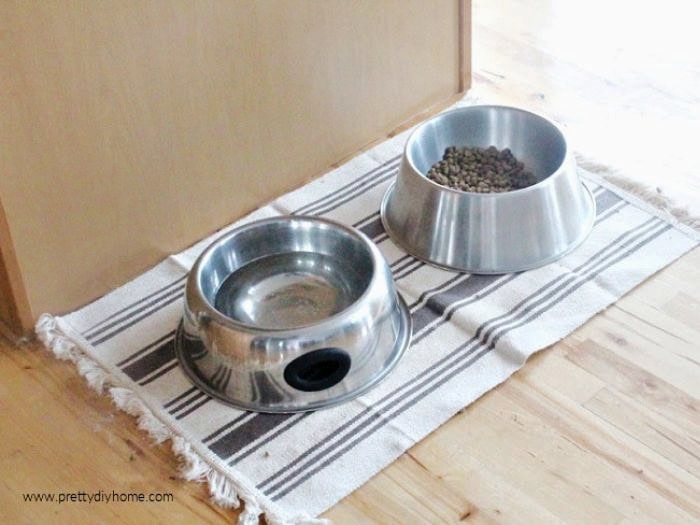
I had been using rugs under his dishes so I could swap them out for washing, but they were more practical than pretty, and never quite big enough to do the job properly.
knew I needed something waterproof, durable, and easy to clean, but I struggled to find the right base material. Canvas and carpet mesh wouldn’t work, and I didn’t want anything that would absorb moisture.
A friend suggested using linoleum, and that turned out to be exactly the solution I needed.
Why You Need a Waterproof Pet Feeding Mat
If you have hardwood floors, protecting them from water damage is a must. Even small amounts of moisture from a dog’s water bowl can leave marks over time.
If you have laminate or plank flooring, those grooves can quickly collect water, food, and mess, making them harder to clean and not something you want building up in a feeding area.
And if you have tile floors, spills can make the area slippery, which isn’t ideal for you or your pet.
No matter the flooring, a waterproof mat helps contain the mess, protects your floors, and makes cleanup much easier.
We also have a big, lovable lug who can be a bit of a fussy eater, so we like to keep his feeding area where we can easily keep an eye on him. That meant setting up his bowls right in our main living space, which made protecting our real hardwood floors even more important.
Creating a Clean and Styled Dog Feeding Area
I needed something to protect the floor first, not be a tripping hazard, and at least look like it tried to be pretty.
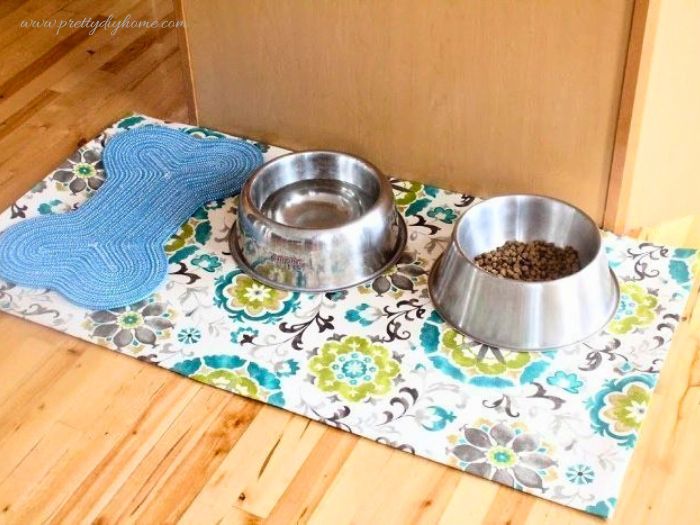
The large waterproof mat acts as the base and helps contain any spills from food and water. You can make it in any pattern or color you like, even match your kitchen curtains.
I chose a soft blue for mine, as I seem to be leaning into turquoise tones around here lately.
You can keep the look simple with matching dog dishes, or add a few small touches to make it feel more like part of your home. A small dog sign or bit of wall art nearby, along with a cute little placemat for treats, adds personality without adding clutter.
Supplies Needed for a DIY Pet Feeding Mat
Materials
- Piece of linoleum (cut to your desired size)
- Heavy fabric (outdoor fabric, canvas, or drop cloth)
- Heavy-duty industrial adhesive
- Clear drying polyurethane
Sizing Tip:
Decide on the size you want for your mat. Mine is 2.5 feet by 5 feet. Cut your fabric so it extends about five inches beyond the linoleum on all sides.
Tools
- Long straight edge (level or square)
- Utility knife
- Sponge brush
How to Make a DIY Waterproof Pet Feeding Mat
Step 1: Cut the Linoleum to Size
Roll out the linoleum on a hard surface and let it relax so it lies as flat as possible.
Using a long straight edge, such as a level or square, cut the linoleum to your desired size. Take your time here to keep the edges straight and even.
Once cut, wash the linoleum and let it dry completely so the surface is clean and ready for the adhesive.
Step 2: Cut and Position the Fabric
Cut your fabric so it extends about five inches beyond the linoleum on all sides.
Lay the fabric right side up on a flat surface, then place the linoleum on top, also right side up. Center the fabric so there is an even overhang on all sides.
Take a moment to make sure the pattern is straight before moving on.
Step 3: Glue the Fabric to the Linoleum
With the fabric centered, fold one half back to expose the linoleum underneath.
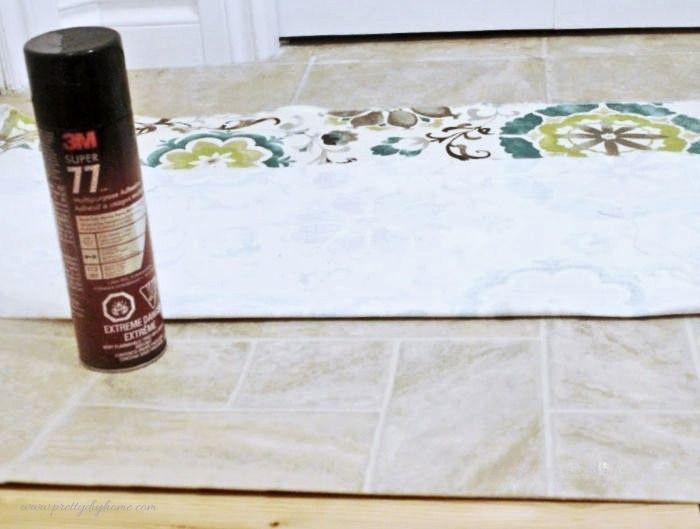
Spray a heavy-duty industrial adhesive onto the exposed section of linoleum, working in manageable sections rather than covering the entire surface at once.
Carefully roll the fabric back over the adhesive, starting in the middle and working your way outward. Smooth it down with your hands as you go to remove any bubbles or wrinkles.
Continue this process in sections until the first half is fully attached.
Repeat the same steps for the other side, folding the fabric back, applying adhesive, and smoothing it down as you go.

Once all the fabric is attached, set it aside and allow the adhesive to dry for at least 30 minutes.
Step 4: Fold and Secure the Edges
Flip the DIY pet feeding mat over so the fabric side is facing down.
Trim the corners by cutting out a small square from each corner to reduce bulk and help the fabric fold neatly. You can test the fold first and adjust the cut if needed.
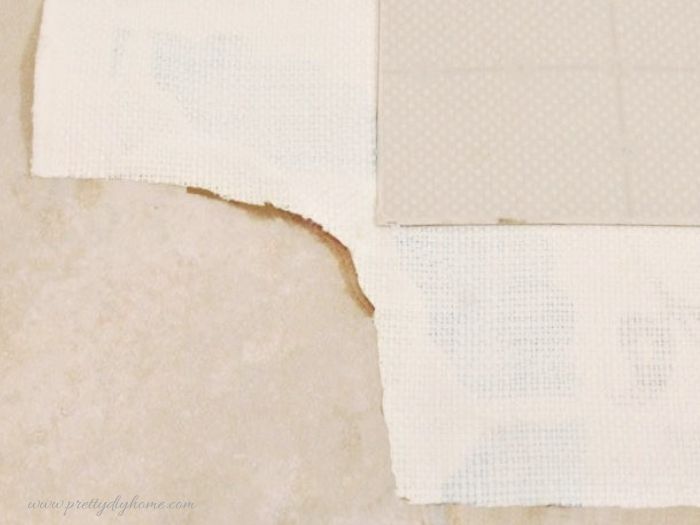
Check along all the edges and remove any loose threads or fraying.
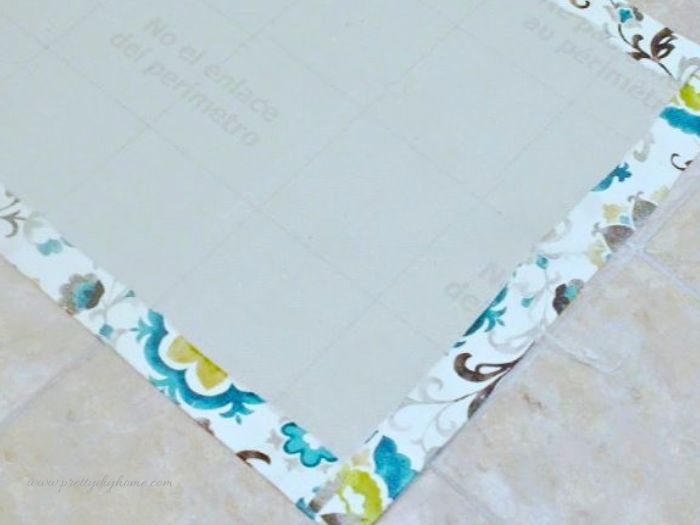
Starting with one long edge, spray a line of heavy-duty industrial adhesive along the edge of the linoleum. Beginning in the center, fold the fabric over the edge and press it down firmly.
Work your way toward each end, pulling the fabric snug as you go to keep the edge smooth and even.
Repeat this process for all sides until the edges are neatly folded and secured.
Step 5: Seal the Edges and Seams
Once all the edges are secured, take a moment to check that everything is smooth and firmly attached.
Using a sponge brush, apply a coat of clear drying polyurethane to all the folded edges and seams on the back of the DIY pet feeding mat. This helps seal the fabric and adds extra durability.
Allow the first coat to dry, then apply a second coat to make sure the seams are fully sealed.
Step 6: Apply Polyurethane for a Waterproof Finish
Once the back seams are dry, flip the DIY pet feeding mat over so the fabric side is facing up.
Using a sponge brush, apply a thin, even coat of clear drying polyurethane over the entire surface. This is what gives the mat its waterproof, wipeable finish.
Since this mat will be used daily, make sure the fabric is well sealed so it can handle water, spills, and regular cleaning. Choose a polyurethane that dries clear so it does not change the color of your fabric.
Allow the coat to dry completely, then apply two additional coats, letting each layer dry before adding the next.
I really love this floor cloth for the pup, it’s bright and clean and hopefully big enough to protect the floor. I purchased a little bone-shaped placemat at the dollar store for fun, and to use for the unending snacks he eats throughout the day.
Where You Can Use This Waterproof Mat
One of the best things about this DIY pet feeding mat is that you can make it any size you need, which makes it very versatile.
It works perfectly under pet bowls, but you could also use it in other areas of the home where you want to protect your floors. It’s a handy option inside a front closet to catch wet shoes, or under a covered litter box to help contain mess.
Because it’s so customizable, you can choose a fabric that coordinates with your space, whether that’s your kitchen, entryway, or laundry area.
Why This DIY Pet Feeding Mat Works So Well
- A waterproof surface helps protect floors from spills and splashes.
- Easy to wipe clean, no more swapping out damp rugs.
- Custom size works for large dogs or wide feeding areas.
- More attractive than towels or mats, so it fits into your home.
- Durable finish holds up to daily use.
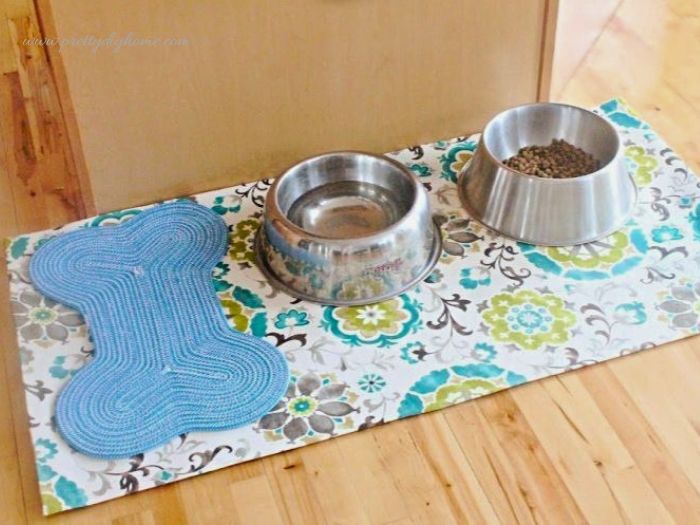
I think the most important part of this project is the size of the mat. That little blue dog bone placemat is certainly adorable, but compared to our DIY feeding area, it really shows how small standard mats are and how quickly they fall out of proportion for a large dog.
Being able to customize the size makes all the difference, especially if you’re trying to protect your floors and keep the space looking neat at the same time.
Pin this DIY waterproof pet feeding mat for later so you can create a clean, stylish feeding area for your pet.

More DIY Ideas for Dog Owners
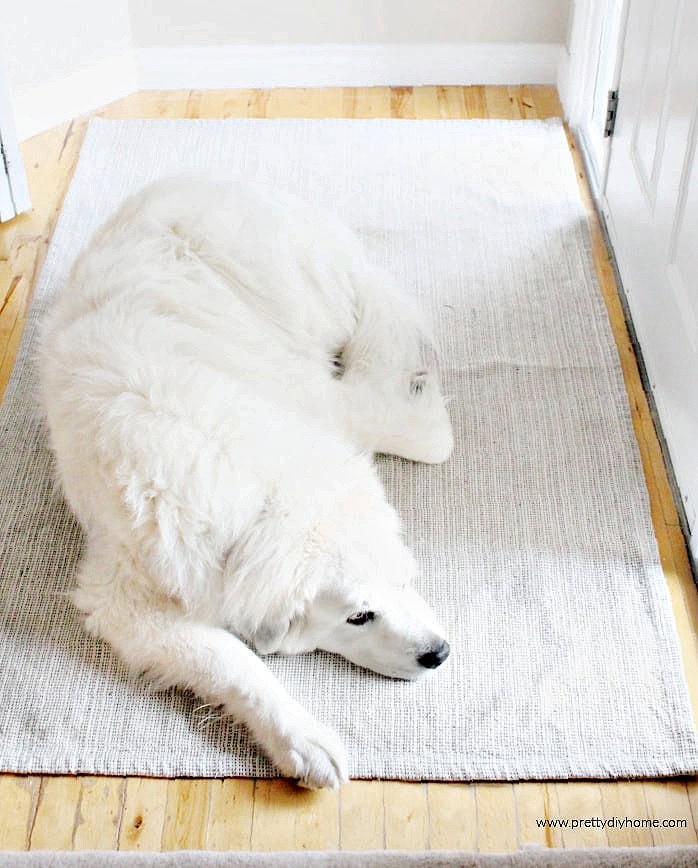
How to Make a Large Non-Slip Dog Mat
A simple way to create a large non-slip mat that helps keep your dog’s resting area safer and more comfortable, especially on hardwood or tile floors.
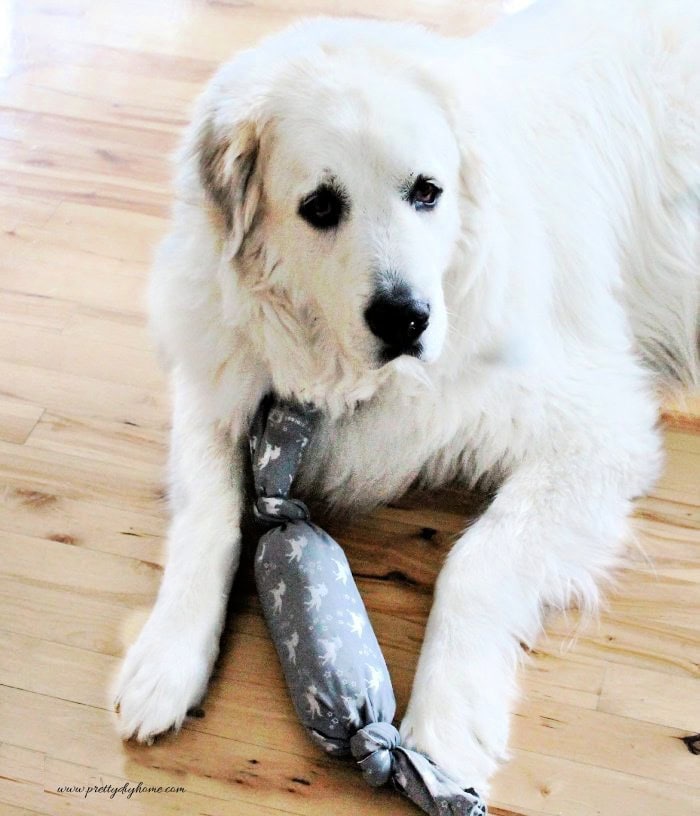
7 DIY Dog Toy Ideas
Simple and budget-friendly DIY dog toy ideas you can make at home to keep your dog entertained using everyday materials.
I love how you found a practical and creative solution to protect your hardwood floors from your big dog’s eating habits. The DIY waterproof pet feeding mat made from linoleum and pretty fabric is not only functional but also visually appealing. The step-by-step instructions are clear and easy to follow, making it accessible for anyone who wants to create their own pet feeding mat. It’s impressive how you considered every detail, from cutting the linoleum to size to sealing the seams with polyurethane for easy cleaning. I appreciate the tip about using a clear-drying polyurethane to maintain the fabric’s color. Overall, your DIY project is both practical and aesthetically pleasing. Well done!
Such a fabulous idea, Leanna! I will definitely be keeping this in mind when we get a new puppy!!
We have had it for a couple of weeks now Sam, and it really worked. No more wet hardwood.
Great idea Leanna!!! They sure can be messy can’t they.
Leanna this is a great solution to the pet problem. My dog also slobbers and splashes all his water all over the place.
Hi Mary. Your pup is so cute. I thought of making one with dropcloth and then stenciling a large dog bone on top of it. I already bleached all the dropcloth I have on hand, so it was cheaper to get a small piece of fabric.