
DIY Halloween Graveyard with Pallet Wood Gravestones
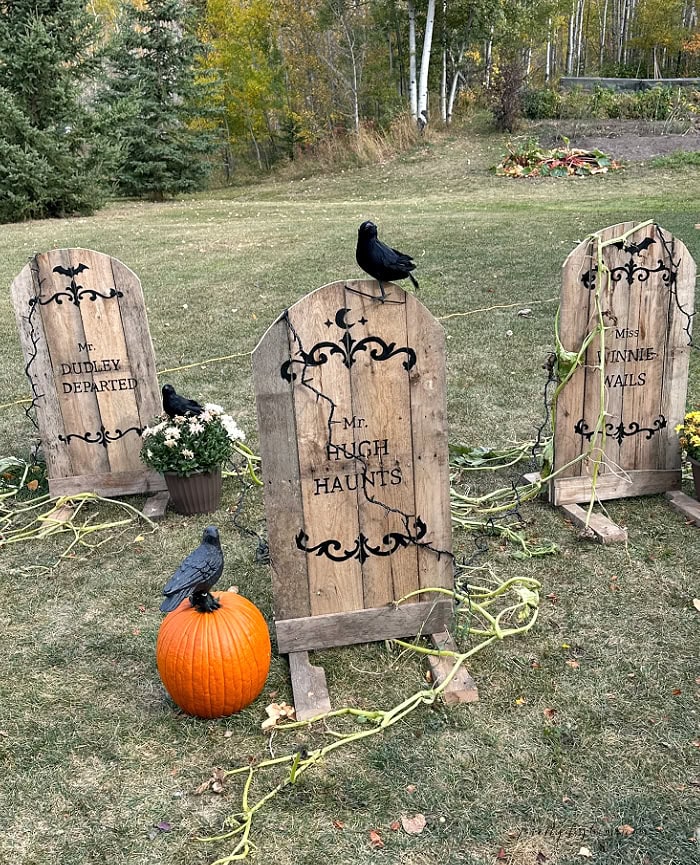
This year our Halloween front yard is all about Ghostly Gatherings, including this DIY Halloween graveyard. I wanted something fresh and new for the trick-or-treat crowd, but I also wanted to keep the decorating budget very, and I mean very, tight.
Because ghosts and graveyards go hand in hand, besides the various ghost figures, I decided to get Hubs’ help making a graveyard. I wanted our graveyard to look vintage and spooky without being gruesome. It has graves, ravens, and ghosts, but no garish skulls.
How to Build and Decorate Pallet Gravestones
Pallets were an easy choice because we already had several sitting around, practically screaming to become Halloween decorations. They are old and rustic and come with their own amount of creepy spiderwebs.
If you do not have any pallets lying around, they are usually pretty easy to find for free. Check local hardware stores, building supply stores, or free wood piles in your area. I recently spotted an absolute mountain of them in the free wood section at Home Hardware.
Here is how Hubs built the pallet wood gravestones for me.
Supplies for DIY Pallet Wood Gravestones
For supplies, use what you already have on hand. Hubs used mismatched screws left over from other projects; we skipped staining completely and used a simple jigsaw for the cuts. If you do not have a pry bar, a large screwdriver or hammer will work too.
- Wood pallets
- Pry bar
- Jigsaw
- Pencil
- Cordless drill/driver
- Assorted wood screws
- Safety glasses
- Work gloves
Step 1: Take Apart the Pallets
Start by removing the long boards from the pallet.
We found the easiest method was to cut each board just inside the two outside cross pieces. This saves you from having to pry out every stubborn pallet nail.
Once the outside sections are cut away, use a crowbar to carefully pry the boards away from the remaining centre support.
Keep four of the longer boards for the front of each gravestone, and save the shorter pieces for the supports and stand.
Step 2: Build the Gravestone
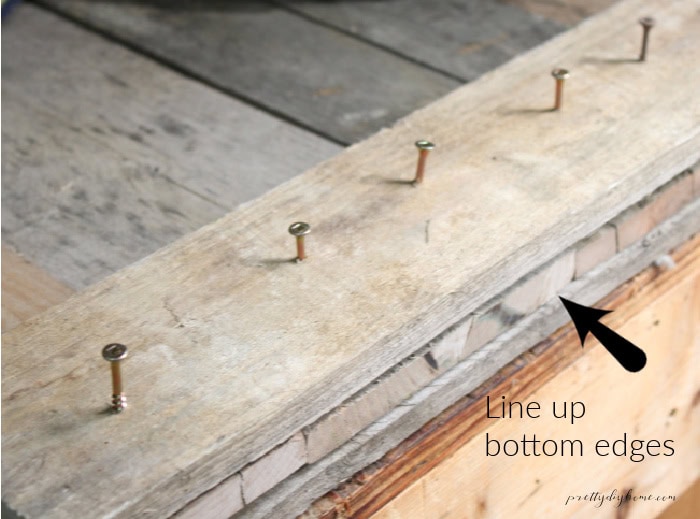
Start with the four long vertical boards. Lay them side by side, making sure they are aligned evenly along the bottom.
Next, make three cross pieces to lay horizontally across the vertical boards.
Lay the first piece across the boards and mark the width with a pencil. Cut it to size, then cut the other two cross pieces the same length.
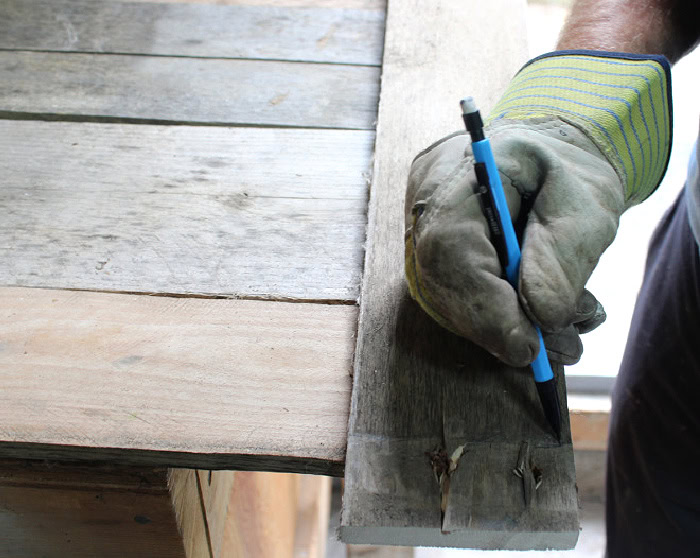
Attach the cross pieces using screws. Place two on the back, one at the bottom and one midway up.
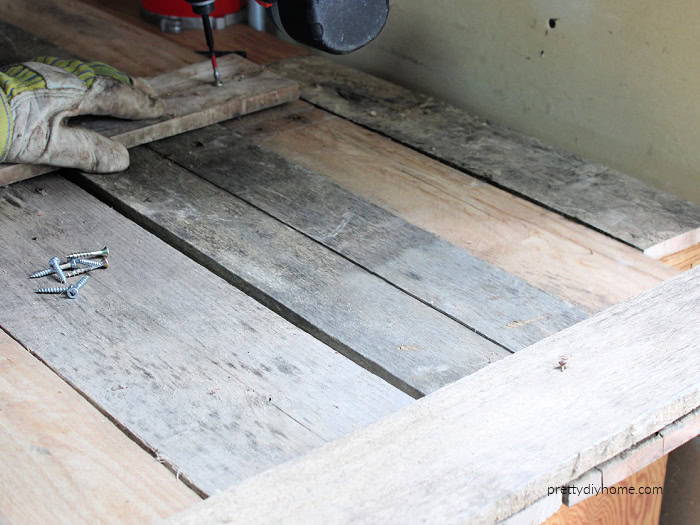
Then attach the third piece to the front at the base.
Step 3: Draw and Cut the Arch
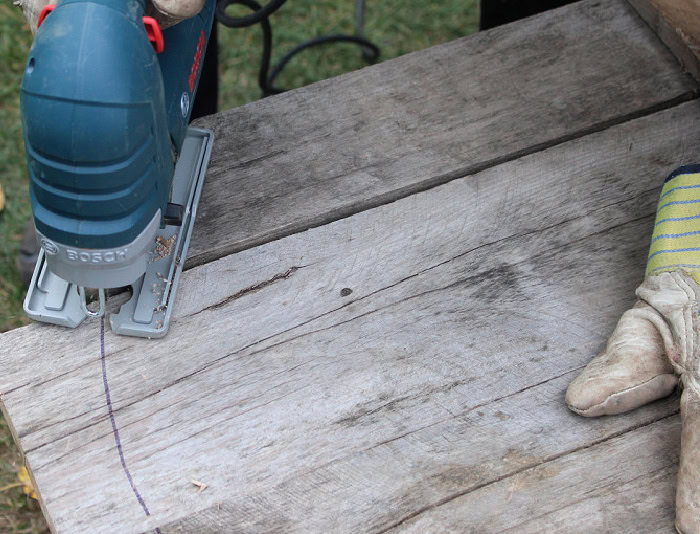
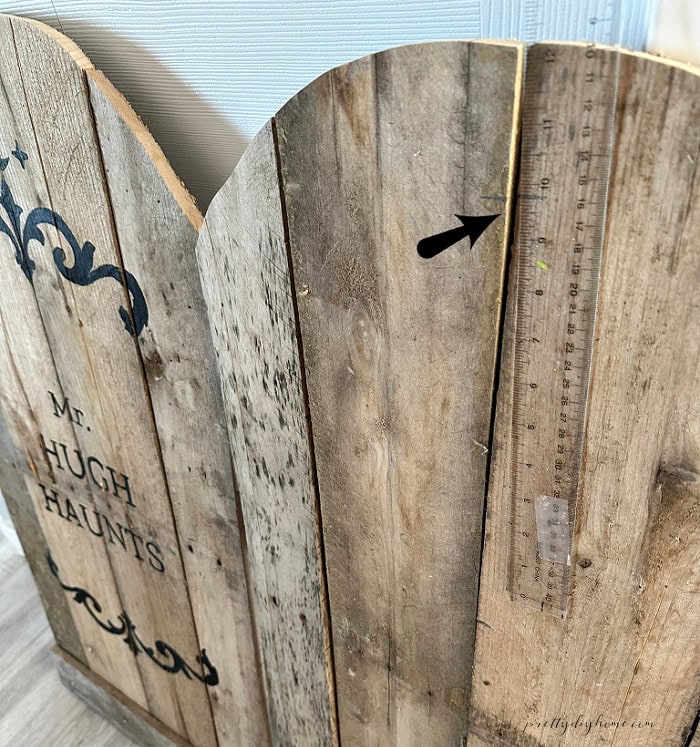
Draw a large rounded arch across the top of the gravestone with a pencil. It does not need to be perfectly even.
Use a jigsaw to cut along the pencil line through each of the vertical boards to create the rounded gravestone shape.
How to Add Lettering and Graphics to Halloween Gravestones
You have a few different choices for adding the lettering and graphics to these DIY Halloween gravestones. I chose to use the printable PDF patterns, carbon paper, and paint pens because it is the cheapest and most accessible method.
If you happen to own a Cricut, you can use the PNG files instead. Upload them into Cricut Design Space, convert them into cut images, and use them to make stencils.
Free Halloween Gravestone Stencils
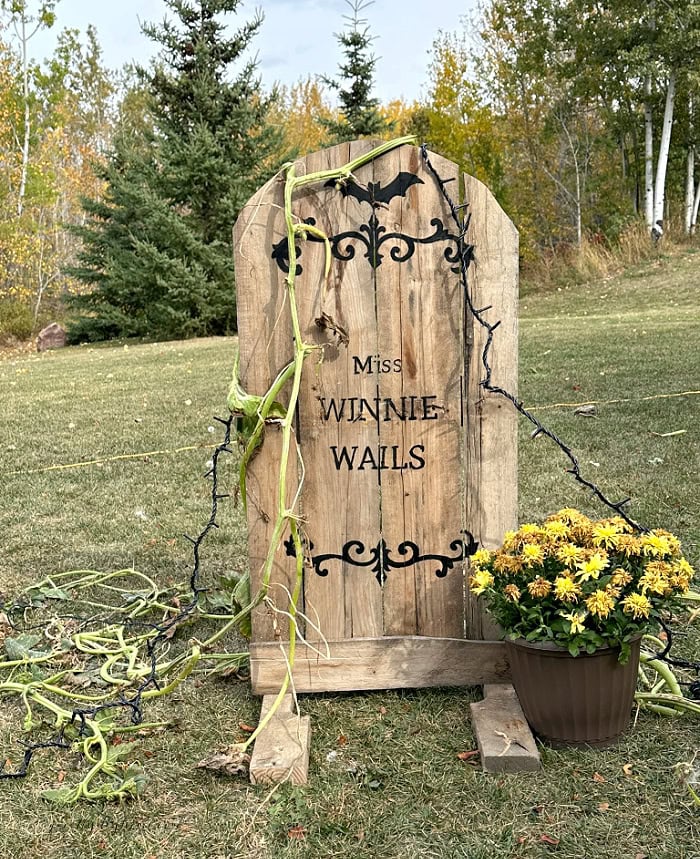
I created three different decorative gravestone designs along with the lettering for Mr. Hugh Haunts, Mr. Dudley Departed, and Miss Winnie Wails. Mix and match the designs and names to create your own little graveyard.
For the hand-traced method, download the printable PDF files and print them at 100% or Actual Size. If you are using a Cricut, download the PNG files instead and upload them into Cricut Design Space.
Click the button below to open the stencil folder. Choose the design you want, download the file, and print it at Actual Size or Custom 100% so the pattern is not resized.
The decorative stencils print on letter-size paper but are approximately 14 inches wide. The lettering stencils are proportioned to fit with them.
Step 4: Assemble the Printable Scroll Stencils
The decorative scroll stencils are divided across two landscape pages and measure approximately 14 inches wide once assembled.
The two pages overlap slightly. Cut one overlapping edge straight, line it up with the matching section on the second page, and tape the pages together on the back.
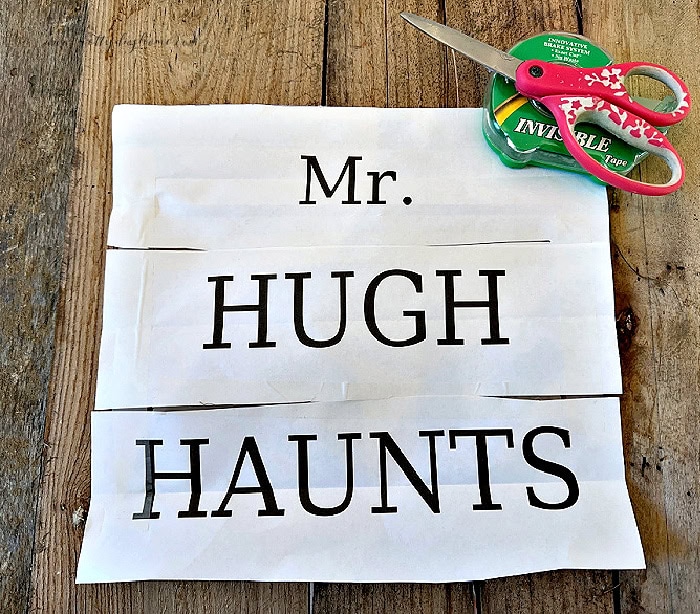
To set up the lettering, measure about one inch above and below each row on the name stencil and mark it lightly with a pencil. Use a ruler as a guide to fold along those marks so the edges stay as straight as possible, then cut out each row. Repeat this for every line, such as Mr., Hugh, and Haunts.
Fold each lettering strip in half to find the centre. Use those centre folds to line up the lettering from the centre outward. Once everything is lined up and spaced evenly, tape the pieces together, and you are ready to stencil.
Step 5: Position and Transfer the Gravestone Stencils
One of the things I enjoy about Halloween projects is that they can be a little more relaxed. Everything does not need to be perfectly straight or evenly spaced. In fact, a few wonky lines and rough edges only help with this particular design because the gravestones are supposed to look old and abandoned. So have fun with the process and do not fret about making everything perfect, especially when you are working with rough pallet wood.
It is easiest to start tracing at the top of the gravestone and work your way down from there.
Place the decorative stencil where you like it and measure its placement. Reposition it as needed, using a ruler if you like to keep everything centred. Once you are happy with the position, make a note of the measurements. Then use those measurements as a guide for positioning the lettering and lower graphic.
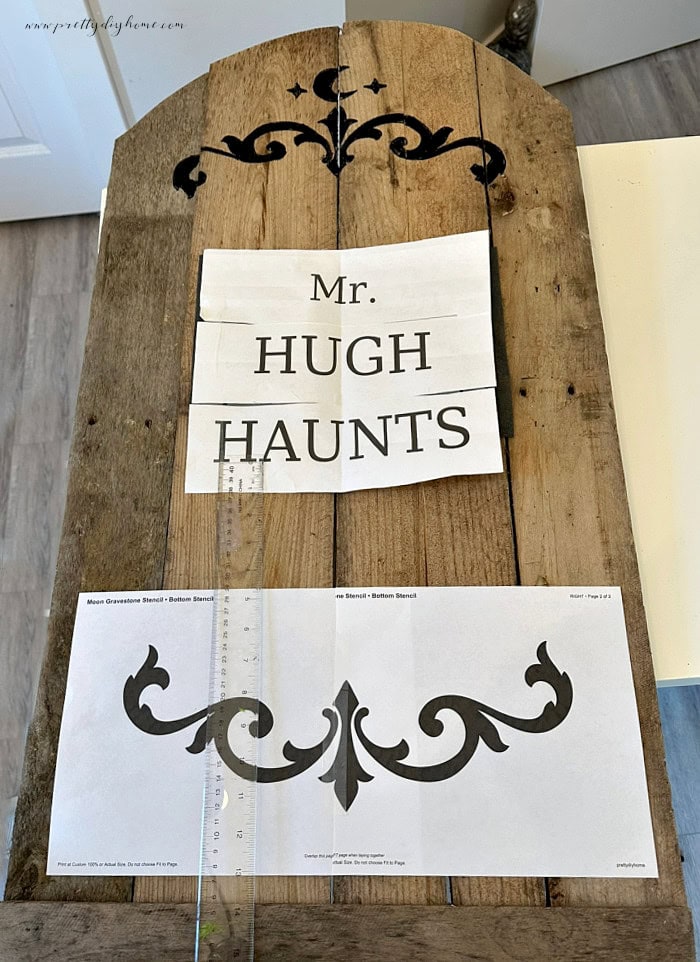
To make the gravestones appear as a set, once you have the placement figured out on the first gravestone, use those measurements as a guide for the others. The gravestones do not have to be absolutely identical, but this will keep the three designs fairly consistent.
Place a sheet of graphite paper underneath the stencil with the graphite side facing the wood. Hold the stencil carefully in position while you work. The pallet wood was too rough for tape to hold well and too hard for tacks, so take your time and make sure the papers do not shift.
Trace around the outside of the lettering and graphics with a pen. I prefer using a pen because I can easily see which areas I have already traced.
Before removing the stencil completely, carefully lift one corner and check that the design has transferred clearly enough to follow. If you missed an area, lower the papers back into place and trace it again.
Step 6: Paint the Lettering and Graphics
I was pleasantly surprised by how easy the lettering was to paint. The font is fairly square and simple, which made it much easier to follow and fill in than I expected.
I started with a small black paint pen to outline the lettering and graphics and fill in any areas where the graphite transfer was faint or missing because of the rough pallet wood.
Once the outlines were in place, I switched to a larger black paint pen to fill in the main areas.
Then I went back over everything with the smaller pen to tidy the edges and fill in any spots I had missed.
Where the lettering or graphics crossed the spaces between the pallet slats, I used the smaller paint pen to reach down into the cracks and continue the design. This helped prevent large gaps from showing through and made the finished graphics look much more complete.
Again, do not worry if everything is not perfectly smooth. The rough wood, cracks, and uneven edges are part of the aged look we are going for.
It took me about half an hour to paint the lettering and graphics on each gravestone.
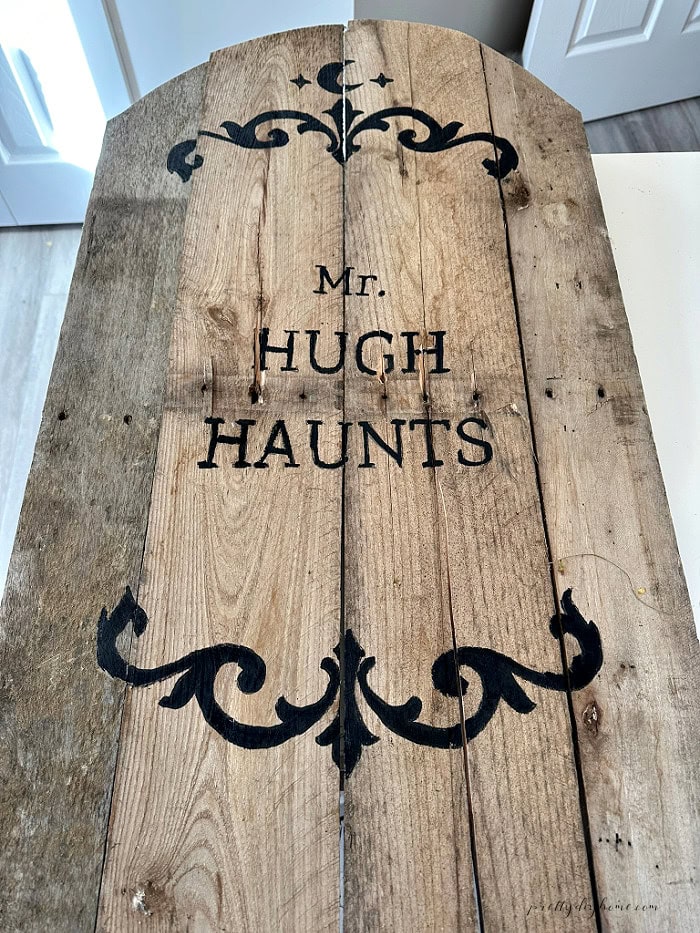
Painting Between the Pallet Slats
Where the lettering or graphics crossed the spaces between the pallet slats, I used the smaller paint pen to reach down into the cracks and continue the design. This helped prevent large gaps from showing through the lettering and made the finished graphics look much more complete.
Again, do not worry if everything is not perfectly smooth. The rough wood, cracks, and uneven edges are part of the aged look we are going for.
Leave the Pallet Wood Natural
I decided not to sand, stain, wax, or add any other finish to the gravestones. The naturally greyed pallet wood gave the black lettering the contrast it needed, and sanding would have exposed fresher wood underneath and changed the whole look.
I considered adding white wax to make the lettering stand out more, but in the end I preferred the gravestones exactly as they were. The old weathered wood already had the shabby, abandoned look I wanted.
Step 7: Add the Wood Stand and Rebar Supports
To make the gravestones sturdy enough to stand outdoors, Hubs added wood supports along the bottom.
The old pallet wood was extremely hard, so he predrilled both the bottom of the gravestone and the 2 by 4 supports. Predrilling also helped prevent the old wood from splitting.
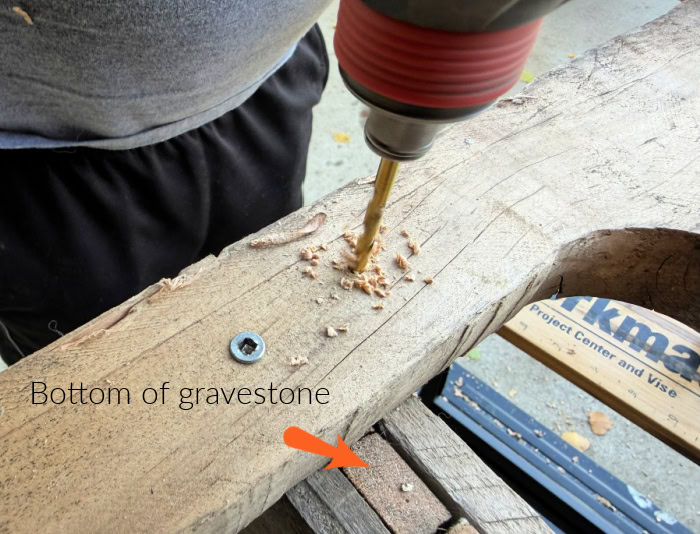
Next, he started the screw through the 2 by 4, leaving the tip sticking out slightly. He lined the end of the screw up with the predrilled hole in the bottom of the gravestone, then finished driving the screw in. Starting the screw this way made it much easier to line everything up before attaching the base.
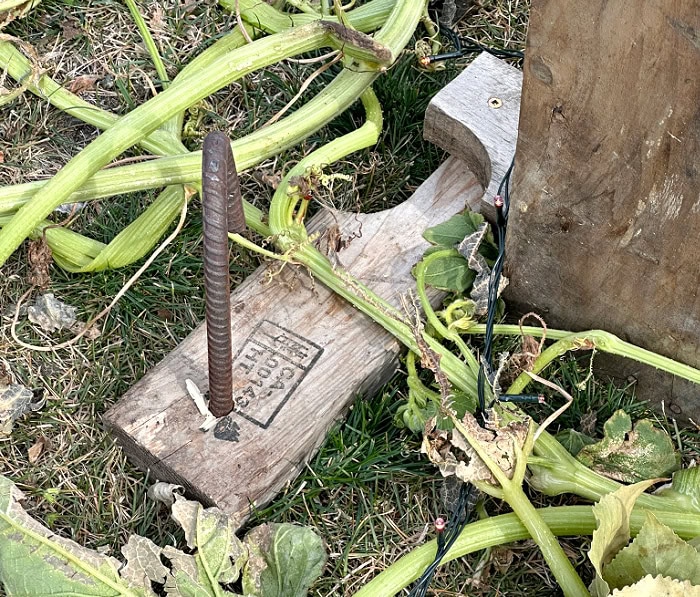
The 2 by 4 sits flat on the ground and gives the gravestone a wide, sturdy footing. We also drilled 1/2 inch holes near the ends of the wood base for rebar. Once the gravestone is positioned where you want it, pound the rebar through the holes and down into the ground.
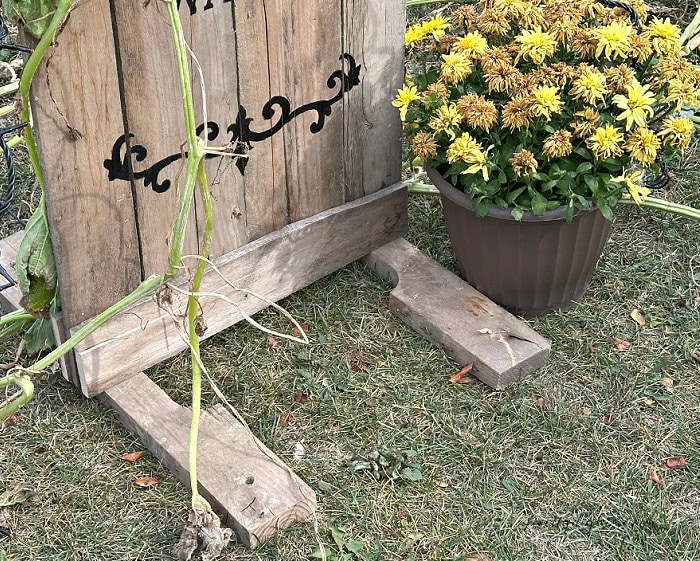
The rebar helps keep the gravestones steady outdoors, but everything can still be removed easily when Halloween is over.
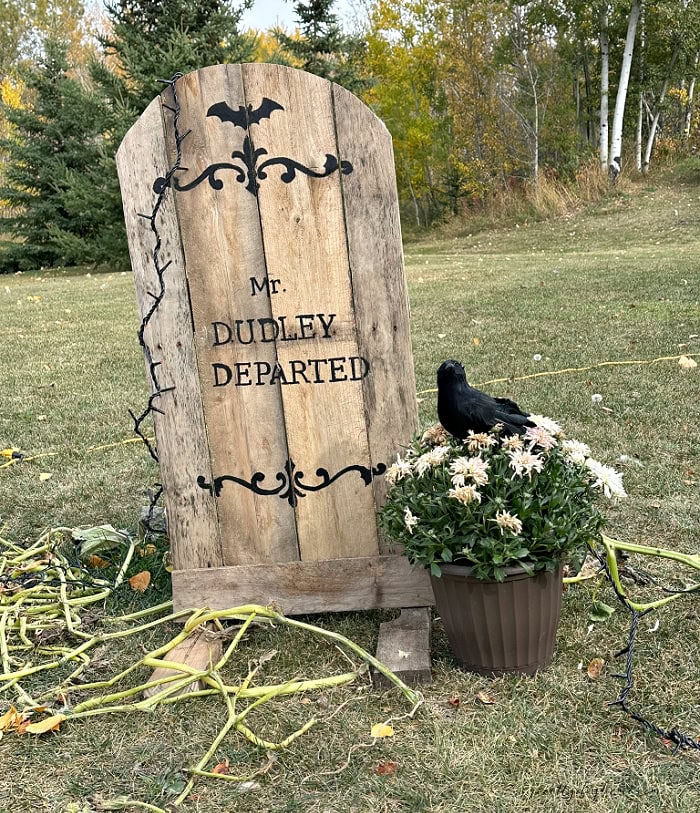
I’m really happy with how these pallet wood gravestones turned out. They are large enough to be seen easily from the street, sturdy enough for an outdoor Halloween display, and the old weathered wood gives them exactly the vintage, abandoned look I wanted.
The black lettering, decorative scrolls, rough pallet slats, and little imperfections all work together to make them feel old without looking gruesome. Once they are surrounded with pumpkins, wilted mums, lights, and a few black crows, they fit perfectly into our Ghostly Gatherings graveyard.
Paired with the life-sized ghosts and full-size pallet fence, I think these gravestones give the Halloween display enough scale to feel impressive without becoming overdone.
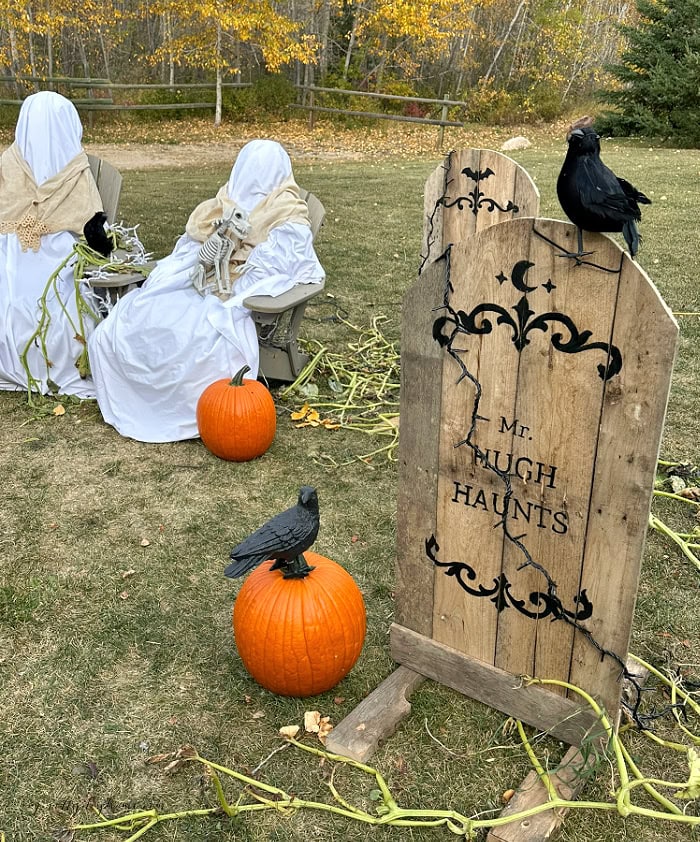
If you are building your own outdoor Halloween display, you may also want to see my DIY Outdoor Lace Ghosts and DIY Pallet Halloween Fence. Together, the three projects create the full Ghostly Gatherings graveyard.
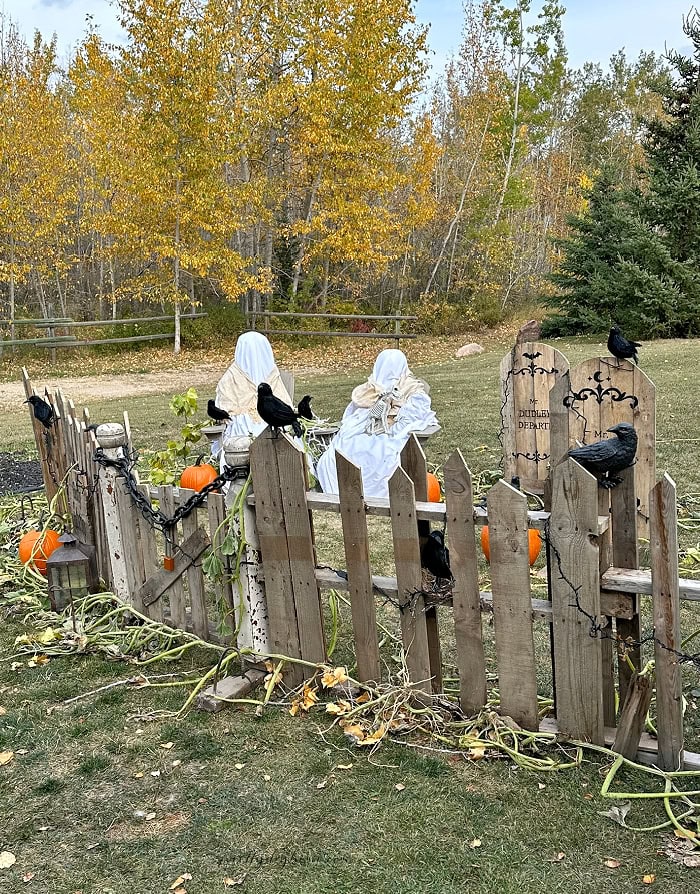
The ghosts are gathering and waiting for Halloween in our front yard, I hope you have a fun Halloween as well.
More Ghostly Gatherings Halloween Projects
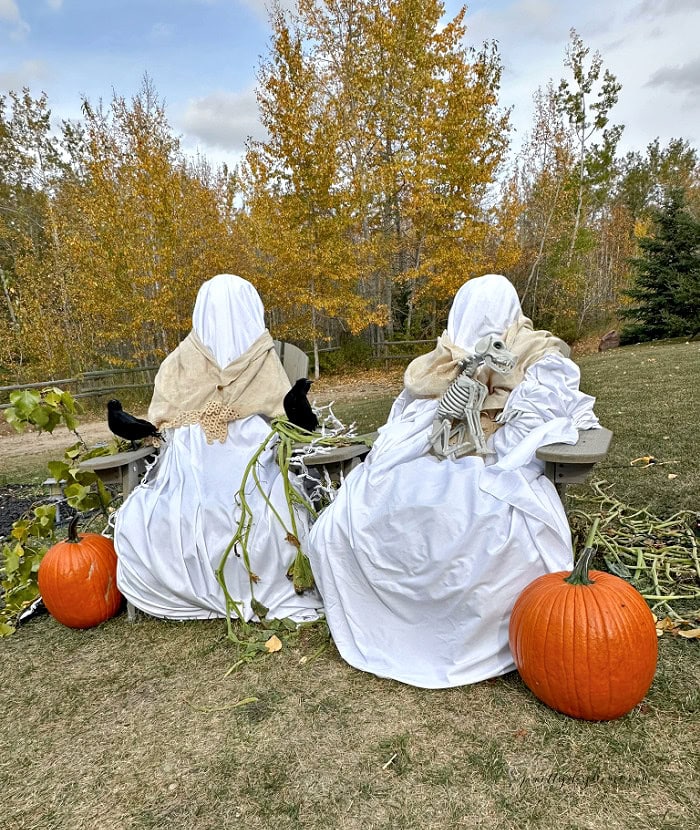
DIY Outdoor Lace Ghosts
These life-sized lace ghosts use chicken wire over our existing Adirondack garden chairs, then thrifted tablecloths were draped over the forms. They sit out in the yard haunting the garden while they wait for Halloween.
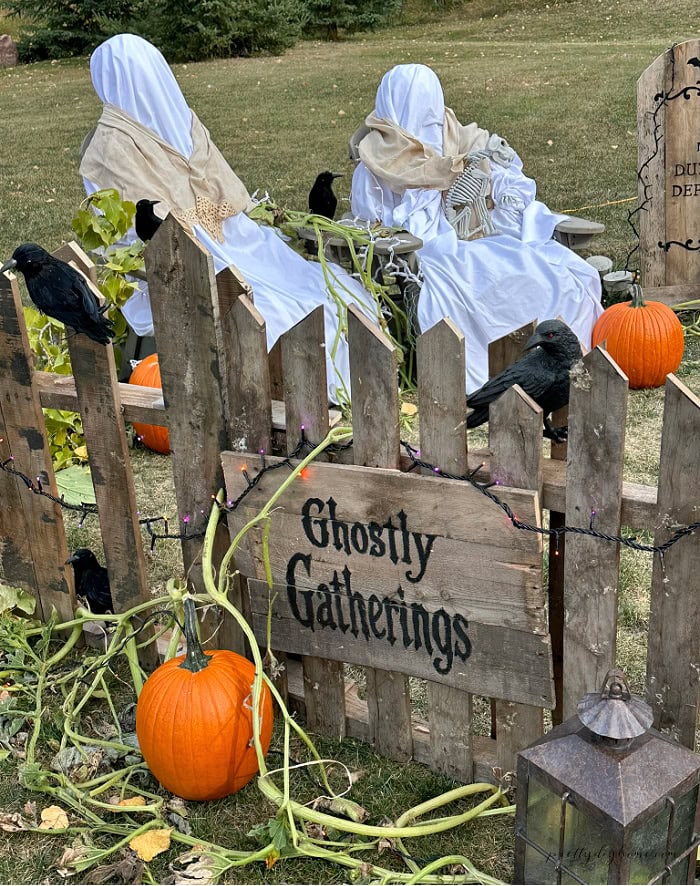
DIY Pallet Halloween Fence
The Ghostly Gatherings fence was made from old pallets and built full-size to match the scale of the gravestones and ghosts. We added a faux gate, black crows, and loosely woven orange and purple lights to make it feel like the entrance to our little Halloween graveyard.