
How to DIY Restore a Vintage Wood Cheese Box
I found these two vintage wooden cheese boxes at our small town thrift store. They had been donated full of beeswax candles, so they smelled amazing. Between the beautiful scent and the floral appliqués on the lids, the thrift store thought they were old hat boxes.
These antique cheese boxes had already been refinished once, but I wanted to restore more of their original vintage character. Instead of painting them, I decided to clean them up, make a few small repairs, and restain the wood to bring back their warm, aged finish.
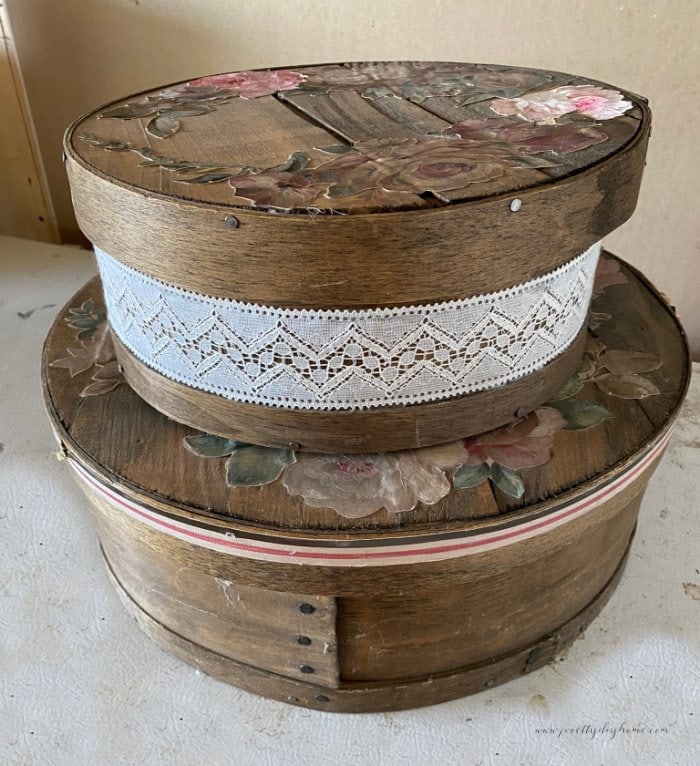
Supplies for Restoring an Antique Cheese Box
Every antique wood cheese box is a little different, so the supplies you need will depend on its condition and whether it needs cleaning, repairs, staining, or sealing. Here is what I used for mine:
- Heat gun
- Paint scraper
- Fine steel wool
- Wood glue
- Small clamps, if repairs are needed
- Murphy’s Oil Soap or mineral spirits
- Soft cleaning cloths
- Sponge brush
- Dark walnut wood stain
- Polycrylic or another clear protective finish
- Paintbrush
- Dust mask
How to Restore an Antique Wood Cheese Box
Step 1 – Remove Any Old Stickers and Decorations
The hardest part of removing the old stickers is the rough surface of the cheesebox wood. The tops of each cheese box are made with wood slats, and some of the slats are quite rough.
There are several ways to remove stickers, including mineral spirits and WD40. For newer stickers, placing a vinegar soaked paper towel over the sticker can sometimes help loosen the adhesive. These stickers looked quite thick and old, almost like wallpaper, so I decided to remove them carefully using a heat gun, paint scraper, and fine steel wool.
I always wear a mask while using a heat gun, work in a well-ventilated area, and NEVER wear plastic-coated gloves of any type.
I removed the remaining adhesive slowly with the heat gun and gentle pressure from the paint scraper. I found it easiest to heat a small section of glue, set the heat gun down safely, scrape the softened adhesive, and then repeat the process. It took a couple of hours to get all the stickers off.
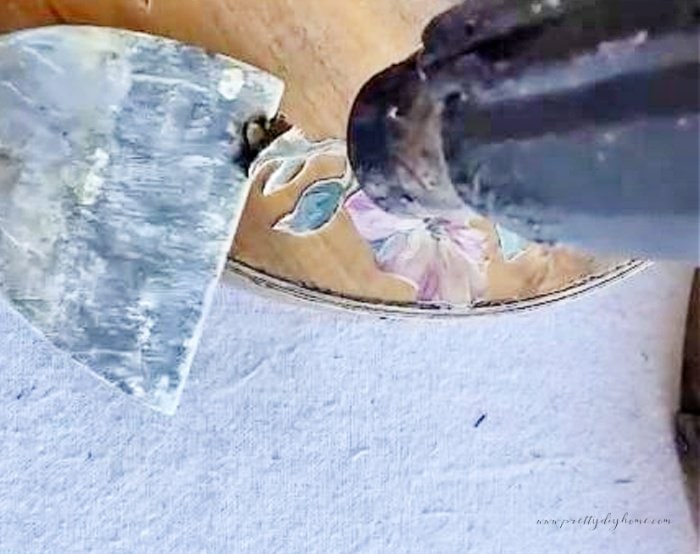
Once the stickers were removed, I lightly rubbed the surface with fine steel wool to remove any remaining residue.
Step 2 – Clean the Cheese Box
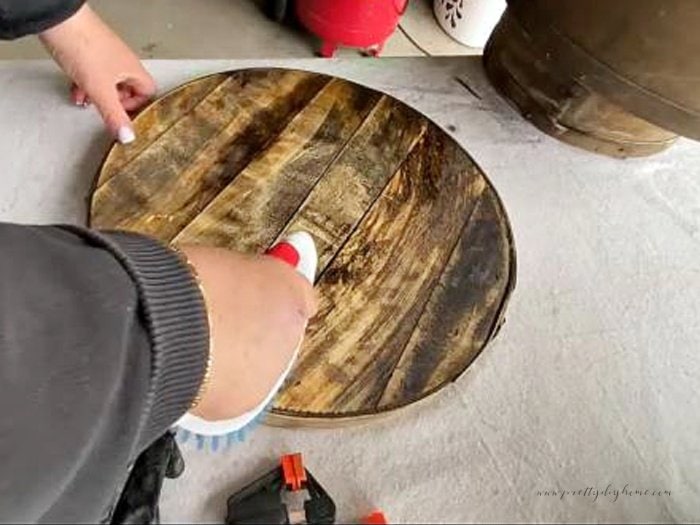
Once the stickers and old decorations are removed, the next step is to give them a good cleaning with either mineral spirits or Murphy’s oil soap. Old wooden cheese boxes can sometimes be very dirty. If yours is, vacuum it first to remove loose dust and debris. Then use a soft brush to work grime out of the corners and the wood grain before washing it down with Murphy’s Oil Soap.
The outside of the box is stained, as is part of the inside, but neither box was especially dirty. The thrift store clerk told me the boxes had been donated full of handmade beeswax candles, so they smelled very nice. The outside had dust, but the inside was quite clean.
I chose to use Murphy’s oil soap in warm water because it’s milder. Using a clean cloth, I gave the boxes a thorough scrubbing without immersing them in water. Then I let them air dry completely.
Step 3 – Make Any Needed Repairs
These cheese boxes are quite old, and the wood was dry with lots of worn in patina, especially along the sides of the lids. Considering their age, they were in very good shape and required only minimal repairs.
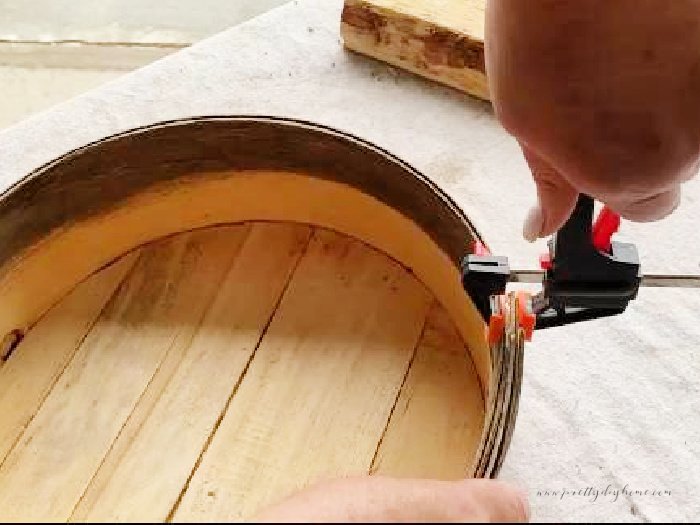
Before refinishing an antique cheese box, take a few minutes to check the seams, nails, and any loose bits of wood that may need small repairs first.
I applied wood glue to the seams on two of the boxes and clamped them before letting them dry overnight. I also checked for loose nails and gently tapped them back into place.
Step 4 – Restain the Wood
I tried a couple of oil stains I already had on hand. One went grey when I applied it, and the second was too light. I ended up using Minwax Dark Walnut stain, which worked perfectly. The inside of the box had originally been stained about halfway down, while the bottom was left as bare wood. The Dark Walnut stain matched the old finish very closely, so it helped refresh the wood without changing the overall look of the cheese box.
Apply the stain with a sponge brush, working in the direction of the wood grain. Let it sit for a couple of minutes, then wipe away the excess with a soft cloth. I stained all the surfaces and gave the old wood two coats of stain.
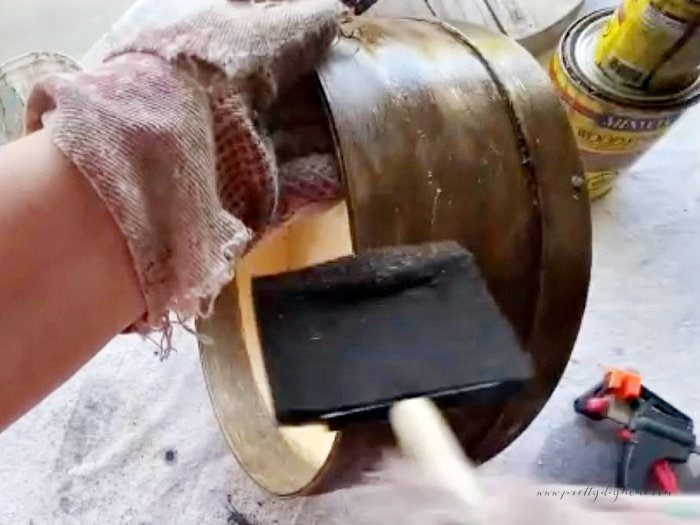
Step 5: Seal the Wood
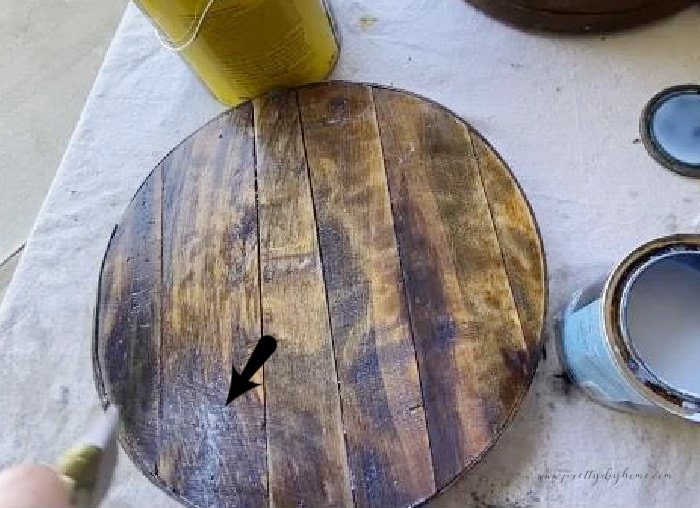
Once the stain was completely dry, I used Minwax Polycrylic to seal the cheese boxes with a paintbrush. The Polycrylic looks a little white when it first goes on, even though it dries clear, so I applied it in thin coats and worked it out well with the brush
If your cheese box has rough areas like mine did, watch for the finish collecting in those spots. I used a dry paintbrush to dab and smooth away any milky white areas before setting the box aside to dry.
Watch the Cheese Box Restoration Video
If you’d like to see the entire process from start to finish, I also created a video tutorial showing how I restored the cheese boxes.
The latest on Youtube:
Decorating an Antique Cheese Box
My original plan was to add a decorative ribbon and garland to the top of the smaller cheese box and display the two boxes stacked on top of one another on my Hoosier cabinet. Once I tried them in place, the larger cheese box would not sit flat on top of the cabinet, so I changed the plan
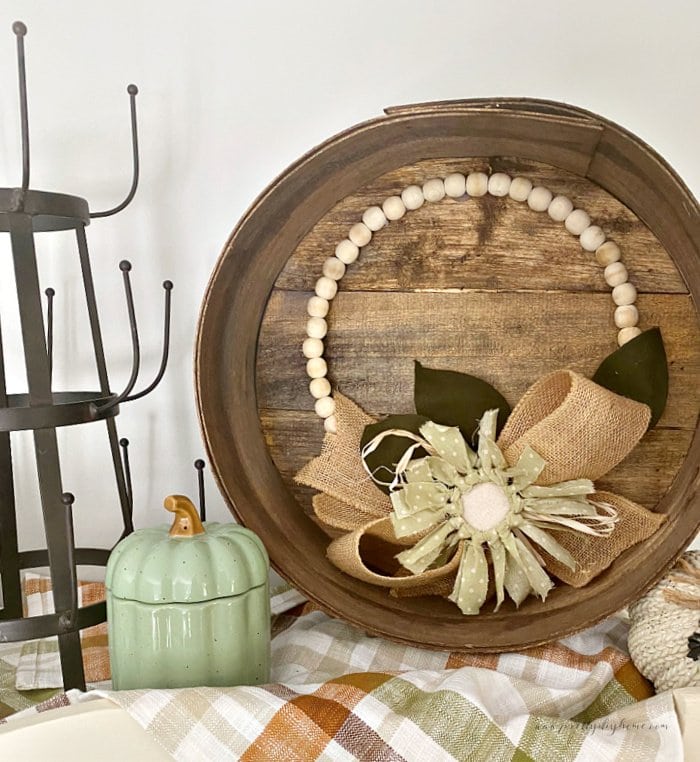
I left the larger cheese box plain and displayed it on its side with a small fabric flower wreath. That kept the focus on the restored wood while still giving it a little seasonal decoration.
I love how they turned out, and I plan to use the smaller cheese box to hold pumpkins for fall. These old wooden cheese boxes are easy to work into seasonal decor, especially once the wood has been cleaned up and restored.

More Vintage Wood Restoration Ideas

Refinishing a Wooden Cheesebox into Toy Storage
This larger vintage cheese box was in much rougher condition. I refinished it and repurposed it into a farmhouse style storage box for my son’s vintage Brio wooden trains.
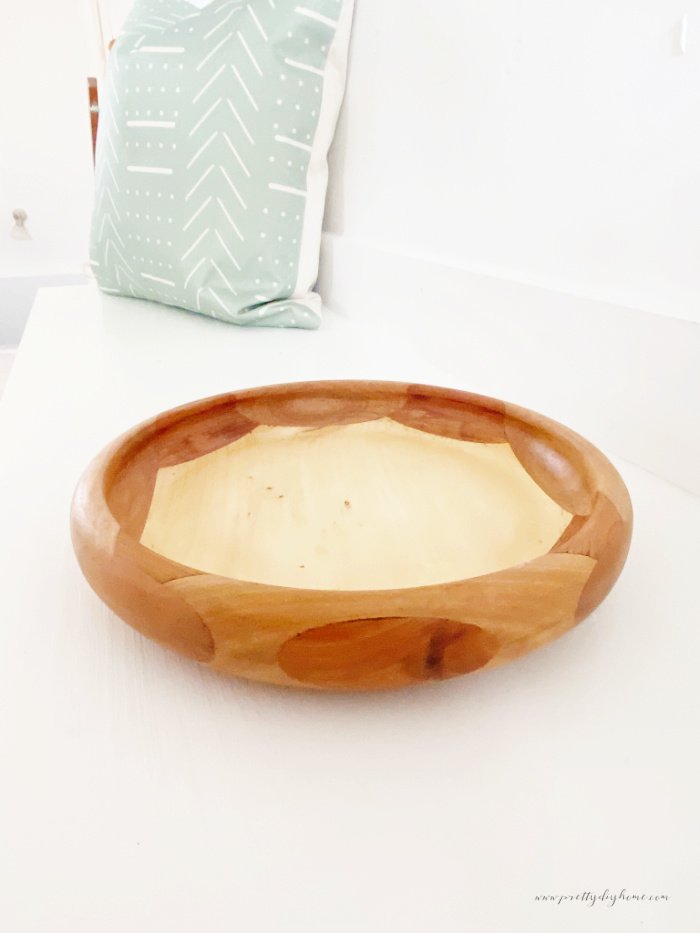
Vintage Wood Bowl Restoration
These vintage wood lathe bowls had an orange toned finish that hid the natural variation in the wood. This project shows two different ways to refinish them and bring the wood grain back to life.