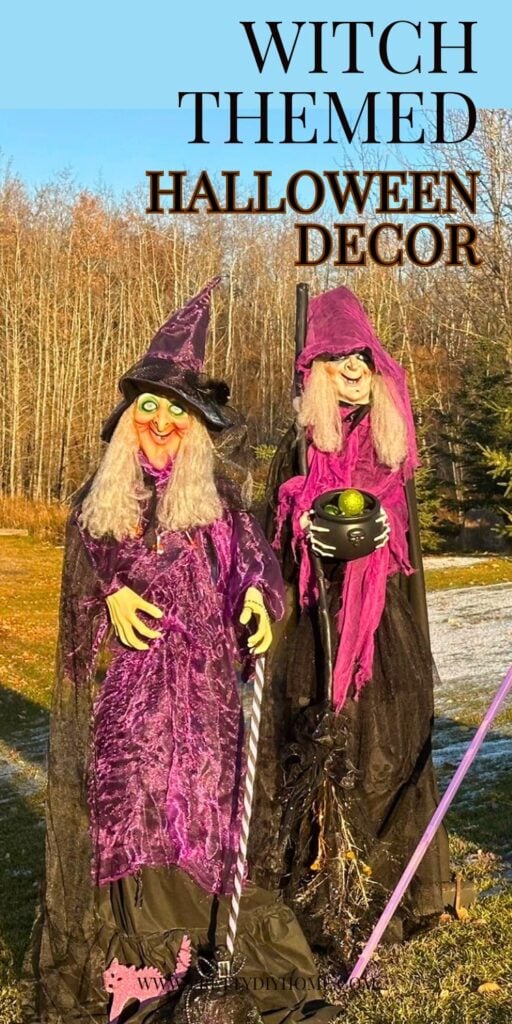
How to Upcycle DIY Life-Size Witches for Halloween
This year, I decided to go big with my outdoor Halloween decorating and make not one, but two life-size witches. I had built one a couple of years ago, and the trick-or-treating crowd loved it. So when I came across another witch at a garage sale, I could not resist. I also ordered a smaller witch from Temu to see if I could bring her up to full size too.
If you begin with a cheaper, low-end Halloween prop at a price point under thirty dollars, you can turn it into a high-end looking decoration with just a little work. You need to make sure that the lights, motions, and voices still function since those parts are hard to replace. The costumes, wigs, and accessories are simple to fix up with inexpensive materials and a bit of DIY.
Between this year’s two projects and the witch I already had, I now have three full-sized witches in my collection, and together they are the highlight of my outdoor Halloween decor.
Supplies for Upcycling Witches
The supplies you need will depend on the condition of the witch you start with. If she is designed to hang, you may need to build a simple wooden stand. If her wig is worn or missing you can replace it with a Dollar Store wig and freshen up the hat. If her broom is flimsy you can upgrade it with a sturdier one.
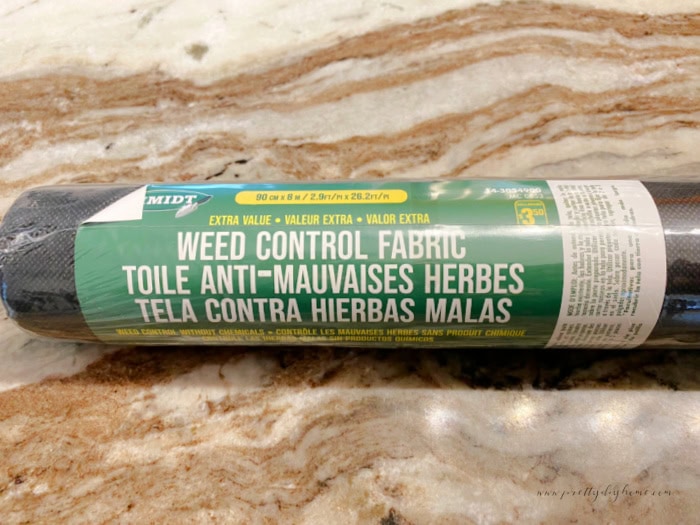
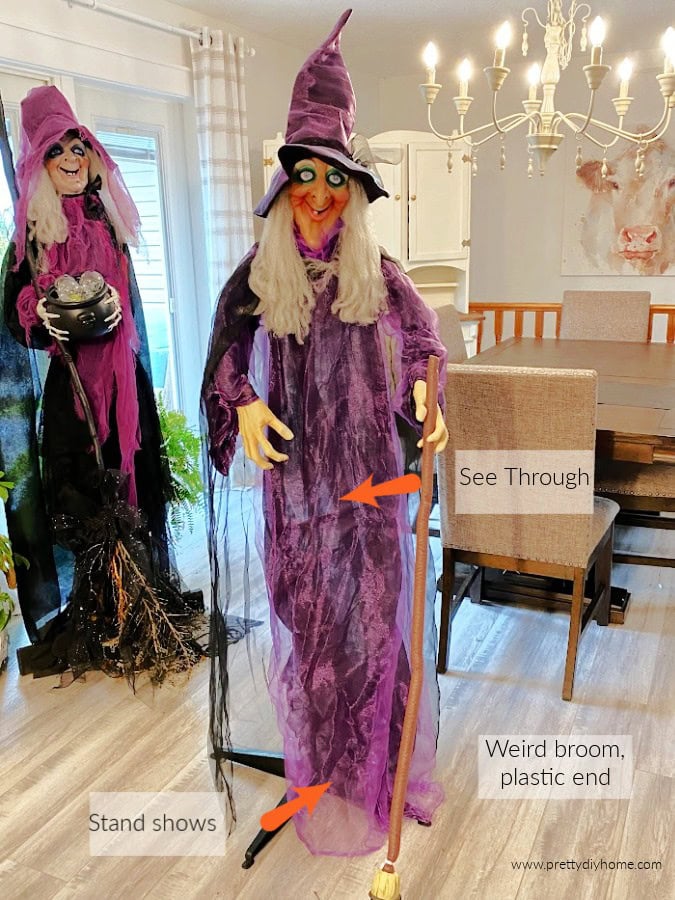
The most important upgrade for any budget witch is giving her a solid base layer. Most low cost props come with thin, shiny fabric that looks see-through in daylight and cheapens the whole effect. Starting with an opaque base of black landscape cloth makes a huge difference. Take a close look at the fabric that comes on most commercial witches. You will notice that landscape cloth is almost identical, often even better quality, and you will not find anything cheaper. It cost me only one dollar and seventy-five cents to cover the entire witch.
Once the base fabric is in place, you can add lace or sheer fabric on top for texture and movement.
Here are the supplies I used for my two witches this year.
- Sewing machine and black thread if you prefer stitching instead of gluing
- Two by four lumber and four two inch screws for a simple stand
- Black landscape cloth from Dollar Tree for an opaque skirt base
- Black lace tablecloth from Dollar Tree for pretty lace texture
- Witch’s broom
- Sparkly cat ornament for a little shine
- A few Christmas balls, either clear plastic or neon green
- Wig and witch hat if needed
- Black macrame cord or any sturdy cord
- Hot glue gun and glue sticks
- Safety pins or straight pins for quick fixes and tucks
How much does it cost?
You can update a witch for less than ten dollars, even if you need to buy the wood. Witches are meant to look a little scruffy, so Dollar Tree and thrift store finds work perfectly. My sparkling broom cost one dollar, and the black cat ornament was only one dollar and seventy-five cents. When you add in the landscape cloth and lace, you can have a full-sized upgraded witch for a fraction of the cost of the fancy props you find in Halloween stores.
Updating the Garage Sale Witch
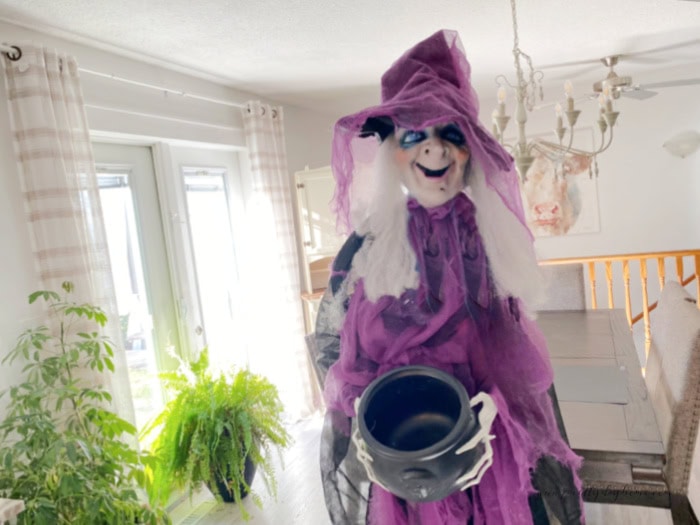
My garage sale witch had great bones. Her lights and voice still worked, which was a huge plus, but she was short and designed to hang rather than stand. Her hair was ragged, and her outfit was below average. In this picture, I have already placed her on her stand and given her a vacuum and dusting.
Step 1 – Build the Stand
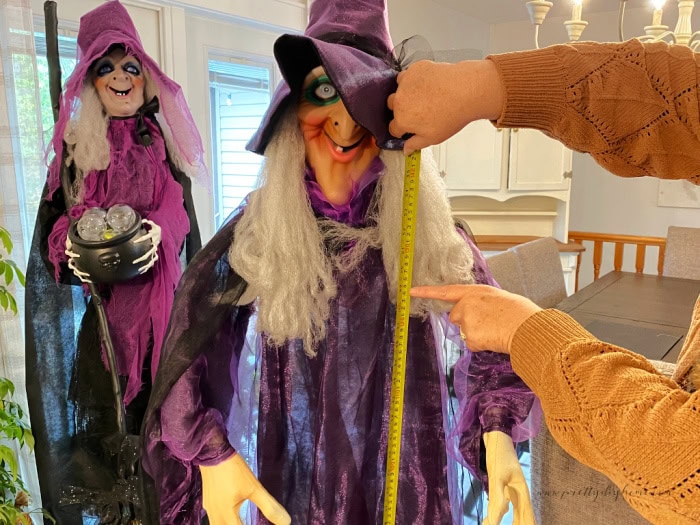
The first step was to give her a proper stand. Decide how tall you want your witch to be. Mine is six feet tall. Cut two pieces of two-by-four lumber, fifteen inches long, and two pieces thirteen inches long. Place them around the bottom of the witch’s spine as shown in the image below and attach with screws.
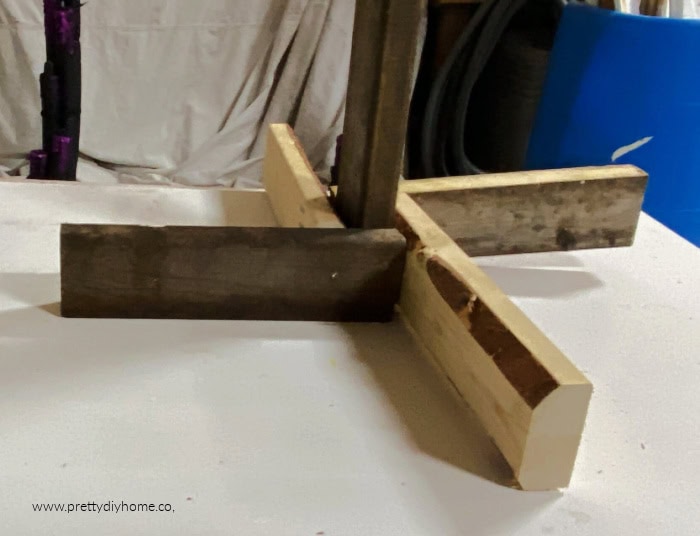
This simple frame gives her stability and height so she can stand upright. If your witch has arms, add a third crosspiece about a foot wide at the height of her arms and attach the arms for extra strength.
Step 2 – Hang the Witch
Put two screws into the top of the stand. Hang the witch from those screws so she is supported by her spine. Cover the top with her hat so the screws are hidden. You may need to remove the hat and glue it back in place afterward, but I was lucky and did not have to. Hot glue works well if you need it.
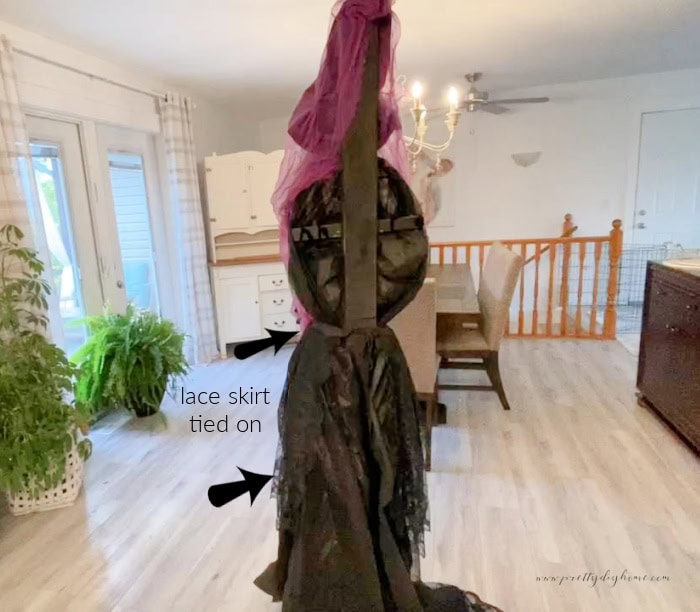
Step 3 – Add the Base Skirt
Measure a piece of black landscape cloth that will reach from the witch’s waist down to the floor and up to her shoulders. Add one inch at the top for a fold and two inches at the bottom for a hem.
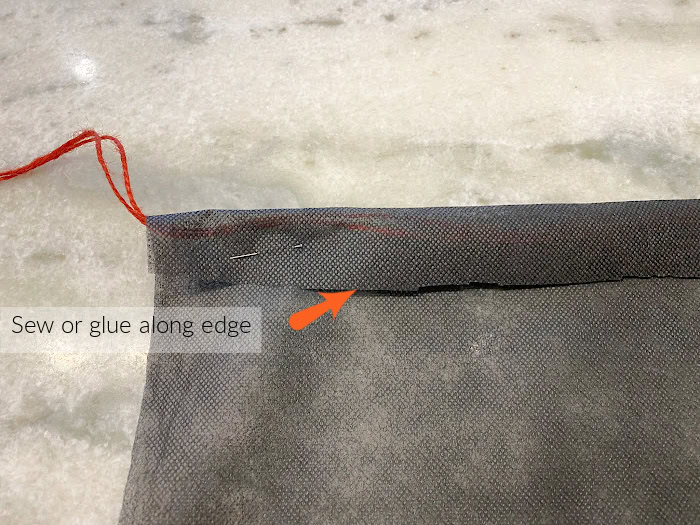
I cut mine about six feet long using the full width of the roll. Fold the top edge over by one inch and make a seam. You can sew it, glue it, or even pin it if you want a quick option. Thread a cord through the channel and tie it tightly around her waist. I tied this piece of cloth underneath her existing costume, over the original black fabric, but under the purple outer creepy cloth. This camouflaged the top edge so it blended in. You can also secure it with safety pins so it stays put on windy days.
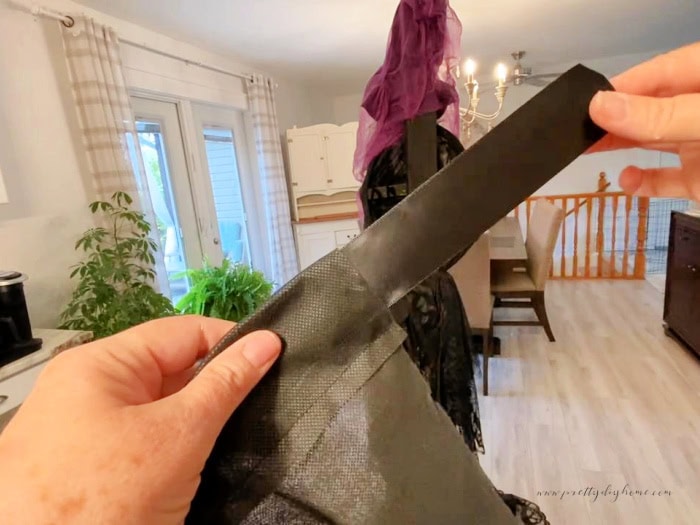
Step 4 – Add Ruffles and a Bow
To dress her up more, I made a tie and ruffle layer. I cut a full width strip of landscape cloth four inches wide, folded it in half, then folded it in half again to make a sturdy tie.
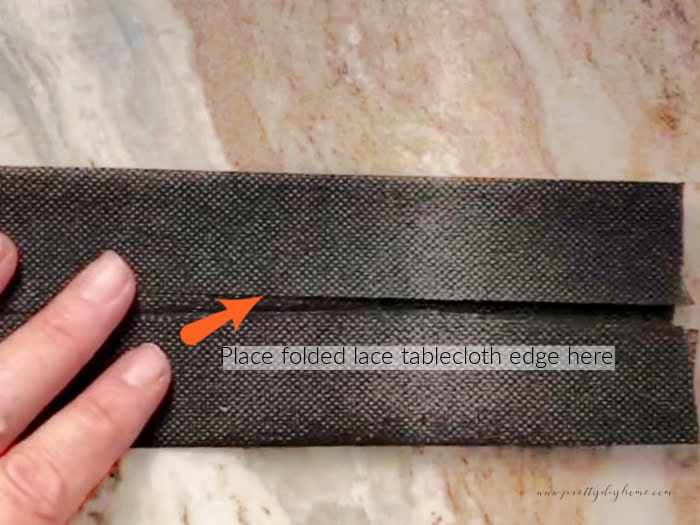
Next I folded a black lace Dollar Tree tablecloth over by one third, then gathered it into the tie and sewed it in place. This created two layers of soft ruffles around her skirt and left me with a long black bow tied at the back. Think of it as a pretty black skeleton lace apron with two layers of ruffles. The ruffles added fullness and movement, while the bow gave her a finished look that felt more expensive than the original costume.
Step 5 – Add a Cape with Ribbon
Once the skirt and ruffles were in place, I made a full-length cape to complete her outfit. I measured fabric from her neck to the floor, added one inch at the top, and skipped the hem. I threaded the top with a two-inch-wide black satin ribbon from my stash and tied it into a bow at the front of her neck. The cape not only draped beautifully behind her, it also covered the entire stand, so she could be moved around without anything showing. The satin ribbon bow at the front gave her a polished, dramatic look.
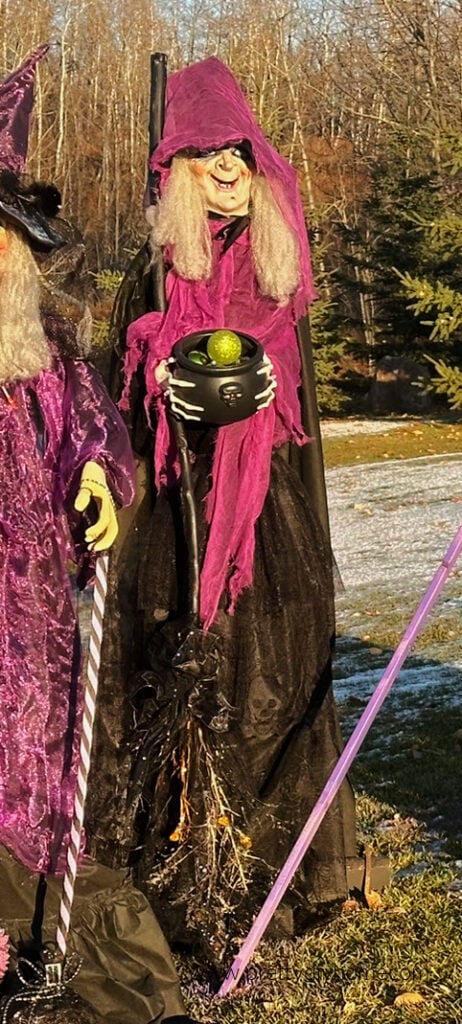
Step 6: Final Details with the Cauldron and Accessories
My garage sale, which came with a cauldron, but it was empty. The fun part was that it already lit up and flashed. From my stash, I used a mix of neon green and clear plastic Christmas balls to fill the inside. The lights reflected off the shiny balls and gave the effect of bubbling potion. It was quick, inexpensive, and turned her plain cauldron into a glowing highlight of the display.
For a touch of personality, I gave her some extra hair by gluing it on the back under her hat, and a very large DIY sparkling witches broom. . She is now kind of pretty in a witchy sort of way, and I placed her at the end of my driveway to encourage the children up the cul de sac to come see trick or treat.
Witch Two – A Budget Temu Makeover
My second witch came from Temu and was much smaller than I wanted, but she had potential. She came with a built-in stand, so I used it for this year. If it causes any problems, I can always build her a wooden stand next year. She also came with a funny-looking broom that folded to fit in the box, so I quickly made a DIY broom to swap it out with. The basic steps for upgrading her are the same as the garage sale witch, with a few small differences.
Note: The garage sale witch in the background is complete. You can see the difference the little bit of diy does, when comparing to the new witch were working on.
Step 1 – Check the Stand
This witch came with her own stand, so I set her up on it as is. It worked fine for this year, but if it turns out to be unstable, I will build her a sturdier wooden stand using the same method as the first witch.
Step 2 – Replace the Broom
The broom that came with her was designed to fold into the box for shipping, which made it look odd and flimsy. I gave her a nice thrift store broom from the thrift store.
Step 3 -Add the Base Skirt
Just like the first witch, I measured a piece of black landscape cloth to reach from her waist to the floor and up to her shoulders. I folded the top over, made a seam, and threaded cord through to tie it snugly around her waist. This gave her an opaque base layer that added fullness and length to her body.
Step 4 – Add Layers for Aesthetics
Over the base layer, I added lace fabric for texture and movement. You can do whatever you choose at this stage, but I wanted mine to be a little different from the garage sale witch. This one does not need a cape that covers, so I used some sheer fabricric I had on hand from years ago. I also gave her a smaller sparkling broom I used on the other witch before, and a sparkling cat.
Step 5 – Final Touches
Since this witch did not come with a cauldron, I kept her styling simple. The new broom and layered skirt gave her enough presence on their own. By skipping the cape and extra accessories, she has a more straightforward look that sets her apart from the garage sale witch. I placed her beside the driveway so she and her companion would look like part of the same haunted scene without being identical.
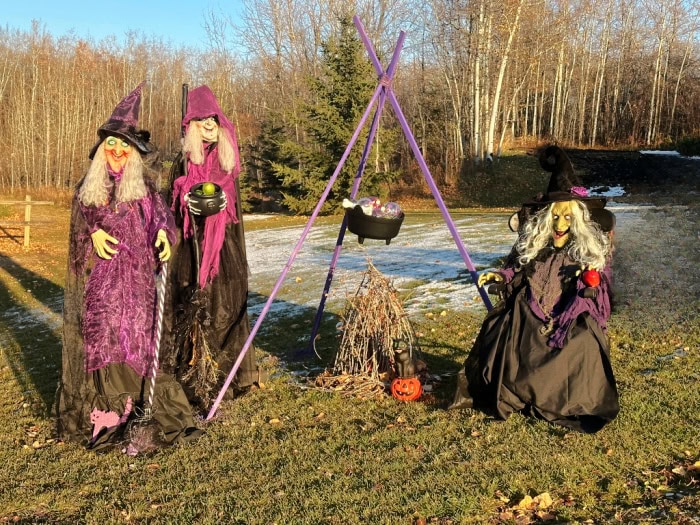
The Trio of Witches
Once both witches were complete, I brought out the older witch I had made a couple of years ago. The tutorial for the third witch is very detailed and if interested here is how to make the sitting outdoor witch. Together, they formed a trio that looked like a full coven. I set them up around the bubbling cauldron, so it appeared they were casting spells together. The flashing lights, the glowing Christmas balls, and the layers of lace made the scene come alive. The three witches now anchor my Halloween yard display and are the first thing trick-or-treaters notice when they come up the cul-de-sac.

If you love decorating for Halloween on a budget, save this tutorial on how you can upcycle budget witches into full-sized props. If you don’t have enough time this year, pin this project now so you have the instructions handy for next year.

More Outdoor Witch Ideas
I have several other witchy Halloween decorations you can make yourself. You may like one of these other projects as well.
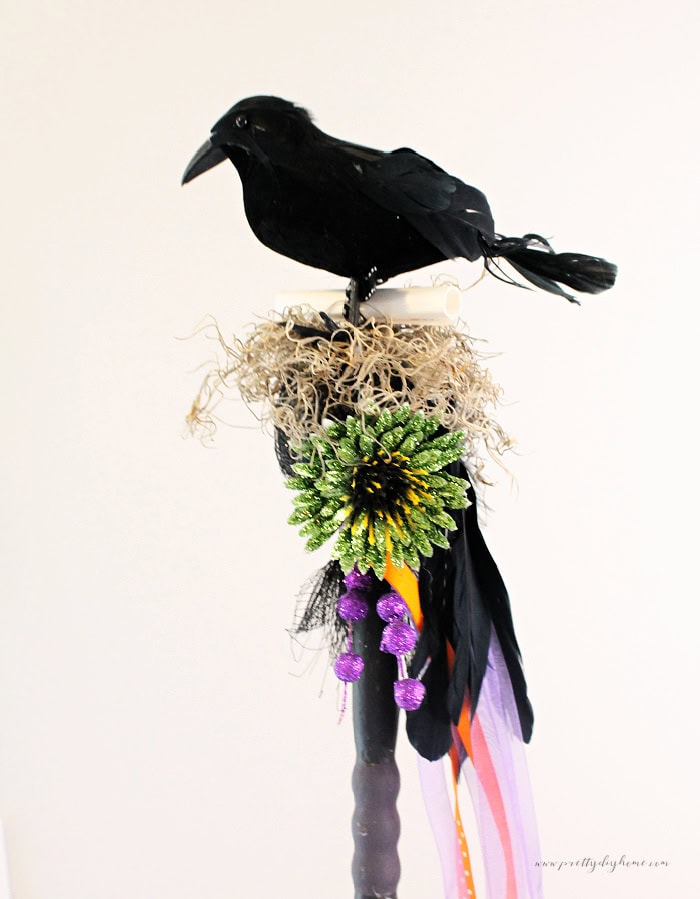
DIY Halloween Magic Wand
This magic wand post has two different styles: the one you see here in pretty Halloween colors, and a more sedate one in neutrals that I prefer for my indoor Halloween decor.

Dollar Store Garden Frogs Upcycle
These Halloween frogs started as garden lights, but with paint and some cute accessories, they are now part of my witchy front yard decor. They are several inches tall, and they are solar lights as well. I love these little guys, and always have fun putting them out.