Repurpose Chicken Feeder into Unique Fall Porch Decor
Who says a rusty old chicken feeder can’t be beautiful?
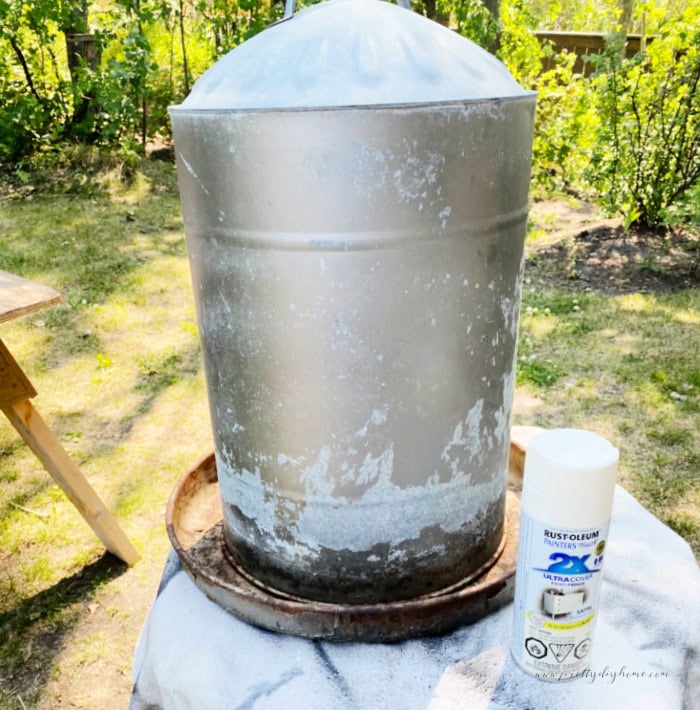
When I spotted this one at the store, I knew it had to come home with me. Rusty, worn, and far from pretty, but so one of a kind with a big surface to play on. The lady at the counter knows my bad shopping habits and laughed when she rang it up. She told me I was fun and that she couldn’t wait for me to send her a picture of the finished project.
I had a vision right away. Poppies might not bloom in the fall, but here in Canada they are a flower we instantly connect with the season. With Remembrance Day in November, poppies carry a special meaning, so they feel perfectly at home in early fall decor. I immediately knew where I wanted to go with this upcycle.
With a few DIY printable transfers, some Mod Podge, and a tiny budget, I turned it into early fall decor that is completely one of a kind. Now it is covered in bright poppies, and every single person who has seen it has commented on how unique it looks.
My metal chicken feeder is less rustic farmhouse and more shabby chic cottage, so I chose to repurpose it with soft cream paint and add some poppy graphics for Fall.
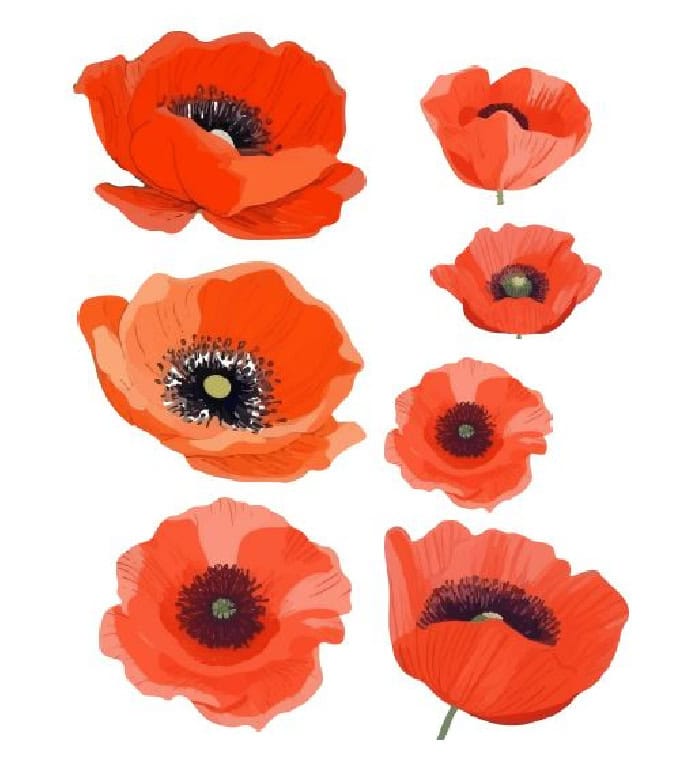
I tried to purchase rub-on poppy graphics both locally and online, and didn’t find anything I wanted. I was set on poppies, so I created a printable instead. You could easily use a different rub-on transfer, but the poppy printables are free.
How to Make a Fun Chicken Feeder Planter
This was a quick and easy DIY outdoor planter. It only takes 3 steps: clean, paint, and transfer. The chicken feeder is large enough to make an impact, and it’s unique. All my guests have commented on how much they like it.
Chicken Feeder Planter Supplies
- Old galvanized chicken feeder – round or rectangular styles both work
- 120 grit sandpaper
- Cream coloured exterior metal spray paint
- Printable poppy graphic
- Crepe paper sheet in white or cream
- Inkjet printer
- Scissors
- Glue Stick
- Mod Podge
- Small paintbrush or sponge brush
- Clear outdoor sealer (optional) to help protect the finished surface
- Potting soil to fill the planter
- Flowers such as small white alyssum or anything low-growing
Clean the Chicken Feeder
Wash the feeder with warm, soapy water to remove all dirt and buildup. Rinse it thoroughly and let it dry completely.
Prepare for Painting
Use a wire brush or steel wool to scrub away any rust or flaking paint. Then sand the surface with 120-grit sandpaper to smooth it out and help the paint stick. Wipe it clean with a damp rag or tack cloth to remove any dust. Make sure the feeder is completely dry before you start painting.
Set Up Your Work Area
Spray painting can be messy, and it’s easy for overspray to get everywhere if you’re not careful. I placed my chicken feeder outside on an old work table and made sure to spray away from the house. If you prefer to paint indoors, be sure the space is well ventilated and cover the floor and surrounding areas with a drop cloth to protect everything nearby.
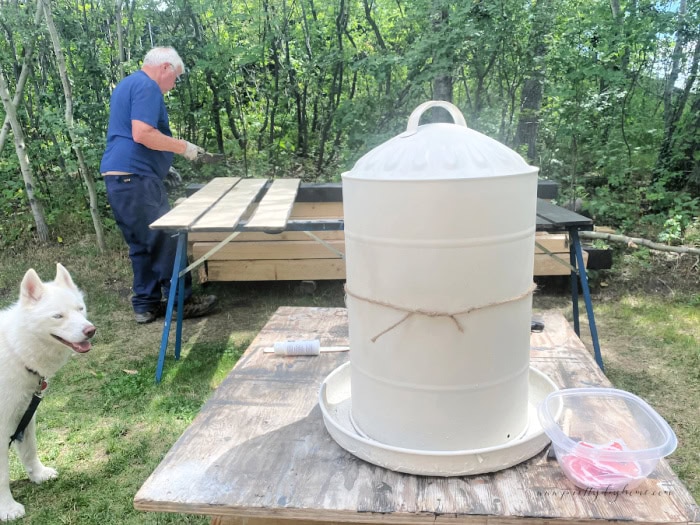
Paint the Chicken Feeder
The Rustoleum brand paint I used includes a primer. So I skipped priming my chicken feeder.
Shake the Rustoleum spray can for at least one minute to mix the paint. Hold the can about 10 to 12 inches from the surface and spray in a steady back-and-forth motion, overlapping each pass slightly.
It’s better to apply several light coats instead of one heavy one to avoid drips. Let the paint dry between coats. Wait at least 10 minutes, and always check the label for specific drying times. Look for any drips as it dries. If you spot some, sand them smooth before applying the next coat. They always show through if we don’t.
Apply two or three coats for full coverage. My chicken feeder needed three coats to look even.
Let the paint cure for at least 24 hours before adding the poppies.

Adding the Poppy Transfers
The printable I made features soft orange poppies with delicate green stems and leaves; it’s designed to give that warm cottage garden feel. The flowers are spaced out across the sheet so you can cut them individually. Here is the poppy printable and what it looks like.
Test to see which side your printer prints on by marking “top” on one side of a sheet and “bottom” on the other, then printing a quick test. Whichever word ends up printed over tells you the correct side. On my printer, it printed on the top side.
Using crepe paper makes your printable thinner and helps it blend without showing distinct edges like a sticker would. Start by taping the crepe paper to an 8 x 11 letter-size sheet. Make sure there is nothing extending over the edges of the letter paper to avoid jamming in the rollers.
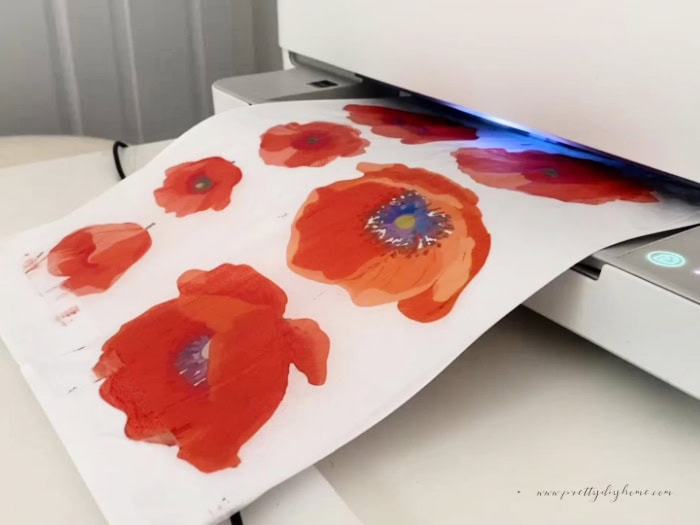
Note: This isn’t recommended practice from printer manufacturers, so try it at your own risk. I do it on my HP all the time, however. Print the poppy design and let the ink dry for a few minutes before continuing.
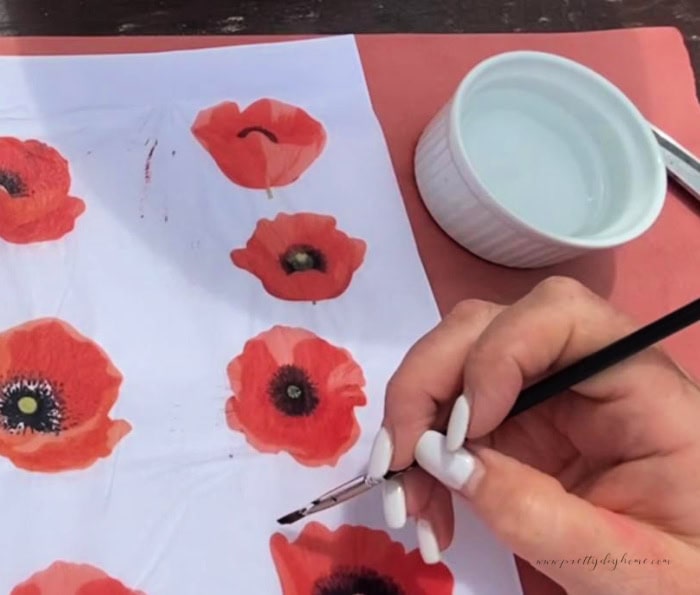
With a small artist’s brush and clean water, trace a water line around each poppy. Tear along the damp line to get a soft feathered edge.
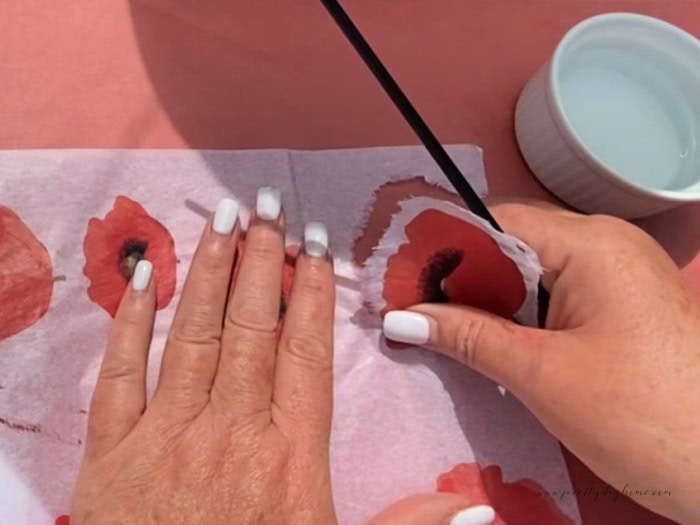
Applying the Poppies
I wanted my poppies skirting around the lower half of my chicken feeder. I placed them on a flat surface first to roughly decide on placement before actually attaching them to the feeder.
Next, I tied a piece of twine 7 inches from the top, making sure it was level, using this as a placement guide.
To attach the poppies to the chicken feeder, I first used a paste stick. Rubbed it on the surface, before setting the poppy in place and smoothing it from the center towards the outer edge. Be careful and light-handed, don’t rub. Once applied, I sealed it with a second coating of the glue.
Note: When working with these bright prints, work slowly and keep the Mod Podge coats light. Too much Mod Podge can reactivate the ink and cause the color to smear. If this happens, grab a different dry brush and continue with thinner coats. We will seal the entire feeder with spray-on poly at the end as well, so the Mod Podge doesn’t need to be thick.
Repeat for the remaining poppies. Let everything dry overnight.
Final Finishing
Once dry, I double-checked all the transfers, removing any little bits using 220 grit sandpaper. As the chicken feeder was going outside onto my porch, I gave it two coats of spray-on polyacrylic sealer.
I love how unique and special this fall porch decor is. You could remove the top and use it to hold other items like a large pumpkin, or decorate the top. I love it as is and hope you do to.

I ended up styling the chicken feeder on my front porch alongside an antique black chair, a white and black plaid rug, and a solid black carpet layered underneath. I tossed a green throw over the chair for a pop of color and set a pot of planted poppies nearby to tie in the feeder design. At the bottom of the stairs, two potted ferns frame the whole scene. Together, it makes such a welcoming display, and the feeder feels right at home in the mix. We live in farm country, and a couple of visitors have noticed what it is and loved the idea.
Other Fall Decor DIYs
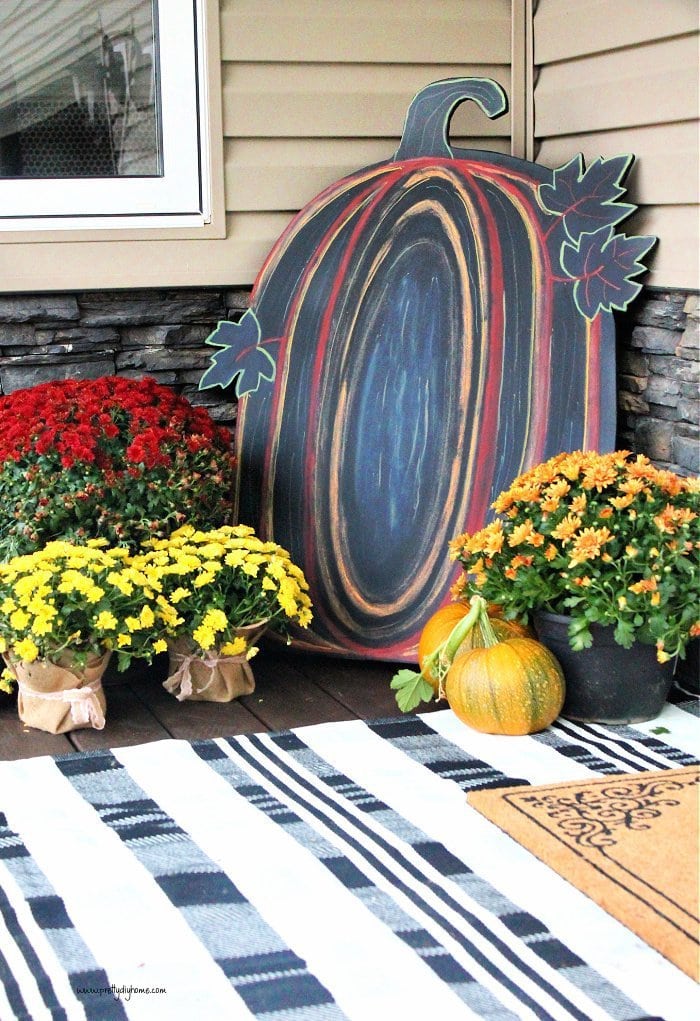
Outdoor Wooden Pumpkin Decoration for Fall
This DIY wooden pumpkin is special because it’s a chalkboard. I used chalkboard pens for the lines while making this a pumpkin. You can use it year after year for both Fall and Halloween, just wipe it clean and redecorate it.
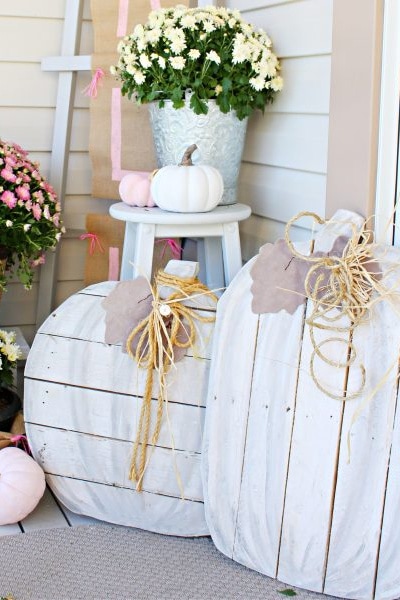
Fall Pallet Pumpkins
This has been a very popular fall post, these wood pumpkins are made using old pallets, and I love them because the neutral color is so versatile.