
DIY Wood Pumpkin for Easy Fall Front Porch Decor
Wood pumpkins are one of my favorite pumpkin wood crafts because they can be used year after year. They stand up to fall weather, won’t rot like real pumpkins, and you can paint them in any colour you like to suit your fall decor.
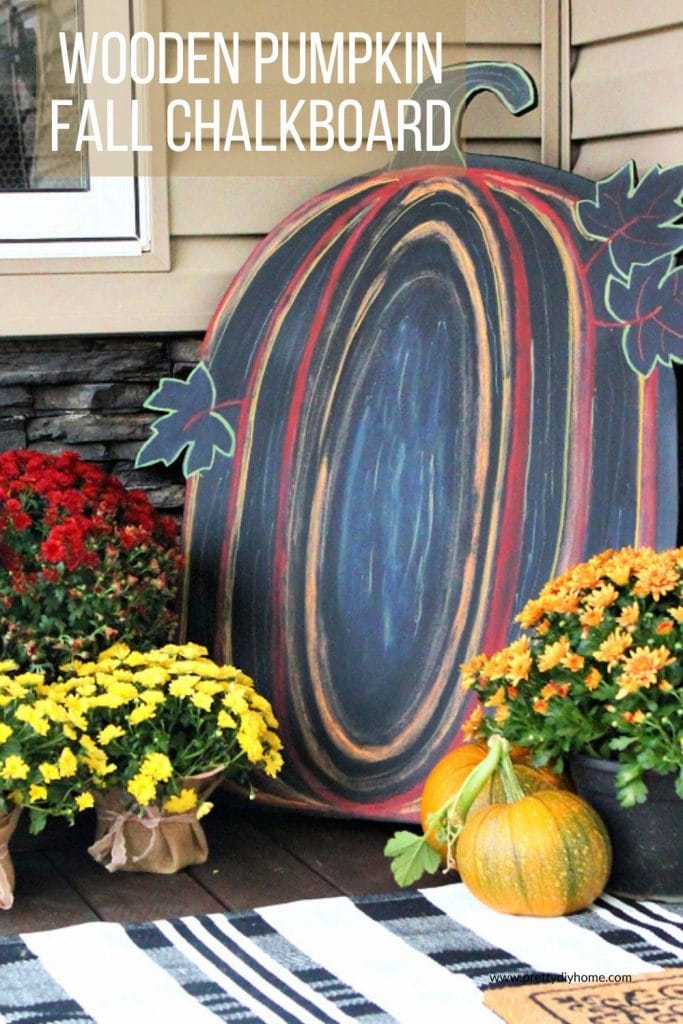
This large DIY wood pumpkin is made from leftover wood flooring underlay and painted with chalkboard paint. The pumpkin artwork is added with washable chalkboard pens, so the design can be changed whenever you like.
For fall, I painted mine as a colourful pumpkin for our front porch. Later, I can wipe the artwork away and turn the same wooden pumpkin into a jack-o’-lantern for Halloween.
How to Make a DIY Wood Pumpkin for Fall Front Porch Decor
Chalkboard Wooden Pumpkin Supplies
This wooden pumpkin is made from leftover flooring underlay and chalk pens. It takes about a day to make because the chalkboard paint needs time to dry
- A scrap piece of underlay or plywood
- Dollar store leaf or a real pumpkin leaf
- Chalkboard paint and brush
- Washable chalkboard art pens in fall colours
- Paper towel, rags, small bowl of water.
- 2 L-brackets (optional)
You can use children’s chalk or artist’s chalk for this project, but I prefer chalkboard art pens. They have stronger pigment, hold up better once dry, and can still be erased with water. That was important for this project because I wanted to reuse the wood pumpkin as a jack-o’-lantern for Halloween.
Step 1: Draw the Wood Pumpkin Shape
We used a leftover piece of inexpensive wood flooring underlay for our pumpkin, but you can use whatever flat scrap wood you have available and let its size determine how large your pumpkin will be. Plywood also works well as long as the surface is sanded smooth. I don’t recommend chipboard because the surface is too rough for the chalkboard finish.
If you don’t have scrap wood on hand, quarter sheets of plywood or similar wood products are an easy option.
Our large wood pumpkin measures about 32 inches wide and 39 inches tall, including the stem.
Next, use a dollar store leaf or a real pumpkin leaf as a template. Place the leaves near the top of the wood, spacing them as widely as your board allows. Trace one leaf on one side and two on the other.
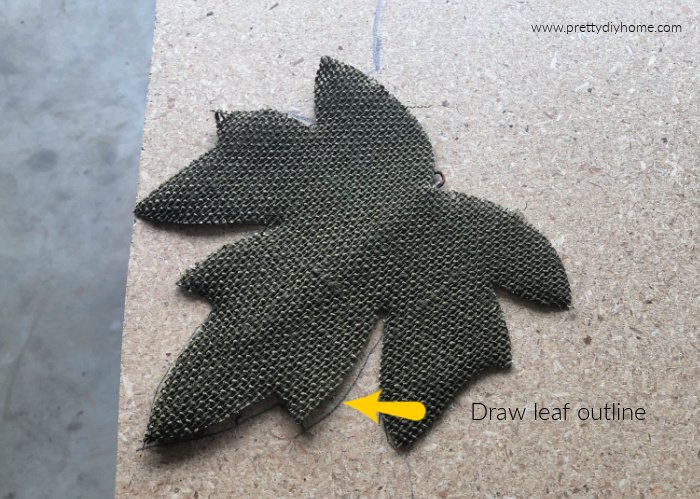
Once the leaves are traced, draw a simple pumpkin shape around them. Keep the bottom fairly flat so the finished wood pumpkin will sit securely when displayed.

Step 2: Cut Out the Wooden Pumpkin
Because the pumpkin shape includes the detailed leaf edges, a jigsaw is the easiest tool to use for cutting it out.
Hubs helped me with this part. I’m comfortable using a jigsaw, but I have a bad habit of breaking blades and didn’t want to make a trip for replacements. He cut around the pumpkin and leaf outlines, keeping the bottom straight so the finished pumpkin would sit properly.
Poor guy did it with a cast on his right hand, but it still turned out perfectly. The short video below shows the tips and techniques he used to cut around the leaf edges and pumpkin shape.
Step 3: Paint the Pumpkin with Chalkboard Paint
Once the wood pumpkin is cut out, sand any rough edges and wipe away the dust.
Paint the front of the pumpkin with chalkboard paint, following the directions on the can for drying time and additional coats. Let the paint dry completely before adding the chalk artwork.
This is the slowest part of the project simply because of the drying time, but once the chalkboard finish is ready, the fun part begins.
Step 4: Trace the Pumpkin and Leaves
Begin by tracing the leaves again using the same dollar store leaf or real pumpkin leaf you used when drawing the wooden pumpkin shape.

Add a few simple stems using a dark colour.
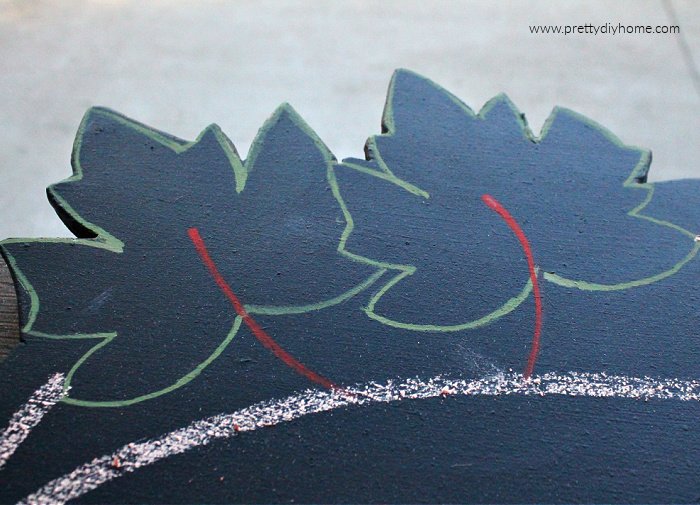
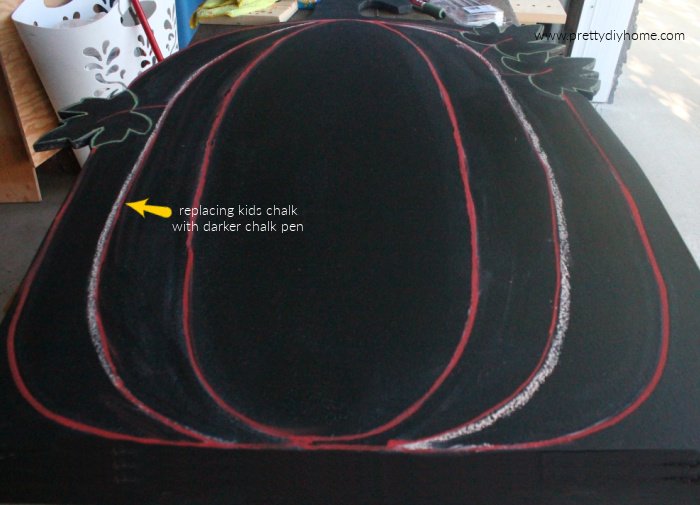
Next, draw the basic outline of the pumpkin. You can sketch it first with regular children’s chalk, which is easy to wipe away, or use your main coloured chalkboard art pen if you feel confident drawing it freehand.

Once you are happy with the pumpkin shape, trace over the regular chalk lines with the chalkboard art pen. Let the pen dry, then gently wipe away any remaining children’s chalk.
Step 5: Add Colour and Shading
Once the main pumpkin outline is finished, add lighter lines toward the inside of each pumpkin section and darker lines along the outside edges. I used dark red and bright orange, but a darker orange or warm brown would also work well.
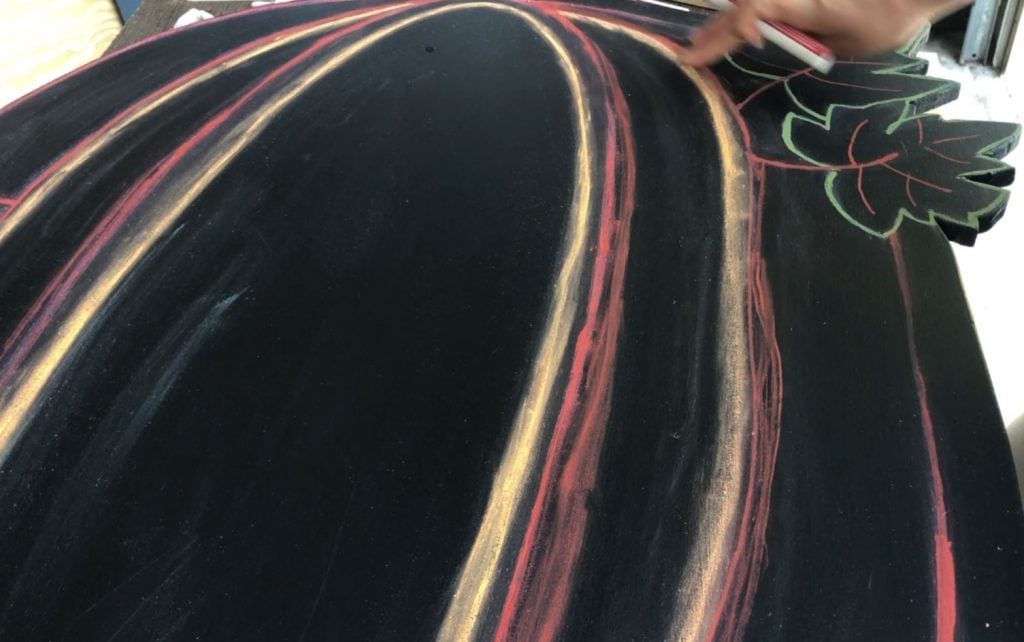
Smudge the chalk lines to soften and widen them. If needed, use a little water to blend the colour and soften any harsh edges.
Keep adding colour, smudging, and blending until you are happy with the look. This part doesn’t need to be perfect — grab something to drink and enjoy playing with the chalk colours.
The video below shows how I worked with the chalkboard art pens and blended the colours to create the finished pumpkin.
Fall Front Porch Pumpkin Decor
Fall front porch decor always seems to come back to pumpkins. I love using them in different sizes and colours, whether they are real pumpkins, wood pumpkins, pumpkin signs, or other handmade fall decorations.
For our porch, I styled the large wood pumpkin with mums and a few smaller pumpkins. The little pumpkins in front are especially fun because Hubs grew them for us this year.
This DIY wood pumpkin makes an easy focal point for fall front porch decor, and because the chalk artwork can be washed away, I can reuse it again for Halloween with a jack-o’-lantern design.
Pin this Pumpkin Idea for Inspiration!
Other Fall Porch Ideas
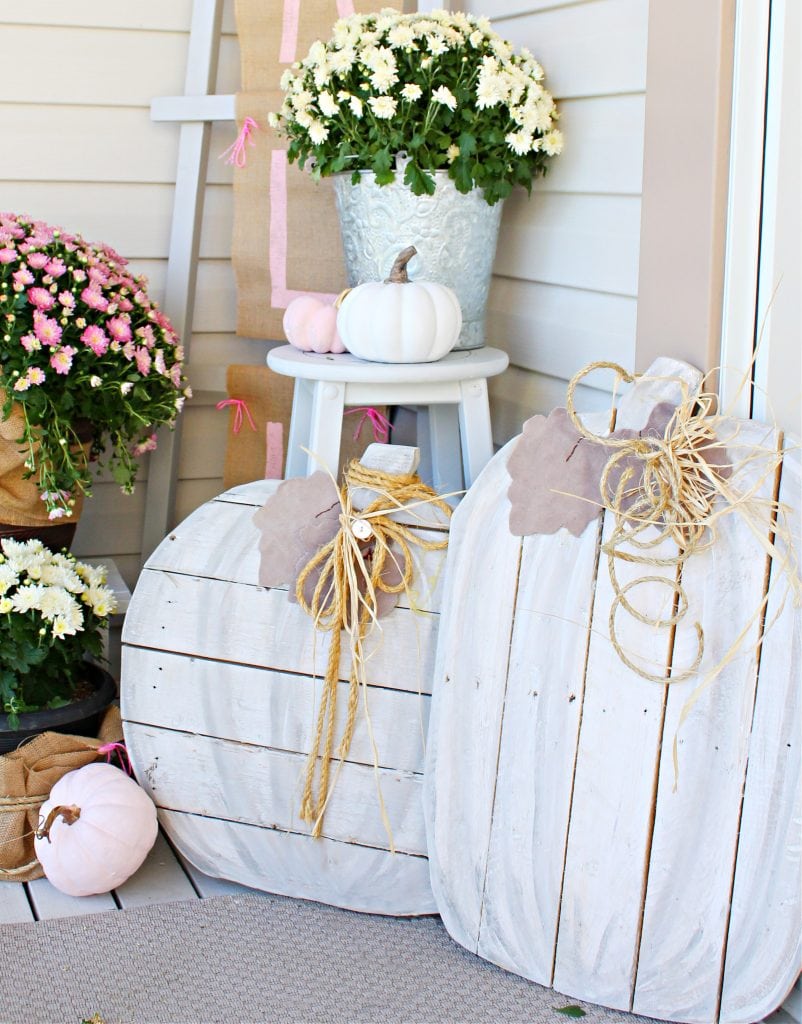
Neutral Pallet Pumpkins
This is another set of pumpkins we made a few years ago. These DIY Pallet Pumpkins have been used repeatedly, and we always receive compliments on them.
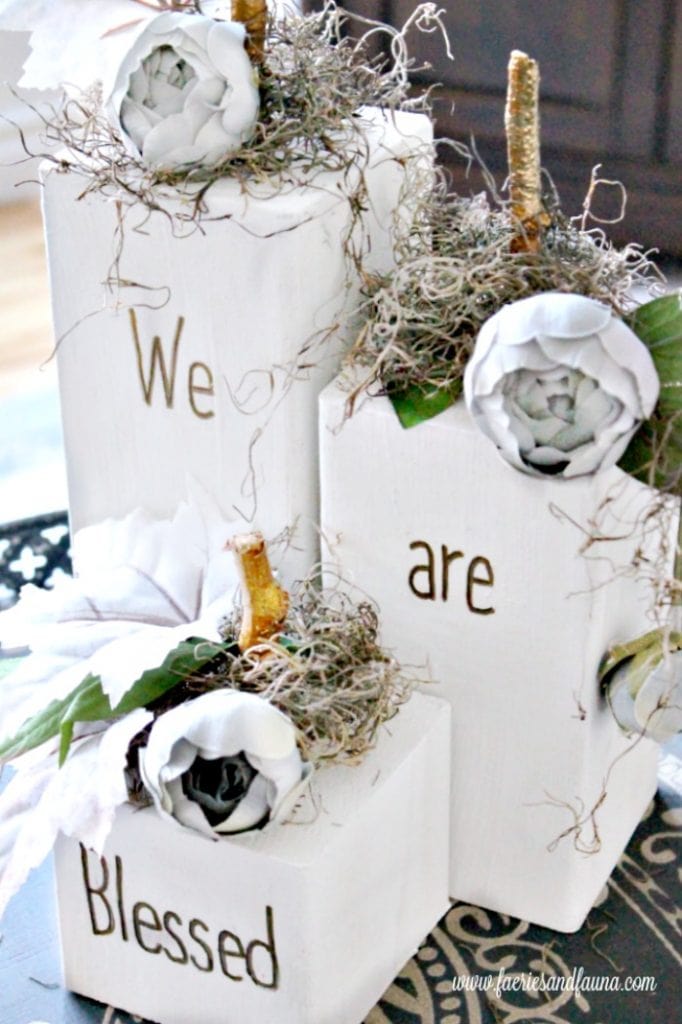
DIY Wood Pumpkins for Fall or Thanksgiving
These small wood pumpkins are made out of an old fence post. Super easy to make, and I think they are very different. Hope you love these small wood pumpkins as much as I do.
This is really cute, thank you for the great tutorial!Pinned
Really cute! Great that you can use these year after year.
I love this pumpkin idea. Something different and special to brighten up our fall porch decor. Thanks for sharing.
Your pumpkin looks beautiful, Leanna. It’s so strange nowhere in South Africa we don’t do pumpkin decor. I love it, and it makes Autumn easier to bear when you can do fun decor stuff. We have a lot of real pumpkins in the grocery stores, but they’re those knobbly green ones and won’t have a chance to go off before someone steals one for food. Weird how countries are all so different.
Thats so cool Michelle. In Canada its pumpkin everything this time of year. And its my favorite flavour year around. How I wish I could visit sometime. Hugs Leanna