DIY Bedroom Cushion Covers
DIY Cushion Covers with a Touch of Crochet
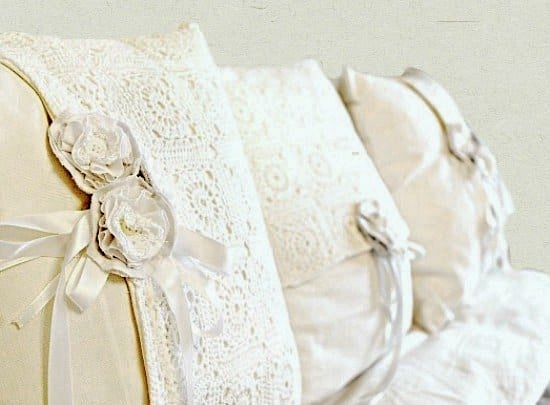
These DIY bedroom cushion covers are relatively simple to make. They start with a basic envelope cushion and then various feminine touches are added.
Vintage linens especially crocheted linens are a fantastic embellishment for these cushions, or vintage buttons and bits of lace, or simple crocheted edging.
aaaaaaaaaaaaaaaaaaaaaaaaaaaaaaaaaaaaaaaaaaaaaaaaaaaaaaaaaaaaaaaaaaaaaaaaaaaaaaa
Let me share the basic tutorial for making an envelope cushion cover. These are my favorite cushion cover to make as you don’t need to put in a zipper, which is easier, and you can skip the expensive zipper. Here is the basic tutorial and some examples for you. I hope they inspire you to go find some vintage linens and antique ivory buttons to make a simple cushion cover special.
I make all my cushions using a simple envelope design. There are no button holes or blind zippers required. It also makes the cushions very easy to change out for the seasons or cleaning.
Cushion Tutorial
Desgner cushions are typically larger than the purchased ones you find in home decor stores. I love making my cushions a little big larger, as it makes them more luxurious looking.
To make a 20 by 20 inch cushion. You will need a 20″ by 20″ pillow form and a yard and a half of plain white fabric.
Cut the fabric into three pieces. Cut the first piece 21″ by 21 “, and the other two pieces 21″ by 16.”
Once cut, seal around the material edges to prevent unraveling. Use either a zig zag stitch or a serger. I do not own a serger but the zig zag stitch works well.
Sewing the Back
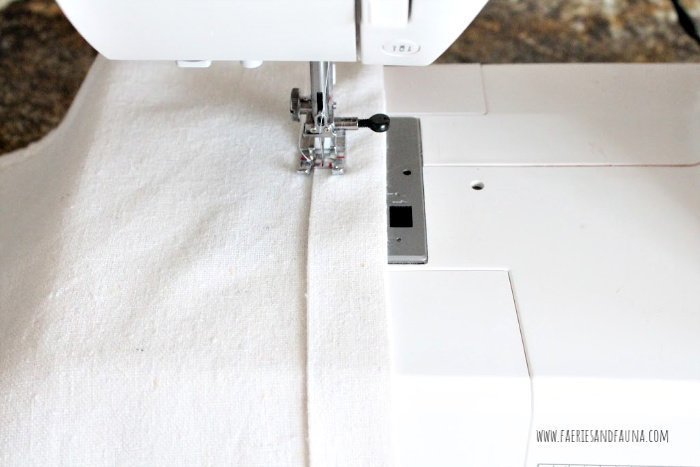
Place one of the 21 by 16 inch piece good side DOWN, on the ironing board. Fold the 21″ edge over one inch, press to create a crease. Then fold over another inch. Iron again, and sew along the edge with a 1/4″ seam. Repeat with the second piece.
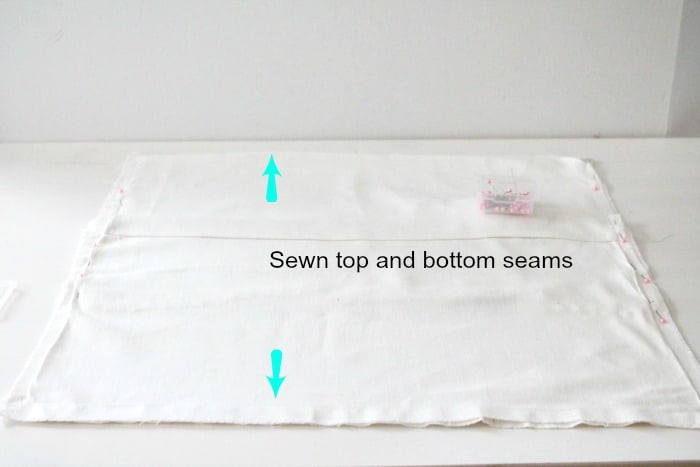
Place 21 by 21 inch piece of material good side UP.
Place the first 21 by 16 ” piece good side DOWN on top of the 21 inch square piece. With the folded sewn edge towards the bottom.
Cover that with the other piece, folded sewn edge towards the top. Pin well.
Sew the top and bottom seams first.
aaaaaaaaaaaaaaaaaaaaaaaaaaaaaaaaaaaaaaa
Then sew the two side seams. Turn right side out and decorate with embellishments.
I use this basic envelope patterns for lots of different farmhouse and shabby chic cushions. I just decorate them with whatever I have. Here are some of my other examples.
How to Make Rag Flowers
Rag flowers are very easy to make, and you can dress them up using lace fabric or tie ribbon behind them. Rag flowers are designed to have rough frayed edges and a bit shabby chic. To make the flowers use left over bits of fabric from your cushion, or muslin, old white sheets, any little bits of white fabric you have.
Cut six circles for each flower, so 18 circles in total.
Use anything small and round you have as a pattern, a glass, a cookie cutter, a mason jar lid. Trace out the circle on paper to make a pattern, then cut out 18 circles.
Set two circles aside to create the bottom of your flower.
Fold each circle in half and then in half again. Press flat.
Use four folded quarters to make each rag flower.

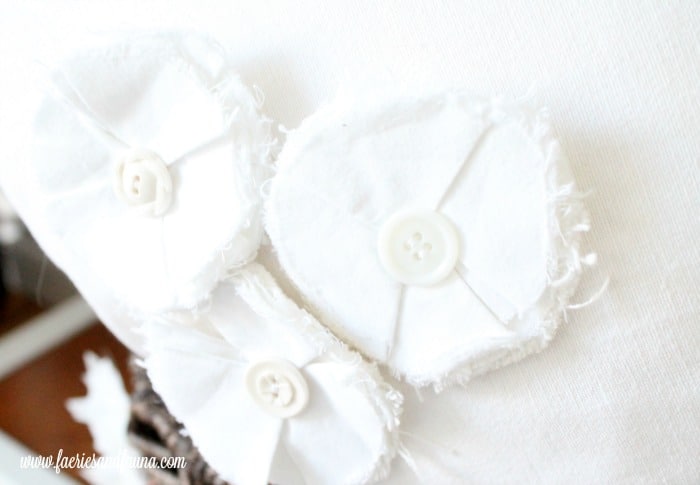
Layer two unfolded circles on top of each other. Then place the point of each folder quarter on top with the point towards the center, and the open fold facing the same way on each quarter. Having the fold facing the same allows each “blossom” to open the same way.
Attach each folded quarter to the base by sewing through the point.
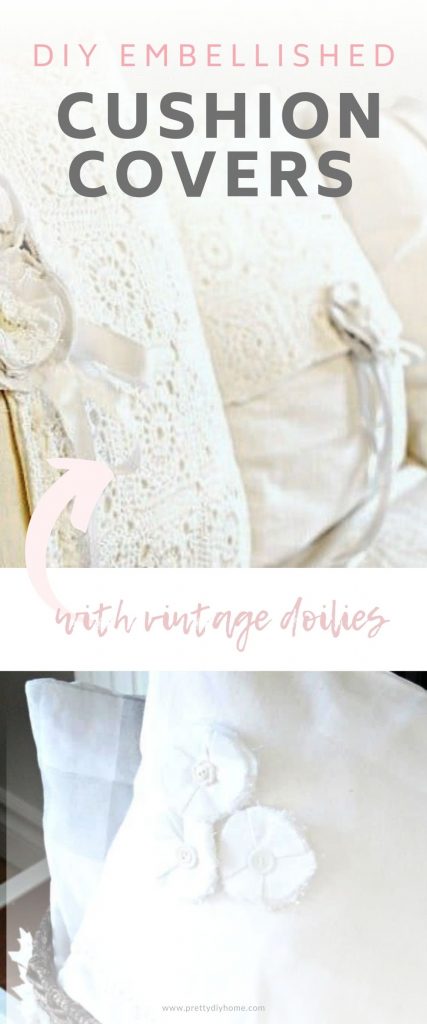
Once all four quarters are attached, cover with a button. Add a round of lace behind the rag flower or a ribbon bow to make them more elaborate. Sew the lace, ribbon, and rag flowers on your cushion.
For this cushion I had started a crocheted tablecloth, but I would never get it finished. I combined them together and then sewed to the front of the cushion. Thrift stores often have gorgeous doilies you can use this way.

Using the same process I created an oblong cushion but added a simple crocheted edge, rag flowers and some vintage garage sale buttons.
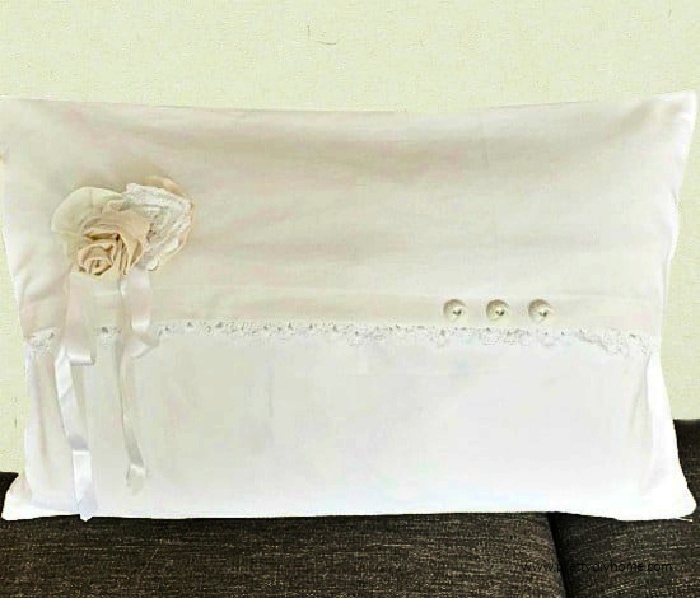
a
aIf you want to add lace like this cushion, I have the pattern on another tutorial for Designing Cushions

Leanna, these pillows are just divine! I love how you have used all of the beautiful embellishments along with the vintage linen!! Great tutorial!!
Thank you so much for sharing your fabulous pillows over at Waste Not Wednesday! 🙂
Thank you Sam. I really enjoy the look of fabric flowers. Glad you do as well. Leanna
Your pillows are so beautiful! Thanks for the tutorial for those of us who just can’t get the hang of crocheting…my mother used to do the same thing. As she is nearly 90 now, she only crochets for purpose rather than relaxation but she just made her great grandson a lovely sweater, booties, another sweater in another size and a baby blanket!
Isn’t that a lovely keepsake from great grandmother. A family keep sake for sure.
Thank you for posting. Leanna
Your pillows are gorgeous. I make my cases using the same method and even though I’m not a seamstress either, they turn out really well!
Hi Melony
One of these days I am going to have to learn how to do a blind zipper. Today is not the day. hehe.
Thank you for commenting.
Leanna
Leanna- these are all lovely.
I like the idea of finding vintage linens to create pillows!
Laura
Happy TOHOT!
I like to reuse vintage items whenever I can. I have an affinity for old feminine items especially.
Thank you for the comment. Leanna
The pillows are beautiful. What workmanship and quality. They are truly works of art.
Thank you. I have fun fiddling with the final designs. I appreciate the comment.
Leanna
So beautiful on your bed, love the lace look! I love the off white on any bed because it goes with almost any other color.
Maria
I thought I would be able to use the white on a guest room. They won’t receive the typical toss in the corner nightly ritual the ones on our bed typically get. Thank you for commenting.
Leanna
These are so pretty! You are very talented and the love for what you do, shows! Thank you for sharing your lovely pillows!
Those are really pretty, thank you for sharing at The Really Crafty Link Party this week. Pinned!
Hi, thank you for commenting. I am really glad I found the real crafty link up party this was my first post.
Hi again, just a quick note to let you know that I’ve featured this post today on The Really Crafty Link Party Features. Come and grab an “I was featured” button and browse around for the other features here: http://keepingitrreal.blogspot.com.es/2016/08/the-really-crafty-link-party-31-featured-posts.html. Congratulations!
Thank you Teresa. I am a new blogger and thrilled to be featured on The Really Craft Link Party.
You just made my day.
Leanna
These are beautiful! -Marci @ Stone Cottage Adventures
I appreciate you taking the time to comment. Thank you Leanna
These are truly works of art Leanne. I can see them being given as gifts for a christening or a wedding. Truly beautiful work.
Thank you for your generous comment. I am confident in the quality of what I make, but not so much in my blogging presentation. I really appreciate you taking the time to respond.
Leanna