
Easy Barn Quilt Shelf Sitters Made from Scrap Wood
Like most of my projects, the inspiration for these barn quilt shelf sitters is a bit of a story. I had no idea when I started that they were related to barn quilts at all.
I have some very nice two-inch-thick hardwood cutoffs from an auction sale, set aside for shelf sitters, but no specific plans for what to do with them. They’ve been collecting dust for a year.
I’ve also been collecting vintage quilts for a while now and am always amazed by the craftsmanship that went into making them. I love the patterns, fabrics, and feminine vintage feel. I love them, but I won’t ever sew one. How about we make a wood quilt block instead?
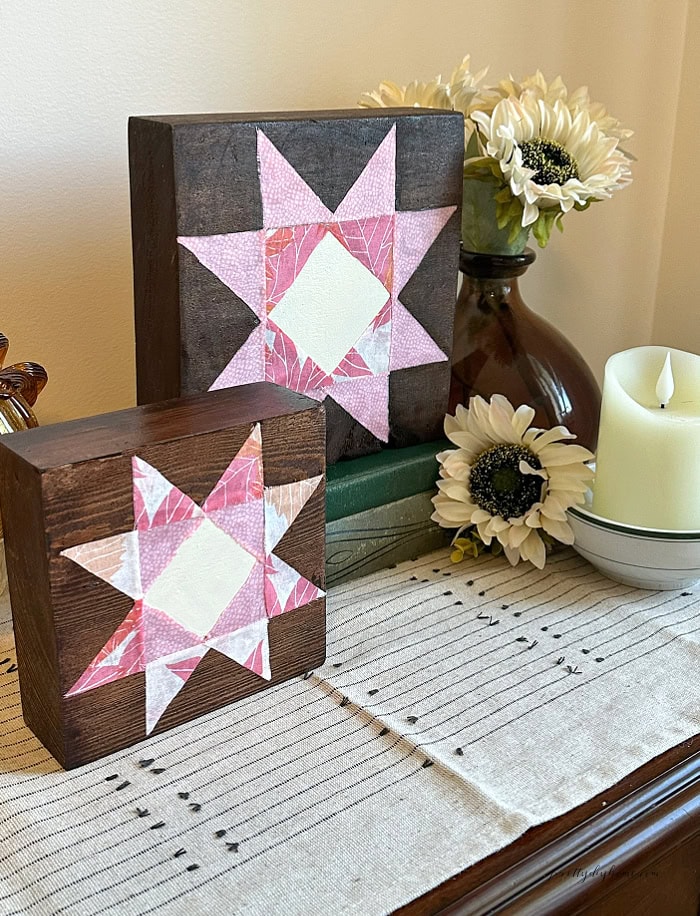
How to Make Barn Quilts from Scrap Wood
Materials and Supplies
Materials
- Scrap wood, 1 1/2 to 2 inches thick, cut into a 6-inch or 8-inch square
- Dark walnut stain or paint in the color of your choice
- Soft ironstone cream paint
- Fabric fat quarters or fabric scraps
- Mod Podge
- Spray-on polyurethane
- Printed 6-inch or 8-inch barn quilt pattern
Tools
- Saw
- Sandpaper, 80 and 120 grit
- Foam and sponge brushes
- Paintbrush
- Iron
- Scissors
- Ruler and pencil
- Small container for Mod Podge
- Tin foil to protect your work surface
- Printer and paper
Step 1: Source and Cut the Wood
For this project, you will need scrap wood that is 1 1/2 to 2 inches thick so the finished barn quilt will stand on its own. I used beautiful old hardwood, but regular lumber will work as well.
Cut your wood into either a 6-inch or 8-inch square to match the size of the barn quilt pattern you want to use.
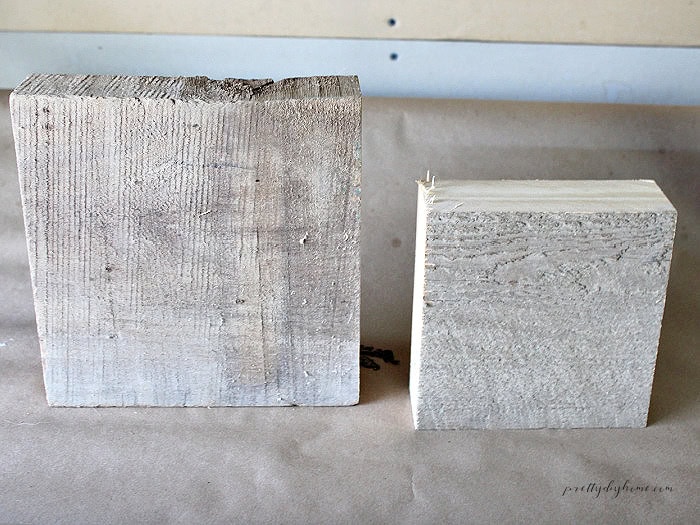
My husband cut one 8-inch square and one 6-inch square for me. He cut them as square as he could, and that was more than good enough for this project.
Once cut, sand the wood smooth. My old wood needed a little extra work, so I started with 80-grit sandpaper and then finished with 120-grit sandpaper to remove any dirt, rough spots, and slivers.
Step 2: Paint or Stain the Wood
You can paint or stain your wood. I stained mine with dark walnut stain that I already had on hand, but you can use any stain or paint color you like.
To stain mine, I applied the dark walnut stain with a foam brush, being careful not to let the stain build up along the edges. I let it sit for about a minute and then wiped away the excess.
I stained half of the surfaces first and let them dry before turning the block over and finishing the remaining sides.
Once all six sides are painted or stained, let the wood dry well before continuing.
Step 3: Prepare the Fabric
You can use the barn quilt patterns to create SVGs in Cricut Design Space if you prefer, but I didn’t bother. Instead, I used a printed pattern as a guide and cut the simple fabric pieces by hand.
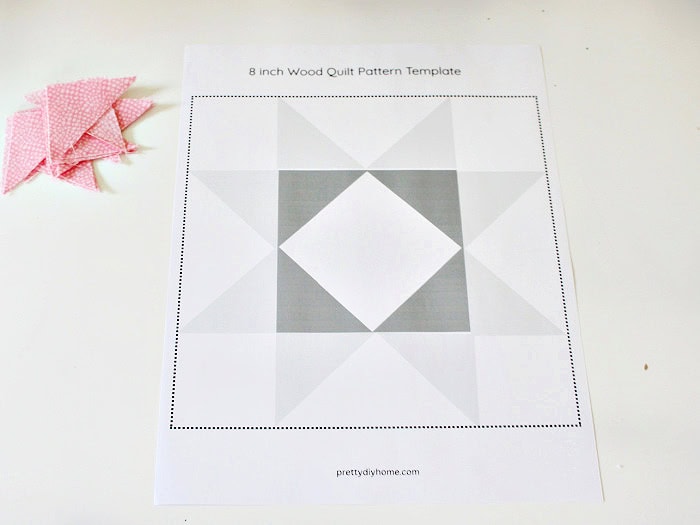
As you can see, the pattern is made up of a series of right-angle triangles that are all the same size. Cutting them by hand only takes a few minutes.
Cutting Fabric for the 8-Inch Barn Quilt
Iron your fabric smooth and lay a ruler across it. Fold the bottom edge of the fabric up against the ruler, using the ruler to make sure the fold is exactly 2 inches wide.
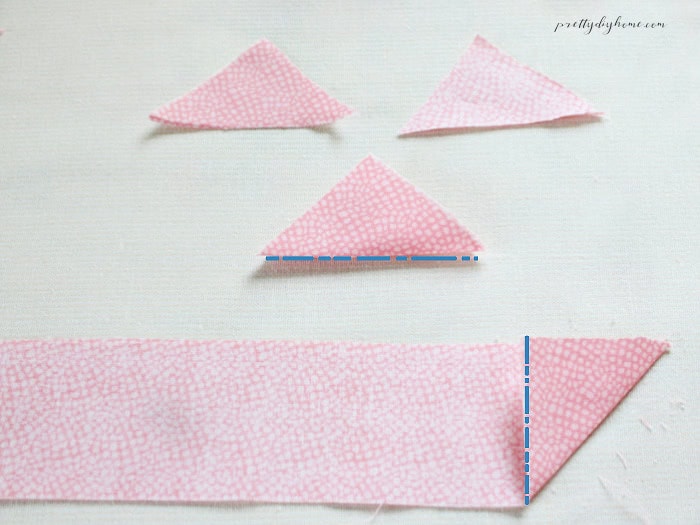
Once you have your 2-inch-wide fabric strip, fold the bottom corner up until the bottom edge meets the top edge of the strip. Press the diagonal fold to make a clear crease.
Cut straight across the strip at the edge of the folded section to create a 2-inch square. Then cut the square along the diagonal crease to make two matching triangles.
Repeat along the strip until you have all the triangles you need.
Cutting Fabric for the 6-Inch Barn Quilt
Use exactly the same method for the 6-inch barn quilt, but make the squares 1 1/2 inches instead of 2 inches.
Press a 1 1/2-inch fold, cut the fabric into 1 1/2-inch squares, and then cut each square diagonally to make the triangles.
Step 4: Use the Barn Quilt Pattern to Mark the Center
Instead of measuring with a ruler to find the center of the wood block, I found the printed barn quilt pattern was a very helpful shortcut.
I printed two copies of the pattern for each barn quilt. On one copy, I cut out the middle diamond-shaped square to create a simple template.
Place the template over the front of the wood block and adjust it until the pattern is lined up evenly with the edges. Then trace around the inside of the cutout lightly with a pencil.
Paint the center with two coats of soft ironstone cream paint, letting the paint dry between coats.
Step 5: Arrange the Fabric on the Printed Pattern
It is worth taking the extra few minutes to lay all of the fabric pieces onto the printed barn quilt pattern before attaching them to the wood.
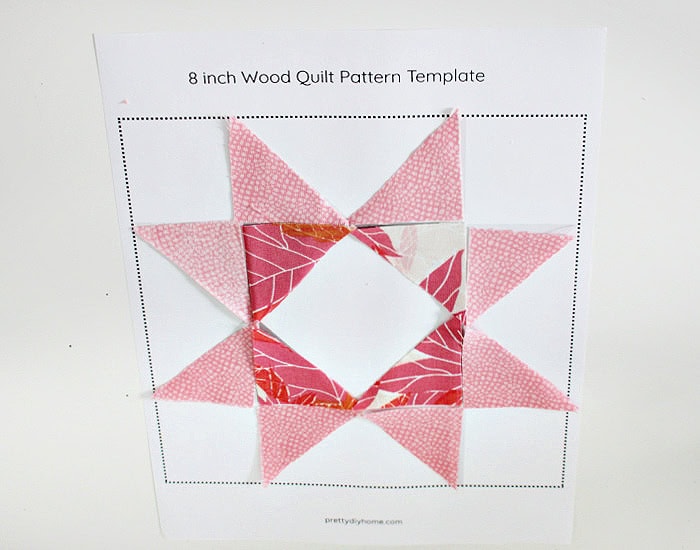
Arrange the colors until you are happy with how the quilt block looks. More importantly, having the pieces laid out on the pattern gives you an easy visual guide for which direction each triangle needs to face.
Once you begin attaching the fabric to the wood, you can simply follow the printed layout one piece at a time. You will quickly save the time it took to set up the fabric because there is no stopping to figure out which way each piece goes.
Step 6: Attach the Fabric Pieces
Use a piece of tin foil to create a work surface for the Mod Podge and fabric.
Using a sponge brush, dab Mod Podge onto the back of each fabric triangle. Do not brush or sweep it across the fabric, as this can cause the fabric to stretch out of shape.
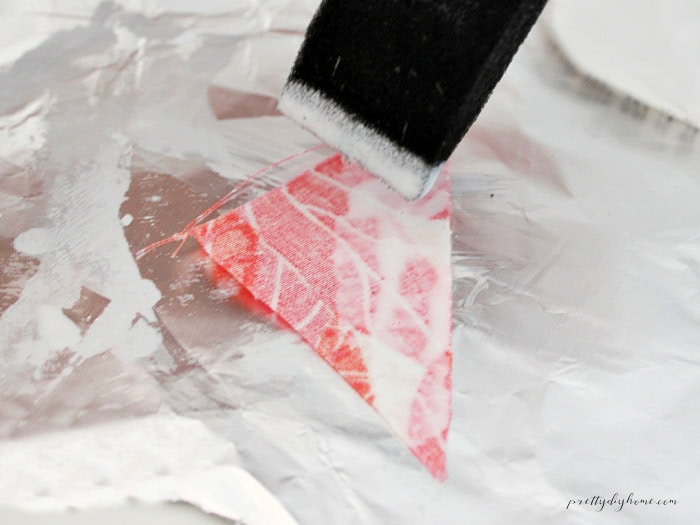
Using the printed pattern as your guide, attach the four inner fabric pieces first.
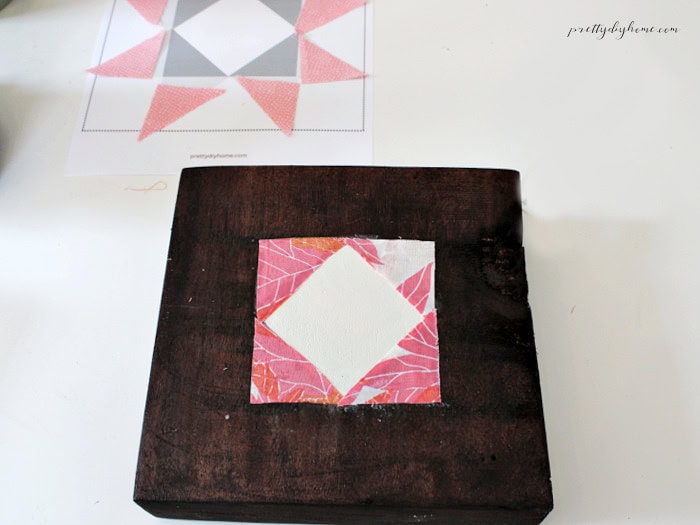
Then continue with the eight outer triangles.
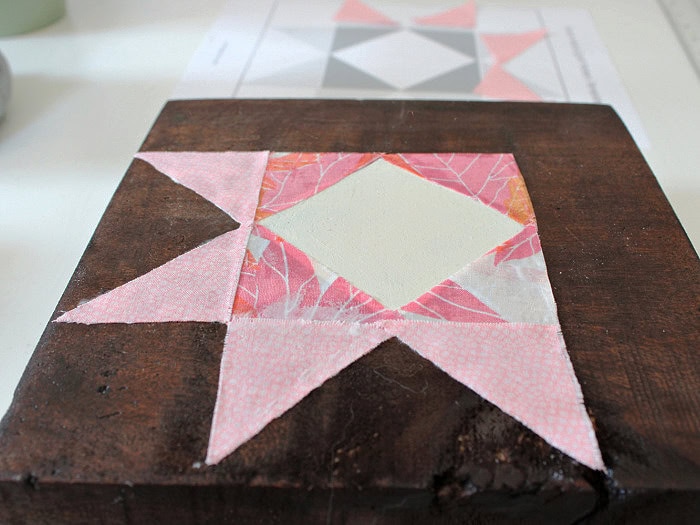
As you work, some threads may come loose along the cut edges. If they do, simply pull them off and continue.
Once all of the fabric pieces are attached, let the barn quilt dry overnight before sealing.
Step 7: Seal the Finished Barn Quilt
Once the fabric has dried overnight, seal the finished barn quilt to help protect the wood, paint and fabric.
You can use Mod Podge over the front if you prefer, but I chose to use spray-on polyurethane instead.
Apply the polyurethane over the finished barn quilt and let it dry according to the directions on the product you are using.
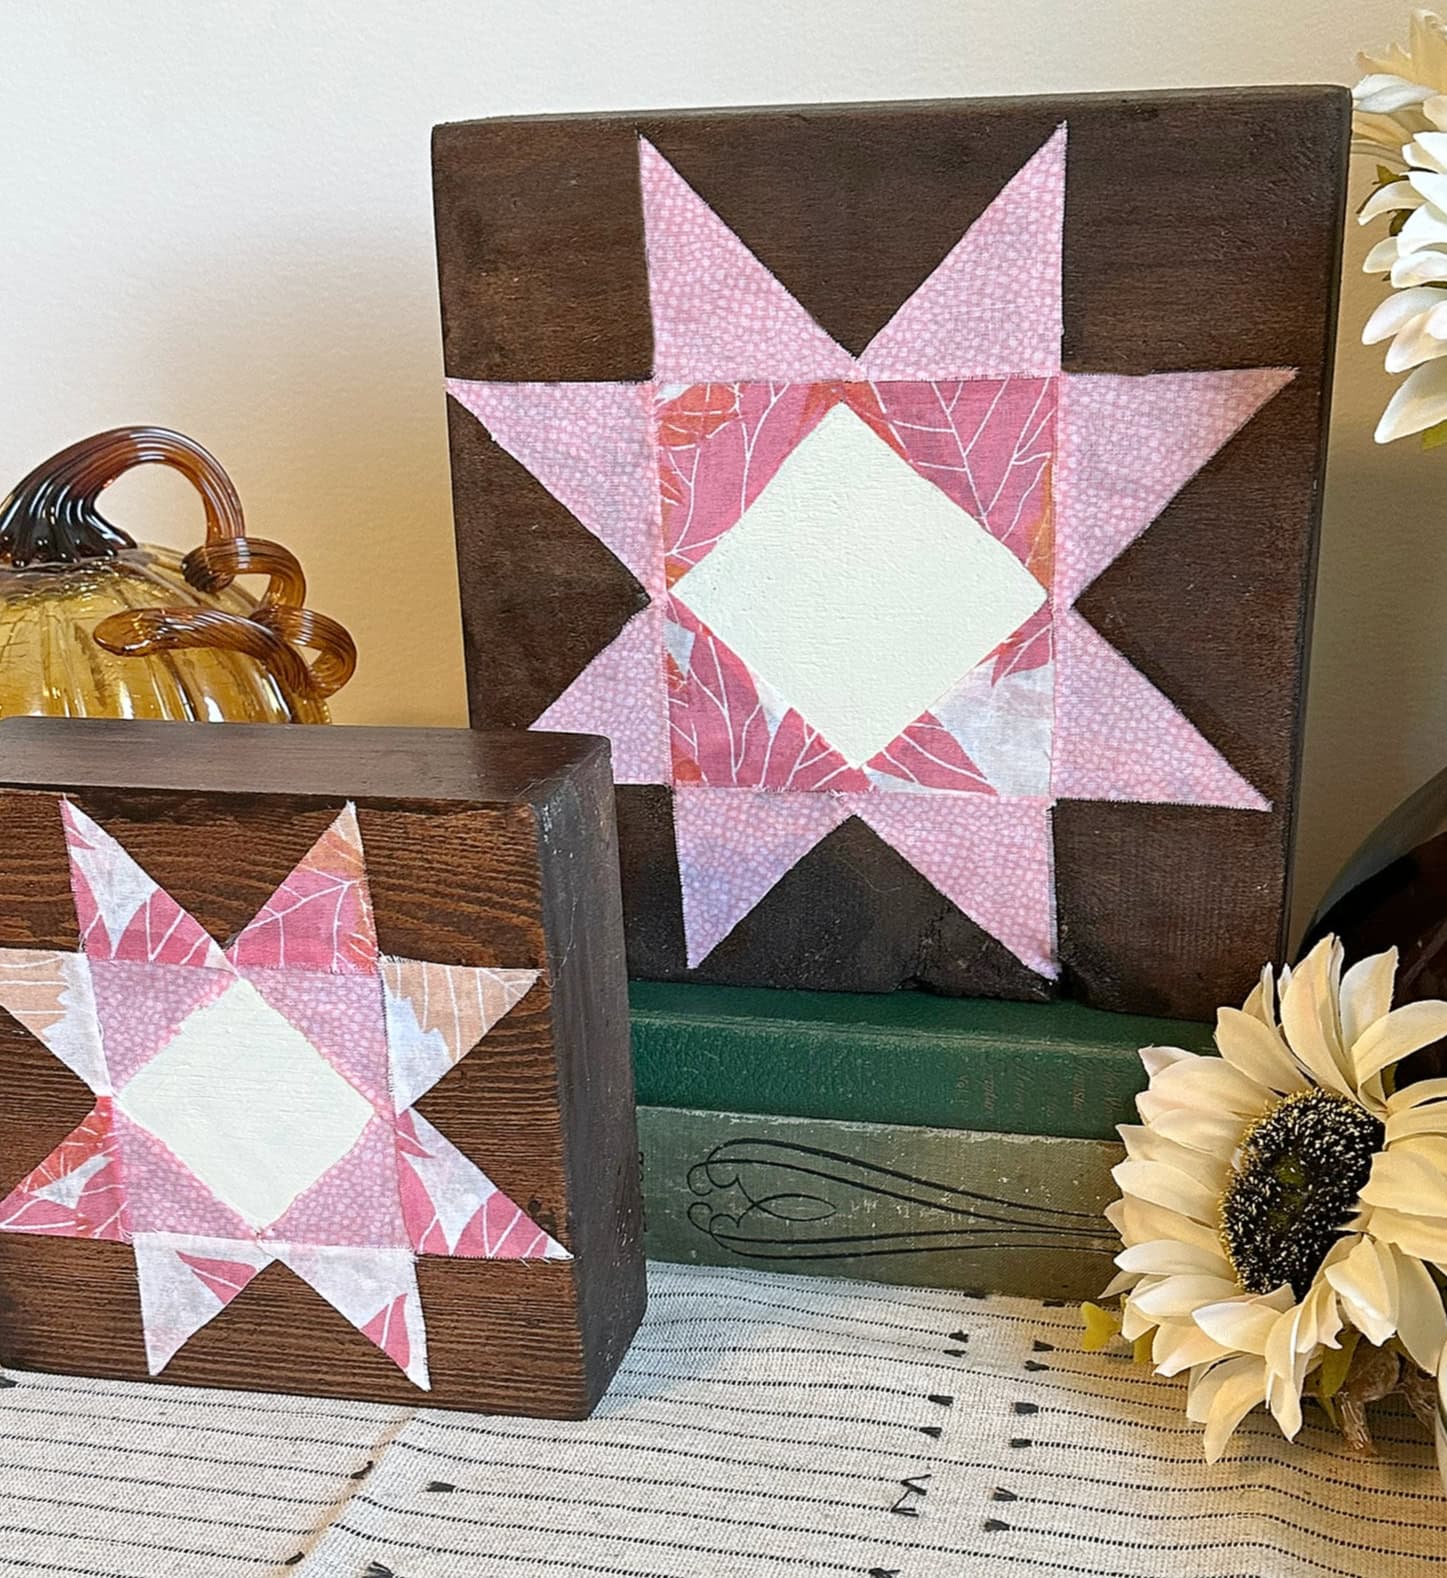
I love how these little barn quilt shelf sitters turned out. The dark stained wood still shows off all that beautiful grain, while the fabric adds the color and pattern I love about vintage quilts.
They are a simple and inexpensive way to add a little fall decor while using up small pieces of scrap wood and leftover fabric you already have on hand. Best of all, I get to enjoy a little bit of that quilted look without sewing a single stitch.
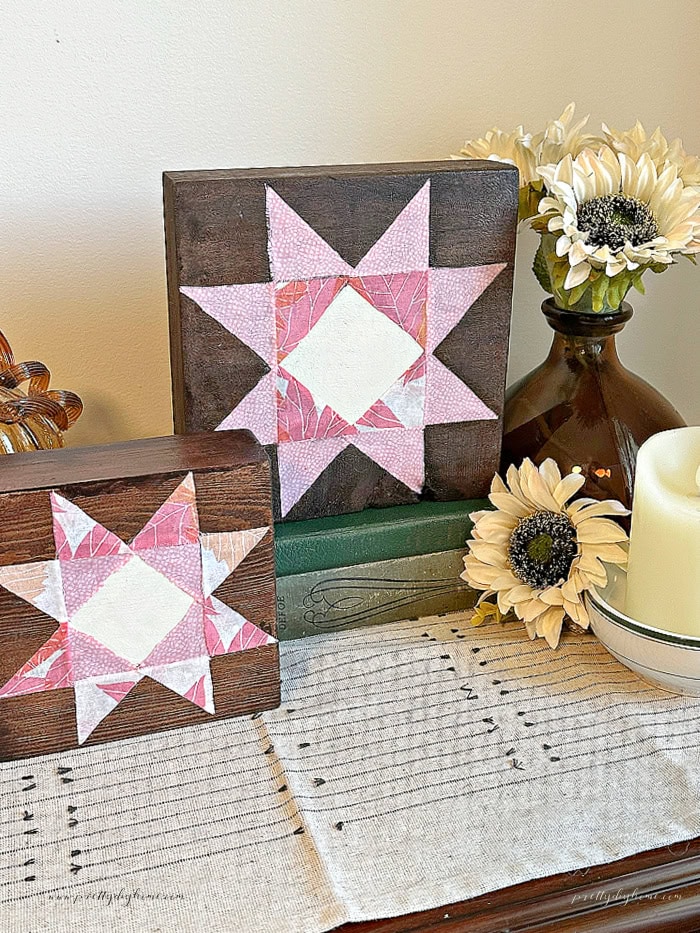
Save this DIY barn quilt for later so you have the free printable pattern and step-by-step tutorial handy when you are ready to make your own. It is an easy way to turn scrap wood and leftover fabric into inexpensive fall decor.
More Rustic Wood Projects for Fall
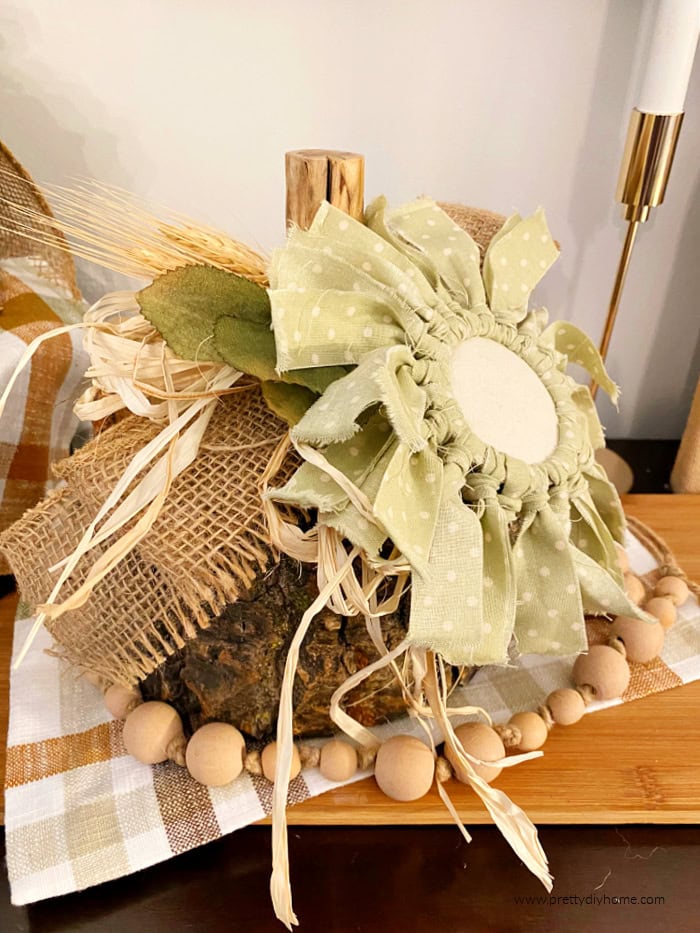
DIY Log Pumpkin
These little DIY pumpkins started as a log from Hubs’ woodpile. We added a wooden stem and decorated them with a pretty DIY jar flower for a simple rustic fall finish.
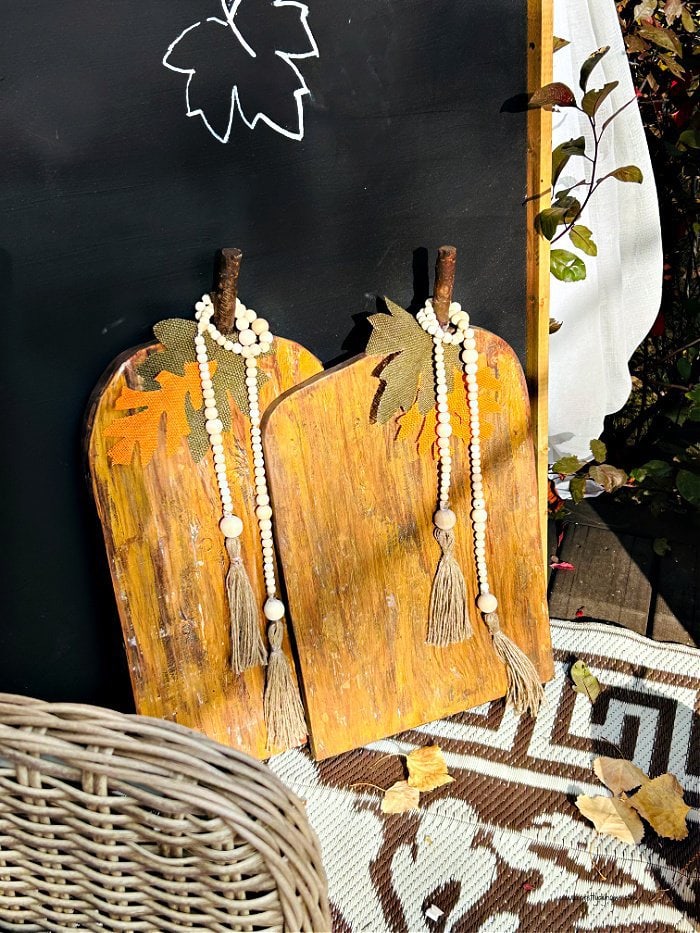
Wood Pumpkins with Farmhouse Beads
Would you believe these DIY wood pumpkins started as a 20-year-old, beat-up piece of plywood? I show you exactly how to turn old plywood into pretty rustic pumpkins for your fall decor.