
How to Can Green Beans With a Pressure Canner
If you love green beans like I love green beans, it is really worth canning them for the off-season. I like canning fresh vegetables when they are at their peak because I know exactly the quality of the vegetables and the water that goes into each jar. If you happen to have a garden, it is also a really good way to preserve those free vegetables so you can enjoy them over the winter.
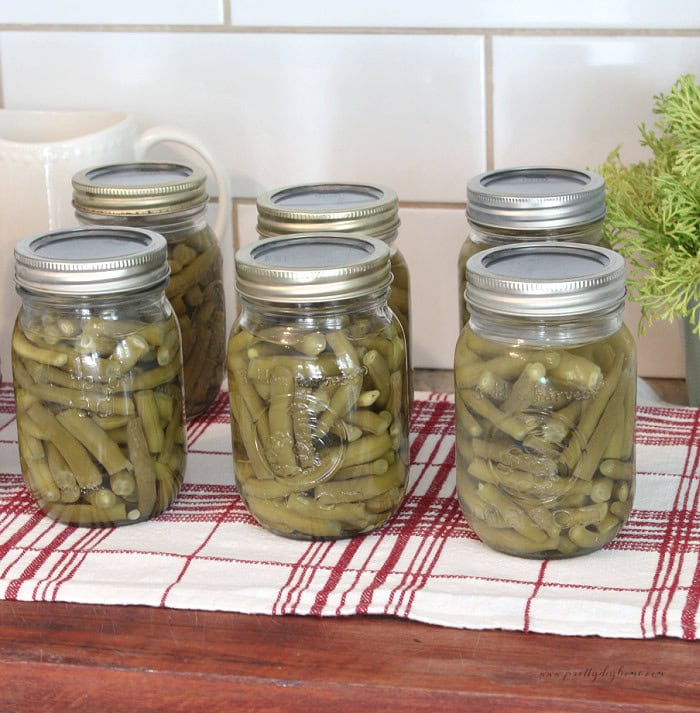
Ingredients for Canning Green Beans
- 9 pounds fresh green beans
- Boiling water, enough to fill the jars
- 1/2 teaspoon pickling salt per pint jar, optional
Makes approximately 9 pint jars.
How to Can Green Beans with a Pressure Canner
Step 1: Prepare the Green Beans
Wash the green beans well in cold water. Trim the ends off each bean, then leave them whole or cut them into approximately 1-inch pieces. Cutting the beans is optional, so prepare them whichever way your family prefers.
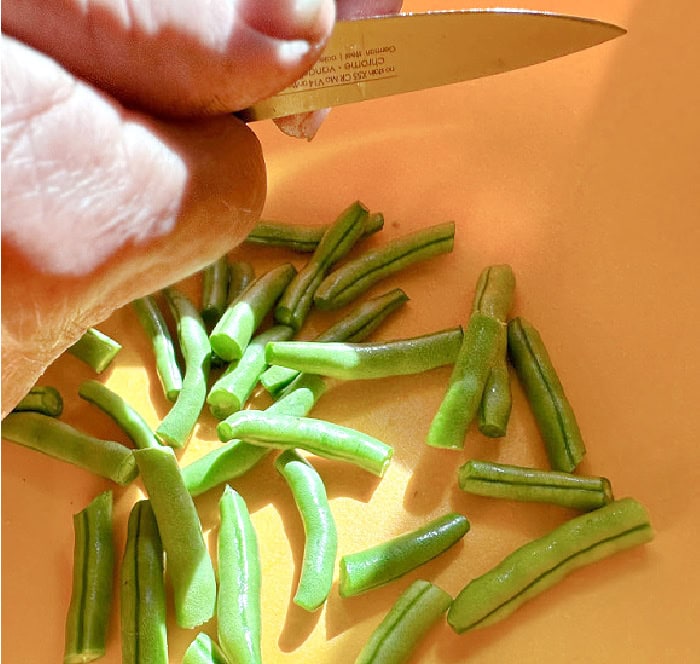
Step 2: Prepare the Canning Jars and Lids
Wash the canning jars, lids, and rings well in hot soapy water and rinse thoroughly.
Because the green beans will be processed in a pressure canner for longer than 10 minutes, the jars do not need to be sterilized beforehand. They do need to be clean and kept warm until you are ready to fill them.
Different brands of canning lids can have slightly different preparation directions, and some can be kept hotter than others. For that reason, it is best to read and follow the directions that come with your own canning lids.
Step 3: Blanch the Green Beans
Bring a large pot of water to a boil. Add the prepared green beans and blanch them for about 5 minutes.
Blanching helps the beans keep their bright green color, improves their texture, and removes some of the air trapped inside them before canning.
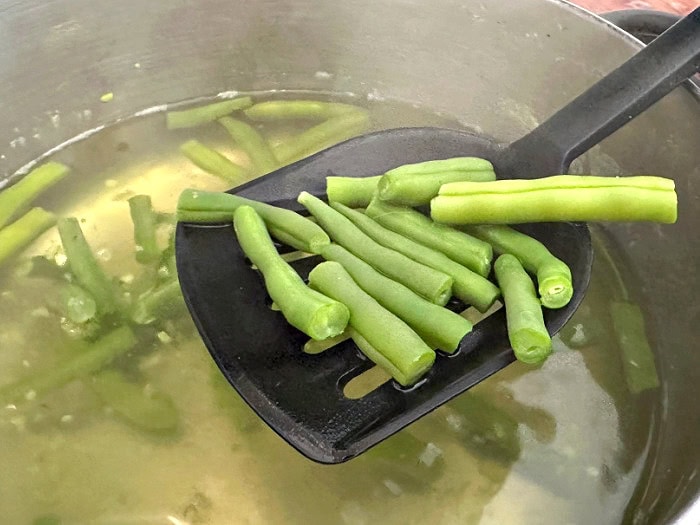
While the beans are blanching, bring a second large pot of water to a boil. You will use this boiling water to cover the green beans once they are packed into the jars.
Step 4: Pack the Green Beans Into the Jars
Once the green beans are blanched, carefully pack the hot beans into the warm canning jars. Leave 1 inch of headspace at the top of each jar.
Pack the beans fairly snugly, but do not crush them.
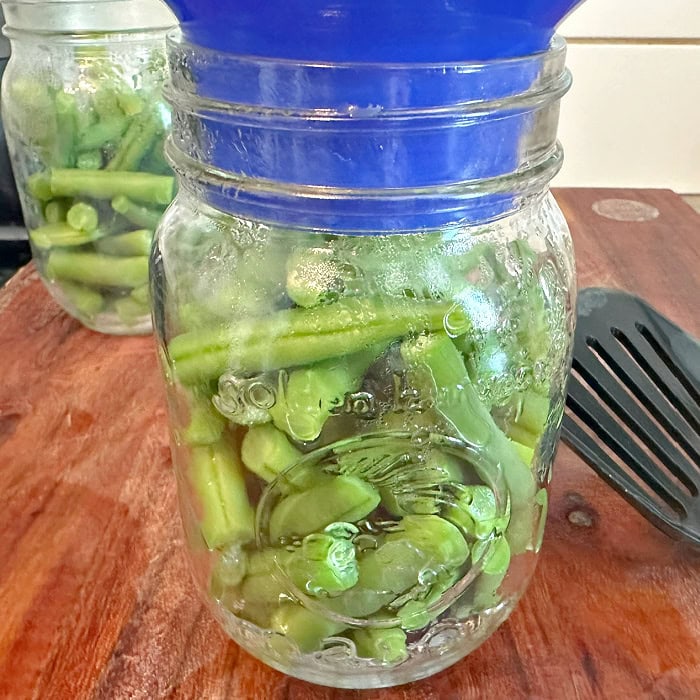
My husband usually does the actual canning in our house, while I work alongside him taking the photos and writing everything down for the blog. He has his favorite canning tools and a routine that works well for him, so these process photos show how we really do it at home.
Step 5: Add the Pickling Salt
Add 1/4 teaspoon of pickling salt to smaller jars, or 1/2 teaspoon to pint jars like the ones we are using. The salt adds a little extra flavour to the beans, but it is optional.
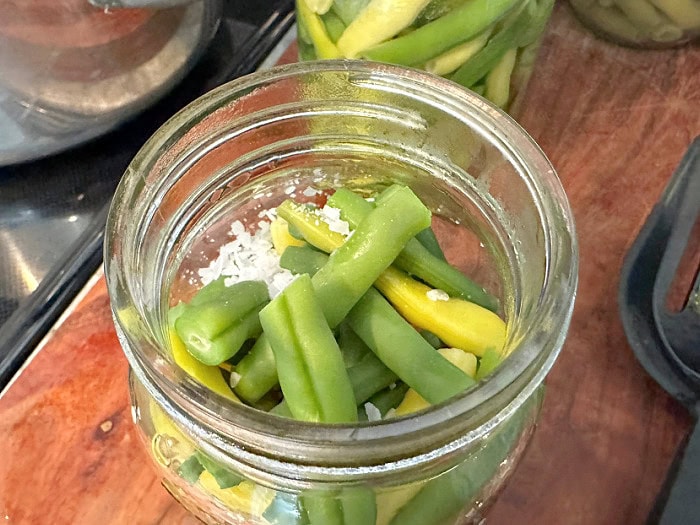
I used to give the jars a little shake to help dissolve the salt, but that really isn’t necessary. The contents will get plenty hot and boil during pressure canning, so the salt will dissolve on its own.
Step 6: Add the Boiling Water
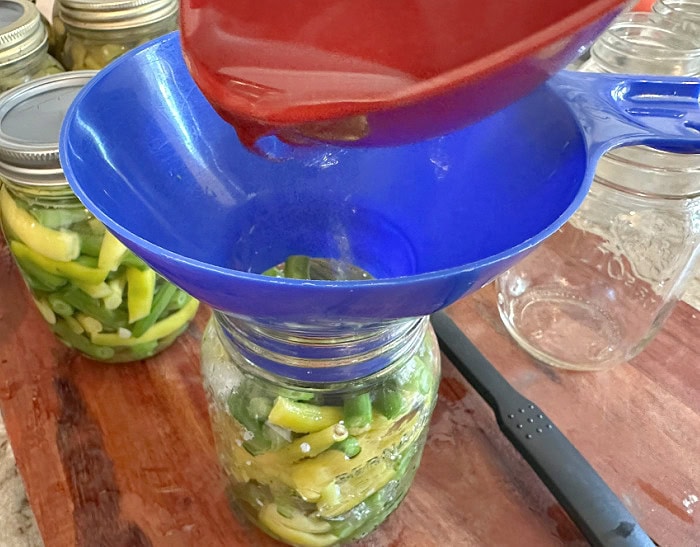
Once the salt is added, carefully fill each jar with boiling water, leaving 1 inch of headspace at the top.
Step 7: Add the Lid and Ring
Wipe the rim of each jar with a clean damp cloth to make sure it is free of any food or residue.
Place a canning lid on each jar, then add the ring and tighten it until fingertip tight. Do not overtighten the rings.
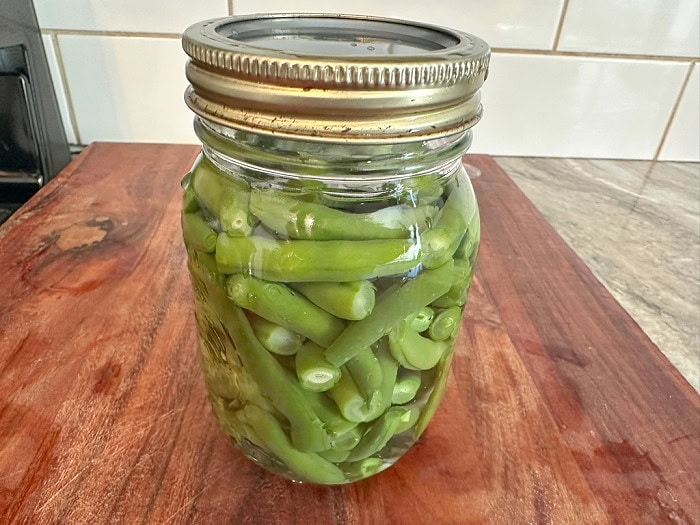
Once the lids and rings are in place, the jars are ready to go into the pressure canner.
Step 8: Place the Jars in the Pressure Canner
Place the filled jars upright on the wire rack inside your pressure canner, leaving a little space between each jar so they are not touching. Add water to the pressure canner according to the directions for your particular model.
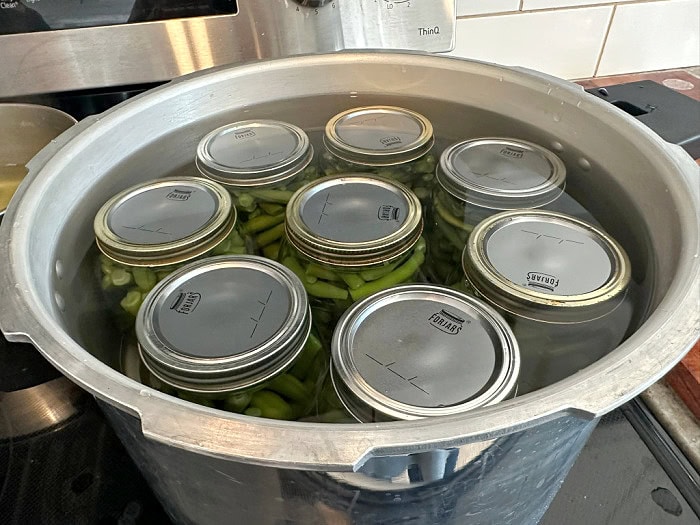
Lock the lid into place and leave the vent open.
Heat the canner until you have a strong, steady stream of steam coming from the vent. Let the canner vent for 10 full minutes before adding the weight. This removes trapped air from inside the canner before it begins building pressure.
Step 9: Adjust the Pressure for Your Elevation
If you are new to canning vegetables, it is important to know your home’s elevation so you can adjust the amount of weight needed to seal the jars properly.
You can look up your city’s elevation online. Here is a short table you can follow, along with a link to the official government canning website so you can feel confident you are using the correct pressure for your elevation.
Weighted Gauge Pressure Canner
- 0 to 1,000 feet: 10 pounds
- Above 1,000 feet: 15 pounds
National Center for Home Food Preservation
For my home, we are above 1,000 feet in elevation, so I use the 15-pound weight on my pressure canner.
Step 10: Process the Green Beans
Once the pressure canner reaches the correct pressure for your elevation, begin timing.
Process pint jars for 20 minutes and quart jars for 25 minutes, keeping the canner at the correct pressure for the entire processing time.
When the processing time is finished, turn off the heat and allow the pressure canner to cool and release the pressure naturally.
Once the canner is completely depressurized, remove the weight. Wait another 10 minutes, then carefully remove the lid, opening it away from your face and body so the hot steam escapes safely.
Important Pressure Canning Safety Note
This part is really important, so please be cautious when releasing the pressure and opening the canner. Make sure there are no kids or pets nearby.
Pressure canning is safe when it is done properly, but this is not a step to shortcut. Let the canner depressurize completely, remove the weight only when it is safe to do so, and always open the lid away from yourself.
Step 11: Remove the Jars From the Canner
Once the lid is safely removed, use a jar lifter to carefully remove the jars from the pressure canner.
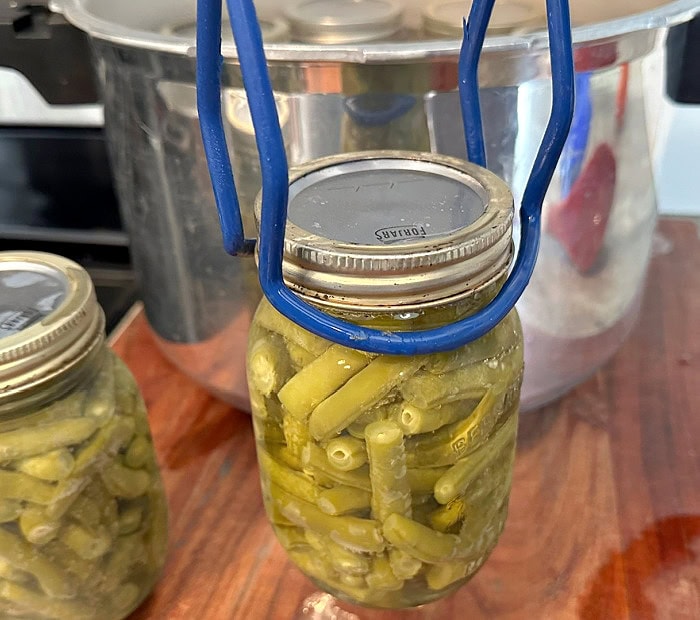
Keep the jars upright and place them on a towel or wooden board to protect the counter from the heat. Leave a little space between the jars so air can circulate around them, and let them cool without being disturbed.
Step 12: Let the Jars Cool
Allow the jars to sit undisturbed for 12 to 24 hours.
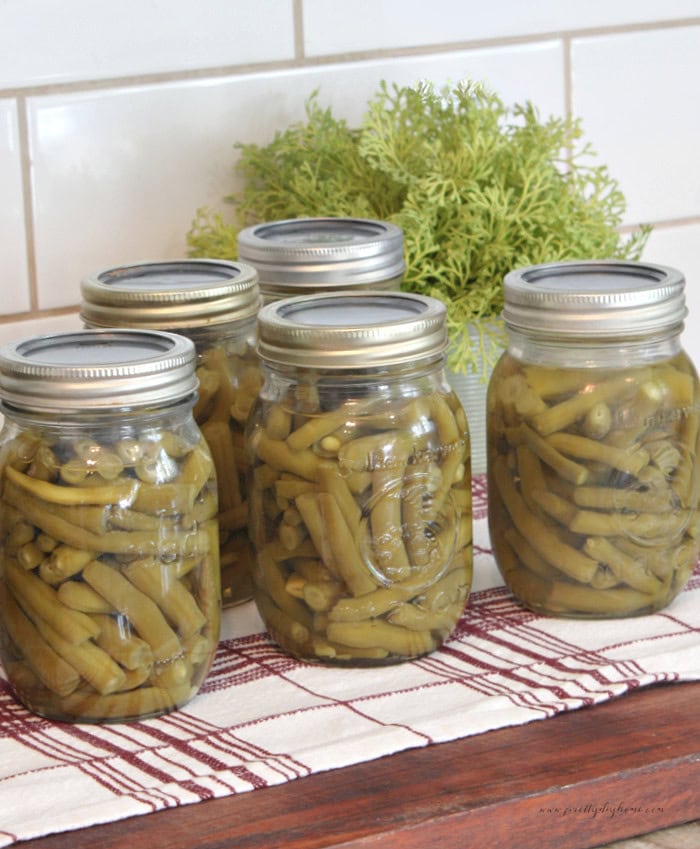
As the jars cool, you will hear some of the lids make that familiar popping sound as they seal. I am always tempted to run over and check them as soon as I hear those pops, but it is better to leave the jars alone until they are completely cool.
Do not press down on the lids or tighten the rings while the jars are cooling.
Step 13: Check the Seals
Once the jars are completely cool, check each lid to make sure it has sealed properly.
The centre of the lid should be slightly indented and should not move up and down when you press it.
Wipe the jars clean, and label them with the contents and date. I typically just use a Sharpie pen and write it on the lid.
If a jar did not seal, place it in the refrigerator and use the green beans soon.
How to Store Home Canned Green Beans
Store your canned green beans in a cool, dry, dark place away from direct sunlight.
Before opening a jar, check the seal and the jar. If the lid is loose, the jar is leaking, or anything looks or smells unusual, do not use it.
Serving Home Canned Green Beans
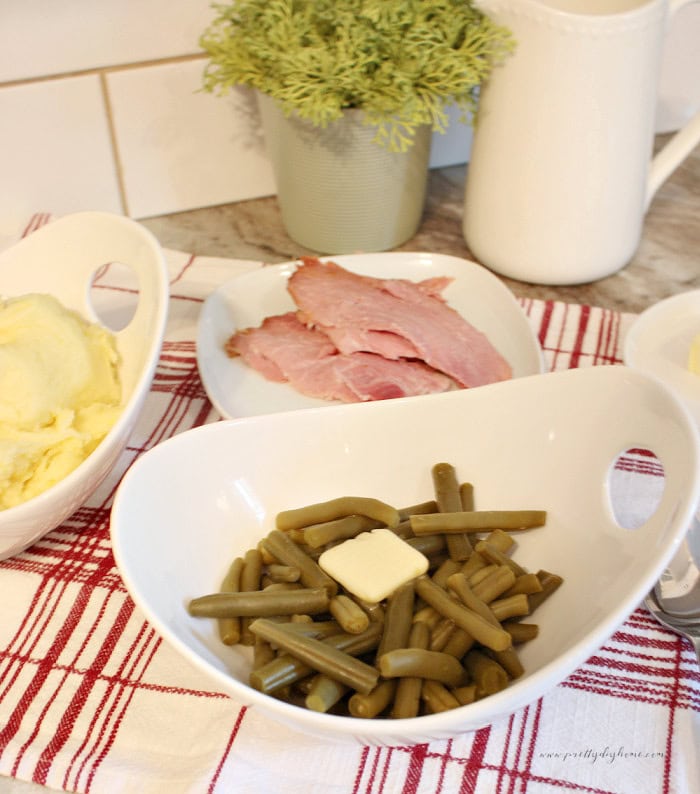
Home canned green beans are so convenient for family meals. Simply open a jar, drain the beans, and warm them in a saucepan.
I usually keep them simple with a little butter, salt, and pepper, but you can season them however your family likes them.
Canning Green Beans Gets Easier
The first time you can something, the whole process can feel complicated. After you have done it a few times, canning starts to feel much more familiar. You learn the basic routine of preparing the food, filling the jars, processing them, and letting them cool. The details can change depending on what you are canning, but the overall process becomes much easier once you have done it before.
I really hope this post gives you the confidence to give pressure canning a try. One of the things I like most about canning our own vegetables is knowing exactly what is going into each jar. I know the beans were fresh when they were canned; I know the water was clean, and I know exactly how they were prepared. Home canned vegetables are so handy to have in the pantry, and I think they taste so much better than commercially canned vegetables. Once you have a few jars tucked away for winter, you will be very glad you did it.
Learn how to can green beans with a pressure canner using fresh beans and simple step-by-step instructions. This home canning guide includes preparing the beans, filling the jars, adjusting pressure for elevation, processing times, cooling, and checking the seals.
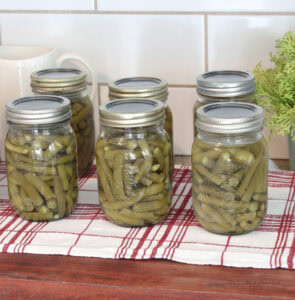
Pressure Canned Green Beans
Ingredients
- 9 pounds fresh green beans
- Boiling water enough to fill the jars
- ½ teaspoon pickling salt per pint jar optional
Instructions
- Wash the green beans well in cold water. Trim the ends and leave them whole or cut them into approximately 1 inch pieces.
- Wash the canning jars, lids, and rings well. Keep the jars warm and prepare the lids according to the manufacturer’s directions.
- Bring a large pot of water to a boil. Add the green beans and blanch them for about 5 minutes.
- Pack the hot green beans into warm pint jars, leaving 1 inch of headspace.
- Add ½ teaspoon of pickling salt to each pint jar, if using.
- Fill each jar with boiling water, leaving 1 inch of headspace.
- Wipe the jar rims clean. Add the lids and rings, tightening the rings until fingertip tight.
- Place the filled jars upright on the wire rack inside the pressure canner, leaving a little space between each jar. Add water according to the directions for your particular pressure canner.
- Secure the canner lid and leave the vent open. Heat until a steady stream of steam escapes, then vent for 10 full minutes before adding the weight.
- Process pint jars for 20 minutes at the correct pressure for your elevation. For a weighted gauge canner, use 10 pounds pressure from 0 to 1,000 feet and 15 pounds pressure above 1,000 feet.
- When processing is complete, turn off the heat and allow the canner to depressurize naturally.
- Once fully depressurized, remove the weight. Wait 10 minutes, then carefully open the lid away from your face and body.
- Remove the jars with a jar lifter and place them upright on a towel or wooden board. Allow them to cool undisturbed for 12 to 24 hours.
- Check the seals once the jars are completely cool. Remove the rings, wipe the jars clean, label them, and store them in a cool, dry, dark place.
Notes
More Canning Recipes for Your Pantry

How to Can Tomatoes (Pressure Canning Method)
If you have lots of fresh tomatoes from the garden, this How to Can Tomatoes recipe is another great way to preserve them for later. Like today’s post, it shows you everything you need to know step by step.
Spiced Pickled Beets Canning Recipe
This Spiced Pickled Beets recipe is exactly the one you remember, with all those warm cloves and cinnamon. These beets are amazing to have on hand when you want a quick extra side dish to add a little something special to the menu.