
DIY Cinnamon Broom Decor for Fall
This fall I am creating all of my fall front porch decor myself. I’m beginning with these DIY cinnamon brooms while I wait for the mums and fresh pumpkins to arrive in stores, so I can finish putting our fall porch decor together.
Have you ever heard of cinnamon brooms? They start with an inexpensive corn broom, then you add the warm scent of cinnamon, some fall embellishments, and you end up with a charming fall decoration that adds the scent of cinnamon to your front porch.
If you’ve ever walked through a craft store when the scented pinecones come into stock for fall, you will know exactly what a cinnamon broom smells like.
This DIY cinnamon broom only takes a few minutes to put together, but the project comes in two parts. The scenting is done about a week before you decorate the broom, giving the fragrance time to work its way into the natural broomcorn fibres. Once the broom has aged and you are happy with the scent, you can move on to the fun part and decorate it for fall.
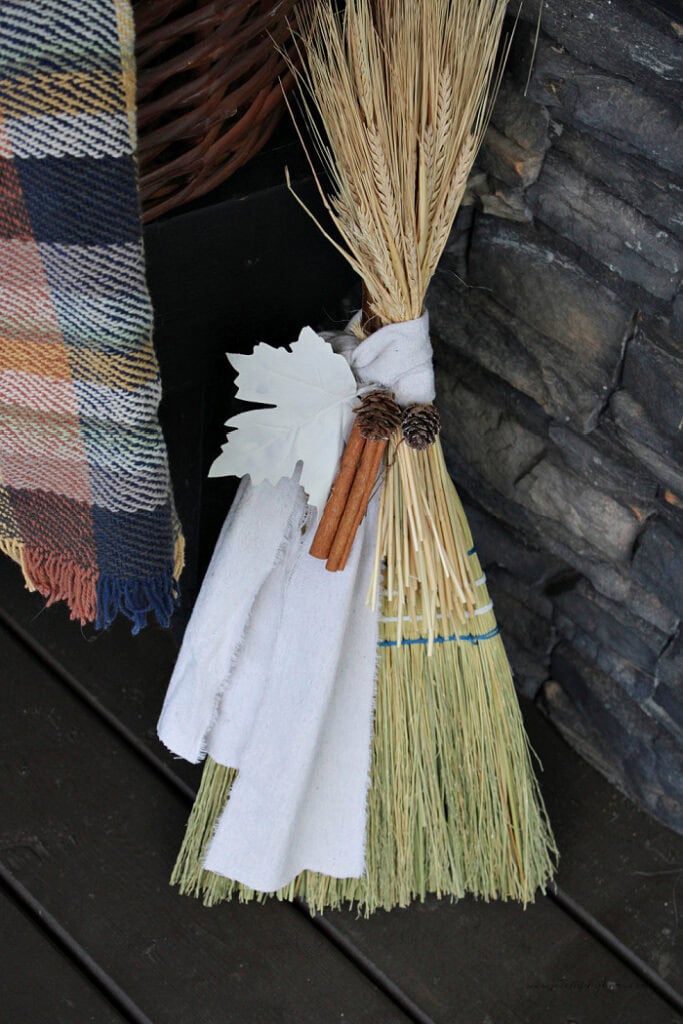
I made two cinnamon brooms using the same basic method, but decorated each one in a different style. The first has a simple primitive look with torn fabric, wheat, and cinnamon sticks, while the second is a fuller, more decorative version. I’ll show you how I put both of them together.
How to Make a Cinnamon Broom
Supplies for Scenting the Broom
The supplies for scenting the broom are very basic, and you will need them regardless of which decorating style you choose for your cinnamon broom.
- 1 natural corn broom
- Cinnamon fragrance oil or cinnamon bun fragrance oil
- Large plastic garbage bag
- Disposable gloves
I used cinnamon bun fragrance oil because I couldn’t find cinnamon oil locally. Either will work for this project. Make sure your fragrance oil isn’t brightly colored, as you want to avoid staining the light-colored broomcorn. The fragrance oil I used was clear and did not discolor the broom at all.
The fragrance is quite strong when first applied, so I recommend wearing disposable gloves and working outdoors or in a well-ventilated shop or garage.
Supplies for Decorating the Cinnamon Broom
Besides the broom itself, you will want to gather a few fall embellishments to decorate it. The exact supplies can vary depending on the style you want and what you already have on hand.
This year I’m choosing a primitive fall decor style, so I used warm neutrals and muted greens instead of bright traditional oranges and reds. I usually decorate for fall with neutral whites, but for this project I chose warmer creams, soft greens, and browns instead of crisp bright white.
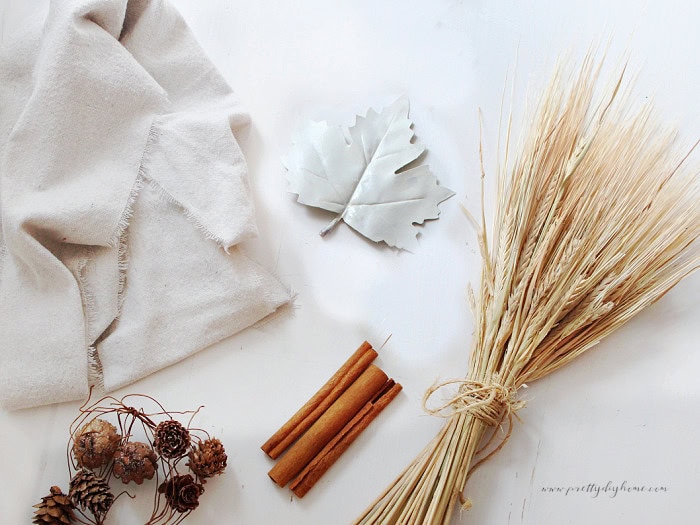
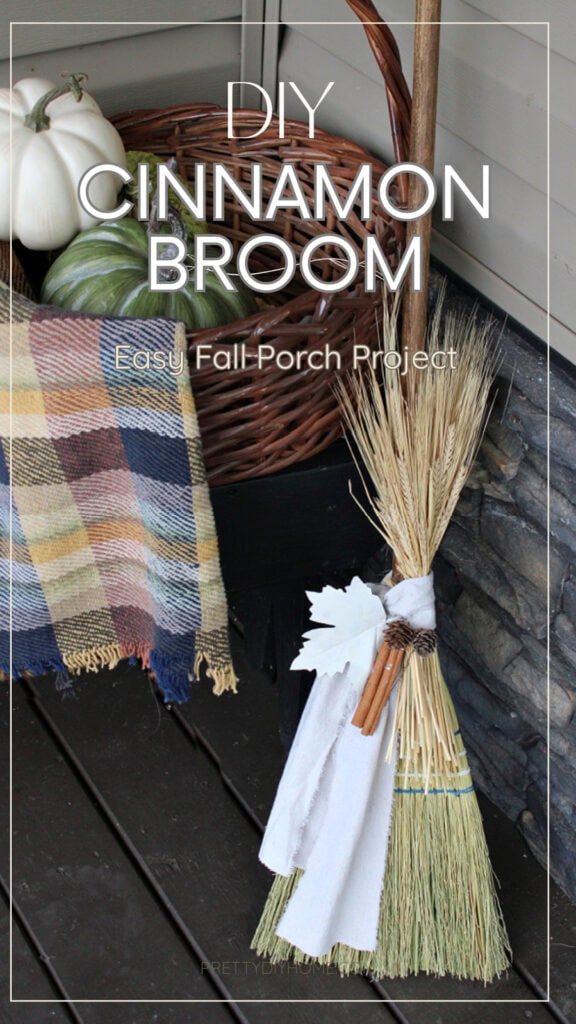
For my lightly decorated primitive broom, I used:
- A strip of torn drop cloth
- Floral wire
- Small pinecones on wire
- Real wheat stalks
- Cinnamon sticks
- One warm white faux fall leaf
- Hot glue gun and glue sticks
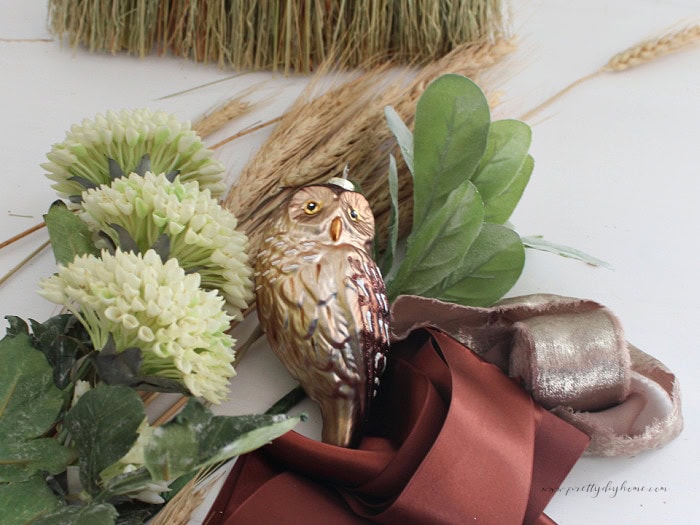
For the more decorated cinnamon broom, I started with one of my owl Christmas tree ornaments and built the arrangement around it. I used:
- Owl Christmas tree ornament
- Metallic ribbon
- Chocolate brown satin ribbon
- Real wheat stalks
- Faux green florals
- Floral wire
- Hot glue gun and glue sticks
Choosing a Broom
If you can find an old-fashioned witch’s broom or a simple handmade broom made from natural materials, either would be beautiful for this project. I wasn’t able to find one locally, so I went looking for a traditional corn broom instead.
Look for a broom made with natural broomcorn and as little plastic or brightly painted material as possible. The natural fibres give you that rustic, primitive look and also provide plenty of places to tuck the cinnamon fragrance down inside the broom.
With a little searching, I found an inexpensive natural corn broom with a simple wooden handle and natural broomcorn. It did have a small strip of blue stitching around the broom, but otherwise it had the old-fashioned look I wanted. Even better, the wooden handle was already stained a beautiful warm brown, which made it perfect for my fall decor.
Scenting the Cinnamon Broom
Step 1: Prepare the Broom
Lay an old towel down to protect your work surface and make sure the area is clean for the broom. Place the corn broom on top.
I did this part on a work counter in the shop with the garage door wide open beside me, which gave me plenty of ventilation while working with the strong cinnamon fragrance.
Put on a pair of disposable gloves before handling the fragrance oil.
Step 2: Add the Cinnamon Fragrance
Using your fingers, gently separate the broomcorn fibres in several places. Add about 20 drops of cinnamon fragrance oil down between the fibres, working it deep inside the broom instead of leaving it only on the surface.
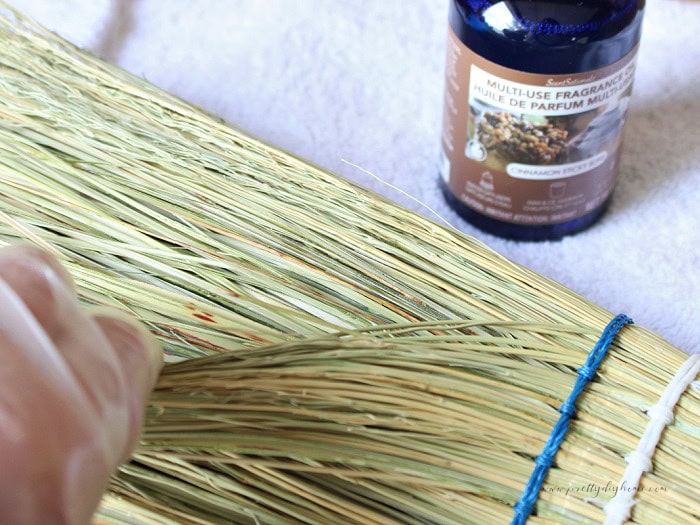
Flip the broom over and scent the other side, spreading the fragrance throughout the broomcorn rather than saturating one area.
Step 3: Let the Cinnamon Broom Age
Once the fragrance oil has been added, place the broom inside a large plastic bag and tie the bag tightly to seal in the scent.
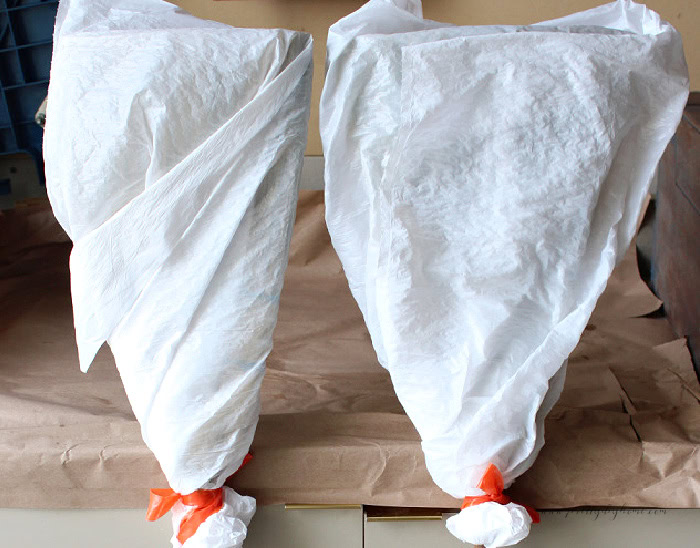
I left mine in the garage for a full week to give the cinnamon fragrance time to permeate the natural broomcorn fibres before coming back to finish the project.
Cinnamon fragrance is usually quite strong when first applied, so I recommend starting with a light hand. After the broom has aged for a week, open the bag and check the scent. If you would like it stronger, add a little more fragrance oil, reseal the bag, and let it sit for another day or two.
Primitive Cinnamon Broom Example
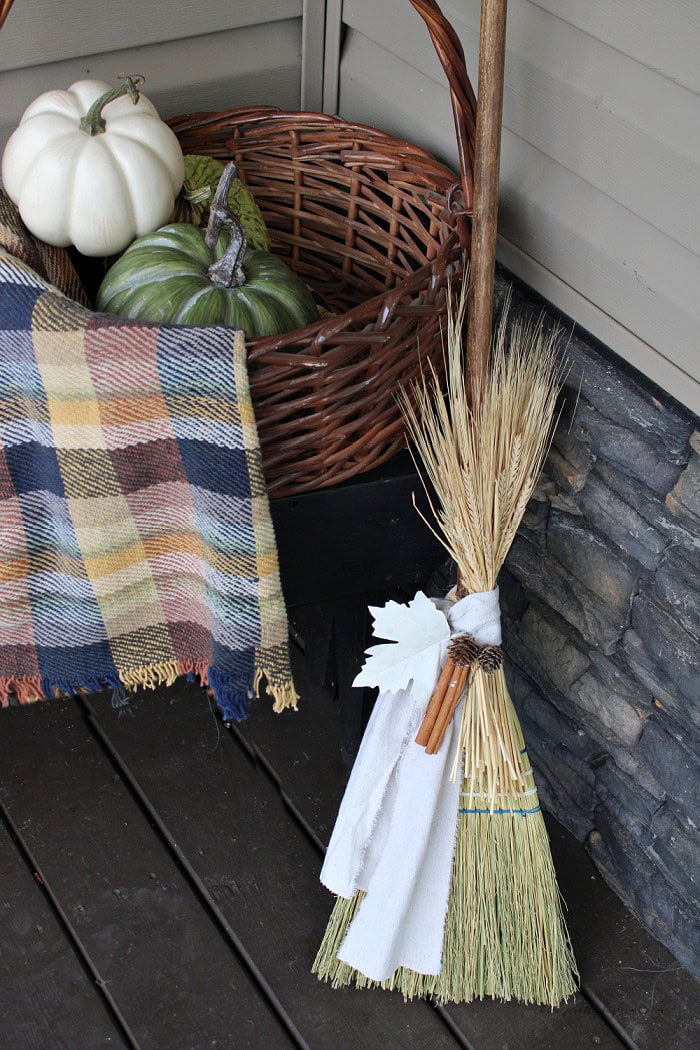
For the first broom, I kept the decorating simple and primitive. I wanted the broom itself to remain visible, with just enough wheat, cinnamon, fabric, and a few small embellishments to give it an old-fashioned fall look.
Step 1: Attach the Wheat
Begin by placing the wheat bundle along the right side of the broom near the top of the broomcorn. Tie the top of the bundle securely in place with string or floral wire.
Next, attach the lower part of the wheat bundle so it stays close to the broom. Slip a small piece of floral wire behind the wheat and weave it between the broomcorn fibres, then twist it securely at the back. This keeps the wheat in place without making the attachment too noticeable from the front.
Step 2: Add the Fabric
Take a strip of fabric about 3 inches wide and wrap it around the wheat bundle and the wired portion of the broom. Tie the fabric in a simple overhand knot, leaving the ends loose and uneven for a relaxed primitive look.
Step 3: Attach the Cinnamon Sticks
Fold a piece of floral wire in half and feed it through two cinnamon sticks. Twist the wire together to hold the cinnamon securely in place.
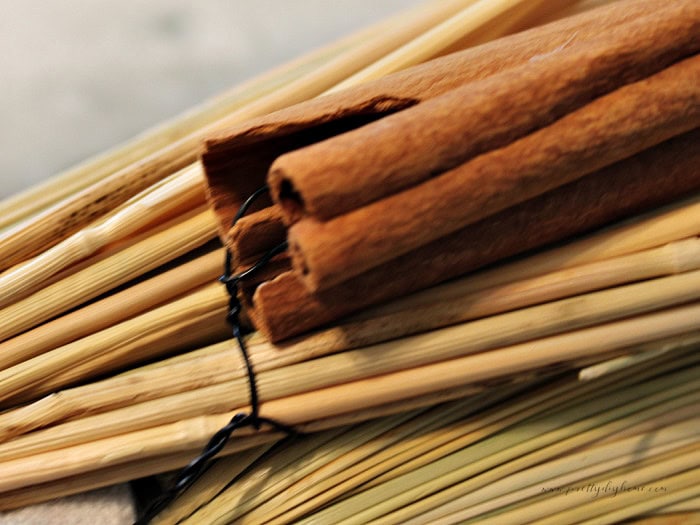
I wanted one extra cinnamon stick showing across the front, so I hot-glued a third piece in place before attaching the bundle to the broom.
Attach the cinnamon sticks just beneath the wheat on the same side of the broom. Use the floral wire to secure the bundle to the broomcorn fibres, tucking the wire down between the bristles so it is hidden as much as possible.
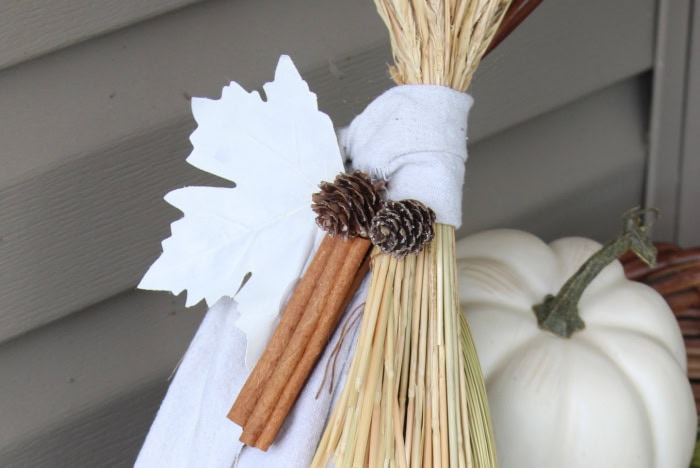
Step 4: Add the Final Embellishments
The final touch was hot gluing a warm white fall leaf and the small pinecones into the area just above the cinnamon sticks. I kept them close together so they filled in the center of the arrangement without covering too much of the wheat or broomcorn.
I purposely left the tops of the wheat stalks at different heights and didn’t worry about trimming all the ends evenly. Keep the whole arrangement casual rather than overly polished. The goal is for the broom to look pretty but well used, almost as though it has been working around the house for a season or two. Let the fabric hang naturally, leave the frayed edges showing, and don’t worry if everything isn’t perfectly even.
More Decorated Cinnamon Broom Example
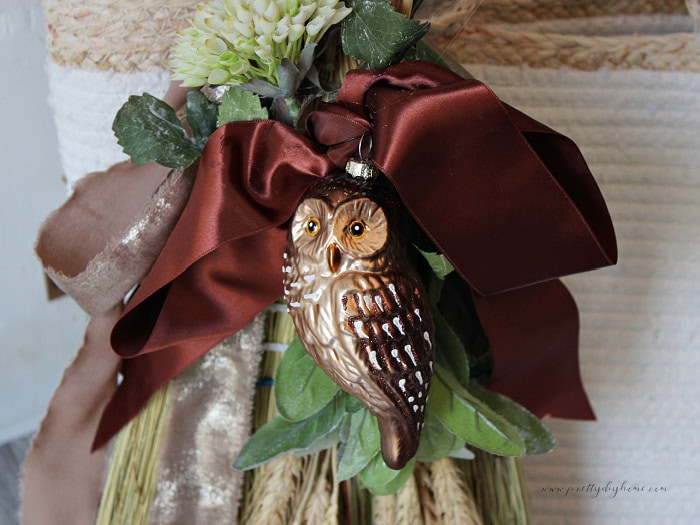
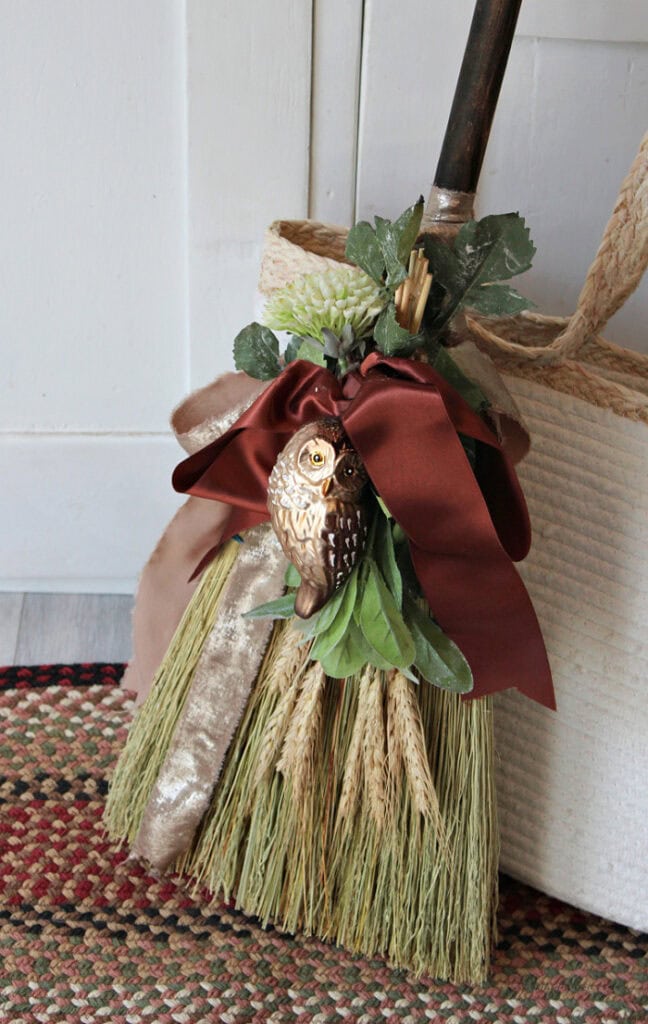
The second style is a little more structured and decorated than the primitive broom. I still kept the colors soft and earthy, but this version has a fuller arrangement with more ribbon, greenery, wheat, and the owl ornament as the focal point.
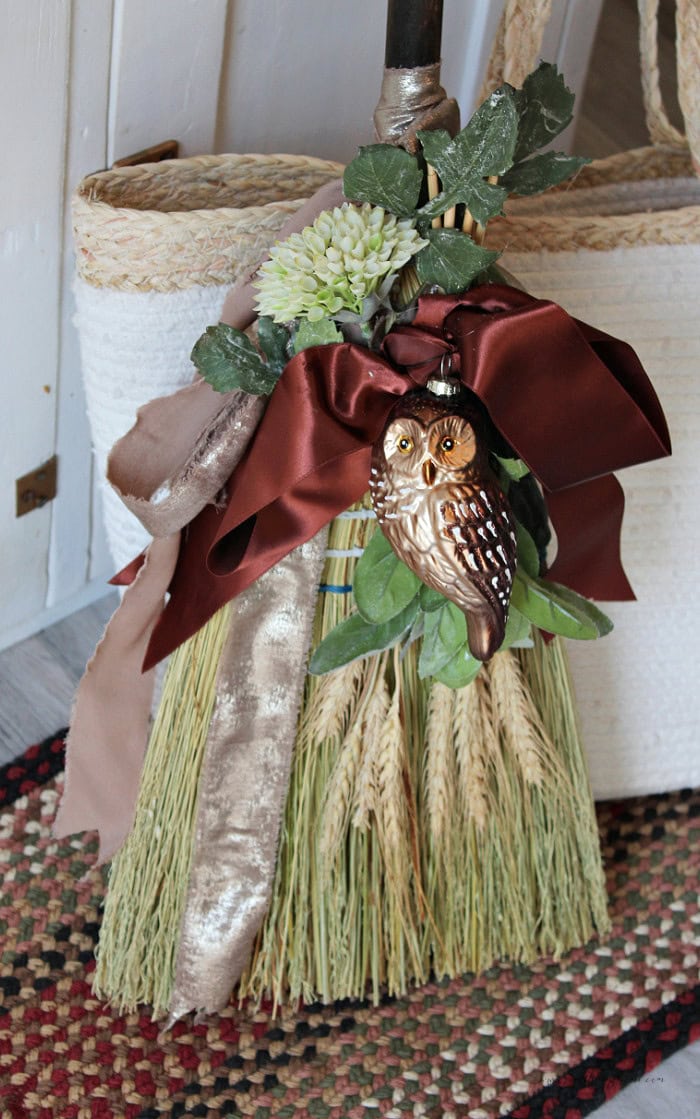
Instead of keeping everything loose and uneven, I built this broom in a more balanced way so the decoration feels larger and more symmetrical.
Step 1: Add the Ribbon
My metallic ribbon was about 1 1/2 inches wide, so I wrapped it around the broom handle first to hide the wire. Then I tied one large, droopy bow on each side, letting the ribbon tails cascade down opposite sides of the broom.
Step 2: Add the Greenery and Wheat
Arrange the wheat evenly on both sides of the broom for a symmetrical look. Place the wheat upside down behind the greenery, with the cut stems extending about 1 to 2 inches above the wire, as shown in the photo.
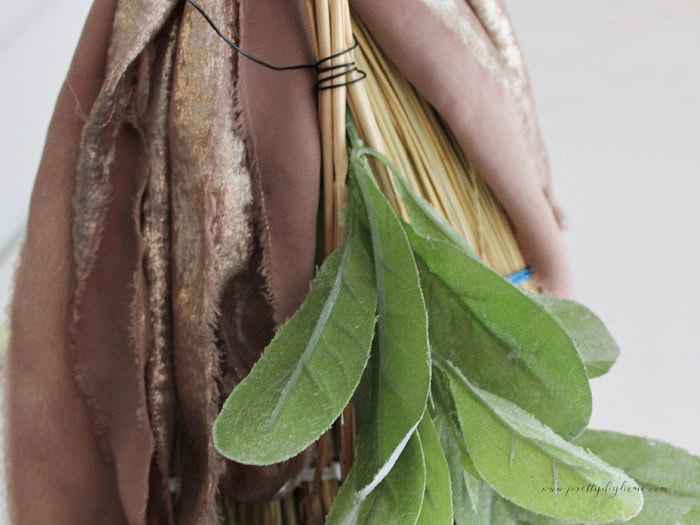
Wrap the wheat and greenery together securely with floral wire, then weave the wire through the broomcorn twice to hold everything in place. Leave a little extra wire in the center for attaching the owl ornament.
Step 3: Add the Chocolate Satin Ribbon
Tie a 2-inch-wide piece of chocolate satin ribbon around the short wheat stems sticking out above the wire. Let the ribbon cascade down both sides of the broom, then trim the ends once you are happy with the length.
Step 4: Attach the Owl Ornament
Using the extra floral wire left at the center of the arrangement, thread the wire through the owl Christmas ornament twice and secure it firmly in the middle of the broom.
Step 5: Add the Finishing Touches
Once everything is in place, add a little hot glue anywhere it can be hidden to help hold the wheat and position the chocolate ribbon exactly where you want it.
Finish by covering any exposed wheat stems or other unfinished areas with the flower and a little extra greenery.
Two Cinnamon Broom Ideas for Fall
I really like how different these two cinnamon brooms turned out, even though they started with the same inexpensive corn broom and were scented the same way. The primitive version is the one I chose for home, while the fuller decorated broom gave me the chance to share a second, more traditional example using some of the embellishments I already had on hand.
The second broom is a little more dressed up, but both still fit with the softer fall look I am using this year. That is one of the nicest things about this project. You can start with the same basic cinnamon broom and decorate it to suit whatever fall style you love.
Now that the cinnamon brooms are finished and the fragrance has had plenty of time to settle, I am just waiting for the mums and fresh pumpkins to arrive so I can finish putting our fall front porch decor together.
Love this DIY cinnamon broom decor idea? Save it to Pinterest so you can find it when you are ready to decorate for fall. It is an easy fall porch project that starts with an inexpensive corn broom and can be customized with whatever fall embellishments you already have on hand.
More Fall Front Porch Decor Ideas
Pretty Fall Front Porch Decor
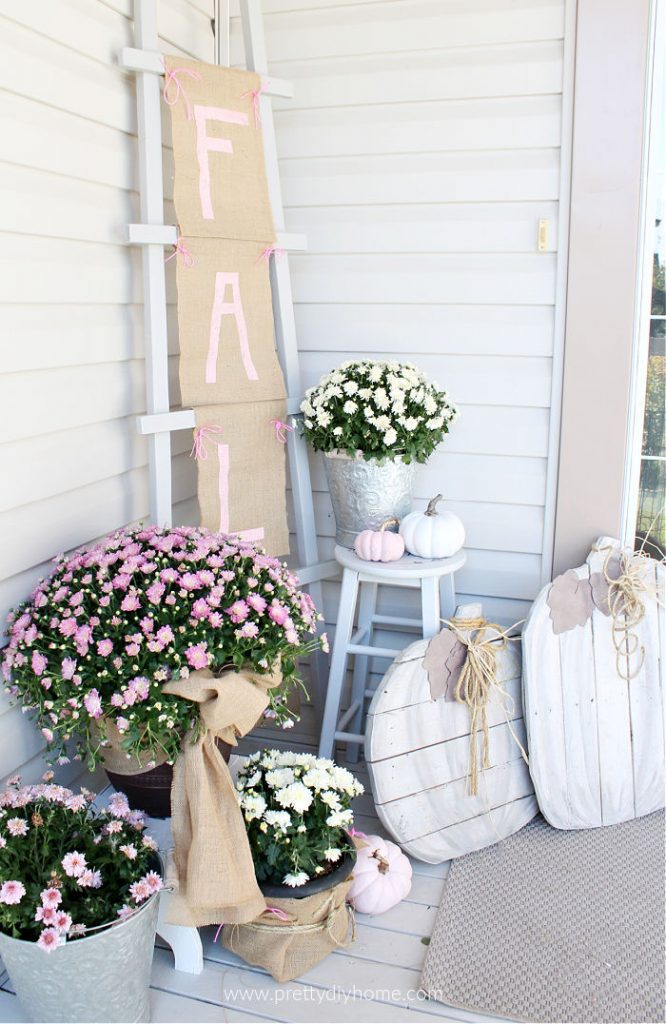
This fall front porch is filled with simple fall decor ideas, including pumpkins, mums, a DIY fall banner, and an old wooden ladder. It’s a pretty example of how a few inexpensive pieces can come together to create a warm and welcoming fall entrance.
Outdoor Wooden Pumpkin Decoration for Fall
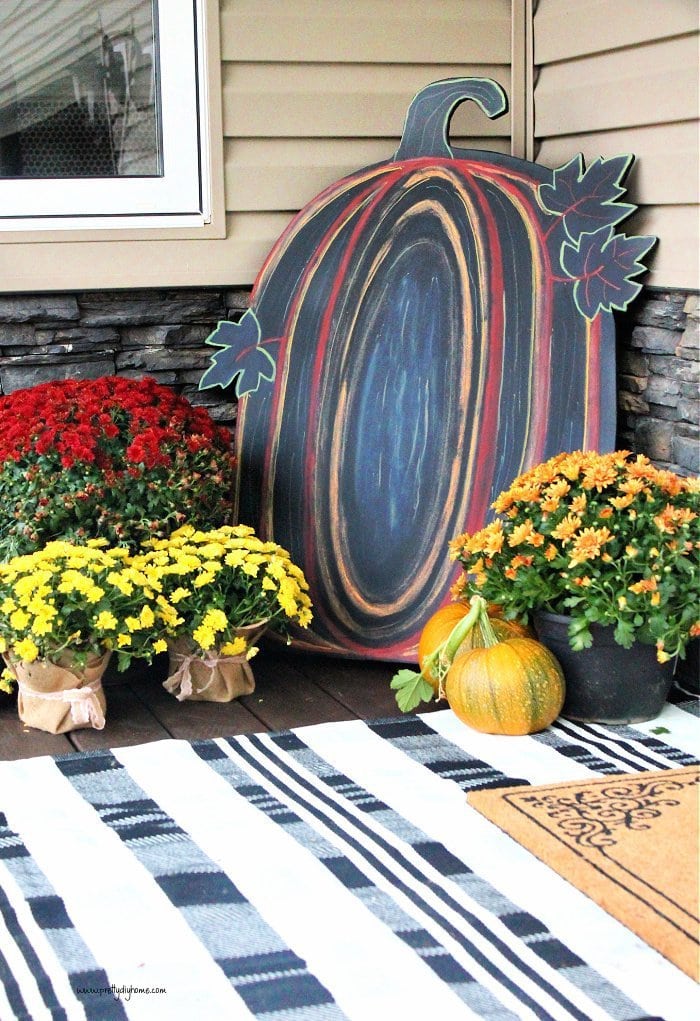
This outdoor wooden pumpkin is a fun fall porch project made with simple wood pieces and finished with a chalkboard front. It adds a handmade rustic touch to your front entrance and can be changed throughout the season with different chalk messages.