
DIY Fancy Witch Hat for Halloween
This fancy DIY witch hat can be worn as a fun addition to a witch costume or displayed as a Halloween witch hat decoration. It became the focal point of our Halloween front foyer. The hat is elegant with black roses, sparkly tulle, velvet and a cute curled top. You can wear it as part of a fabulous witch costume or attach it to a stand for Halloween decor, like I did.
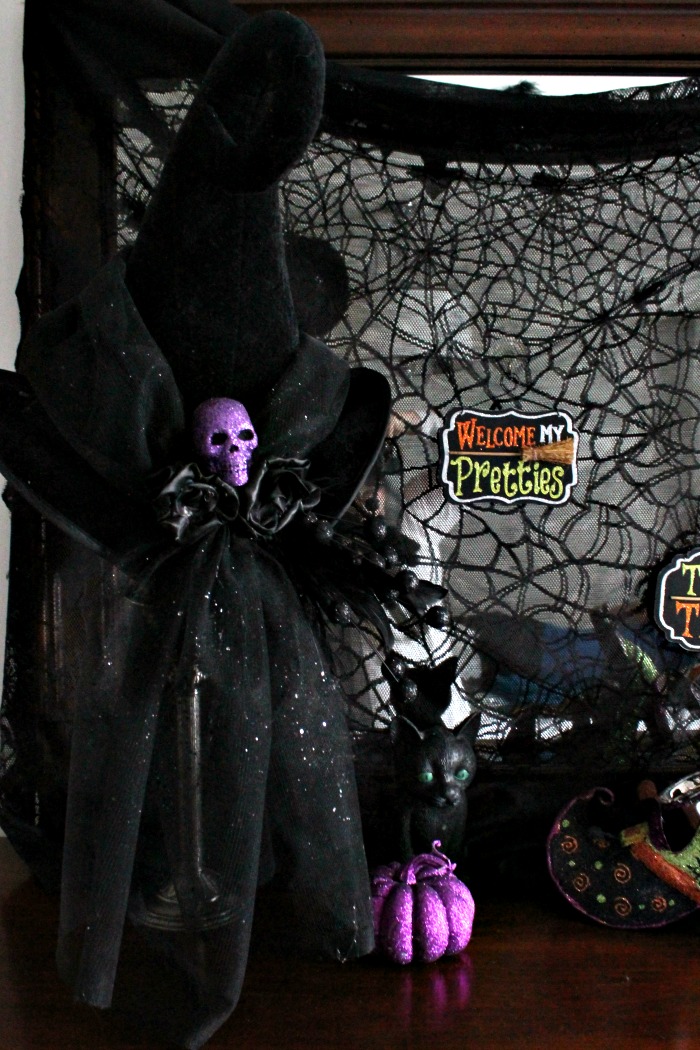
To make this fancy DIY witch hat at home, start with an inexpensive witch hat. Dollar stores usually have plenty of bargain witch hats to choose from. Making a fabulous DIY witch hat for a Halloween costume or decor doesn’t require a sewing machine, sewing pattern or expensive materials. Grab a cheap witch hat, some fun Halloween embellishments and a glue gun, and you’re ready to get started.
This particular witch hat is part of a witch’s desk vignette, so I mounted it on a Styrofoam witch head and a candlestick I found at the thrift store. I’m sharing the step-by-step tutorial for creating the hat first, followed by the simple tutorial for the hat stand.
How to Make a DIY Fancy Witch Hat
Fancy Witch Hat Supplies
- One inexpensive witch hat
- One yard or metre of sparkly tulle
- Glittery Halloween embellishments, such as a skull, spider, or small ornament
- Shiny black fabric, such as coat lining
- Two black fabric flowers or roses
- Polyester filling
- Needle and black thread
- Hot glue gun and glue sticks
- Scissors
Step 1: Stuff the DIY Witch Hat
To make a witch hat stand up, you need to stuff your hat, making sure it is very full. If you plan on wearing the hat, stuff it as full as you can while still leaving room for your head. Once you are comfortable with the amount of filling, cut a circle of shiny black material and hot glue it to the inside of the hat to protect your head from the stuffing.
Step 2: Add Sparkly Tulle to the Witch Hat
The sparkling tulle surround is what makes this fancy witch hat stand out. I love the sparkle and the dramatic way it sweeps across the front of the witch hat. Take the yard or metre of tulle, fold over the long edge, and press it with an iron to create a hem.
Using a measuring tape, measure the circumference of your witch hat. Mine measured about 23 inches.
Gather the tulle into one-inch gathers.
Fold the tulle in half to find the center. From the center, measure half the circumference of your hat in each direction. For example, if your hat measures 23 inches around, measure 11 1/2 inches from the center on each side.

Once gathered, loosely sew the gathers together at the point marking half the circumference of the witch hat.

Repeat the same process on the other side.

Take the front center of the tulle, place it at the front of the witch hat, and wrap both sides around to the back. Make a crisscross at the back and tack the tulle in place. Don’t worry if the stitches show. There should be enough tulle left to hang down the back of the hat. That’s why we started with a full yard of fabric.
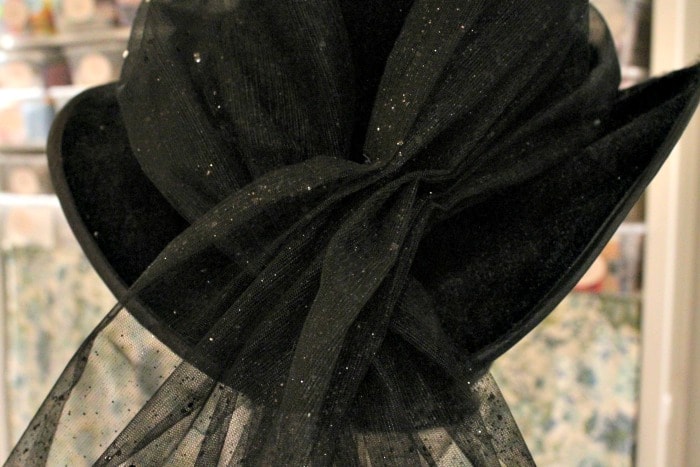
Fluff the tulle at the front of the witch hat until it looks full and even.
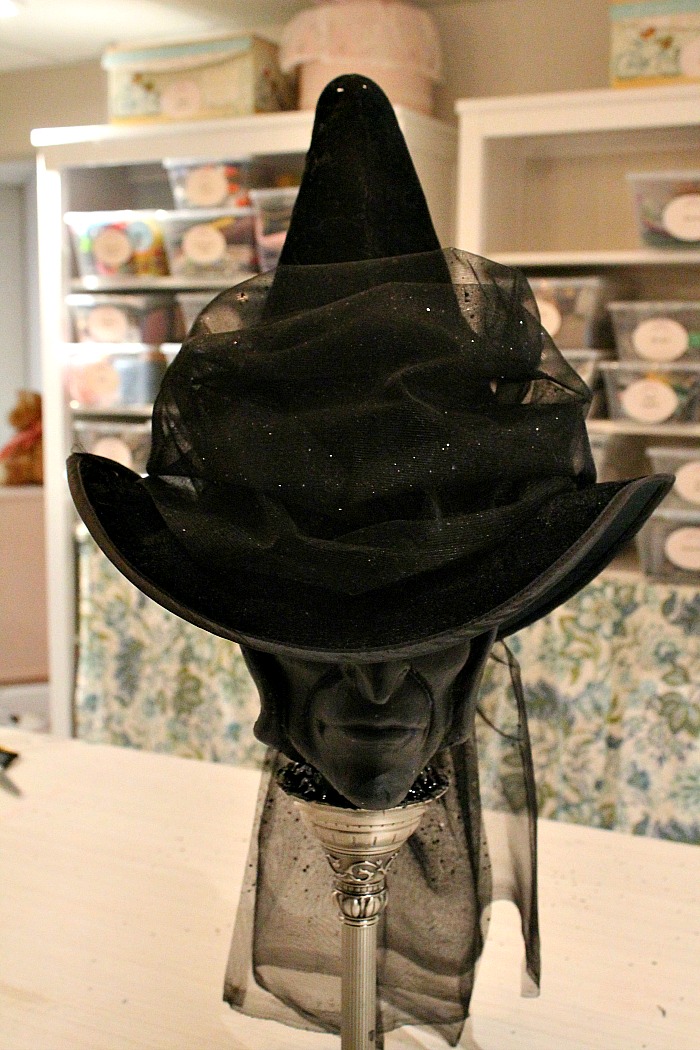
Step 3: Add the Front Embellishment to the Witch Hat
To make the small front arrangement, gather the tulle along one side and sew the gathers in place.

Once it is gathered and sewn, hot glue a fun Halloween embellishment over the gathered area. I used a sparkly skull, but a spider, feather, pumpkin, or miniature cauldron would also work well.

Once you have the front arrangement finished, move to the back of the hat and create the larger floral arrangement.
Step 4: Decorate the Back of the Witch Hat
For the large arrangement on the back of the witch hat, use two pretty flowers and a sparkly embellishment. I made two easy rolled fabric roses using the leftover black coat lining. Use any florals you like. There is no set pattern, but I placed one large black flower on each side. Glue the finished embellishment arrangement over the crisscrossed tulle at the back of the hat.
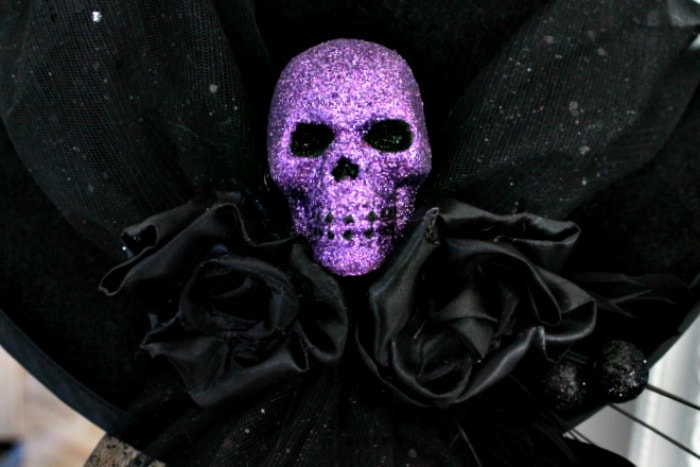

If you plan to wear your DIY witch hat, you can stop here. If you want to display it as Halloween decor, continue with the optional witch hat stand below.
DIY Witch Hat Decoration Stand
Craft stores have various kinds of Styrofoam heads for Halloween. I was fortunate to find a Styrofoam witch head while I was searching for a large candlestick at the thrift store.

Step 1: Paint the Witch Hat Stand
Using black chalk paint, give the Styrofoam witch head two coats of paint, allowing the first coat to dry before applying the second. I used a small jar of Martha Stewart black chalk paint, but any black chalk paint will work. Let the second coat dry completely before continuing.
Step 2: Attach the DIY Witch Hat to the Stand
The style of candlestick you have will determine how you attach the witch head to the stand. If you have a tall, narrow candlestick, insert a piece of dowel into the candlestick, then push the other end of the dowel into the bottom of the Styrofoam witch head.
It’s easier if you have a wide topped candlestick because you can simply hot glue the witch head directly onto the top. Once the glue is secure, you’re done.
Unfortunately, mine was a little in between, so I added one extra step.
First, I used a small piece of Styrofoam, hot glue, and toothpicks to create a base that fit snugly into the top of the candlestick. Once the base was finished, I attached it to the candlestick with black hot glue.

DIY Witch Hat Halloween Decor Ideas
Once the easy DIY witch hat was finished, I displayed it in the front foyer and added a few Halloween decorations around it. Some of the pieces were from my existing stash, but I also picked up a few spell books and sparkly witch shoes on sale.
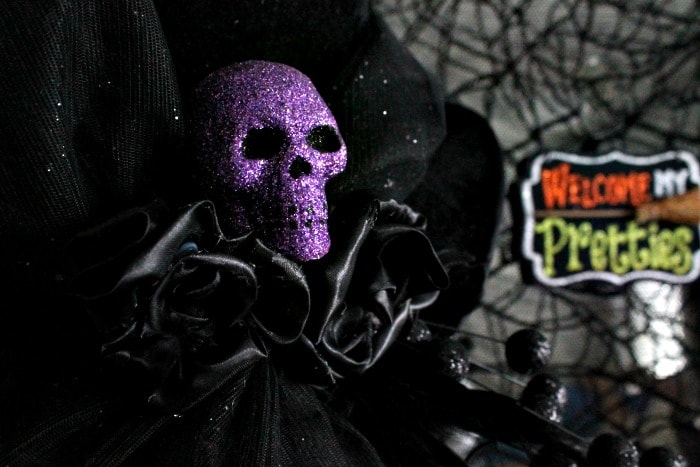
Every witch needs a little black cat, don’t you think?

All girls, even witches, appreciate fancy party shoes.

I found this perfect magic potion coffee mug and now carry it around with me every morning. So fun.

This DIY witch hat was such a fun way to add a little personality to my Halloween decor. Whether you wear it with a costume or display it on a stand, it is an easy project to customize with whatever embellishments you have on hand. I hope it inspires you to create your own fancy witch hat for Halloween.
Love this DIY witch hat? Save it to your Halloween board on Pinterest so you can find it when you’re ready to make one.

Some Other Fun Halloween Witch Ideas
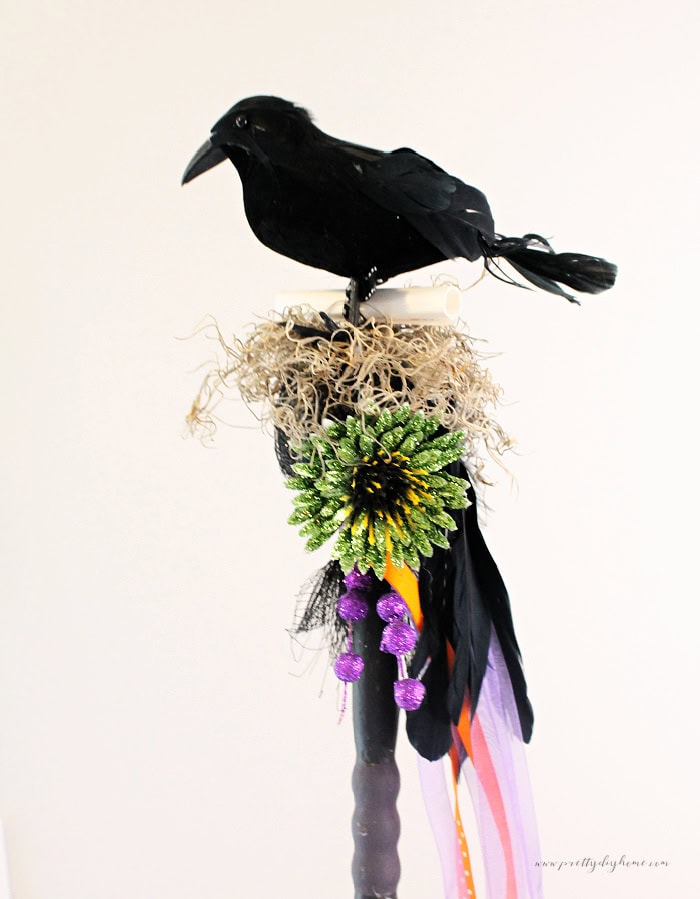
DIY Halloween Witch Wands
Make these fun DIY Halloween witch wands for Halloween decor, costumes or a little extra witchy fun. They even come with free printable witch spell scrolls you can add.
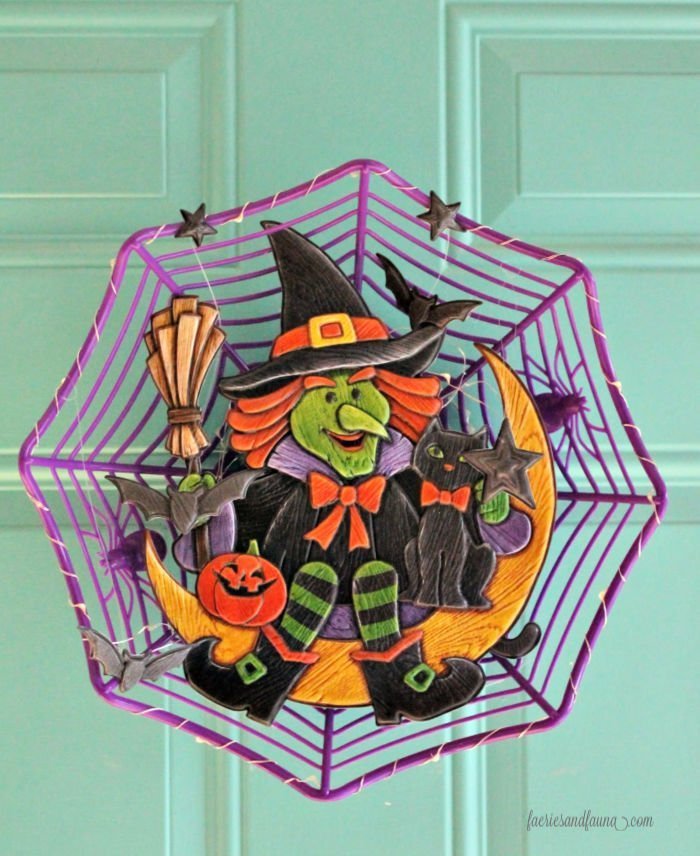
A Not-So-Wicked Witches’ Wreath
A dollar store basket is the wreath form for this witch’s Halloween Wreath. Add some sparkly lights and place on the front door.
Thank you for sharing your fun witches hat! What a fun way to spice up a little black hat.
Your witches hat looks fantastic Leanna! Great job and so spooky 🙂
Leanna that is one gorgeous hat. If it wasn’t on that ugly witches head I’d be tempted to wear it. Love the look with the tulle and the purple flower in the back.
Thanks for sharing your creative and fun halloween hat idea. I love that you were able to same very inexpensive simple items and create something quite unique and spooky!! It’s perfect for the season! I may have to give this a try! xoxo Jodie & Julie
This has got to be the most elegant and eerie witches hat EVER! Pinned
This is so clever! I also love the added purple!
This is awesome! The bigger had made a huge difference! Enjoyed hopping with you! 🙂
Ok, I have to have that hat! It’s so sassy! lol That has to be the cutest witches hat I’ve ever seen! You are so creative and your posts always inspire me!
Oh my goodness!! This is so amazing!! I’m seriously in love with your diy witch hat.. love it all! Thank you so much for share this wicked diy. Happy Halloween!!
You are so clever Leanna! The candle sticks as a hat stand is just genius and I love your witch hat so much! It sure is for a fancy witch! 🙂
What a great post! I love your man and the gorgeous hat! You are so clever and the purple is the perfect accent to the black! Thanks so much for joining us this month with your creative Halloween craft!
Hi Janine. I am really enjoying this group of bloggers, they challenge me to create something different.
Oh, your witches hat turned out awesome Leanna!! Love all of the sparkly touches that you added and the way the tulle falls at the back!! Such a clever idea with the candlestick for a stand for it!!
The candlestick is really nice Sam. The top can flip over for either a large or tapered candle, which means it comes apart. I am able to separate the head portion off so its easier to store. Glad you like it.
That is very pretty but spooky.
I have had these hat and some real with brooms for a few years. It was fun to take one of them and give it some glamour.