Vintage Rocking Horse Makeover for Christmas
A Nostalgic Christmas Rocking Horse Restoration
I fell in love the second I saw this little sad rocking horse. Restoring it wasn’t work at all; it was pure joy. This vintage rocking horse makeover became one of my favorite projects, turning a forgotten toy into a vintage rocking horse Christmas decoration full of charm and nostalgia.
This sweet wooden horse is now part of my growing collection of vintage toy Christmas decor, the kind of timeless pieces that bring warmth and memory to the season. I am always watching for old toys like sleighs, wagons, and rocking horses to tuck into my holiday vignettes. They look beautiful under the Christmas tree and add that sentimental touch that makes Christmas decorating feel so personal.
The Before Story
I first spotted this little horse at a local antique shop, but the price was far beyond what I could spend. I left it behind, but I never stopped thinking about it. Then one day, more than a year later, I saw the very same horse at a garage sale, sitting in another shopper’s hands. I stood nearby, not very patiently waiting, and when she put it down, I scooped it up right away for fifteen dollars. It felt meant to be.
The antique shop had long since closed, and the garage sale seller had no idea that this sad little wooden rocking horse had once been for sale there. Poor little thing looked so tired and forgotten, with layers of bad paint and years of dust, but I could see her potential. I knew from the start that restoring her would be worth every minute.
When I brought her home, I discovered just how rough she was. The paint looked like it had been done as a child’s project, and the poor horse was covered in grime and cobwebs. But beneath it all, the wood felt solid, and every piece was still intact. That was enough for me. I gave her a good wash with dish soap, warm water, and plenty of rags until the wood began to show through.
After cleaning, she already looked cuter, as if she knew she had been rescued and was ready for her rocking horse makeover to begin.

Supplies To Restore an Old Wooden Rocking Horse
Before starting this vintage rocking horse makeover, I carefully removed the old mane, tail, and little leather ears so they wouldn’t be damaged during cleaning and stripping. I saved them all to use later as templates when it was time to rebuild the horse’s new details.
Here are the supplies I used to bring this sweet old horse back to life:
- D Super Remover (Citristrip also works well if available)
- Mineral Spirits
- 80 and 120 grit sandpaper
- Saman water-based whitewash stain
- Fusion Tough Coat in Matte
- Two dollar-store cotton thread mop heads
- Cut tacks (shoe tacks)
- Sponge, brushes, and rags

Rocking Horse Makeover Video
If you would like to see how I brought this old rocking horse back to life, here is a short step-by-step video of the entire process. It begins with me taking a closer look at what the little horse might have been originally, then walks through each stage of the restoration until she’s fully refinished and dressed for Christmas.
If you need specific how-tos, you’ll find them in the video below.
Stripping a Vintage Wood Rocking Horse
To begin this rocking horse makeover, I carefully dismantled the horse and took a few photos to remind myself how the pieces fit together. You may not need to take your rocking horse apart this completely, but as you can see from my photos, there really wasn’t another way to do it with mine. The paint job was quite something, with three different layers of paint in uneven colors and thicknesses.

It took two full coats of paint remover to strip away the layers, but when I finally reached the wood underneath, I was thrilled to discover solid light-colored wood. It made me think this vintage rocking horse might be from the 1970s.
The bottoms of the rockers were especially tricky. Years of ground-in dirt had built up, and I didn’t want to sand too deeply and ruin the smooth rocking motion. I used sandpaper by hand and worked carefully until the wood felt even. Some faint gray areas remained, but since they were on the underside, I decided to leave them and move on to the staining.
Sanding the Wood Rocking Horse
Before sanding, I wiped every piece with mineral spirits and a clean rag to remove any leftover stripper residue. In the video, I mention working around not having mineral spirits, but if you have them on hand, it is quicker to clean the wood first.
Sanding this vintage rocking horse was straightforward and only took a couple of hours. I started with 80 grit to level the surfaces, then moved to 120 grit for a smooth finish. I switched to hand sanding in the tighter curves around the neck and along the rockers so I could keep the edges crisp.
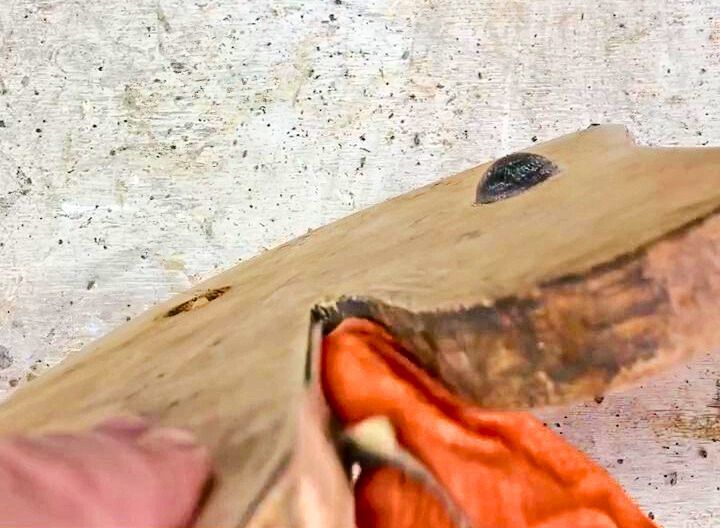
Sanding is my favorite part of any wood makeover. It feels like opening a present and seeing the pretty grain appear as the old paint disappears. Once the surface felt even and silky to the touch, the horse was ready for stain.

Staining the Vintage Rocking Horse
Once the wood was smooth and clean, I decided to stain the horse using Saman whitewash stain and a one-inch sponge brush. The light wood took the stain beautifully, and I applied two thin coats to bring out its soft grain. The finish looked gentle and aged, exactly the effect I hoped for, at least at first.
When I assembled the horse again, I realized the color was too even. The seat and rockers blended into the body instead of standing out. I tried darkening just those pieces with a slightly deeper stain, but the mix of tones left gray patches that didn’t look right.
To fix it, I grabbed my sandpaper and worked by hand until the darker sections lightened into a warm, natural brown. It softened the contrast just enough while keeping the whitewashed body bright. After that, I sealed every surface with Fusion Tough Coat in Matte to protect the finish

If I ever did another wooden rocking horse makeover, I would still whitewash most of the horse but use only a clear coat or very light stain on the seat and rockers for a softer vintage look.
Restoring the Rocking Horse Mane
The original mane on this vintage rocking horse was made from wool sewn into a strip of ticking fabric, which makes me think the horse may have been handmade. I wanted to stay true to the old look but couldn’t find ticking anywhere nearby, so I used blanket binding instead. It turned out to be a great substitute.
Preparing the Cotton Mop Heads
To replace the wool, I picked up two cotton mop heads from the dollar store. Each one had a green band and plastic tubes that held the cords together. I used a seam ripper to remove the stitching and asked Hubs to cut off the plastic tubes with large clippers. Once everything was free, I rolled the long cotton cords into a ball and set them aside.
Making the New Mane
Before making the new mane, I measured the old one and used it as my guide. I cut two long cords, each about thirty-four inches, and sewed the ends to the short side of my blanket binding. You can use a sewing machine for this, or a needle and thread if you prefer, though it will take a bit longer.
Then I cut the rest of the cotton cords into twenty-four-inch pieces until I used up the first mop head. Folding each piece in half, I attached them to the binding two at a time using a zigzag stitch. One mop head gave me a full layer of mane. To make sure I’d have enough cotton left for the tail, I stopped there and set the mane aside until later
Attaching the Mane and Tail
Before attaching anything, I did a dry fit using the original placement marks so the new pieces would sit exactly where they belonged. I used cut tacks because they are very sharp and grip old wood well. The sharp points help prevent splitting, which is always a concern with vintage pieces.
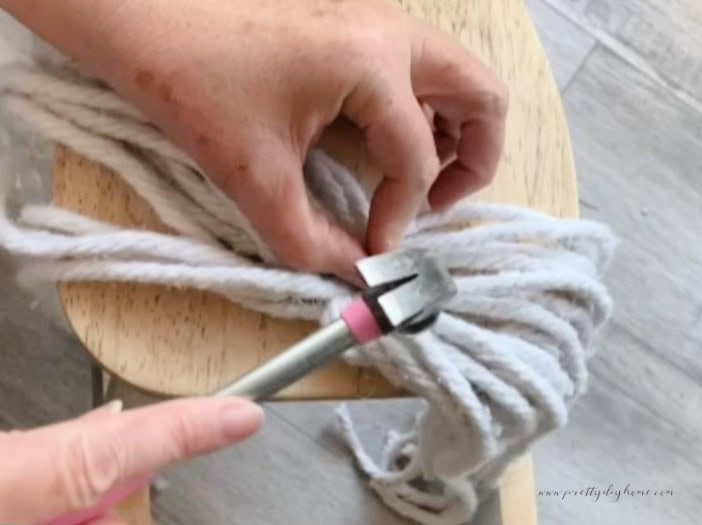
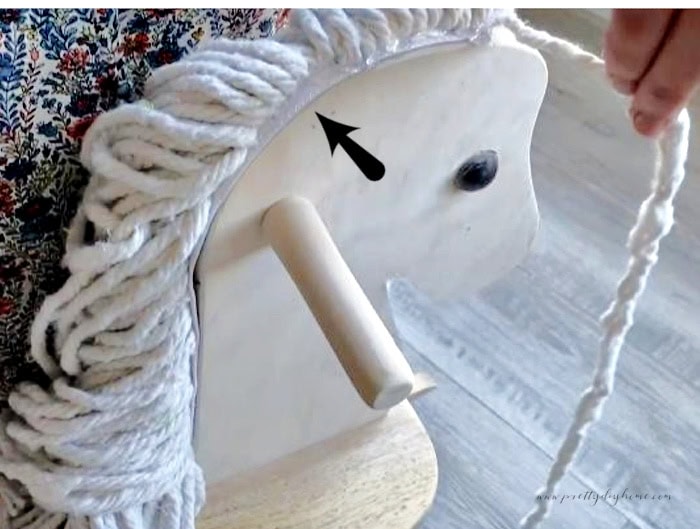
I glued the base of the tail first, then set a few tacks along the center to secure it. For the mane, I made sure the longest cords were at the top so there was good length to braid and shape. I glued the binding in place and added tacks along the seam for strength.
To finish the mane edge, I unraveled the two extra long cords at the front, braided them, and hot glued the braid along both sides of the mane so the binding looked neat and finished.
Making the Rocking Horse’s Ears
I could not find matching leather locally, so I used an old thrifted purse. I traced the original ears as templates and cut two new ones. I punched holes to match the old placement and secured each ear with cut tacks.
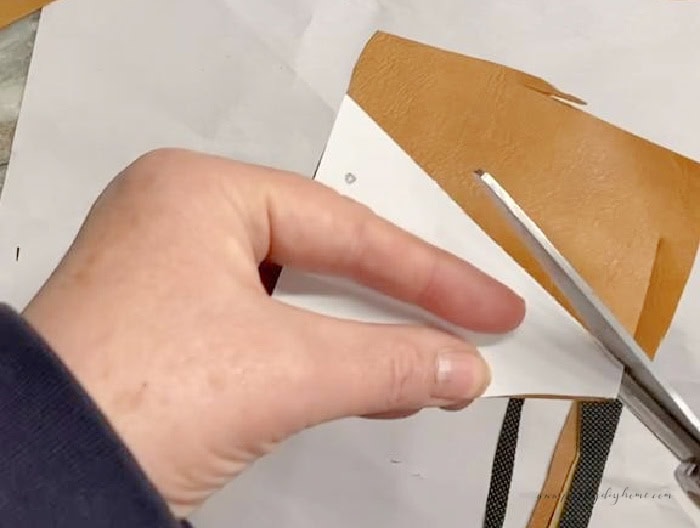
Once the ears were on, the little horse finally had her expression back. It felt like the real turning point of the rocking horse makeover.

Decorating a Vintage Rocking Horse for Christmas
With the restoration finished, it was time for the most enjoyable part: decorating this vintage rocking horse Christmas decor piece for the holidays. I wanted her to feel festive but still keep that nostalgic charm that fits into old-fashioned Christmas decorating.
Make the Sleigh Bell Wreath
I used three silver sleigh bells from the dollar store, a length of decorative wire, and a bit of thin florist’s wire. To start, I cut about three feet of the covered wire and threaded it through each bell ring. I placed one bell in the center and the other two about a hand’s width away on either side. Then I folded the wire in half and twisted it to hold the bells firmly in place.
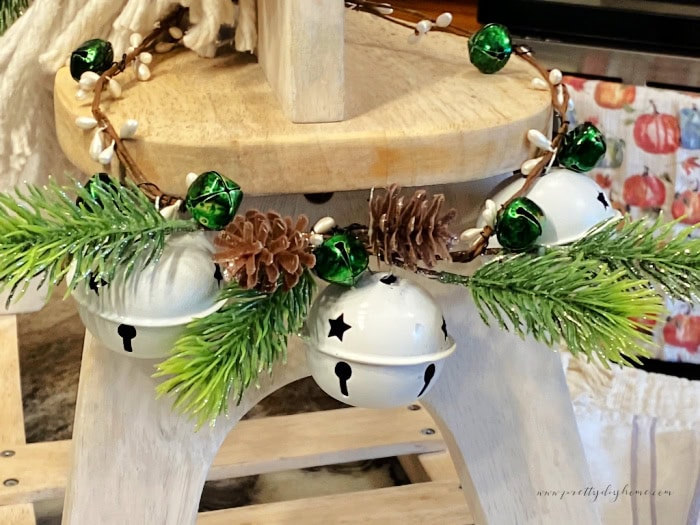
Next, I added a few green bells and some bits of faux greenery by wrapping them onto the same wire with florist’s wire. The combination of silver bells, soft greens, and little bead accents gave the wreath a simple vintage sparkle that suited her perfectly.
Decorating the Mane
Once the wreath was ready, I turned back to the mane. I tucked in small pieces of greenery and tiny pinecones, wrapping the ends with strands of cotton from the mane to keep everything in place. You can add small berries, ribbons, or bits of lace if you want to give it a more personalized touch.

When I finally stood back and looked at her, all clean and dressed for Christmas, I couldn’t help but smile. The soft whitewash, the handmade mane, and the little sleigh bell wreath gave her a quiet, nostalgic charm that fits perfectly into my vintage Christmas displays. She feels like a keepsake now, as if she’s always belonged here.
Restoring her wasn’t just about the makeover; it was about giving a forgotten toy new life and a place to shine again. She will be loved for years to come, whether she’s standing under the Christmas tree or nestled nearby waiting to hold those just-in-case gifts.
Other Vintage Toy Makeovers
Using vintage items for Christmas is a wonderful way to add nostalgia to Christmas, especially if the vintage pieces come from within the family or have a childhood memory attached to them. Here are some other ideas for vintage toy Christmas decor including a second horse makeover.

A Vintage Riding Horse Makeover
This particular little riding horse makeover project has been snuggled under one of our Christmas trees for several years now. He has a simple dapple grey paint makeover.

Decorating a Christmas Tree in Farmhouse Black and White Plaid
This farmhouse Christmas tree features an assortment of farmhouse ornaments, a large church and barn focal point, and of course the vintage horse tricycle makeover. I also invested in some nice farmhouse baskets to group gifts by the family for separate gatherings.

A lot of work but the results are just beautiful, Leanna! I like the neutral white wash finish and the lovely mop head mane. I have a pine rocking chair in my shed without a mane. You’ve inspired me to give it a similar makeover for my grandkids. Wishing you and yours a beautiful holiday season!
Well hello my friend!!!!! Its so good to hear from you. Hope all is well and Merry Christmas xo Leanna
Oh, she looks lovely, Leanna, and I love the way you wove the Christmas greenery and little pine cones into her mane. It gives her a wild horse, fairy tale vibe