Paper Banner with DIY Paper Flowers
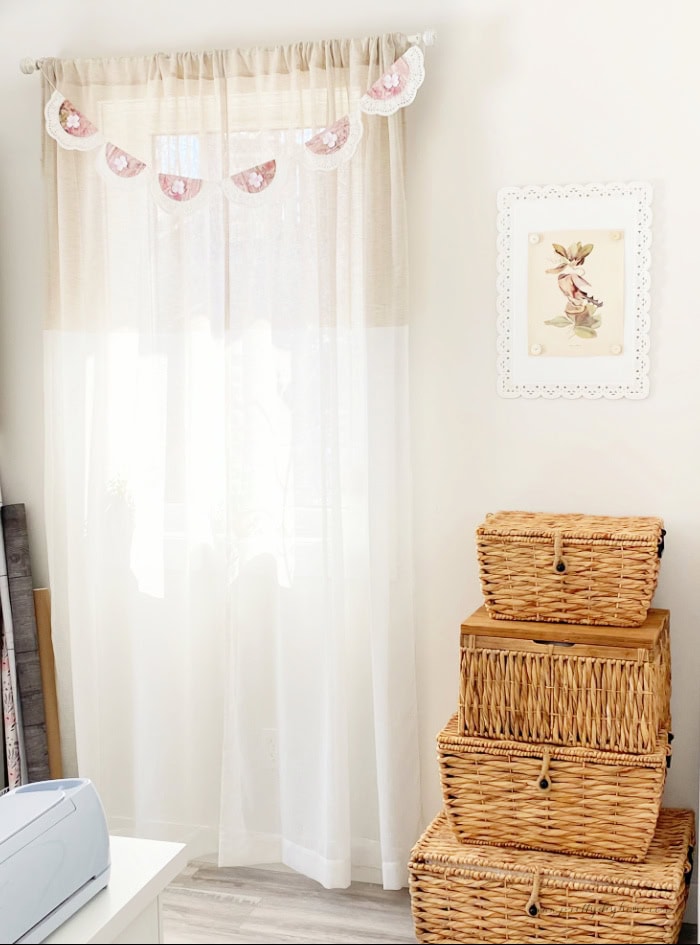
One of the perks of organizing my craft room is finally having the space to create pretty office decor using my Cricut machine. In today’s post, I’m sharing two fun parts: first, how to make small paper flowers with a Cricut Maker (with a step-by-step tutorial included), and second, how to use those flowers to create a simple, cottagecore-inspired paper banner that adds a feminine, handmade touch and a pop of color to the room.
Making Cricut Paper Flowers (or Hand-Cut, If You Prefer)
Creating paper flowers with a Cricut is a fun and a little bit addictive project, and the process is generally the same no matter what flower design you choose. If you don’t have a Cricut machine, you can still make them with the free printable templates for hand-cutting, which I’ll share in a section below.
Here’s a quick overview of the general steps for making Cricut flowers:
- Choose a flower design in Cricut Design Space.
- Resize the pieces to fit your project.
- Cut the pieces using your Cricut machine.
- Carefully remove and organize the cut pieces.
- Shape the petals using a shaping tool or just your fingers.
- Roll or layer the petals according to the design.
- Glue everything together to form your flower.
- Add finishing touches like leaves or flower centers.
I use a paid Cricut Access subscription, which gives me access to a huge variety of cut files. I’m not an affiliate, just a fan. If you’re new to Cricut, they offer a 30-day free trial of Cricut Access. Even without a subscription, there are several free SVG files available directly in Design Space—or you can purchase the exact digital files I used for this project.
These are very easy paper flowers, consisting of only 6 pieces. If you want to make them in different sizes, you can enlarge it in Cricut design space or use your printer to enlarge the pattern. But now, let’s start making some fllowers.
Supplies for the Cricut Paper Flowers
- Cricut cutting machine (I have the Cricut Maker 3)
- Cricut cut file – I used Dogwood Flower by Chesed Cottage Crafts
- Cricut Standard Grip Cutting Mat
- Cricut spatula tool
- Cricut weeding tool
- Cardstock paper in white, pink, and green
- Cricut embossing tool
- Cricut fine blade cut knife
- Craft clue
Supplies for Hand Cutting
- Scissors
,
Cutting the Flower with Cricut
Here are the steps for making the paper flowers. I have included a complete tutorial of the process. You can find the video at the end of the tutorial.
- Turn on your Cricut machine, log into Cricut Design Space, and open a new project.
- Search for the flower cut file—I used the Dogwood Flower. The file comes already grouped (yay for small wins!).
- Make sure the aspect ratio is locked, then resize the flower to a width of 1.75 inches. The height will automatically adjust to 1.514 inches.
- Copy and paste as many flowers as you need—at least one for each banner piece.
- You can choose to save your project or just go ahead and click “Make It.” Cricut Design Space will connect to your machine.
- When prompted to set the base material, click “Browse All Materials” and select Cardstock (for intricate cuts).
- Insert the embossing stylus into Clamp A, and the fine-point blade into Clamp B.
- On the right-hand side, double-check your mat size—mine was 12″ x 12″. No need to mirror for this cut.
The design file includes three color layers: white for the blossom, yellow for the stamen, and green for the leaves—but feel free to use any paper colors your heart desires!
Start with the petals: Place the paper on your mat, load it into the machine, and let the Cricut do its magic. Repeat the process for the stamen and then the leaves.
Weeding these flowers is super easy as there are no fine details. I was able to peel the paper right off the mat. Almost instant weeding! I did find the Cricut spatula tool really helpful for lifting the smaller cut pieces cleanly.
I’ve included a step-by-step video (slowed down!) so you can easily follow along with everything I just described.
How to Hand-Cut the Paper Flowers
If you don’t have a Cricut machine, you can still create these beautiful paper flowers using the free downloadable pattern included. Just click on the link in the supply list. The free template opens. Print on regular letter paper. Please don’t redistribute the templates, they are for your personal use only. Thanks.
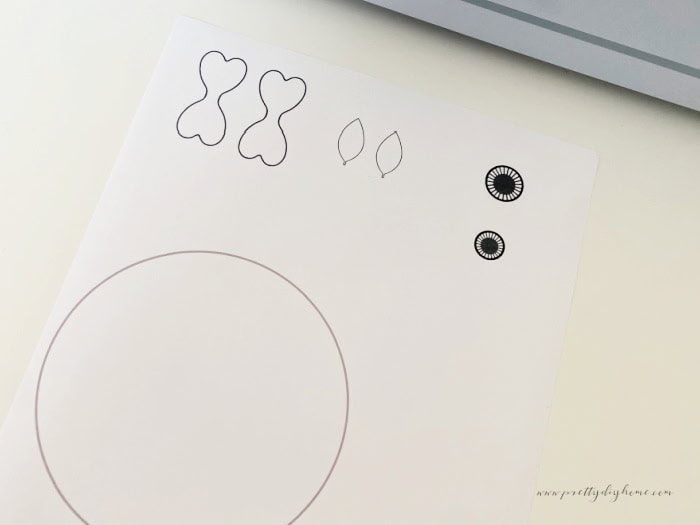
The pattern contains all the pieces you need to create one flower. Start by cutting out each section of the pattern. Then, lay the paper template over your colored cardstock and cut around it using scissors.
Here’s what you’ll need to cut for each flower:
- Two sets of petals (in your chosen flower color)
- Two stamens (in a coordinating color)
- Two leaves (in green or any leaf-toned shade you like)
To make the stamens, cut a small circle, then use the markings on the pattern as a guide to snip tiny cuts all the way around the edge. Just be careful not to cut too far into the center—those little fringes are what give the flower a realistic touch!
Assembling the Paper Flower
It took longer to type the description than it did to assemble the flowers. Goodness. I created a single picture for you that shows the steps in an easy-to-follow to follow tutorial. If you want more details, this is also in the video tutorial.
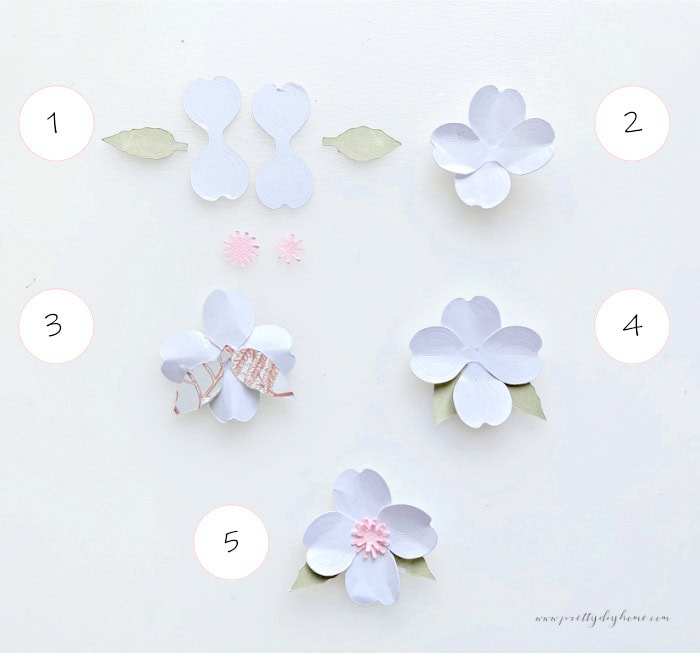
1. Gather the cut pieces.
2. Start with the petals. Gently wrap each one over your finger to give it some natural curve and dimension. Then, layer the two petal sets in a crisscross pattern and glue them together at the center.
3. To shape the leaves, fold each one in half lengthwise to create a vein down the middle. Then, curl the edges outward using your fingers to give them a more realistic look. The leaves are small and designed to tuck in behind the flower. Once shaped, glue the two leaves to the back of the flower wherever they look best, and let the glue dry.
4. Next, flip the flower back over.
5. Attach the stamens in the center. Before gluing, gently fold up the little “fingers” you snipped around the edge of the circle to add texture and depth. Then, glue them in place, one on top of the other.
If you’d like to personalize your flower even more, feel free to add a custom center, like a button, a pearl, or a small glass bead.
Make the Cottagecore-Style Banner
This charming paper banner is so easy to make and adds a subtle cottagecore touch. I hung mine over my cream colored curtains, but they would be fun swagged from the ceiling or hung in the craft room closet as well.
Supplies for the Cottagecore Banner
- Cardstock
- 8″ Dollar Tree lace paper doilies
- Craft glue or tacky glue
- Hot glue gun
- Cording or ribbon for hanging
Start by cutting out your circles, just like you did with the flowers. You can use your Cricut Maker or cut them by hand. A simple circle shape is available free in Cricut Design Space, and I’ve also included a circle in the printable flower template for hand-cutting.
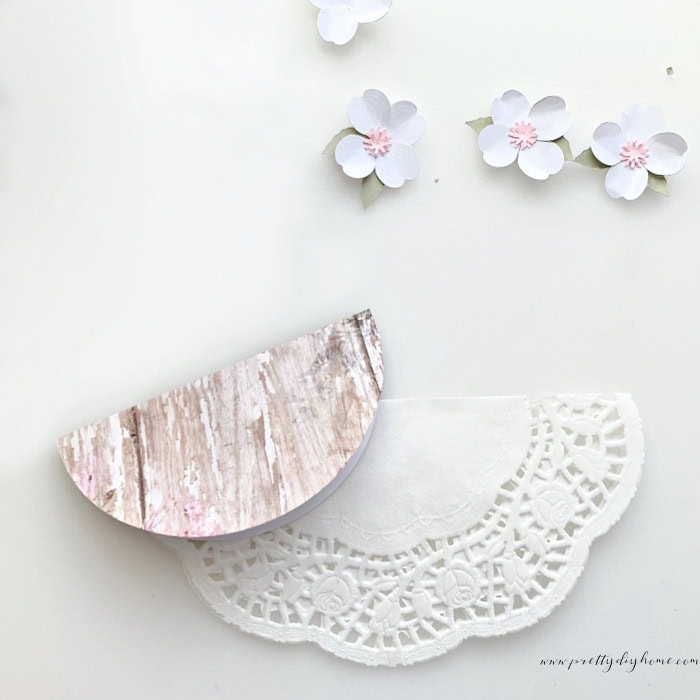
Cut one circle for each banner piece. Once you have your circles and doilies, fold them both in half.
Apply tacky glue to one side of the cardstock circle and center it over the folded doily. Press it in place, smoothing it out with your hand or a brayer. Then repeat on the other side.
Quick tip: Make sure to gently open the doily back up before the glue fully dries. I forgot this a few times and had to use my Cricut spatula tool to carefully separate the layers!
Let all the banner pieces dry completely.
Once dry, line up your banner sections and use a small drop of hot glue to attach a paper flower to the front of each one.
Then, cut a piece of cording or ribbon to the length you want for your banner. Open each folded banner piece and wrap it around the cording, securing the two halves together with a couple of small drops of hot glue.
And that’s it—hang your banner and enjoy.
Complete Step by Step Video Tutorial
This video is detailed, showing every step from programming Cricut Design Space, loading the paper, assembling the cut pieces into flowers, making the banners section, and then putting it all together. If you need more instructions than the blog post contains, I am certain the video tutorial will help.
The latest on Youtube:
Paper flowers and decorations are such an affordable and charming way to add seasonal or temporary touches to your home. Whether you’re decorating a craft room, a child’s room, or just brightening up a boring corner, paper elements bring in color, whimsy, and that lovely handmade feel—without a major investment of time or money.

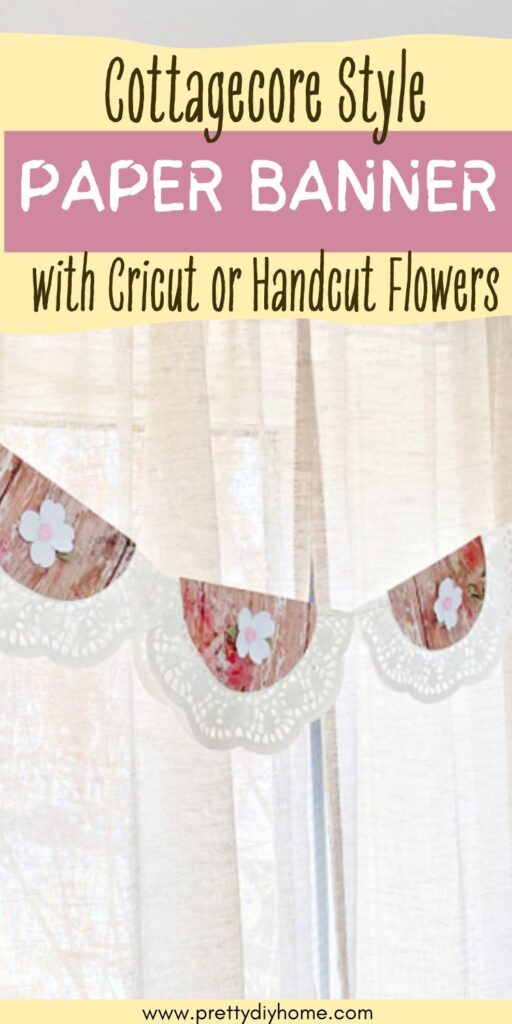
I especially love using paper ornaments in creative spaces. There’s something so cozy about crafting something beautiful from simple materials. With just a few dollars and an afternoon of crafting, you can whip up something whimsical that makes your space feel fresh and personalized.
It’s an easy, low-mess, low-cost way to refresh your decor—and the best part is, you can always create new pieces to match the season or whatever style you’re loving at the moment.
Other Paper Projects to Enjoy

A Vintage Paper Dress Banner
This Vintage Dress Paper Banner is made with squares of cut cardstock and simple embellishments. It has a video tutorial you can follow along with.
Easy Origami Birds
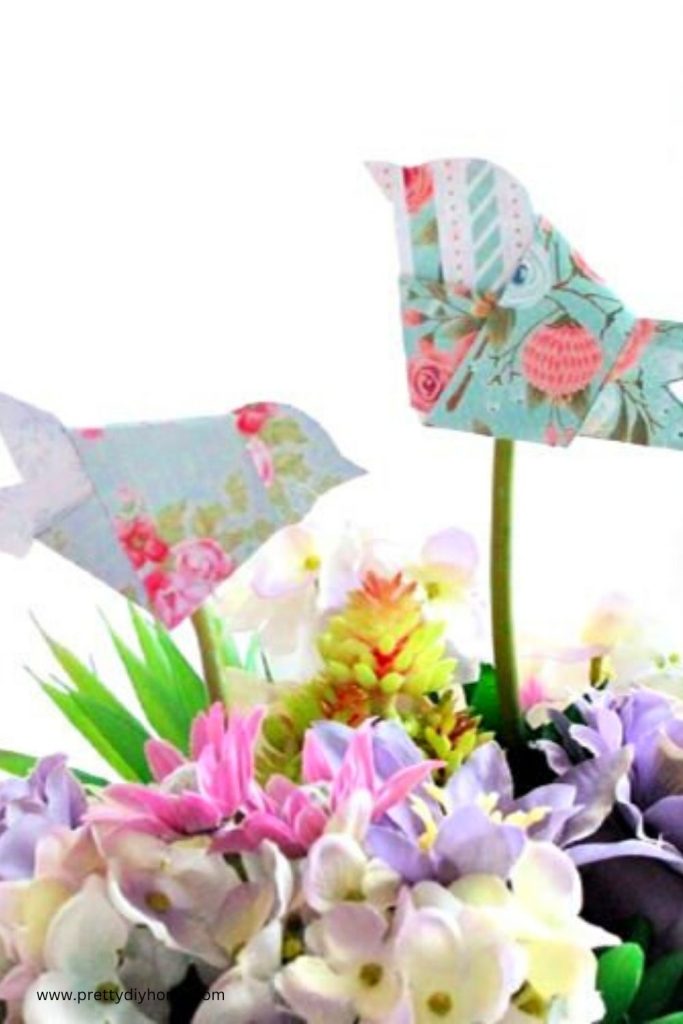
These little paper birds come with a free template you cut out by hand. One simple fold, and that’s all there is to it. These little birds are lovely stuck in a teacup planter or a house plant for Spring decor.
