
Easy DIY Kitchen Organizer for Countertop Organization Ideas
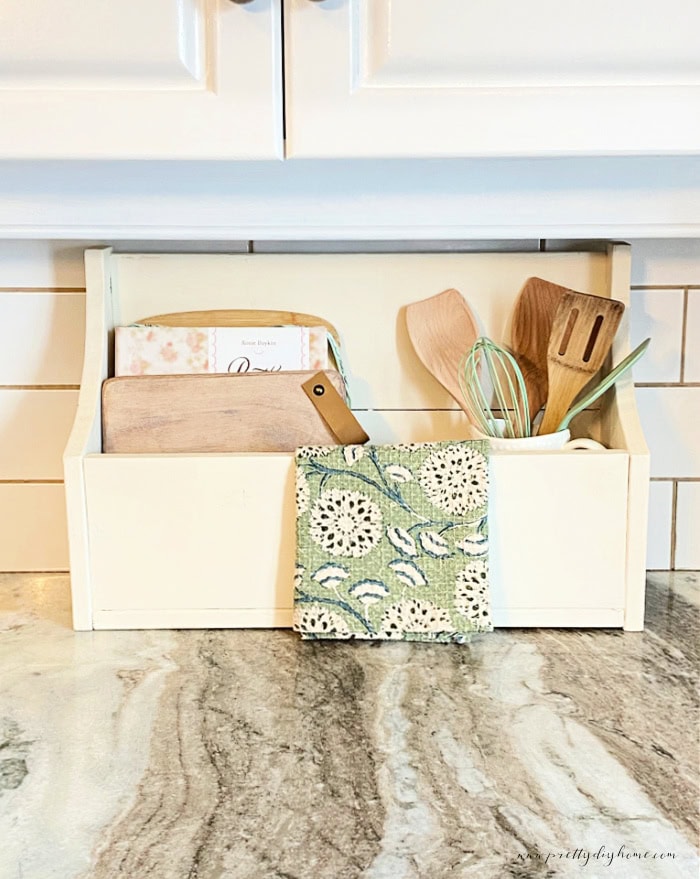
I absolutely love this simple DIY wood countertop organizer that my husband made for me. If you’re looking for countertop organization ideas, this is one of my favorite ways to keep everyday essentials neat while adding a little vintage charm to the kitchen.
I wanted something with a homemade, vintage feel that would bring a little charm to the kitchen while keeping everyday essentials like cookbooks, utensils, my cutting board, and a teatowel all in one neat, contained space.
Why You’ll Love This DIY Kitchen Organizer
How to Make a DIY Kitchen Organizer
This is a simple woodworking project that’s perfect for beginners. To create the curved ends, I’ve included a free downloadable pattern you can use. Just print it, cut it out, trace it onto your wood, and cut along the lines.
Supplies Needed
- 2 pieces of 1 x 8 lumber (scrap wood is fine)
- 120 grit sandpaper
- Wood glue
- Air nailer or small screws
- Clamps
- Paint
- Free downloadable pattern (hand sketch)
Step 1: Cut the Wood Pieces
We built this using cut ends from a very large fence project. The wood is not treated, so Hubs was able to cut the pieces needed from our scrap woodpile.
Here are the lengths you will need:
Cut 4 pieces of 1×8 lumber, each 20 inches long.
Take 2 of those 20-inch pieces and trim them to 6 1/2 inches wide (for the back panels)
Cut 2 end pieces from 1×8 lumber, each 14 inches long.
Download the pattern for the ends, trace it onto the wood, and cut it out with a jigsaw.
Your wood will look like this.

Step 2: Sand the Wood
Once you have all the wood pieces cut, sand every side thoroughly with 120-grit sandpaper until all surfaces are smooth to the touch and splinter free.
Step 3: Glue the Joints
To assemble the organizer, apply wood glue along the depth of each joint between the pieces.

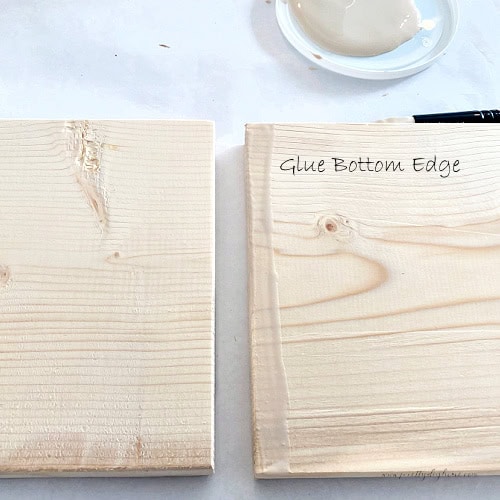
After applying the glue, clamp the pieces to hold them securely while they dry. If you don’t have long clamps, have someone help hold the parts in place as you secure them with nails or screws.
Step 4: Assemble the Organizer
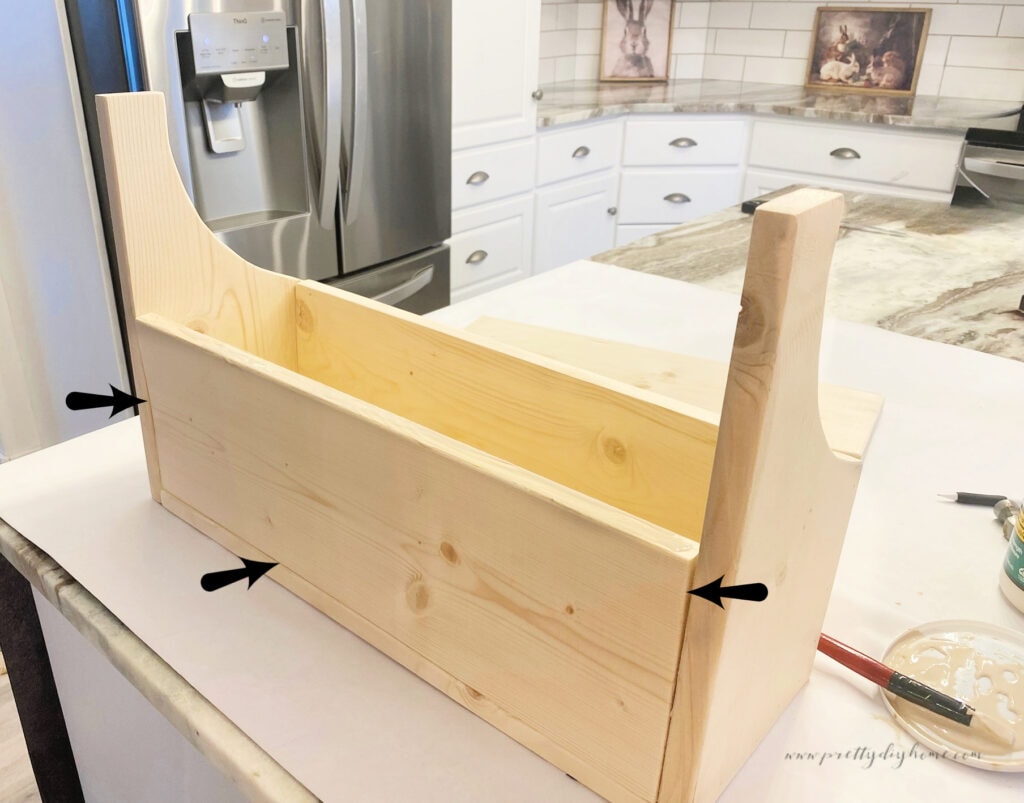
Start by attaching the two end pieces to the bottom piece. Make sure they are flush at the front and back, then hold them in place and nail the sides to the bottom.

Add the front next. Apply glue to the ends and fit the front piece between the two end pieces, then nail it in place.

Finish the organizer by attaching the back pieces. Use the two 6 1/2 inch wide boards for the back. Glue and position each one, then nail them in place.

Step 5: Finish the Kitchen Organizer
To finish your kitchen counter organizer, fill in the nail holes with wood filler, but leave the natural cracks and imperfections for that handmade look.
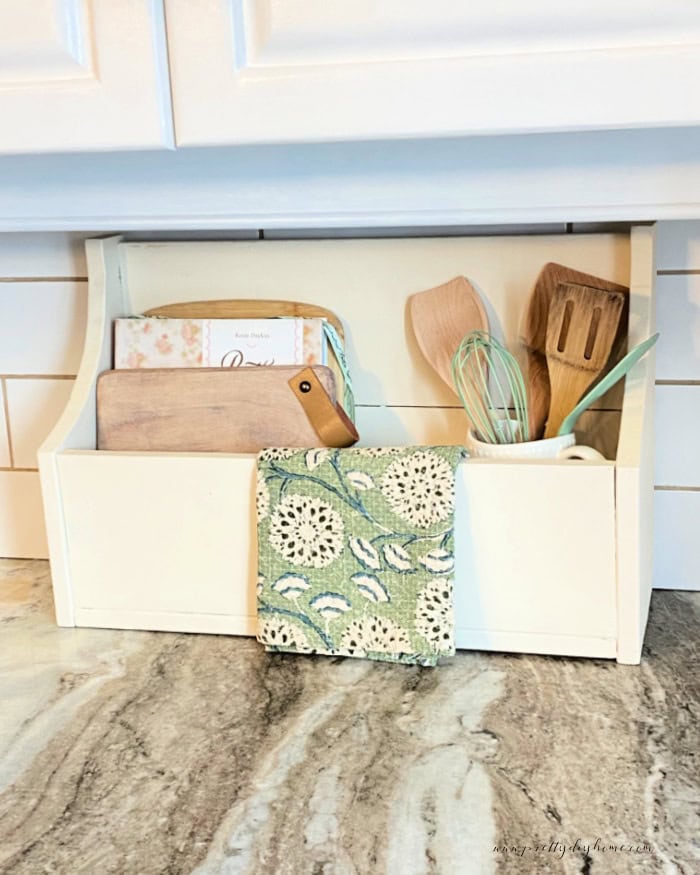
I painted mine in a soft cream Fusion Mineral Paint left over from our Hoosier cabinet project. It took two coats for full coverage, and the color gives it that warm vintage cottage core feel.
To add a pop of color and texture, I hung a floral tea towel across the front. You could also tuck in a couple of quilted pot holders for a soft, rustic touch.
Cottagecore is all about slowing down, enjoying the simple things, and being present while creating. Adding handmade wood projects to your home is an easy way to bring that cozy cottage core charm into your space.

There’s something special about natural wood and the care that goes into making things by hand. It gives your kitchen a warm, personal, lived in feel. Whether it’s a wooden countertop organizer like this one, a handmade cutting board, or a DIY wood tray, simple woodworking projects are a fun and frugal way to add character.


Other Easy Woodworking Projects
I love easy woodworking projects. As winter finally ends, I cannot wait to go outside and start creating something simple and fun out of wood again. Here are three very different but easy woodworking projects I thought you may enjoy.
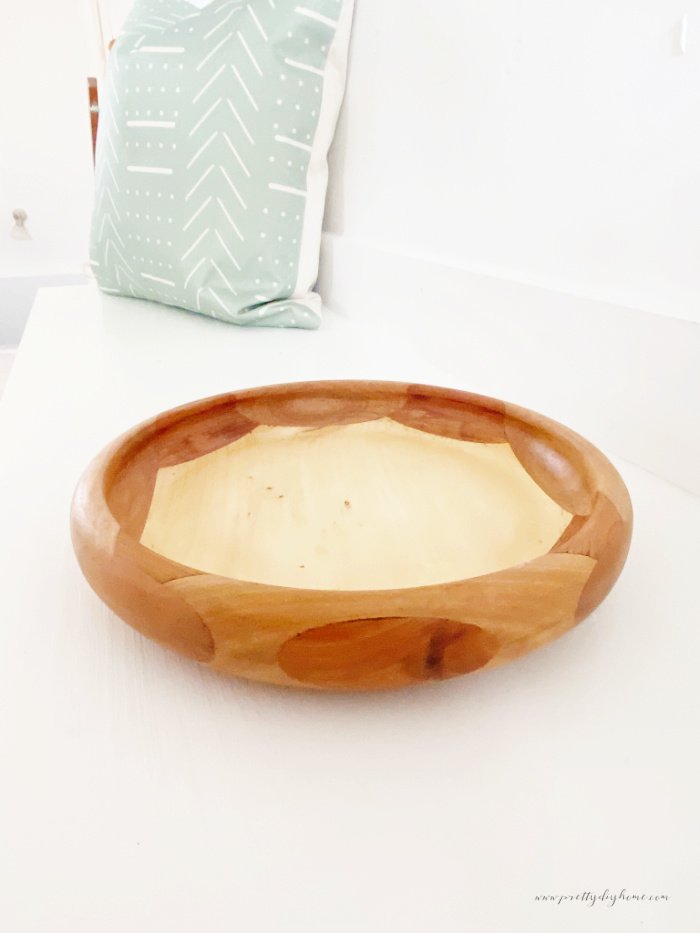
Restoring Handmade Vintage Wood Bowls
This post shows how to clean and refinish old wooden bowls to bring out the wood. This particular wood bowl is a DIY lathe bowl I found thrifting, and now we use it as a catch-all in our entry.

DIY Dutch Tulip Crate
This easy-to-build Dutch Tulip Crate is one of my favorite Spring and Summer decor pieces. It’s an easy pallet project, and I love having one for both inside and a second one outside because it’s so durable and hardwearing.
Happy Crafting, Leanna