
How to Make a Christmas Wreath with Crocheted Snowflakes
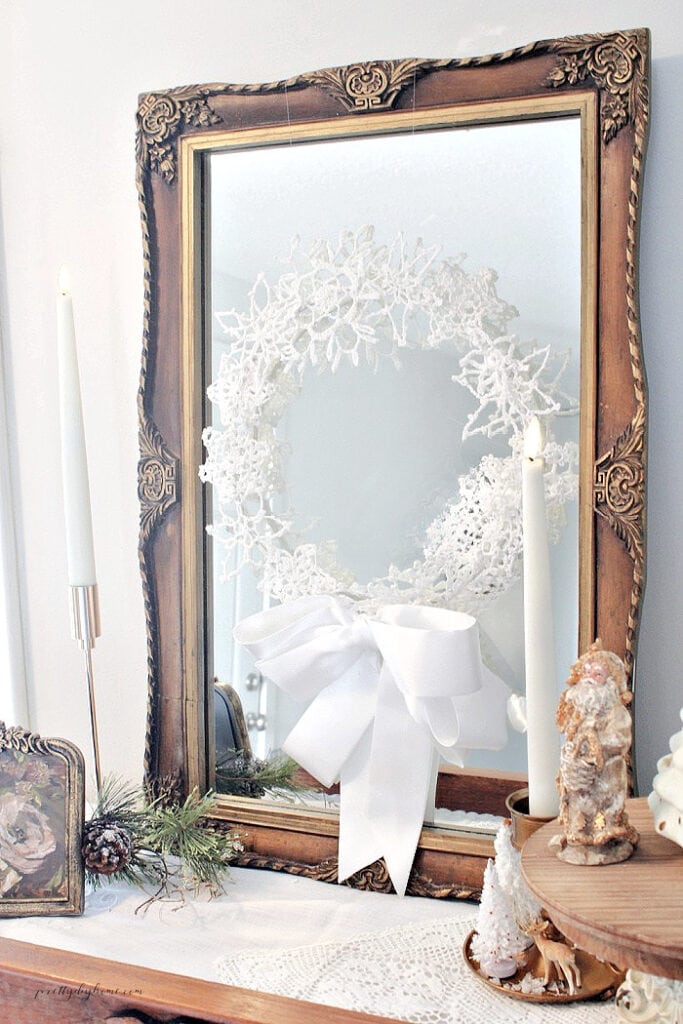
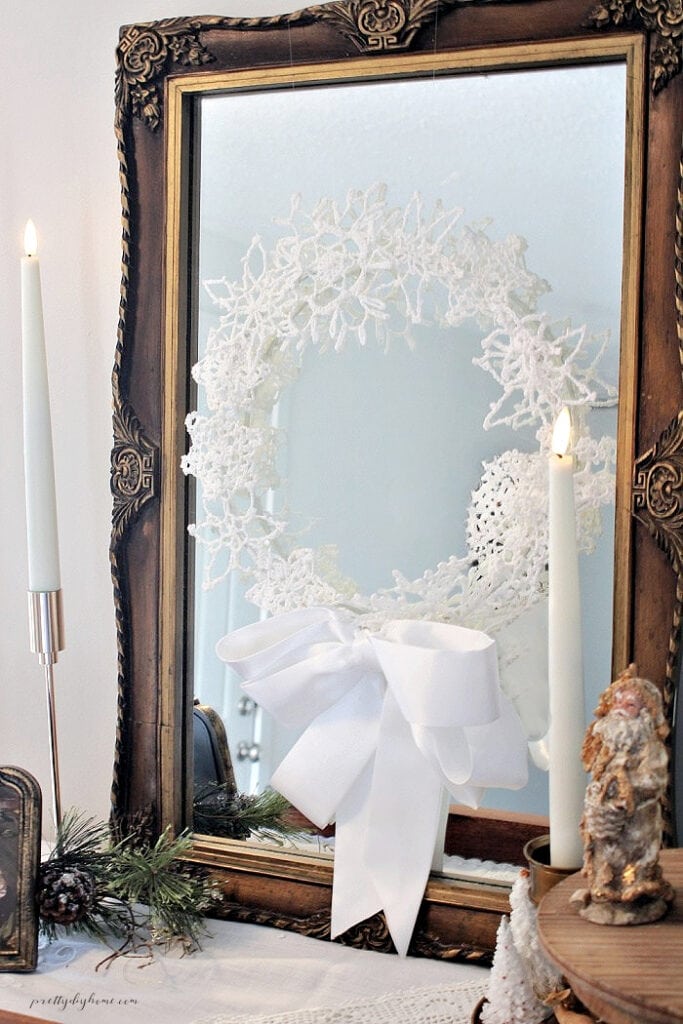
Every fall, when thrift stores start putting out their Christmas decorations, you can often find beautiful crocheted snowflakes for less than mass-produced plastic ones from the dollar store. The handmade snowflakes are so much more elegant and individual, each representing hours of careful crafting. It’s such a shame to see them hanging there, looking cast aside.
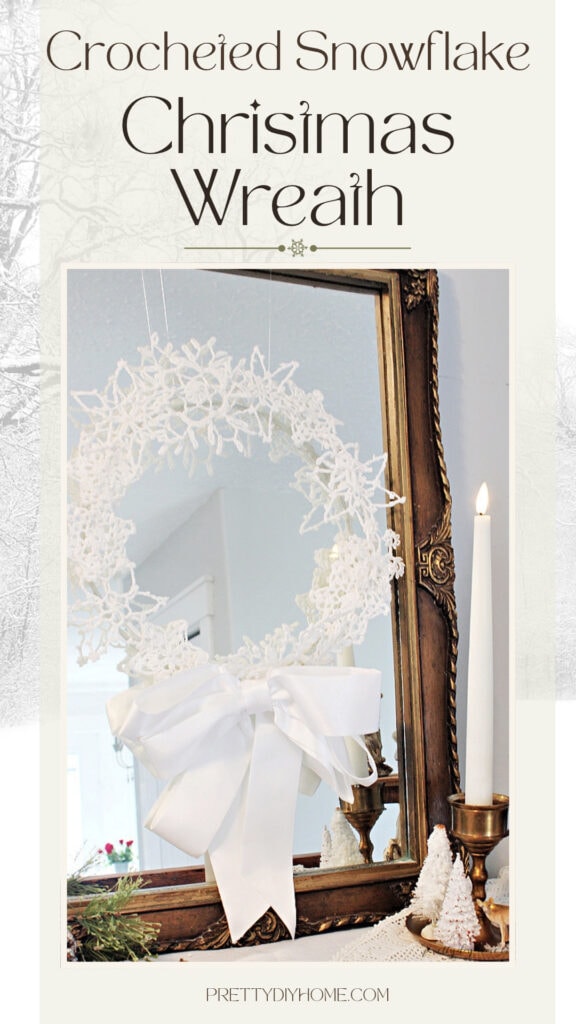
Grab a few the next time you see them and repurpose them into a pretty Christmas wreath. No crocheting required!
Where to Find Hand-Crocheted Snowflakes
Hand-crocheted snowflakes are surprisingly easy to find during the Christmas season. You’ll often come across them at thrift stores, vintage auctions, antique shops, estate sales, and Christmas bazaars. You may find older snowflakes that need a little cleaning and freshening up, or beautiful new ones at craft fairs that are already starched and ready to use.
You can also ask family members if they have any crocheted snowflakes tucked away in their Christmas decorations. Using snowflakes made by your mother or grandmother would make this wreath especially sentimental, preserving her handiwork as part of your Christmas traditions. And if you enjoy crocheting, you can always make your own using free snowflake patterns.
How to Make a Christmas Wreath with Crocheted Snowflakes
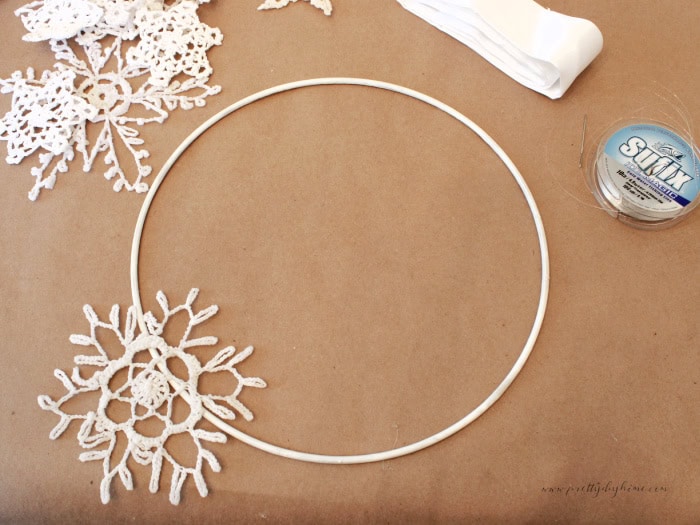
Supplies Needed
For the Wreath
- Assorted hand-crocheted snowflakes in various sizes
- 10-inch single-wire wreath form
- White spray paint
- Heavy sewing needle
- Clear fishing line
- Thimble
- Scissors
- 2-inch-wide cream satin ribbon
For Cleaning Crocheted Snowflakes – Optional
- OxiClean
- Laundry Detergent
- Clean towel
- Iron
For Stiffening and Blocking Crocheted Snowflakes
I chose homemade sugar starch to stiffen the snowflakes because spray starch is not stiff enough, and sugar starch is the same traditional method my grandmother used for hers.
- 1 cup white sugar
- 1 cup water
- Foam board
- Stainless steel sewing pins
Step 1: Clean the Crocheted Snowflakes (Optional)
The amount of cleaning your crocheted snowflakes need will depend on their condition. If your snowflakes are already clean and holding their shape, you can skip this entire process.
Old, dingy, thrifted crocheted snowflakes like mine are worth trying to revive, but you may have to take a few chances with those delicate old threads. Be as gentle as you can when cleaning them, but remember, these little treasures were inexpensive and no longer being used. Giving them a second chance is worth the effort.
Soak the crocheted snowflakes in warm water with OxiClean and laundry detergent for about eight hours, or until they’re bright and white again. If they still look dingy, leave them soaking a little longer.
Note: As a last resort, you could try bleach, but I would avoid it if possible. Chlorine bleach can weaken old cotton threads and may cause them to yellow over time.
Rinse the snowflakes thoroughly, squeeze out the excess water, and lay them flat to dry.
Once dry, take a few minutes to iron your snowflakes. Most crocheted snowflakes are made from cotton thread, so I suggest using the cotton setting on your iron
Step 2: Stiffen Crocheted Snowflakes with Sugar Starch
To avoid sticky fingers, I prefer to block the snowflakes first and then apply the sugar starch
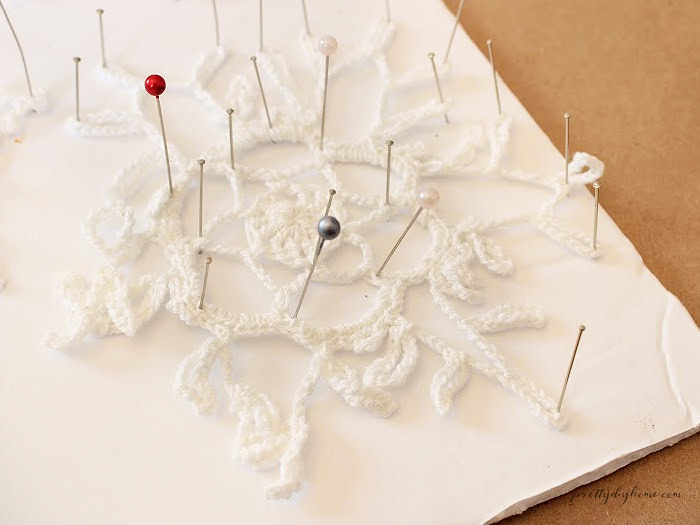
Place your ironed snowflake onto the foam board and, starting at the centre, pin it into shape as symmetrically as possible. Pay attention to the shapes of the holes in the lace, working from the smaller details in the centre toward the outer points. It takes a little patience, but it doesn’t actually take very long.
How to Make Sugar Starch
Add equal amounts of sugar and water to a small saucepan. I used 1 cup of each. Heat over medium heat, stirring constantly until all the sugar dissolves.
Place the pot in the sink and, using a ladle, pour the sugar starch over your pinned snowflakes, allowing the excess to run off and back into the pot.
Allow the snowflakes to dry for several hours, checking occasionally to make sure the pins don’t rust. Once the snowflakes are stiff enough to hold their shape, remove them from the foam board, flip them over, and let them finish drying overnight.
Step 3: Paint the Wire Wreath Form
Spray paint the wire wreath form white, covering both the front and back. Allow the paint to dry completely before attaching the snowflakes.
Step 4: Arrange the Crocheted Snowflakes
Because crocheted snowflakes come in so many different sizes and patterns, every wreath will look a little different. I suggest starting with your largest snowflakes, placing them on opposite sides of the wire wreath form to create a balanced, symmetrical arrangement.
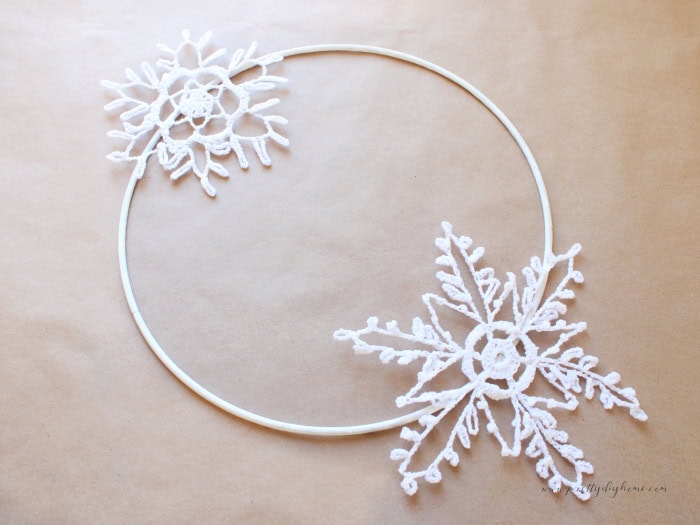
Next, look for any snowflakes with matching or similar patterns. Arrange these around the wreath, spacing them evenly to keep the design balanced.
Finally, fill in the remaining spaces with your smaller snowflakes. Have some fun experimenting with different arrangements, allowing the snowflakes to overlap slightly where needed. You don’t have to use every snowflake, and it’s difficult to recommend an exact number because their sizes and patterns vary so much.
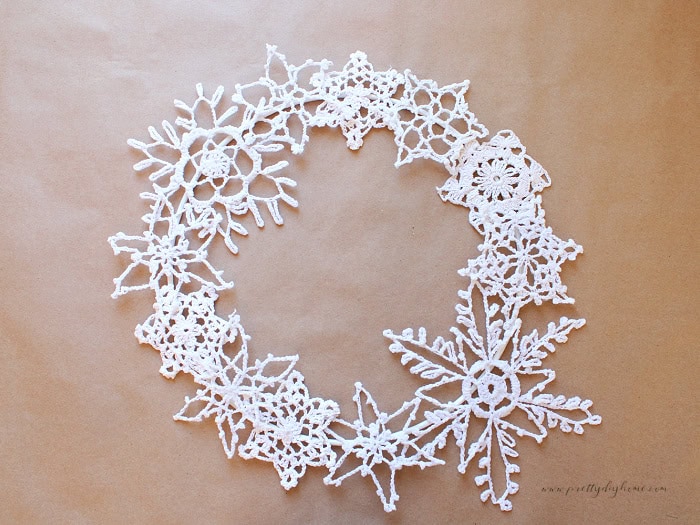
Once you’re happy with the arrangement, take a few photographs of your wreath. Then carefully remove the snowflakes and use your photographs as a guide when attaching them to the wire form.
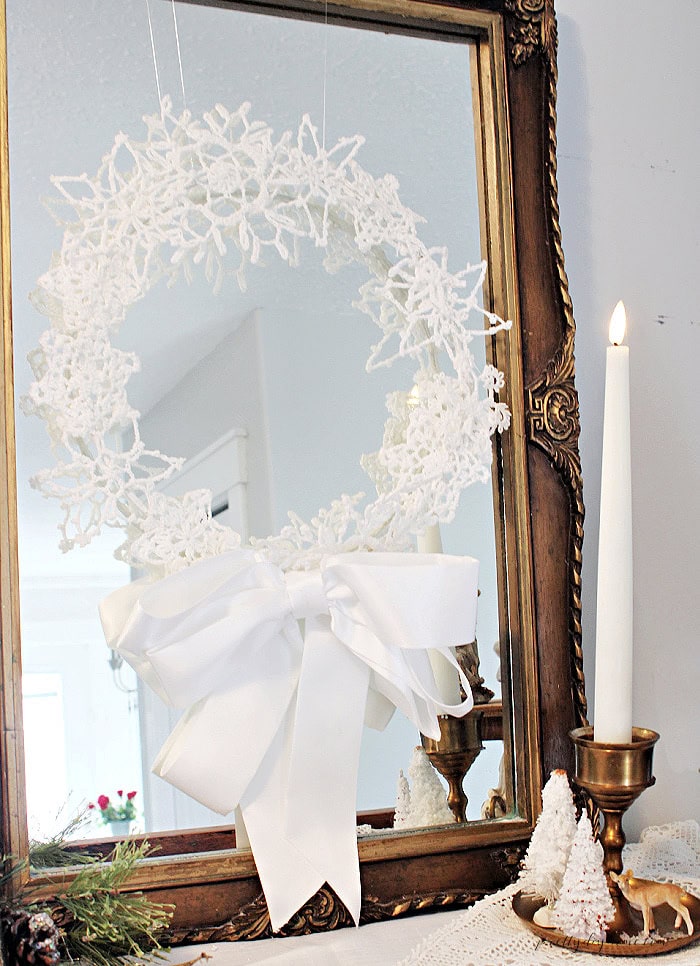
Step 5: Sew the Crocheted Snowflakes onto the Wreath
Begin by attaching your fishing line to the wire wreath form. Then thread the other end through a sturdy needle. The sugar-starched crochet threads are quite stiff, so using a heavier needle and a thimble makes it easier to sew through them.
Position your first large snowflake on the wreath form. Working from the back, push the needle through the crocheted thread and around the wire wreath form, making two small stitches to secure it.
Continue sewing along the wreath form with the fishing line. Once the first section is securely attached, you can pass the fishing line through the open spaces and loops in the crochet, wrapping it around the wire wreath form as you go.
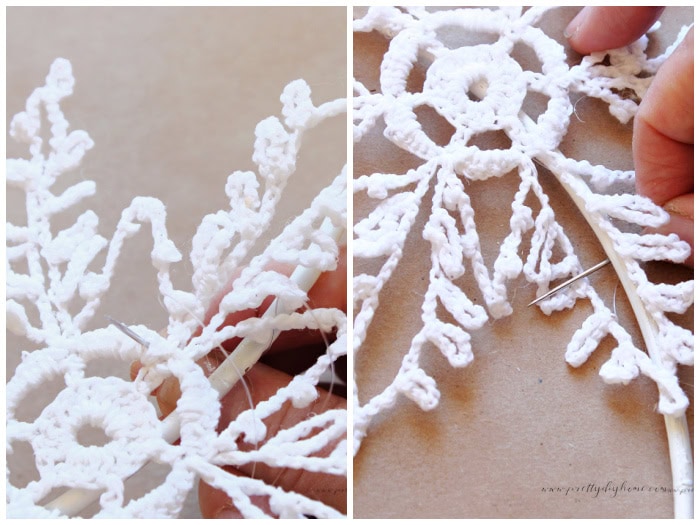
As you sew, stop occasionally to check that the fishing line is lying where you want it and hasn’t caught on any of the little loops or points.
Once you reach the other end of the snowflake, make a couple more stitches through the crocheted thread. Tie a firm knot on the back of the wreath and trim the excess fishing line. Repeat for the other large snowflakes.
The smaller snowflakes can be sewn on in groups. Follow the same procedure as for the larger snowflakes, but instead of cutting the fishing line after each one, continue sewing the next snowflake in place.
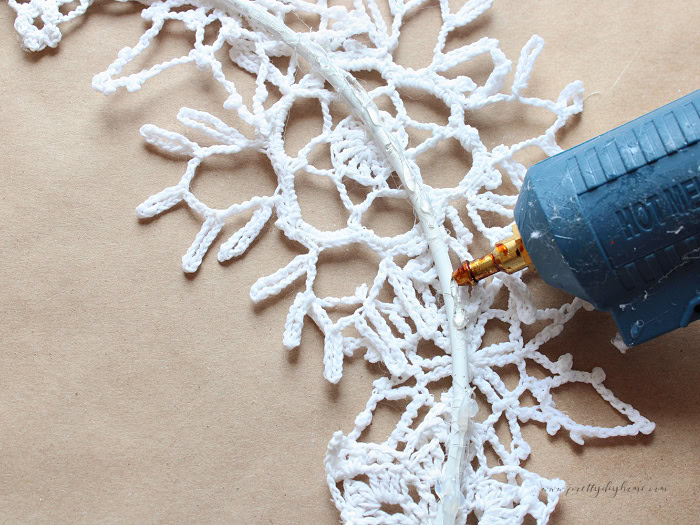
Once all the snowflakes are sewn in place, flip the wreath over and run a bead of hot glue around the back of the wire wreath form. This will help ensure the fishing line knots stay securely in place.
Optional: Add a Touch of Christmas Sparkle
For a little extra Christmas sparkle, you can add a light dusting of fine iridescent white glitter to your crocheted snowflakes. Place the wreath on a sheet of paper to catch any excess glitter. Using a small, soft, dry paintbrush, gently work a tiny amount of glitter into the crocheted stitches. Shake off any loose glitter and repeat only if needed.
Without glue, the glitter won’t be permanent, but a little may catch in the fibres. The idea is to add just a hint of shimmer when the Christmas lights catch the snowflakes, while keeping the wreath’s simple vintage charm.
Step 6: Make the Cascading Satin Bow
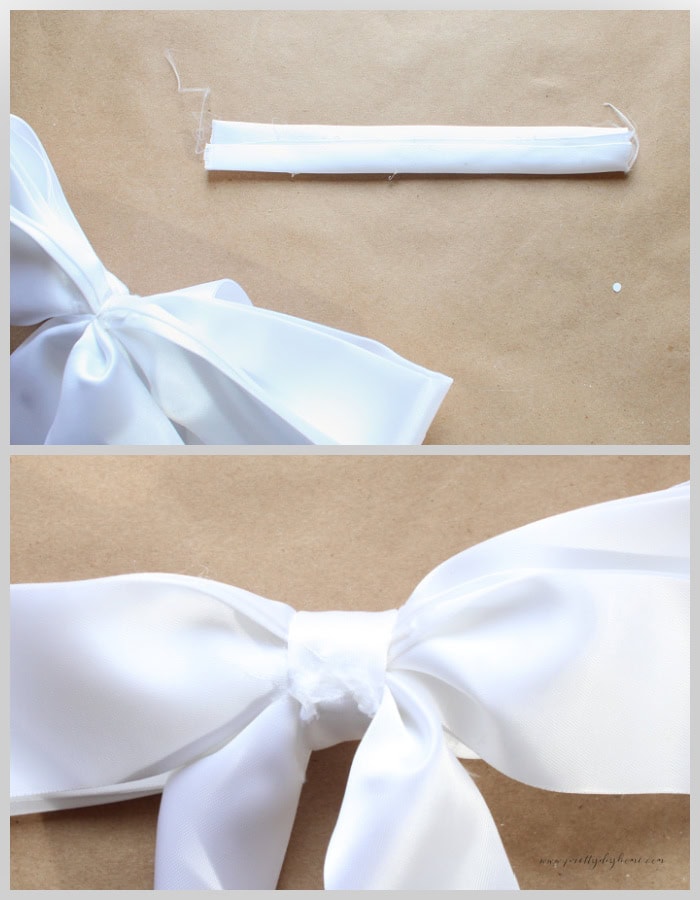
Cut 2-inch-wide satin ribbon into three lengths measuring 26, 22, and 20 inches. Fold the ends of each piece toward the centre, forming two loops, and overlap the ends by one inch. Starting at the back, sew a simple straight stitch through the centre. Wrap the thread tightly around the middle several times to gather the ribbon into small folds, and secure it with a knot.
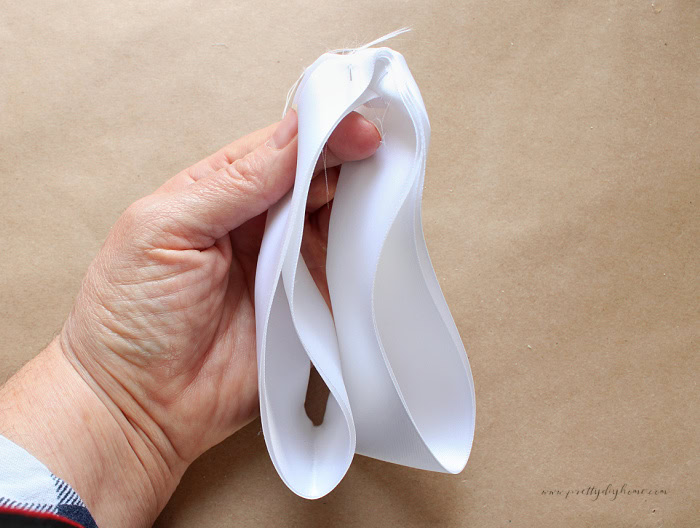
Repeat for all three pieces.

Stack the three sections, longest at the back and shortest at the front.
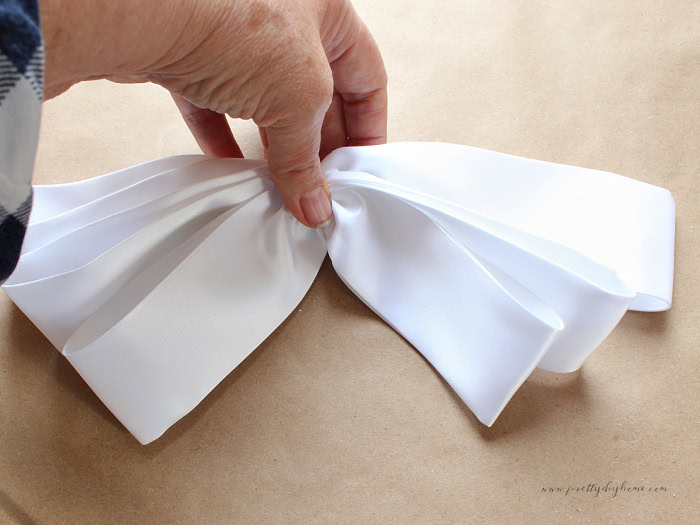
Sew through all three centres to hold them together, then wrap the thread tightly around the middle several times to secure them. Tie off the thread at the back.
Cut a 32-inch length of satin ribbon and fold it in half to create two 16-inch tails. Place the centre of the ribbon behind the centre of the bow, allowing the tails to hang downward. Sew the ribbon securely to the back of the bow.
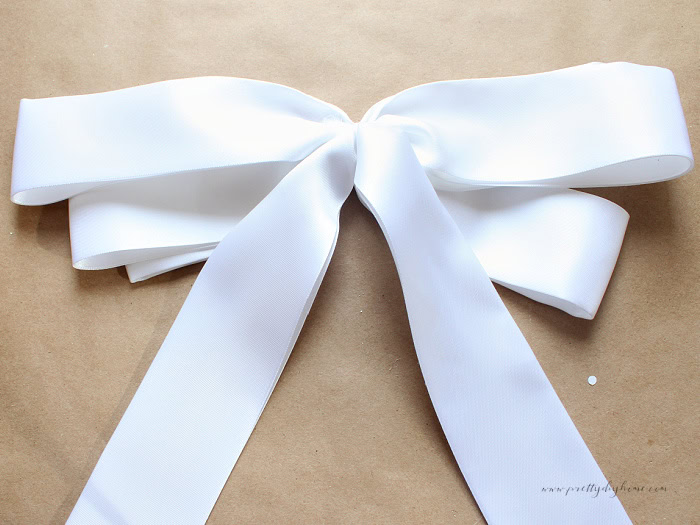
To hide the stitching, make a simple centre wrap for the bow. Cut a 7-inch length of satin ribbon and fold it lengthwise to make a narrow strip.
Wrap it around the centre of the bow, overlap the ends at the back, and sew them together. Trim off any excess ribbon, then use a small dab of hot glue to secure the raw cut edge and prevent fraying.
Step 7: Attach the Ribbon and Hanger
Place the satin bow on the lower-right side of the wreath and secure it with fishing line. Attach it the same way you did the large snowflakes, tying the fishing line to the wire wreath form first. Continue stitching around the metal frame until you reach the far end of the back ribbon loops.
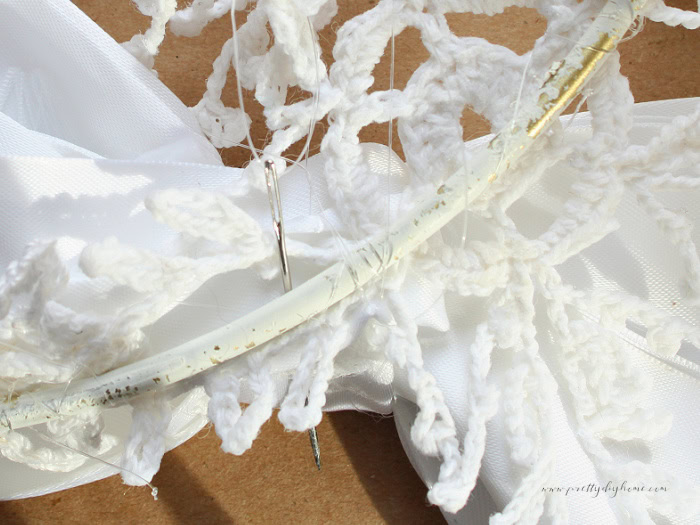
For the hanger, tie a loop of clear fishing line around the top of the wire wreath form. If you prefer, you can skip the hanger altogether and hang the wreath directly on a small hook.
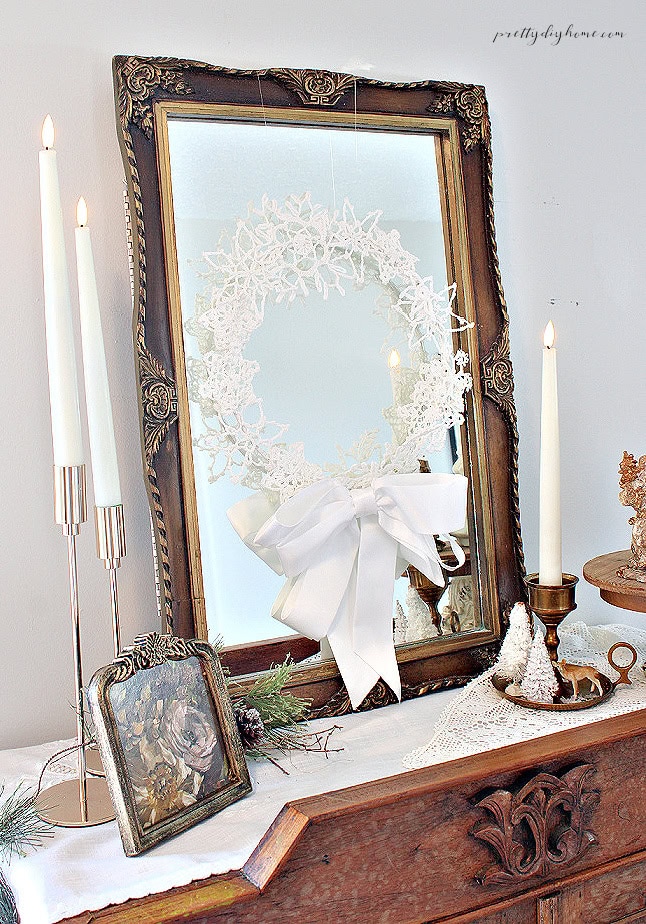
This Christmas wreath is such a simple, elegant decoration that celebrates the hours and care someone put into creating each little snowflake. I love how this joyful white Christmas wreath can be enjoyed throughout the winter, too.
I hope this inspires you to rescue a few of these handmade treasures the next time you see them.
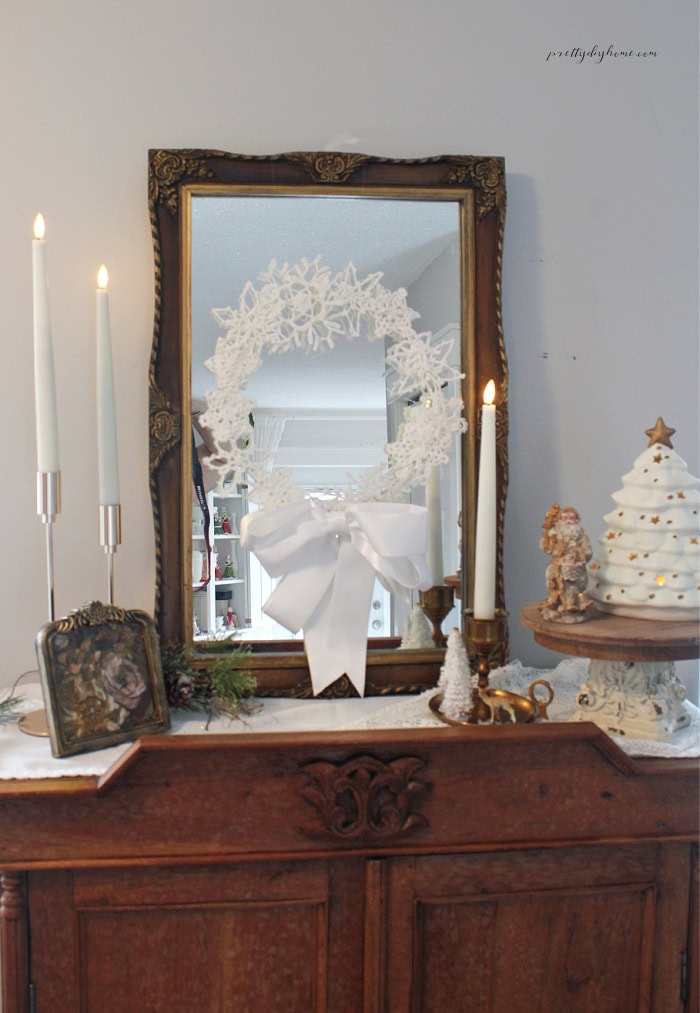
Love this crocheted snowflake Christmas wreath? Save it to your favourite Pinterest board so you can make your own with thrifted snowflakes and a pretty satin bow!
More DIY Christmas Wreath Ideas
DIY Birch Twig Christmas Wreath
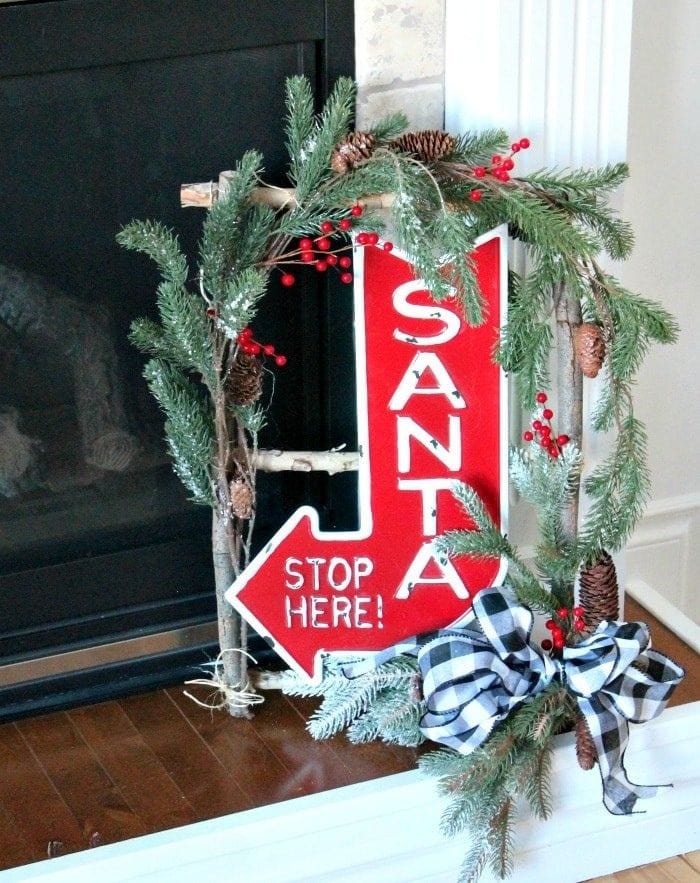
Turn a small Christmas sign into a full-sized rustic wreath using birch branches, greenery, and a pretty Christmas bow. This inexpensive project is a fun way to make something unique using supplies you already have.

DIY Christmas Snowball Pom Pom Wreath
Make a fluffy white Christmas wreath using homemade yarn pom poms. Add the adorable polar bear printable for a playful snowball theme. This easy Christmas craft is fun for kids to help with and can be used all winter.

Simple Christmas Wreath with Bells
Make an elegant Christmas wreath using a thrifted metal ring, inexpensive gold wire, a little greenery, and beautiful farmhouse bells.