
DIY Christmas Ski Decorations for the Front Porch
All year I search for vintage items that inspire my front porch Christmas decorating ideas. Old decorative skis are one of my favorites, especially vintage wooden skis.
Christmas in July is the perfect excuse to start looking. My family thinks it’s hysterical that I search year-round for thrifted holiday items and work on Christmas projects in the middle of summer. But it makes perfect sense to me.
There are loads of garage sales, thrift stores often have off-season Christmas items marked down, and the warm weather is perfect for puttering around outside and working on a project like these Christmas ski decorations.
My inspiration for these decorative skis was an antique pair I spotted for $235. I loved the look, but not the price. Undaunted, I kept looking and eventually found a pair of old fiberglass skis for $10 at a thrift store. I upcycled them to look like vintage wooden skis and turned them into Christmas ski decorations for our front porch.
How to Make Christmas Ski Decorations
I have seen lots of beautiful Christmas porches featuring painted skis with signs and greenery, but the look I really wanted was old wooden skis. Since my thrifted pair was fiberglass, I covered them with wood grain paper and Mod Podge to create that vintage look.
Once finished, they work with almost any Christmas color scheme. Add red, green, blue, white, or whatever matches your porch decor.
Supplies Needed
- Cheap skis
- 80 grit sandpaper
- Wood filler or drywall patch
- Wood grain paper, drawer liner, or contact paper
- Zinsser 123 primer
- Brown paint; a sample size is plenty
- Mod Podge
- Screwdriver
- Scissors
For the wood grain paper, I used a bulletin board backdrop from Michaels that cost about $10. Drawer liner or contact paper would work as well. Just make sure the roll is long enough to cover the full length of the skis.
Step 1: Remove the Ski Hardware
To give the skis a cleaner vintage look, begin by removing all the modern bindings and hardware.
Remove the existing bindings with a screwdriver. If you find a second layer of hardware underneath, remove those screws as well.
Use a hole punch or screwdriver to tap down any raised edges around the screw holes.
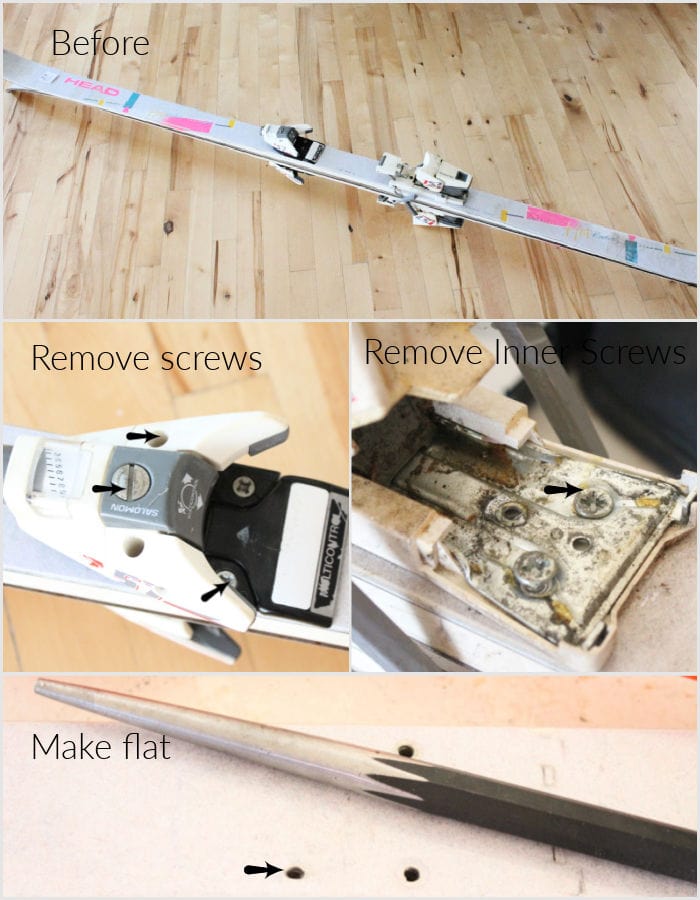
Step 2: Clean and Prepare the Skis
Give the skis a thorough cleaning with hot water, vinegar, soap, and a scrub brush. Let them dry completely.
Fill the holes in the skis with wood filler or drywall patch, then let it dry.
Sand both sides of the skis well with 80-grit sandpaper to remove any ski wax. Mine also had quite a bit of packing tape residue. Wipe the skis down afterward to remove all the sanding dust.
To ensure the paint and Mod Podge stick to the fiberglass, paint the front and back of each ski with a coat of primer. I don’t typically sand and prime, but I hadn’t used Mod Podge on fiberglass before, and I wanted to make sure it adhered properly.

Step 3: Prime and Paint the Skis
To make the sides of the skis as smooth as possible, paint the underside of each ski and both edges. I chose a light brown paint I already had on hand, but a darker brown exterior paint would work even better.
Paint the underside and both edges of the skis. Let the paint dry, then apply a second coat.
Step 4: Apply the Wood Grain Paper
Cut two lengths of wood grain paper slightly longer than the skis. Make sure each piece is wide enough to cover the top and both sides of the ski. Roll the cut strips up and set them aside.
Work on one ski at a time. Apply a thin layer of Mod Podge to the top and sides of the ski, starting at the pointed end.
Unroll the wood grain paper a little at a time as you work down the ski, smoothing it carefully to remove any wrinkles or air bubbles.
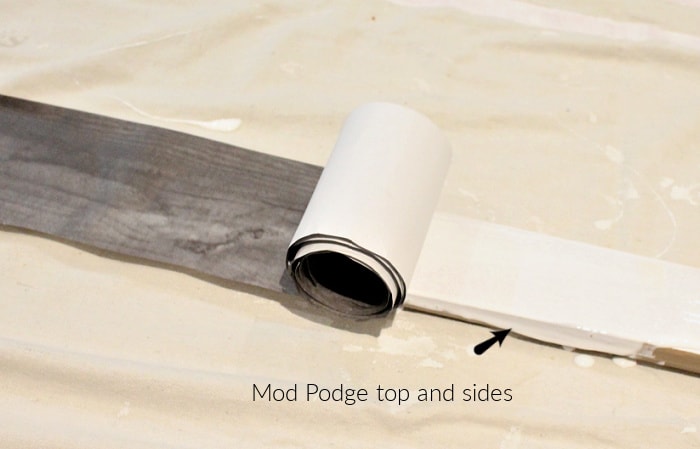
Fold the paper over both sides of the ski and smooth it down well, making sure the edges are firmly attached.
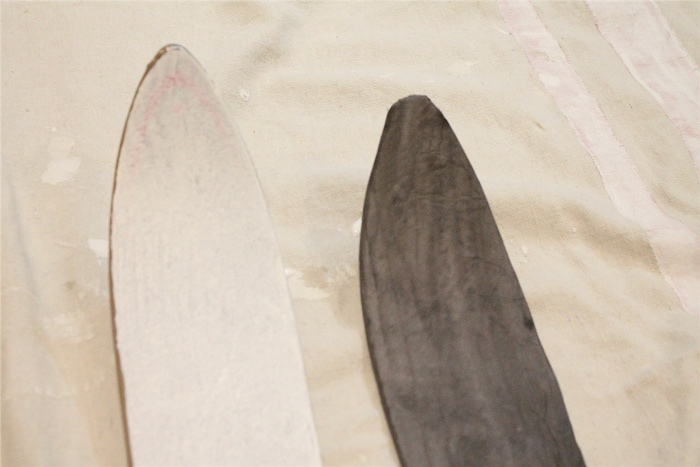
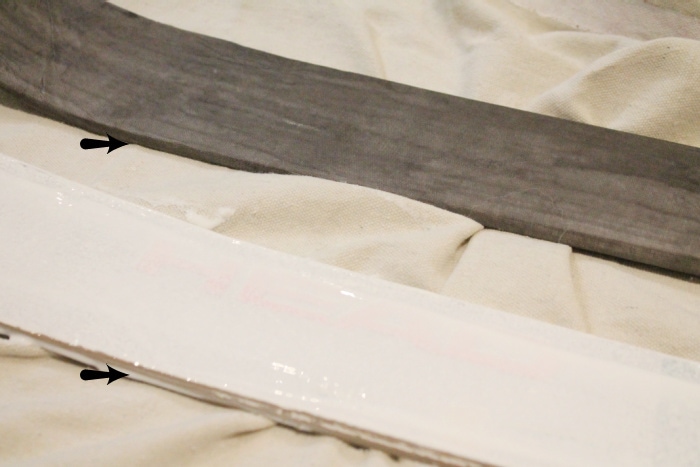
Once dry, check all the edges and add a little extra Mod Podge anywhere the paper has not fully adhered.
Using scissors, trim away the excess paper and touch up the brown paint along the edges if needed.
Step 5: Attach the Skis Together
Decorating the skis for Christmas is the most fun part. If you want to display them in a crisscross pattern, lay them together first to decide where you want them to cross. Make sure the bottoms are spread wide enough to keep the skis stable.
Once I had the position figured out, Hubs predrilled the skis and fastened them together with a nut and bolt.
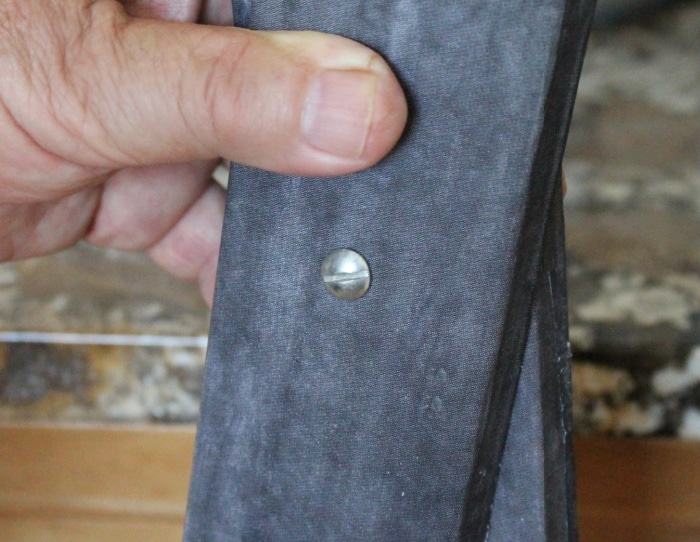
Once crossed and attached, the skis are ready to decorate.
Step 6: Decorate the Skis for Christmas
Decorating the skis only takes a few minutes. Add a small wreath and ribbon like I did, or use a small Christmas sign or greenery. The nut and bolt make a handy attachment point for the decorations.

Displaying Front Porch Christmas Skis
I admit my front porch picture is a little Bah Humbug. What can I say? It was Christmas in July. But it does show how nicely the decorative skis turned out and gives you a good sense of their full size.
Save these Christmas ski decorations to your Christmas decor board so you can find the idea again when you’re ready to decorate your front porch. They’re an easy thrift store upcycle and a fun way to get the look of vintage wooden skis for less.

More Outdoor and Vintage Christmas Decor Ideas

26 Designs for Vintage Christmas Decor
If you enjoy decorating with old-fashioned Christmas pieces, take a look at my 26 Designs for Vintage Christmas Decor. It includes lots of ideas for decorating with vintage finds, including skis, sleds, and other thrifted treasures.

DIY Pallet Christmas Trees for Outdoors
These DIY Pallet Christmas Trees are another fun Outdoor Christmas Decoration you can make very cheaply. Build the tree, decorate with things on hand like an old tree star, and done without loading up the charge card.