DIY Dutch Tulip Crate
Dutch tulip crates were new to me. I had never seen one in person, but the moment I stumbled across one online it was an instant I want that.
Since it is a tulip crate, I had to wait for spring decorating season, but I tucked some pallet wood aside so I could build my own DIY Dutch Tulip Crate when the time was right.
This simple pallet wood crate is made from nothing but scrap boards, which makes it even better in my opinion. It works beautifully for rustic spring decor and adds height as a centerpiece or table riser. I love when a project costs nothing and still feels special.

How to Make a Dutch Tulip Crate for Spring
Why a DIY Dutch Tulip Crate Works for Rustic Spring Decor
Tulip crates were originally used by growers to force tulip bulbs. The open base allowed air to circulate and helped prevent rot, and the corner posts made it easy to stack the crates on top of one another. Growers often stenciled their names on the sides, which adds to their vintage working charm.
That simple, hardworking design is what makes a DIY Dutch Tulip Crate such a natural fit for rustic and vintage spring decor. Whether you choose a mesh bottom or wood slats like I did, it works beautifully as a spring centerpiece and can even be flipped over to use as a rustic table riser.
It is practical, a little industrial, and perfectly imperfect
Tulip Crate Supplies
This DIY Dutch Tulip Crate is made from simple scrap wood and basic tools.
- One 8-inch piece of 2 x 4 scrap lumber
- Five full-length pallet boards
- 80-grit sandpaper
- Nails or air nails
- Metal hardware mesh or wire mesh for the bottom, optional
Pallet Wood Cut Lengths
We may be thinking of spring in our house, but it was –28°C while we were building this DIY Dutch Tulip Crate. Hubs, bless him, cut the wood outside in the garage and then we assembled it in the kitchen.
He used a mitre saw to cut the wood to the following lengths.

- Four pieces of 2 x 4, cut into 4-inch lengths
- Two 1 x 4 pallet boards cut 20 inches long for the long sides
- Seven 1 x 4 pallet boards cut 16 inches long for the short sides and bottom
Once everything was cut, he gave each board a quick sanding with 100-grit sandpaper to remove any rough edges or slivers.
How to Build a Tulip Crate
Once all the wood was cut, the DIY Dutch Tulip Crate was very simple to assemble.
We began by laying out the pallet boards the way we wanted them assembled. Notice that the four corner posts sit on top of the bottom slats, which means no cutouts are required. By placing the long 20-inch boards on the outside of the 16-inch ends, the bottom and the ends can all remain 16 inches long.

Hubs started by nailing the four outside pieces together at the corners to form the outer frame.

Once the outer frame was assembled and sitting square, he attached the four corner posts, working one corner at a time. He nailed through the side boards into each post using longer nails to secure them firmly in place.

As a final step, he spaced the bottom slats evenly, leaving small gaps between each board. He then secured each slat with two air nails at both ends.

I chose not to stencil the sides of this DIY Dutch Tulip Crate because I wanted the option to flip it over and use it as a table riser. If I had added lettering, it would have appeared upside down when used that way.

Finishing the Tulip Crate
You could stain it or add a coat of varathane to protect your DIY Dutch Tulip Crate if you like, but I preferred mine rustic, shabby, and slightly industrial just as it was. That feels closer to how vintage tulip crates actually look.

The only addition I made was attaching small pieces of floor protection felt to the bottom of each corner. I do not even want to think about the damage bare pallet wood could do to modern veneer furniture.


Once it finally warms up here, I would love to build at least one more for the picnic table outside. I might experiment with whitewashing or adding hardware cloth and a stencil, but honestly, this simple version already feels complete.
It is such a neutral piece. It looks just as good with white dishes as it does with plants, books, or a spring centerpiece.
If you love simple, rustic projects made from scrap wood, be sure to save this DIY Dutch Tulip Crate for later. It is an easy build that adds height and character to spring decorating and works beautifully as a table riser or centerpiece.

Other Pallet and Scrap Wood Ideas
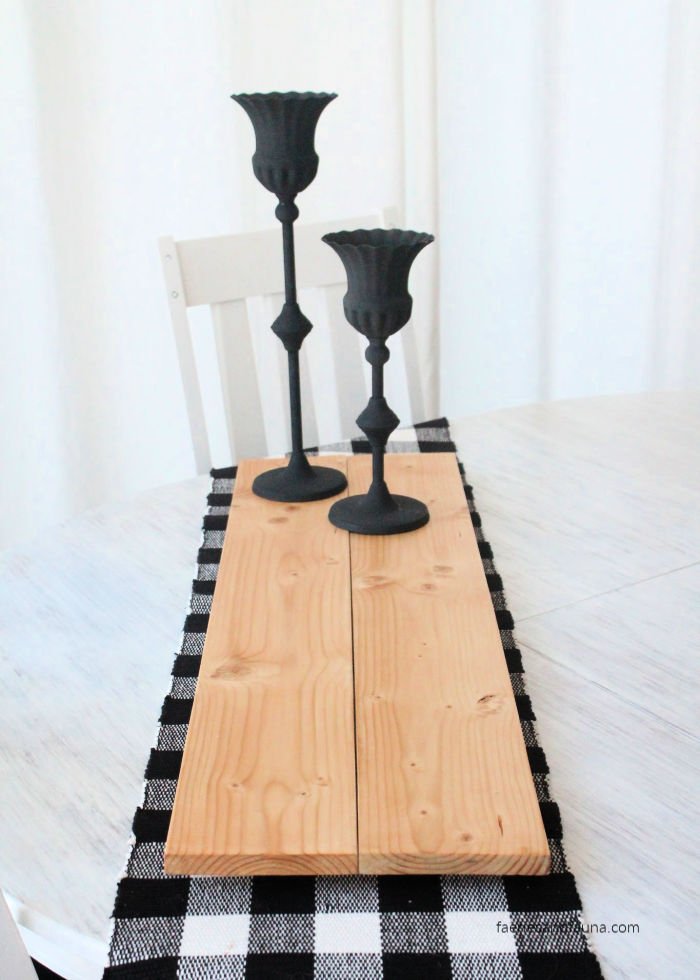
DIY Wood Riser Stand
A very quick and simple to make DIY wood table riser. The soft wood grain adds warmth to a bright white dining area.
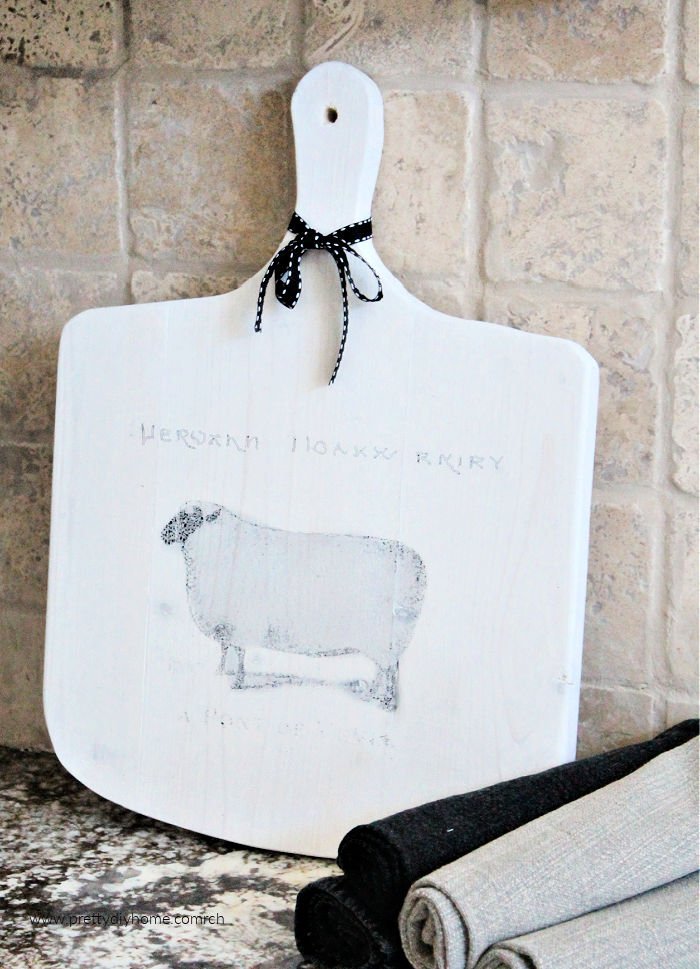
DIY Cutting Board
Glue some leftover wood together, trace the pattern, cut, paint, and stencil and you get this fancy farmhouse DIY cutting board for cheap.
Leanna, this is such a cool crate!! I just saw a tall wooden pallet with tall wood sides up next to our fire department station’s trash bins… It still hasn’t been scavenged! I did ask Hubby if he’d want it for a project, but at the time he said no. I still think it has potential and could drag it home… 😉
So glad you stopped by to link up your post. <3 Happy to have featured your crate at this week's Share Your Style #380. I took the past two Wednesdays off with exhaustion and then eye surgery (cataract removal/new lens), so SYS is back.
Hope you had a nice St. Patrick's Day,
Hugs,
Barb 🙂
I am honoured Barbara, thank you for the feature. Scoop the pallet. I am sure you will love having the tulip crate. I need/want more of them.
Hi Leanna –
This is such a good idea – and particularly for spring! Thank you for the step by step instructions.
Thank you Anna. They are so nice to have. I hope you make one.
This is so pretty! Tulips are my favorite flowers and this reminds me so much of Spring.
Me too, I think the timing is why they are so appreciated each year.
I’ve never heard of tulip crates either so I’m really glad you shared this tutorial. It makes it much easier to reproduce and we have so many pallets we could use. If we live closer I’d send some your way too.
I bet you could use them in many ways, and the shipping rates would be just a tiny bit brutal lol.
Love this so much! We made one for my Mom several years ago because one of her favorite childhood memories was going to the tulip fields and she loved it. We love ours and use it all the time and I hope you get a lot of use out of yours too! Hugs, CoCo
This is the first one I have made, but they are fantastic I want at least one more as long as I can locate some pallets. Thank you for commenting.